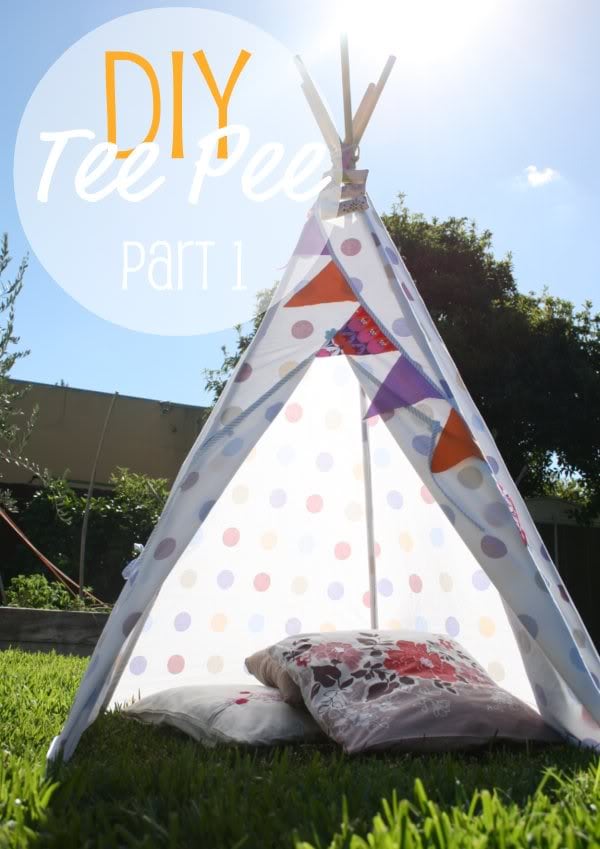
My sister asked me to help her make a Tee Pee for my niece Eva. It was not hard to make and took us a couple of leisurely afternoons. This Tee Pee is a fun weekend project that can be used either indoors on a rainy day, or in the back yard when the sun is out. We’ve made it with an old bed sheet to save money on fabric.
This is a very detailed tutorial so this project will stretch over two posts.
Part 1 covers the making of the frame
Part 2 explains how to make the outer covering.
So lets get started
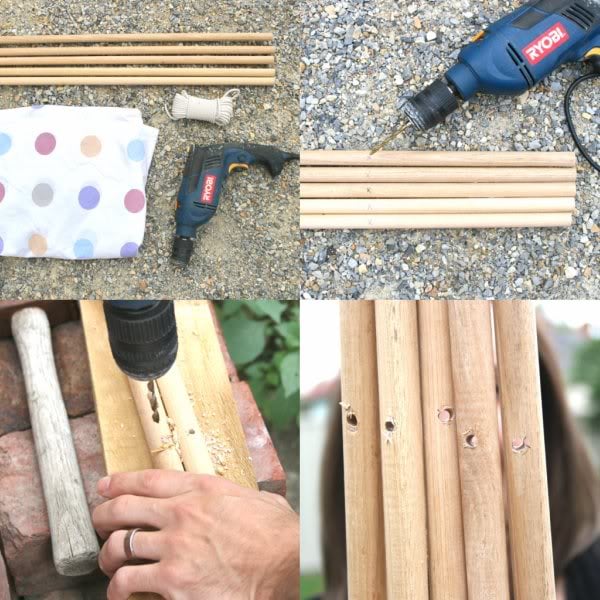
For Part 1 you will need
- 5x 18mm diam wooden dowels 180cm long (about 71″) (hardware store can usually cut these to size for you)
- power drill
- 5mm drill bit
- 5mm thick cotton rope bundle, min length 1m (about 1 yard)
- measuring tape
- pencil
- sticky tape
- sandpaper (optional)
For Part 2 you will need:
- 1x queen size bed sheet
- Sewing machine and general sewing supplies
- 3m bias tape for trims and ties
- measuring tape (in inches)
- fabric marker
How to:
Gather your supplies and clear a suitable work area for using your power drill. If you aren’t confident with power tools, ask a friend or family member to help.
To mark the hole positions, measure 26cm (10.25″) down from the top of the dowels and mark with an X.
Carefully drill one hole in each dowel.
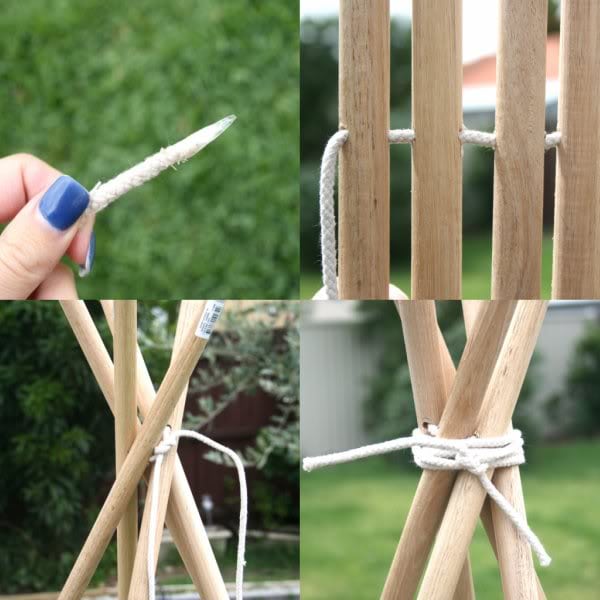
Thread the rope through all the holes, it’s easier if you wrap some sticky tape around the end.
Pull a good length through to leave a couple of long ends. Tie a knot firmly then wrap the rope around a few times and knot firmly again.
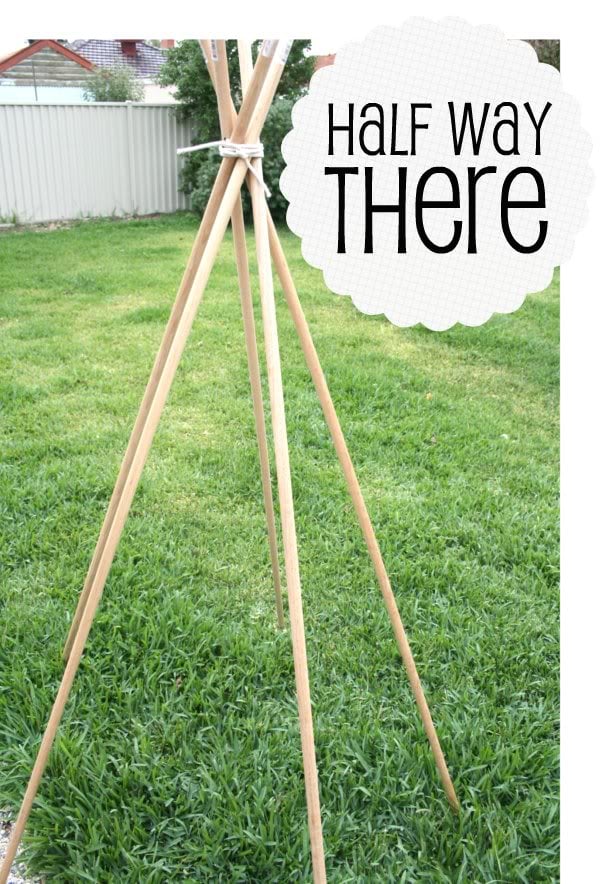
Frame is done, now we are half way there. Tune in next week for detailed instructions and measurements to make the outer cover.


WOW! This is such a gorgeous tent, I love it! Thanks so much for sharing this how-to, I'll be linking!
This is awesome! i would love to make a tee pee… i'm a bit stuck for time and slack on sewing, but you do make it look easy!!
Oooh, that looks like fun! I had been planning on making my niece a set of tossing bags for her birthday, now I'm not so sure …
We are having a kids party on Saturday… Hurry up and finish the tutorial lol…
Xo Steph
Hi steph , if you are desperate just wrap a quilt or blanket and fasten with pegs as a temporary fix for the party 🙂
This Tee Pee is a fun weekend project that can be used either indoors on a rainy day, or in the back yard when the sun is out
Anxiously awaiting part two. I keep checking daily. 😀 If it's too complicated to sew for my skills I already have plans to make the frame and keep it in the garage. As for a cover I have a lot of old sheets for the kids to play with. I'll just throw in a bag of clothes pins and let them figure it out. 😀 Thanks for sharing.
great thank you
I have been looking for a diy of a tee pee and I was happy to see yours. Can't wait to see part 2 I pinned it to my Pintrest
I'll just throw in a bag of clothes pins and let them figure it out. 😀 Thanks for sharing.
that's just to cool! my daughter would love me, if i make one for her….
I linked to your tutorial on my blog – thanks for sharing!
doro K.
look so fun. i wanna make one for myself
Thanks so much for this tutorial, it was really good! I made one for my little guy on the weekend 🙂
https://maxandmeblog.blogspot.com.au/2012/07/diy-teepee-pinterest-challenge-4.html
Hi just wondering what the overall cost of supplies might run? I'm looking to do an indoor variation for a reading teepee in my son's room!
Not sure courtney, my sister bought the supplies. probably the most expensive is the dowels. You may need to call your lumber supply yard or hardware store for a quote.
We used an old sheet for the fabric, so that part was free.
We went out to a home improvement supply store in the US and they don't have the size dowels your pattern calls for – we will keep looking! This is so cute and easy I don't want to pass it up.
How annoying. Can anyone in the US offer a suggestion?
x cinti
Try using PVC pipes. They are light weight and can be drilled just like the wood poles.
That’s a great idea, and maybe less expensive than wooden dowels?
and get the thicker wall 3/4″ pvc pipe – others are thin walled – it won’t bend as easily.
I'm trying it today with some dowels that are slightly larger and were purchased in the US. We will see how it goes. I will let you know.
I had the same problem. I searched Lowes, Home Depot and Michaels with no luck. They don’t make small dowels any longer then 48 inches! I will have to order them from Amazon, which is pretty expensive. Anyone find any 3/4inch x 6 foot long dowels in the US.
Hi Jessica, sorry I can’t help with that, but have seen some readers use square rods instead of round (does that make sense?)
Also what about curtain rods?
You can order them from Home Depot online- they have them up to 72″ and they work perfectly!
Thanks for that suggestion.
Thanks so much for putting this tutorial up – it worked perfectly, and we are now the extremely proud owners of the best teepee in town!
Thanks so much for this how to make a teepee post. I have been wanting to make one for months to use as a photography prop. I can’t wait to make one (and when I say I, what I mean is my husband). 😉
Thank you so much. I found the pattern so easy to follow and u should have seen the faces on my niece and nephew when they received the teepee for their birthdays!!!!! They love it.
my daughters and I made one of these in seaside blue stripes for my grandaughter’s 1st birthday. she loved it so now we are going to make one for my grandson. wish i could show you a picture as we are so pleased with it. i attached d rings to the bottom so we could peg it down and i made a a draw string bag to keep the tent pegs in. i also made bunting to decorate – it looks very impressive!
Love the teepee and the tutorial – thank you for sharing! I hope you won’t mind but I have linked to your tutorial on my blog, with full credit to your website. If it is not all right I’d be happy to remove the link of course! Thanks again for such a great project!
Made this for my daughter’s first birthday party, kids loved it.Thank you so much for the great tutorial. 🙂 I have shared this link on my blog, I hope it’s ok with you. 🙂
Sure, I always love to see what readers make.
I hope you respond to this, but I just made this teepee but used a bit thicker rods and the fabric was quite a bit thicker. When I got down to making the slips for the poles, the hole at the top was too narrow for the poles to come out. I will remake it, adjusting the measurements, but was wondering if you used a specific ration I could alter to make my panels bigger. Thanks for your time. I love this teepee!
No specific ratio, I just laid it out on the floor to see what looked right.
My daughter has been playing in her new teepee today and loves it! What a hit. Thanks for sharing the tutorial, I am rapt at how mine turned out. Love it.
That makes me so happy to hear. Thanks for your lovely comment.
I’m having trouble tying the poles together and if you didn’t use a specific ratio how did you determine how much fabric to use?
Measure the base and the height of each side then sketch out the shapes to estimate the amount of fabric you’ll need.