There is a marvellous world of dollhouses out there. Some are elaborate with many fine details, right down to the plumbing and electric lighting. Some are factory plastic production runs. Others are homemade and easily put together with nothing more than a couple of tissue boxes or even Lego.
All dollhouses are beautiful in their own right. The beauty lies in the imaginary stories that take flight in the minds of children (and adults) when presented with a dollhouse.
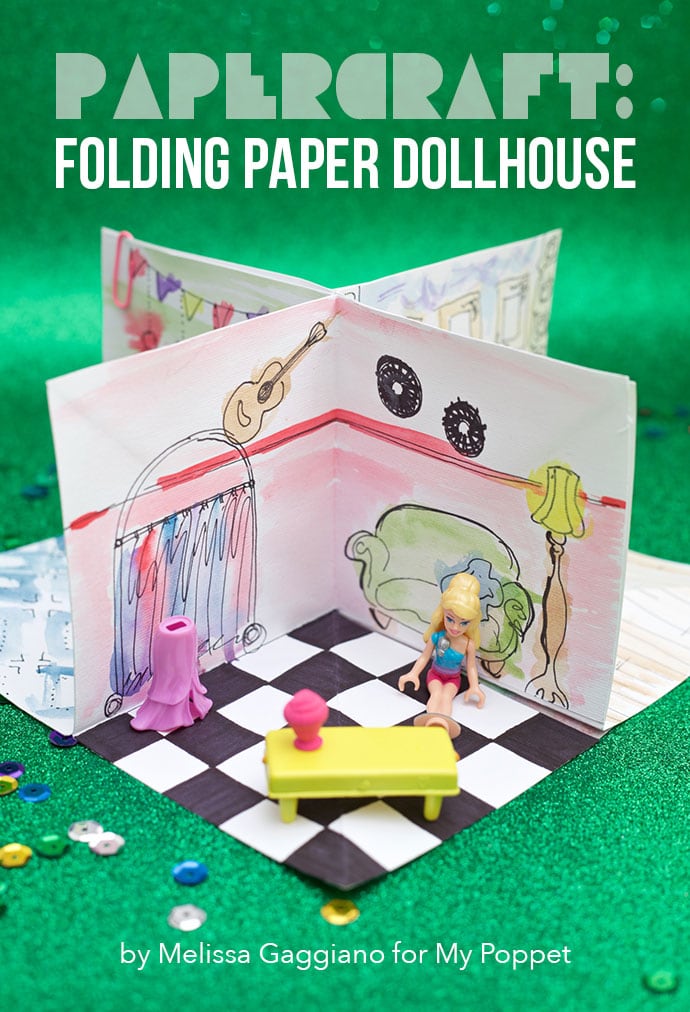
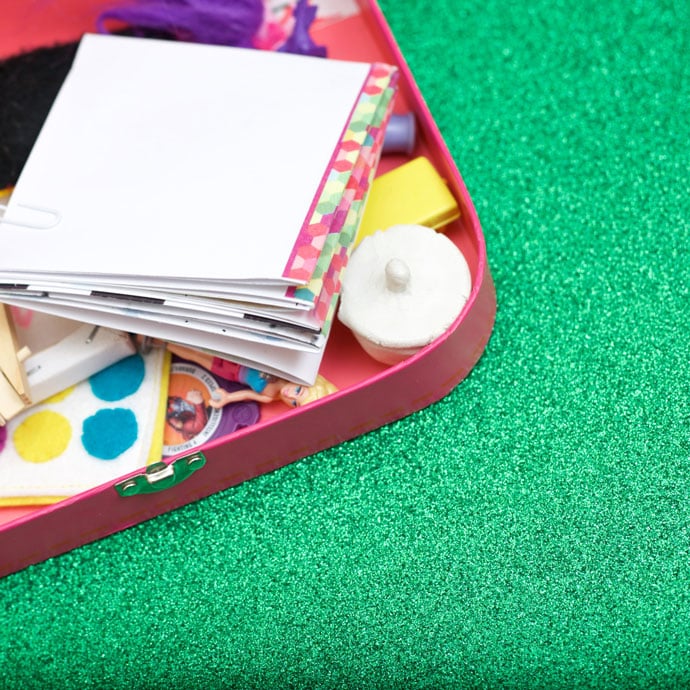
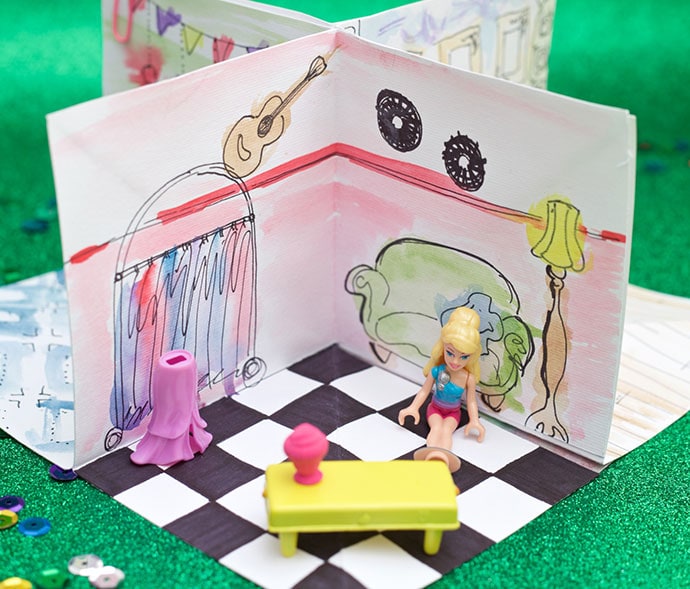
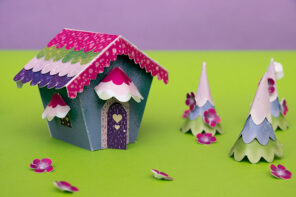
Today I’ve created a neat little travelling dollhouse idea for you. It is a dollhouse that can fold down, pack flat in a bag or little case. The perfect little home for those teeny tiny toy things that kids love collecting like Lego people, Shopkins, or Zelfs.
Papercraft: How to make a Flat Pack Folding Paper Dollhouse
You will need:
- 2x A3 paper card (light weight card so it can fold easily)
- Pencil
- Art knife
- Art cutting board
- Metal ruler
- Felt tip markers and/or water colour paints
- PVA glue
- Sticky tape
- Washi tape
- Heavy book
- 2 paper clips
How to:
1/ Print template at 100% and cut out the pattern piece.
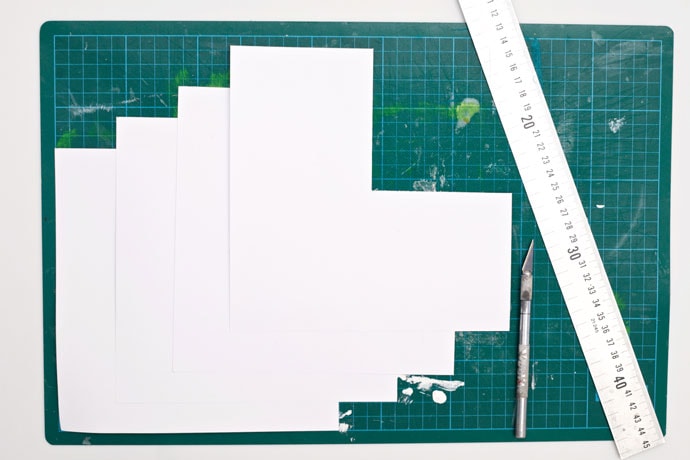
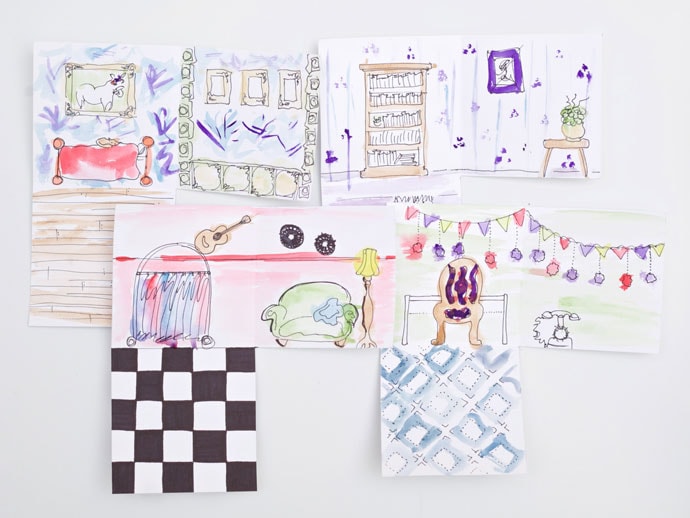
2/ With a pencil, trace 4 identical pattern outlines onto light paper card. Cut the outlines using an art cutting board, art knife and metal ruler. These square corner shaped pieces will become the walls and floors of the house.
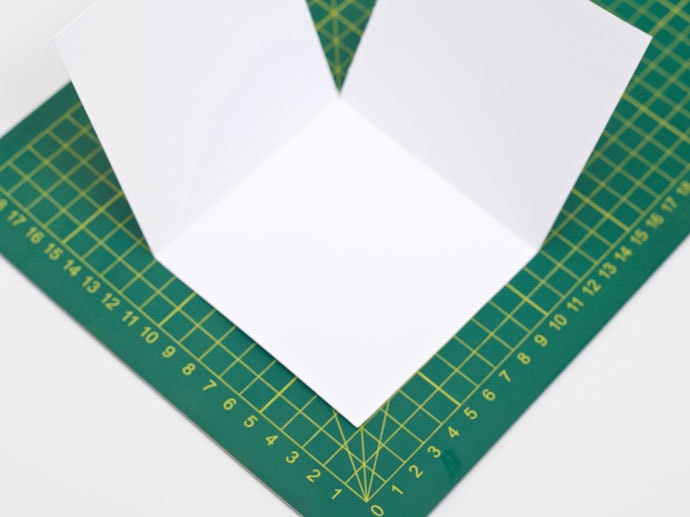
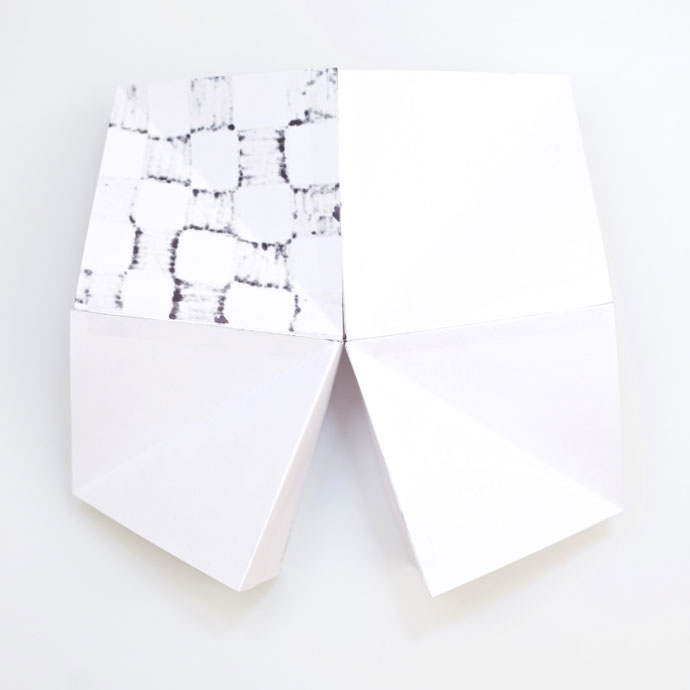
3/ On all 4 square corner pieces fold inward along the lines as illustrated/pictured.
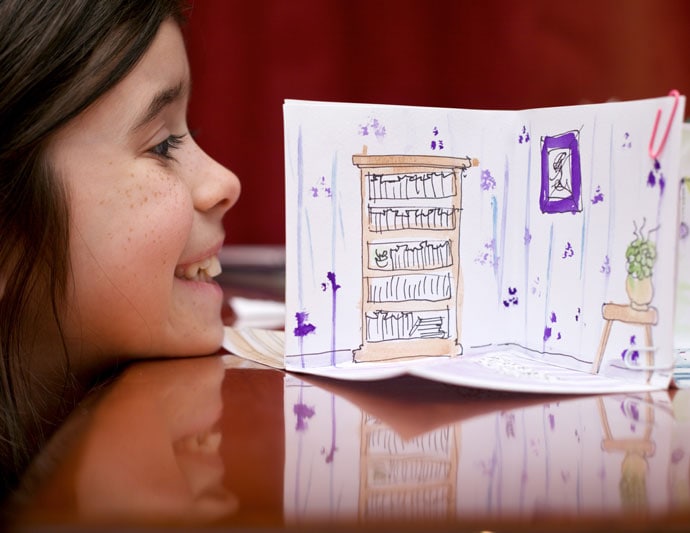
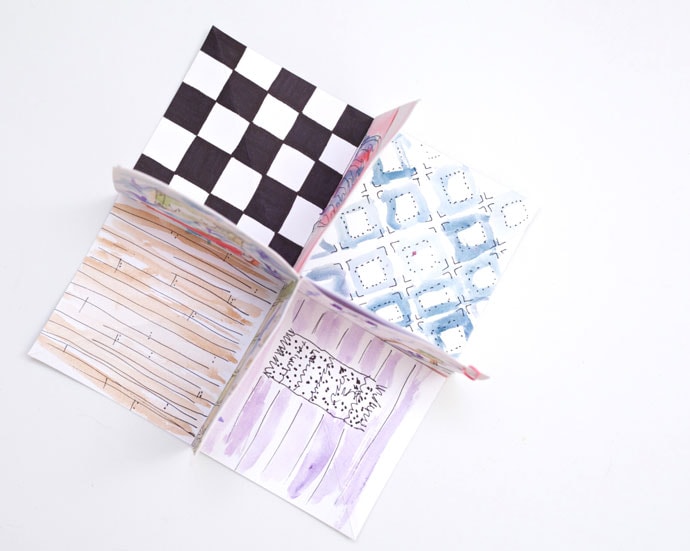
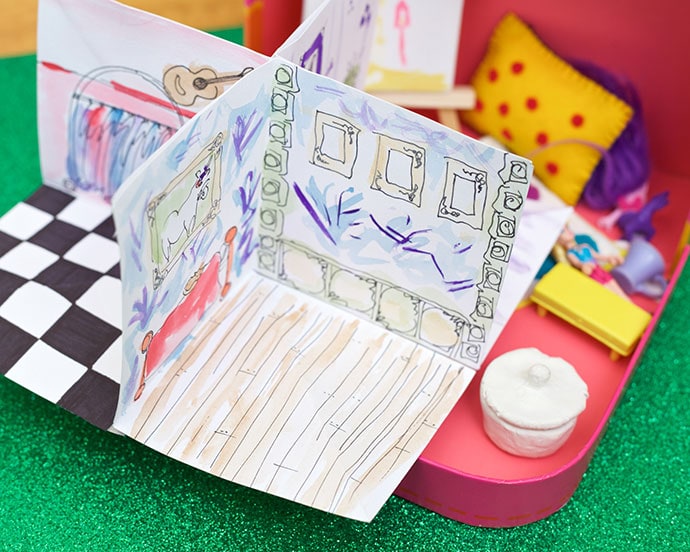
4/ Draw the room details on each square corner piece. Begin with fine pencil markings, which can be erased later. Go over the penciled in lines with markers or watercolour brush painting. Colour in the details of the walls and floors as you please. Remember that the bottom square shape in the square corner is the floor.
5/ Fold the floor sections downward diagonally; making sure that it is the wrong sides that are folded together.
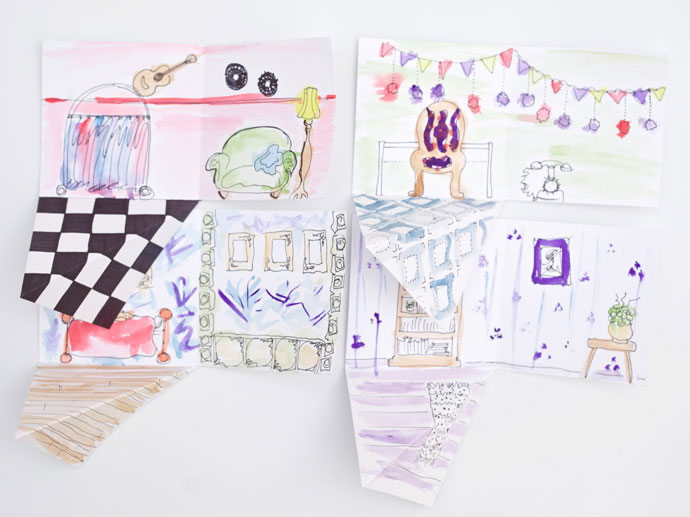
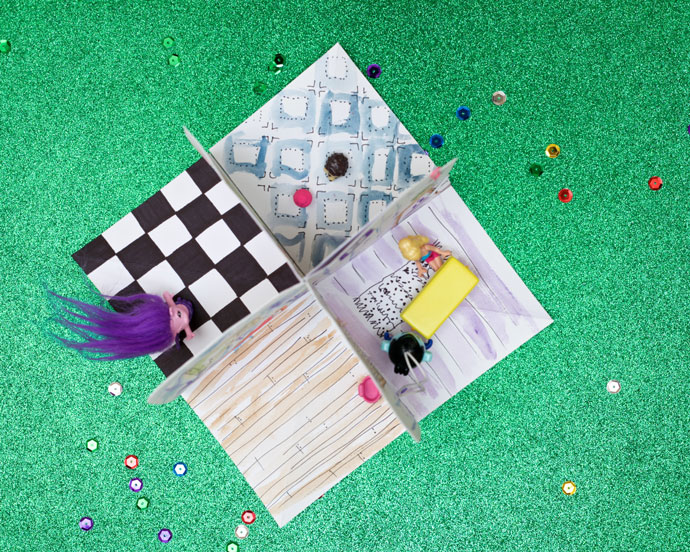
6/ Six of the eight wall sides can now be glued together. Decide which sides you want to go together before you start gluing (from above this will look like a 4-point star]. It is important that when gluing the walls, 2 remainder walls touch but are not glued together. Once this gluing is done flatten down the paper (like a closed accordion), and let dry under the weight of an incredibly heavy book (preferably a book that no one needs to read for the next half day).
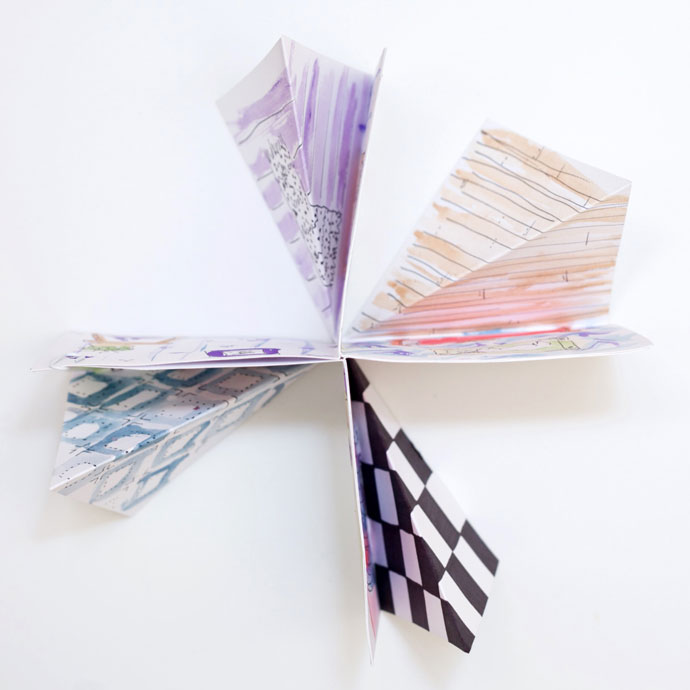
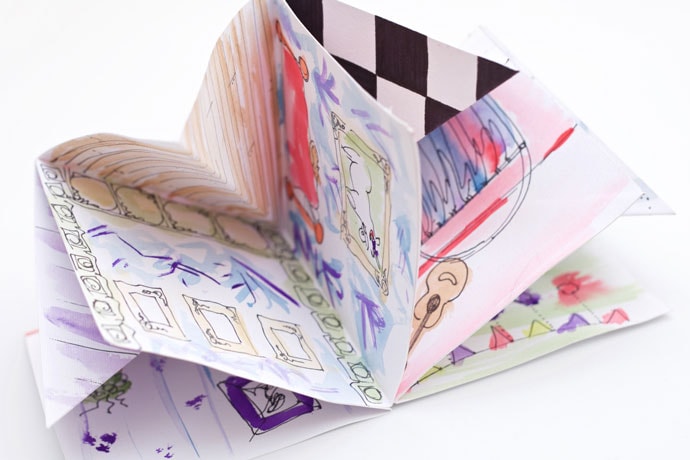
7/ Once the walls are dry fan out the almost complete paper house.
8/ Flatten the floor pieces. Turn the house upside down. Sticky tape the floor edges that line up with the previously glued walls.
9/ Sticky tape the last loose floor side to the joining wall.
10/ For added cuteness place washi tape over the sticky tape.
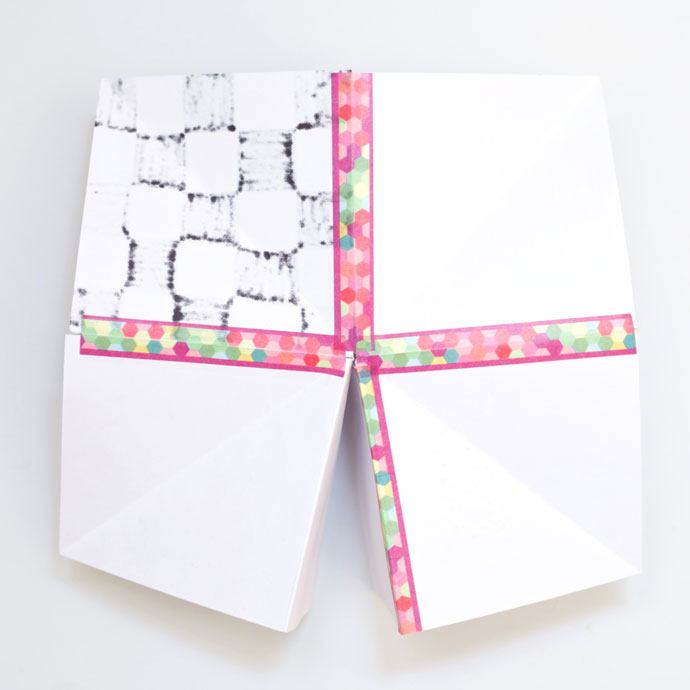
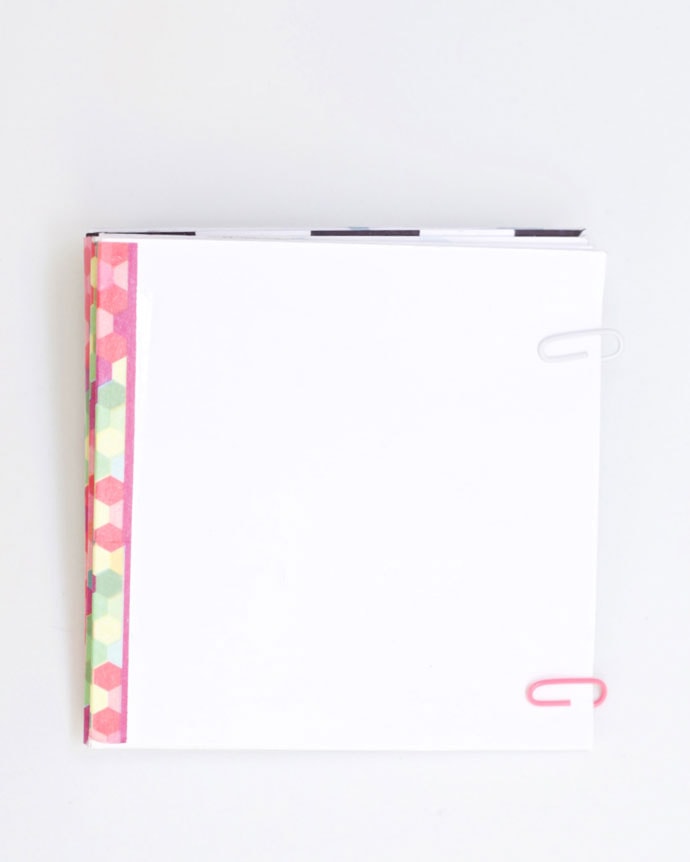
11/ Flip the paper house upright and close the unglued wall sides together using two paper clips.
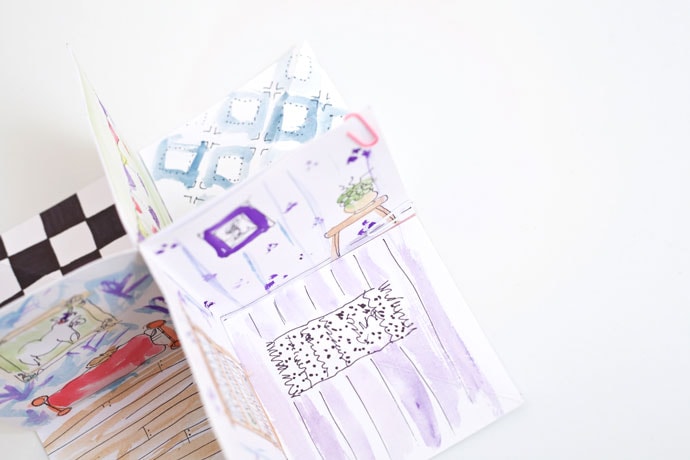
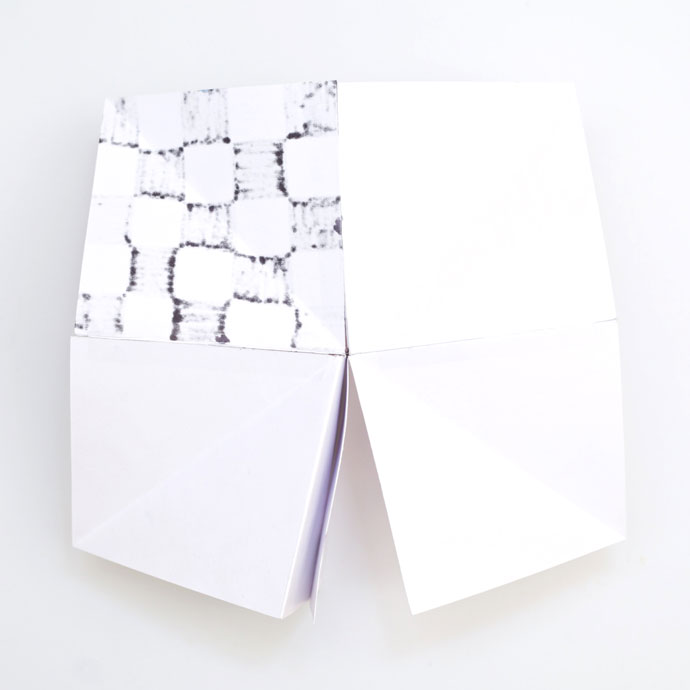
12/ Time to pack up the paper house and take it on the road with you. The house folds closed like a hand fan. The floor corners will reach the top wall corners when it is flat packed. Add the paper clips to keep the house flat packed.
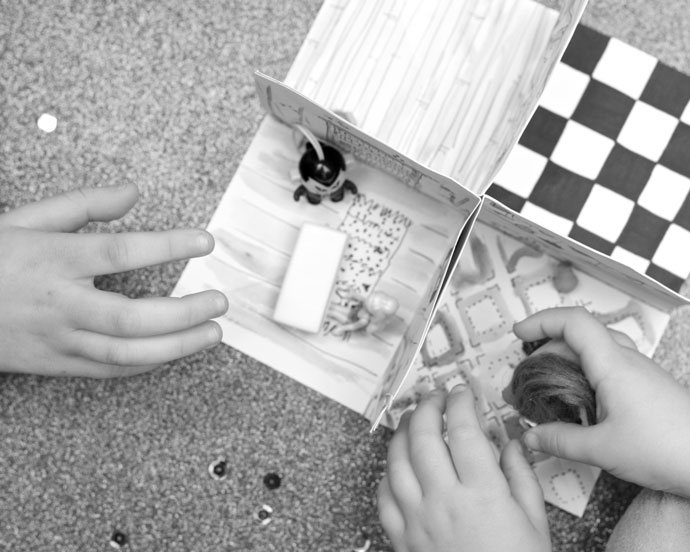
Note: As an alternative to drawing floor and wall details you could glue decorative scrapbook squares onto the card. This is a lovely solution for people who are already scrapbookers or are not confident illustrators.
You may also like:
https://mypoppet.com.au/makes/2012/08/kids-craft-shoe-box-doll-house.html
https://mypoppet.com.au/makes/2013/09/upcycle-style-suitcase-dollhouse-for-samsonites-suitcase-amnesty.html

Melissa is a hyper creative artist, and content creator.
To see more of Melissa’s work, follow these links –

It looks so cute and amazing piece of work thanks for sharing this post and directions to make it.
Thank you!
What a brilliant idea for the little ones when out and about! Take it to a café/ in the car while traveling, then fold it up pack it away! I love it! 🙂
Thanks Brigitte!