MY POPPET MAKES
MY POPPET LIVING
CRAFT
RECIPES
PARTY IDEAS
TRAVEL
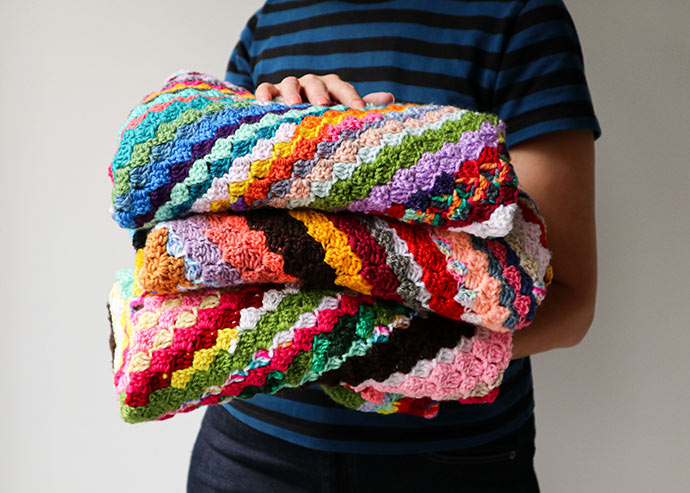
Free Crochet Patterns
CLICK HERE for all the Crochet Pattern
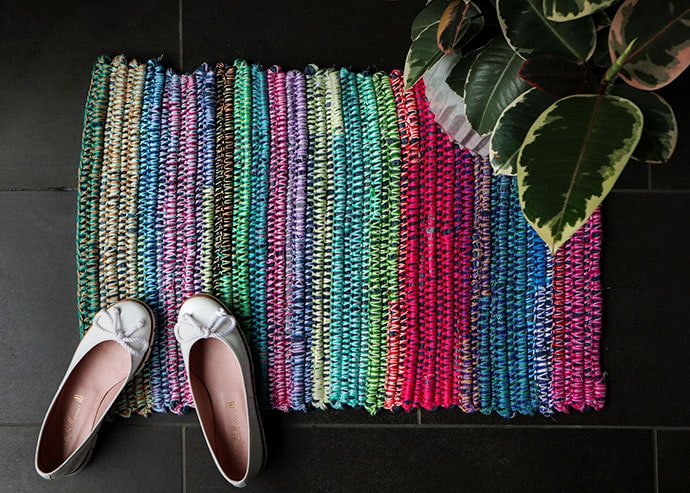
Upcycling Craft Projects
CLICK HERE for more Upcycling Craft Ideas
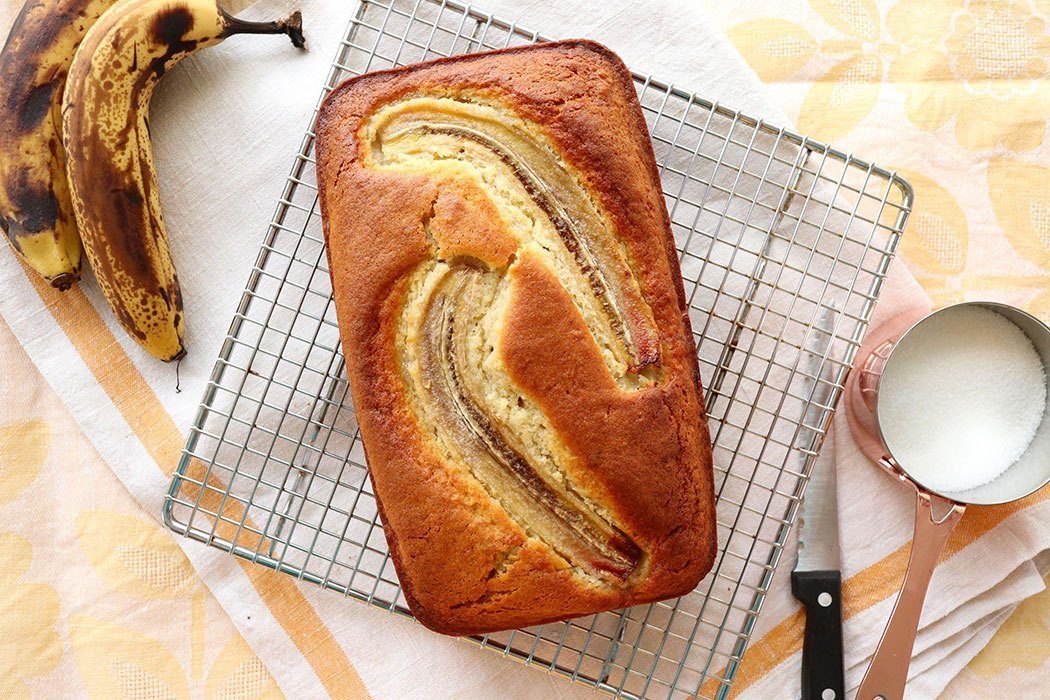
Easy Recipes
CLICK HERE for all the Recipes
Family Travel Inspiration
Great Ideas for your next family adventure
Visit the My Poppet blogs
My Poppet MAKES
– craft + sewing + knitting & crochet + more
My Poppet LIVING
– recipes + party ideas + travel inspiration + family fun