It’s been a while since I posted a needle felting project, so I thought I would treat you to something a little bit special. I really love the idea of children playing with toys made from natural materials like wool, it’s really important developmentally to give them a rich sensory experience that plastic toys just don’t offer.
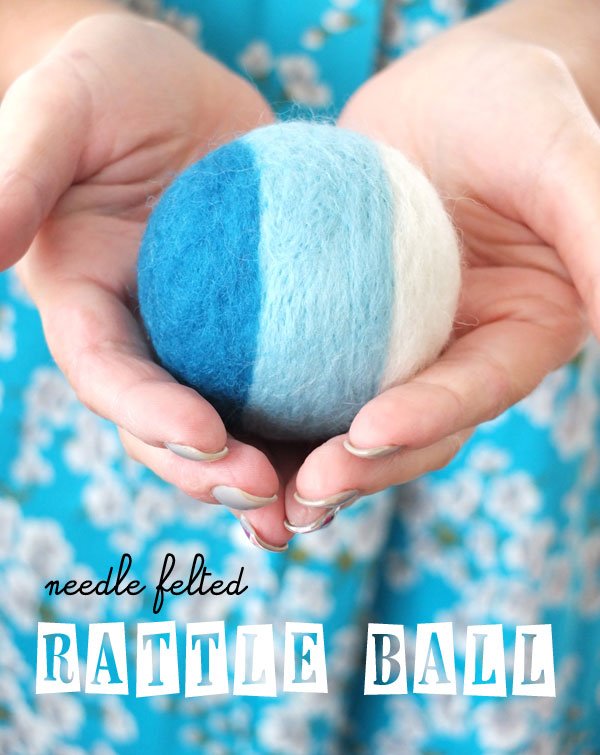
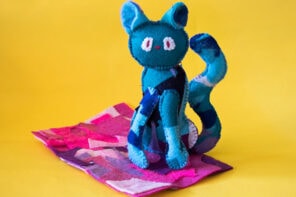
This needle felted rattle ball is a simple project, and I guarantee you will want to make more than one. A perfect gift for a special newborn or toddler. With a melodic jingle bell as a chime and it’s woolly tactile surface, both child and parent will appreciate this fun toy.
HOW TO MAKE A NEEDLE FELTED RATTLE BALL
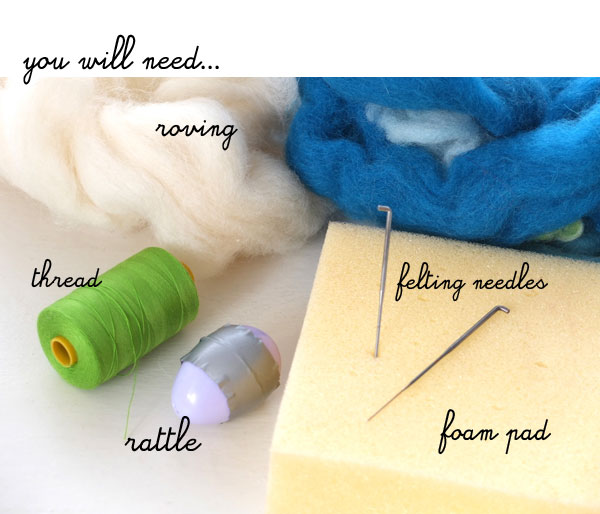
You will need:
- Wool roving in your choice of colours, about 50g should be enough
- Felting needles
- Foam pad
- Sewing thread
- Rattle Insert – pre-purchase ready made, or see below to make your own.
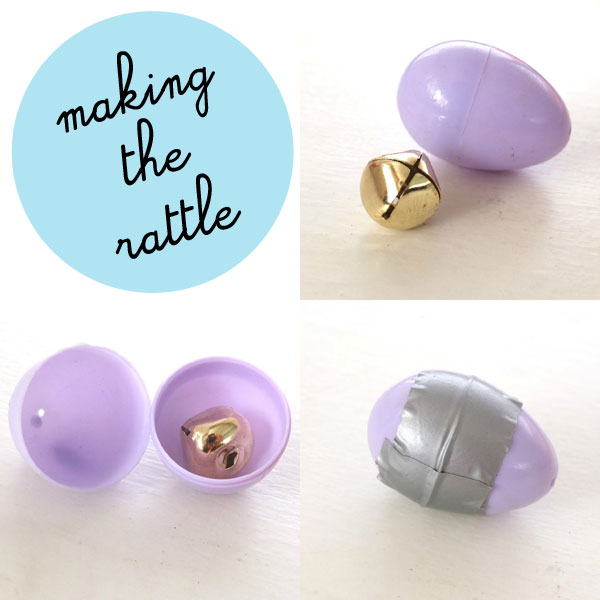
Making your own rattle insert
Supplies needed:
- Jingle Bell
- Hollow plastic Container
- Duct Tape
It took me a while to find an adequate way to make a nice chiming sound inside the ball. If you use a bell on its own, the wool will muffle the ring.
I found if you put the bell inside a little plastic container, it will jingle about freely and make a lovely sound.
I have used a small plastic Easter egg container available from craft stores around Easter time.
Some other possible suggestions include:
- Glove containers, from packs of hair dye
- Film canisters
- Cat bell from a pet shop
- You may also be able to buy ready made rattle inserts from craft stores
Put the bell inside the container and secure it firmly with duct tape.
How to:
For those of you that aren’t familiar with the technique of needle felting you may want to read about Needle Felting Basics first.
![]()
1. First we need to make a solid ball around the rattle, this will be your blank base that you can later decorate as you please.
2. Start by firmly wrapping a layer of roving around whatever you are using as the rattle and secure it with some sewing thread.
3. Repeat this with a few layers of wool roving and thread until you have your desired size (about the size of a tennis ball).
4. Time to get your needle out. The idea is to poke or ‘needle’ the fluffy loose wool on the surface into a firmish ball without any lumps and that will hold its shape.
DON’T Poke towards the center. Because the rattle in the center is a hard object we need to avoid poking the needle towards the middle as we risk breaking the needle (it’s very brittle).
DO work around the sides. A better technique is to ‘needle’ the outer surface towards the side of the ball, keep the sharp end directed at the pad.
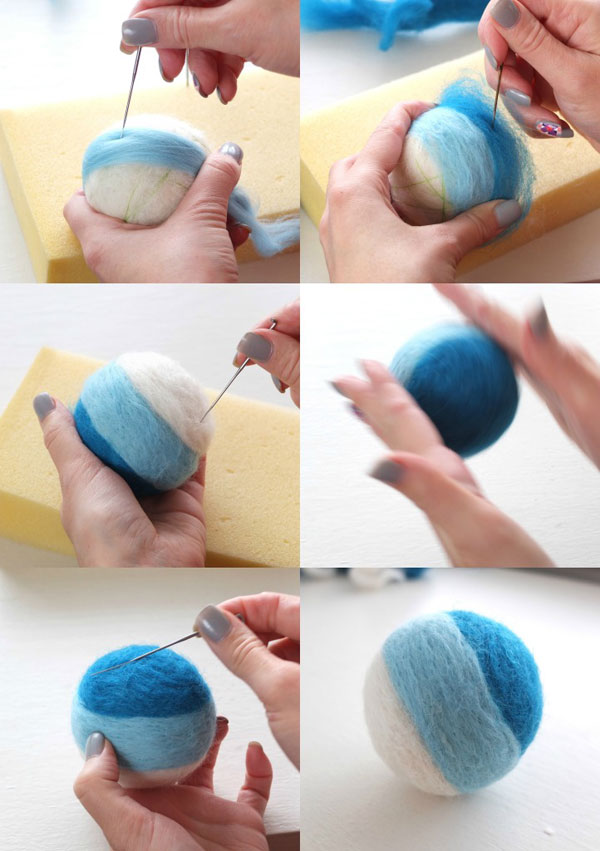
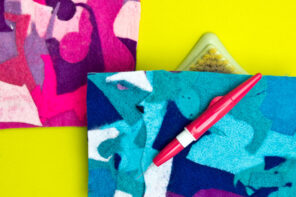
5. Now it’s time to get creative and decorate the felted ball. I’ve chosen to do a three colour dip dyed effect.
6. Take small amounts of coloured roving and lay over the section of the ball you want to decorate, ‘needle’ in gently, taking care not to hit the rattle.
7. Go over the whole surface till the wool is firmly felted and you can not peel it off.
8. Periodically roll between warmed hands to keep the shape even and remove needle marks.
9. Finally to tidy up any stray fibers, give the ball a ‘surface needle’ (rub the needle across the surface).
You’re done!
Get creative with your needle felted decorations to make a very special personalised needle felted rattle ball gift. I’m sure the recipient will enjoy it for years to come.
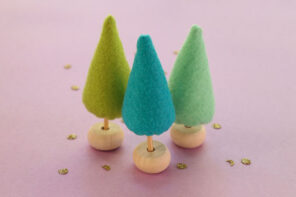
You may also like:
Ooo I love this! I do a lot of creative play work with babies and young children. I have some solid felted balls and knitted balls with bells in but I will definitely be adding a few of these to my collection.
Thanks for sharing this great tutorial.
That's beautiful! I can't wait to make a few of these for my cats. =) I'll be linking as well!
What a great idea and a lovely tutorial. I'll be keeping this in mind for future baby gifts.
i don't know how to needlefelt, could you post a tutorial on how to?
Here in the link to a post on my blog which teaches you the basic needle felting technique https://mypoppet.blogspot.com.au/2011/01/needle-felting-basics.html
I make these a lil differently for my dryer. When I spotted this on Pinterest I was like Oooo… I need to see how this rattle is made. And wouldnt you know it, Im brought back to your site! Love your ideas! keep them coming. I cant use your method of the rattle for my dryer but I can for the kids toys!
i think i will make one for my cats, my youngest one is getting wild of all my felted projects and my crocheting and knitted pieces, she is thinking it all hers , she bring it like a doggy to play with me.
And then i must throw it away, As well when i’m asleep.
So most time i will find my small pieces in my bed again, when i thought it would be lost for ever.LOL
I think my youngest is thinking she is not a cat but a dog. Her name is Wolfje.(=translated in english little wolf.) I had named her of her husky looking liked fur. She is a black silver shaded Birmilla.
Not a wellknow brand for a cat here in the Netherlands.LOL
So most people are making aaaaw or wooow and so cute. She is really irristable but sometimes i wish she good glued behing the wallpaper, which i haven’t on my walls.
it will distracting her this toy of my fibers and yarn and other projects.
I will cross my fingers for that.
thank you for the sharing, i will really one.and soon.
the felting wet, will i do in the washing machine with the laundry.
it ‘s my big blessing of felting proces.
many dutch hugs xoxoxoxo
These are adorable
Absolutely love this idea!
Would a Kinder Egg container be big enough?
Also how easy would it be to clean? I’m thinking it wouldn’t take long to get covered in drool… 😀
Yes, as long as the bell fits with a little room to move it think a Kinder Egg container would work fine. Re: cleaning. A little bit of warm soapy water would work well. It can just air dry.