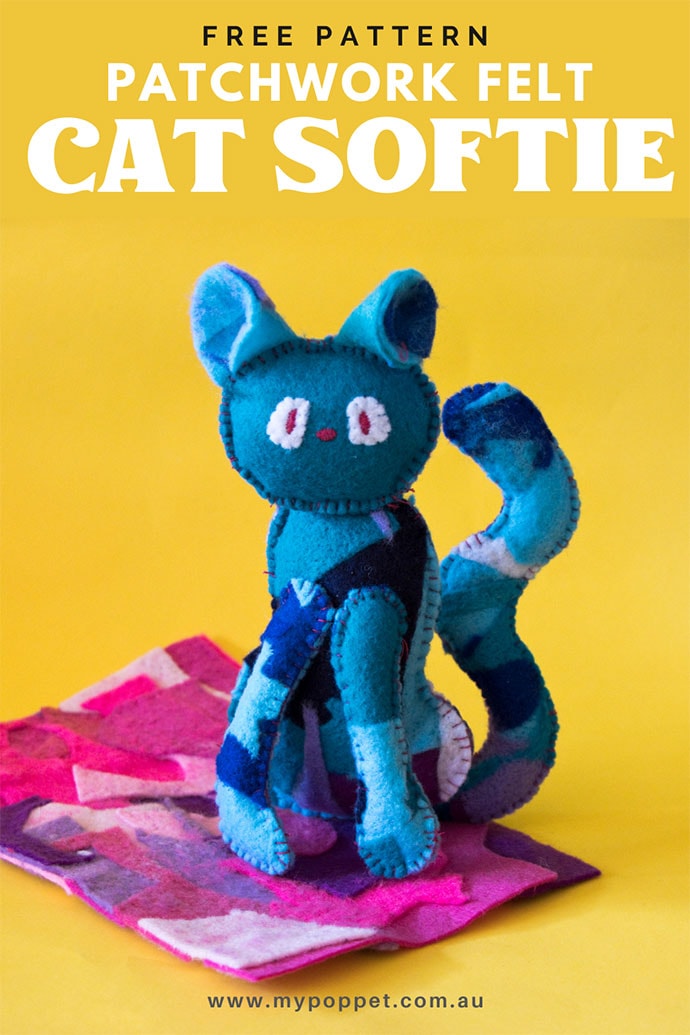
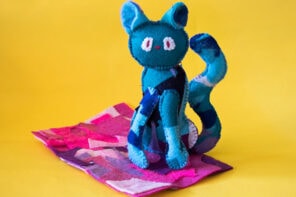
Make a cute patchwork cat toy with this free cat sewing pattern inspired by Jiji of Kiki’s Delivery Service.
This post contains affiliate links
Are you a Studio Ghibli fan?
A few months ago I drew a series of concept images for softie toys using Studio Ghibli’s Kiki’s Delivery Service as a source of inspiration.
I drew Kiki, Tombo and of course Jiji the cat.

Kiki inspired soft toy concept sketch
More recently, in a moment of lockdown boredom, I came back to those drawings deciding that I would design a cat sewing pattern to make a felt cat softie toy.
There was just one issue. My felt fabric supplies were limited and with craft stored closed, I couldn’t just swan down to the fabric store and grab something on this crafty whim.
So what I did next just might surprise you.
I pulled out a box of felt scraps and worked the bits together to make an artistically up-cycled felt sheet.
Get the easy instructions for how to make felt sheets from scrap felt here.
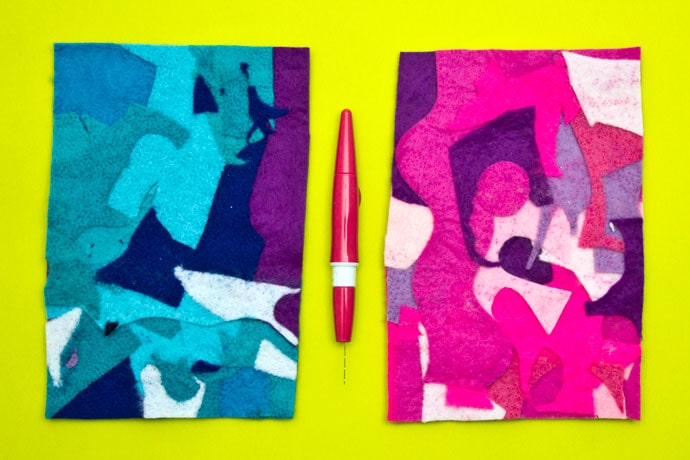
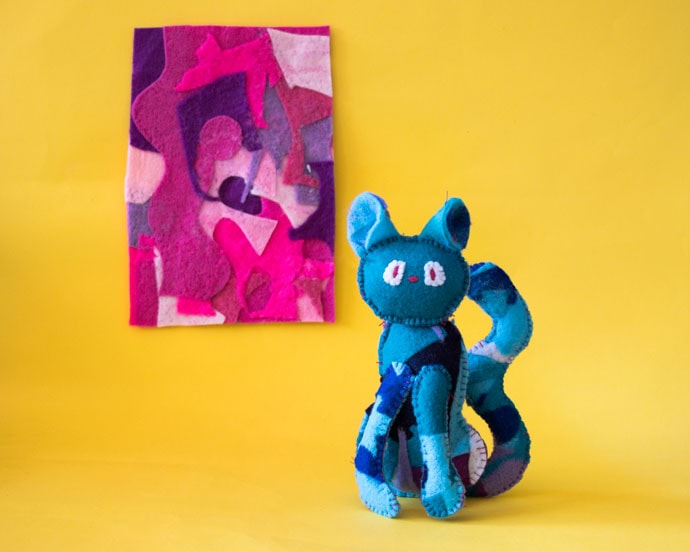
With a newly made felt sheets sorted, I was able to get on with making the felt cat softie.
Some cat themed crafts you may enjoy:
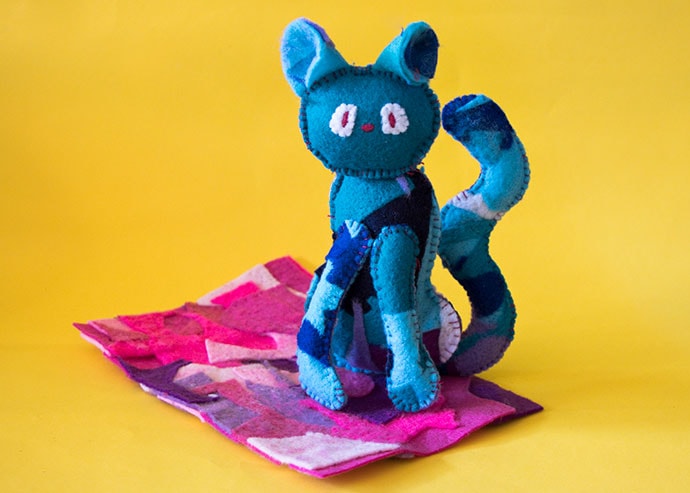
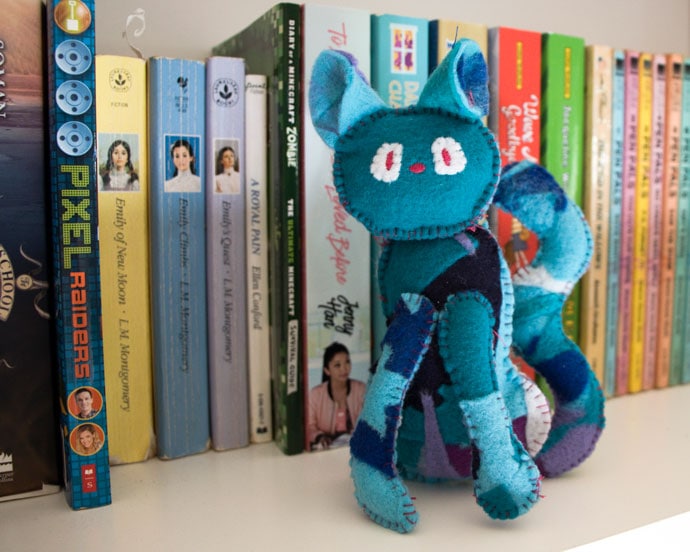
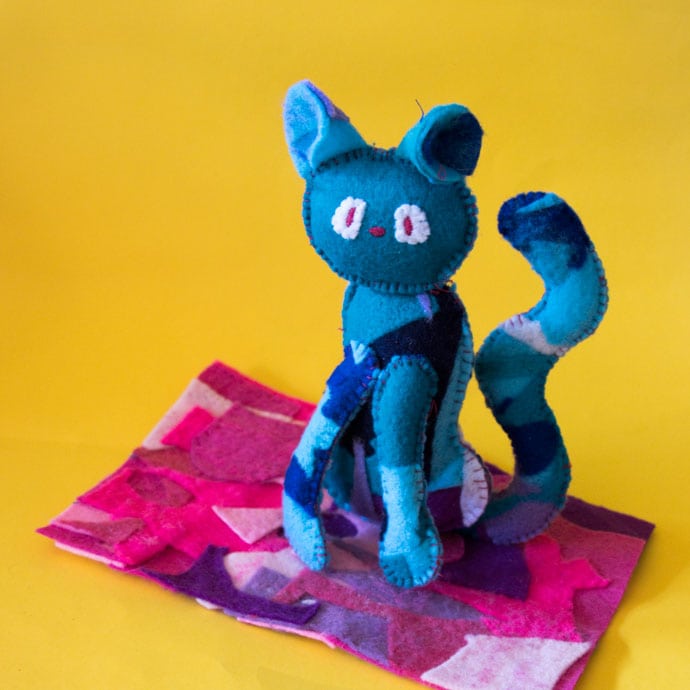
Make a Felt Cat Softie inspired by Jiji from Kiki’s Delivery Service
You will need:
- Needle felted upcycled sheet or regular felt sheet
- Felt scrap – white
- PolyFiber fill or your choice of filling
- Scissors – paper, fabric
- Thread – white, pink
- Sewing needle
- Dressmakers pins
- Hemostat (optional) or chop stick for stuffing
How to:
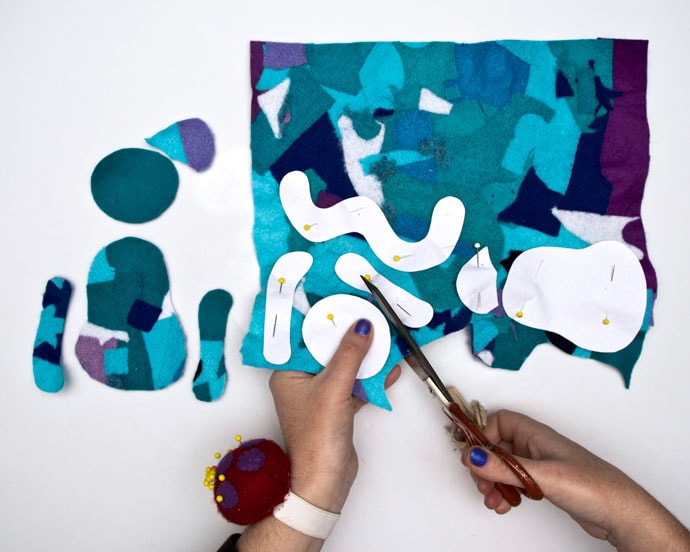
1. Print the template page at 100% and cut out the pattern pieces.
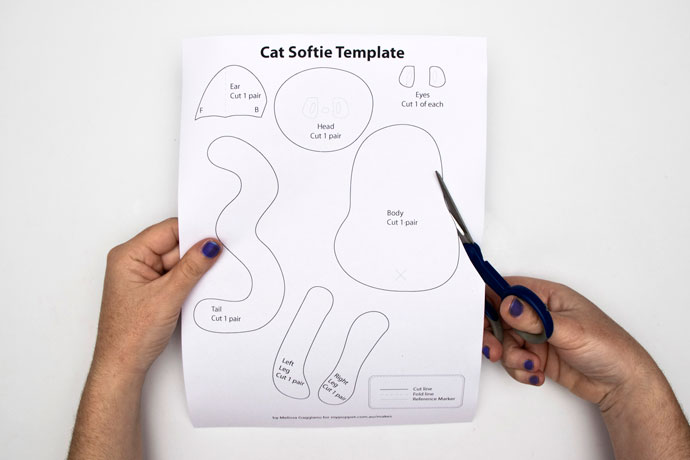
2. Pin the pattern pieces onto the felt fabric, and cut out the pieces. Make sure you cut mirrored pieces for the patterns that indicate ‘1 pair’.
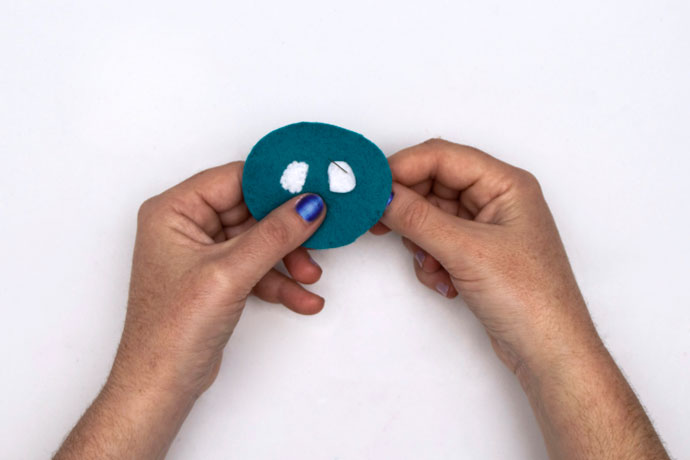
3. Stitch the eyes to the front head fabric piece using thread matching the eye colour (in this case I used white felt and white thread). You can use an edge stitch or a vertical stitch, which ever is your preference.
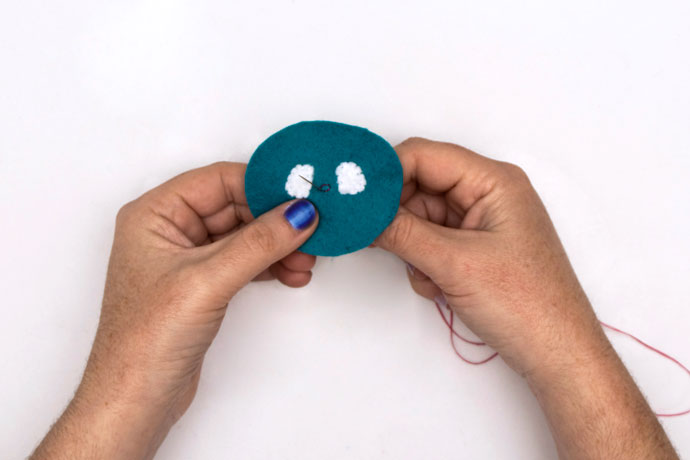
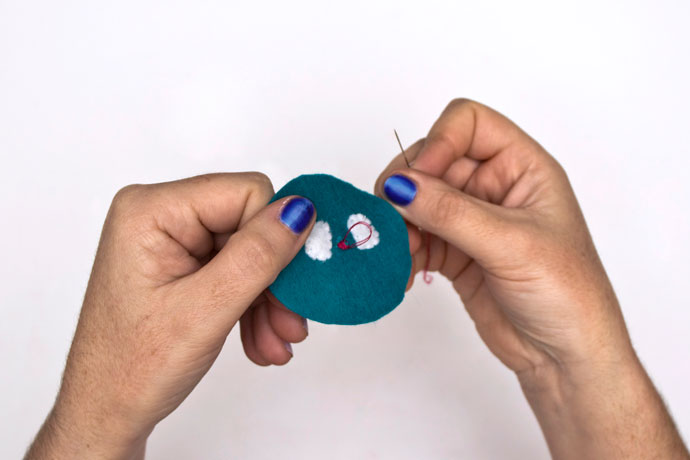
4. Next, sew on some facial details – the nose and pupils. First you will stitch small oval outlines (refer to the pattern markings). Then sew parallel stitches close to each other following the shape of the ovals.
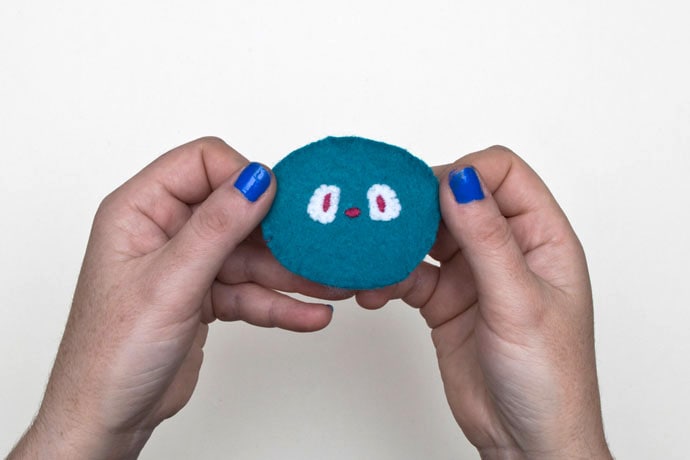
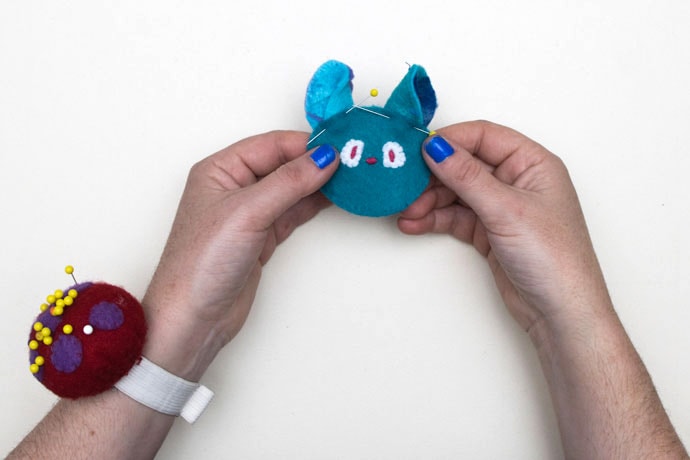
5. Fold the ears and pin to the top of the front head piece, just above the eyes.
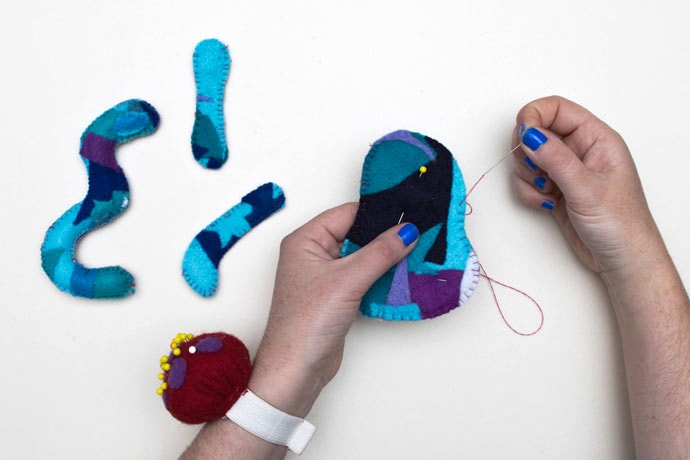
6. Body, legs and tail: Layer the mirrored pieces with the right side of the felt fabric visible (this softie design does not require fabric turning). Blanket stitch along the edges of each part pile, but leave a small section open for the next step.
7. Using a hemostat stuff the parts (body, legs and tail) with hobby fill.
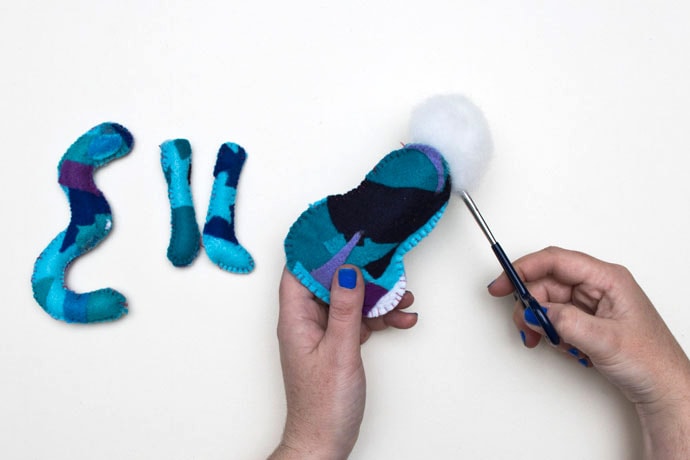
8. Using a blanket stitch close the opening of the body, legs and tail.
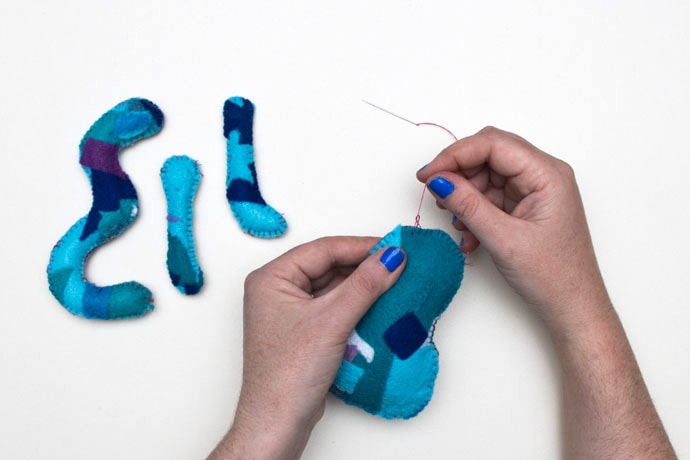
9. Head: Layer the mirrored head pieces with the right side of the felt fabric visible. Use a blanket stitch along the edges for the majority of the head. Use a vertical stitch when you reach the ears. Leave a small section open at the bottom of the head.
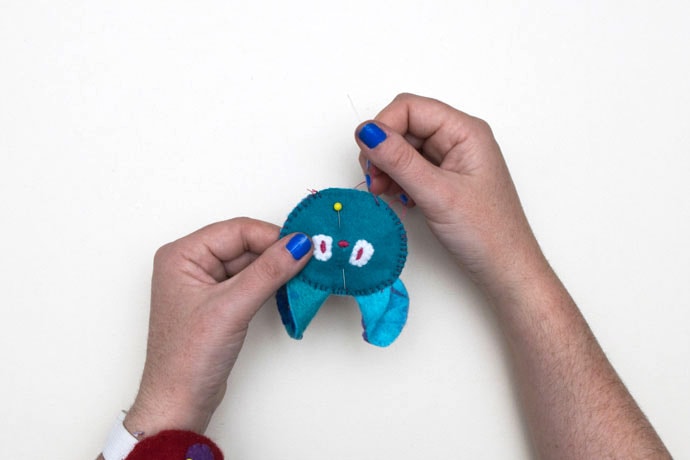
10. Using a hemostat stuff the head with hobby fill.
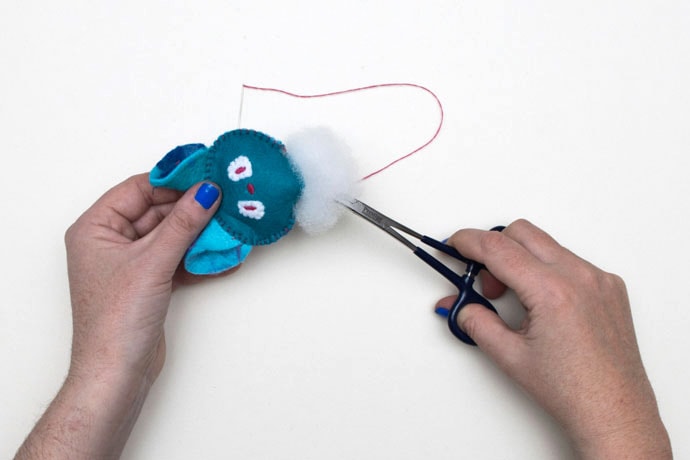
11. Close the head opening with a blanket stitch.
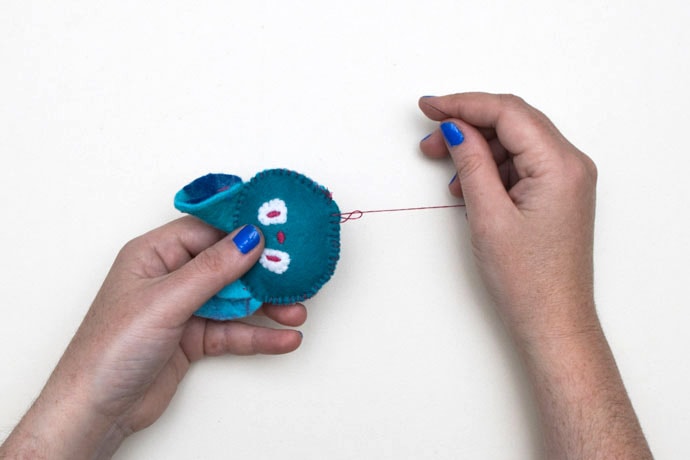
12. Position and pin the head near the top of the body, making sure the facial side is pointing away. Using a vertical stitch sew the top edge of the body to the back of the head, 1.5 cm across.
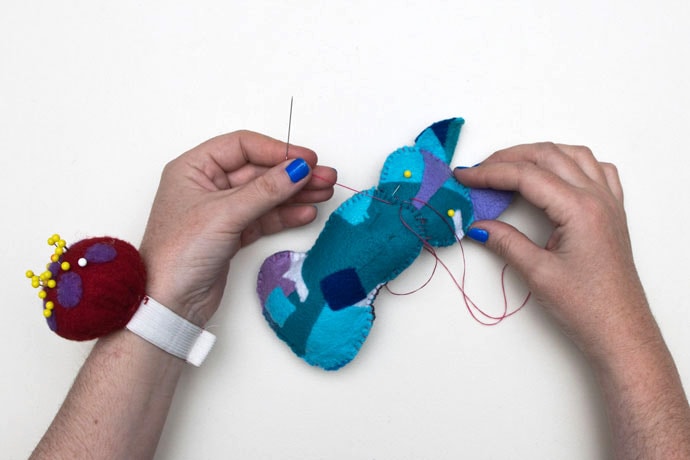
13. Edge stitch the top arch of each leg to the front of the body. Make sure you line up the bottom of the legs with the bottom of the body.
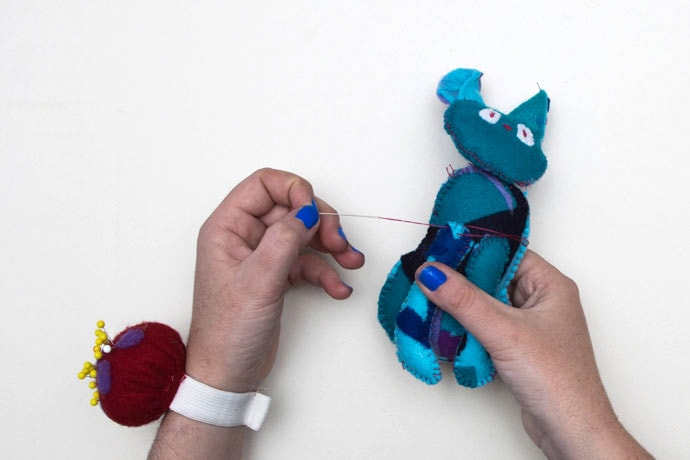
14. Edge stitch the bottom arch of the tail to the lower end of the back-body section.
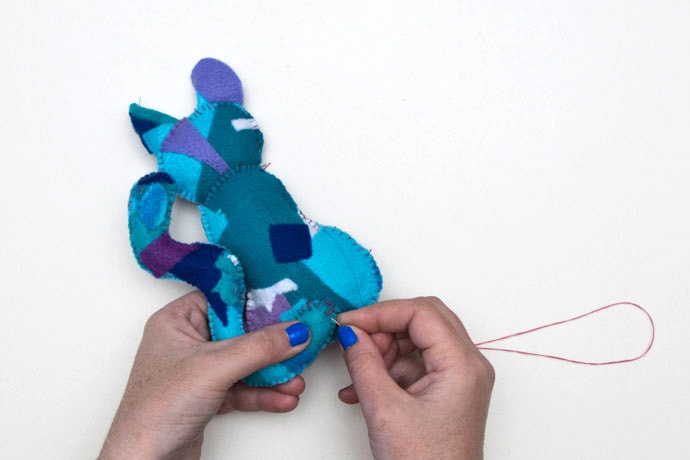
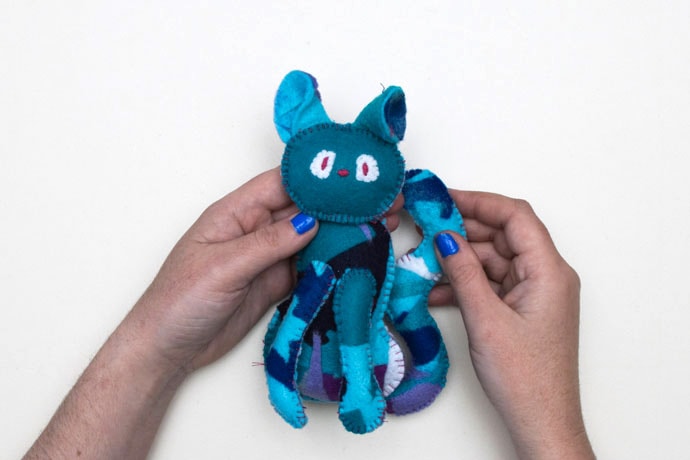
15. Your cat softie is now complete.







 Melissa is a hyper creative artist, and content creator.