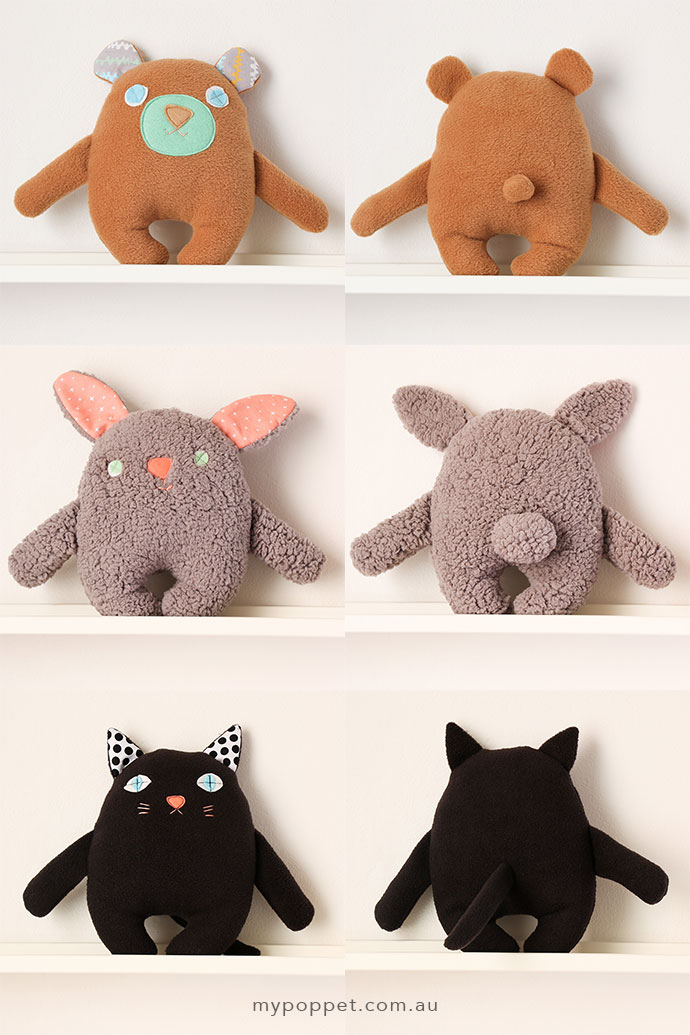
This free softie pattern is super easy to make and can be customized to your own personality. The one basic pattern design can be adapted to make a bear, bunny or cat.
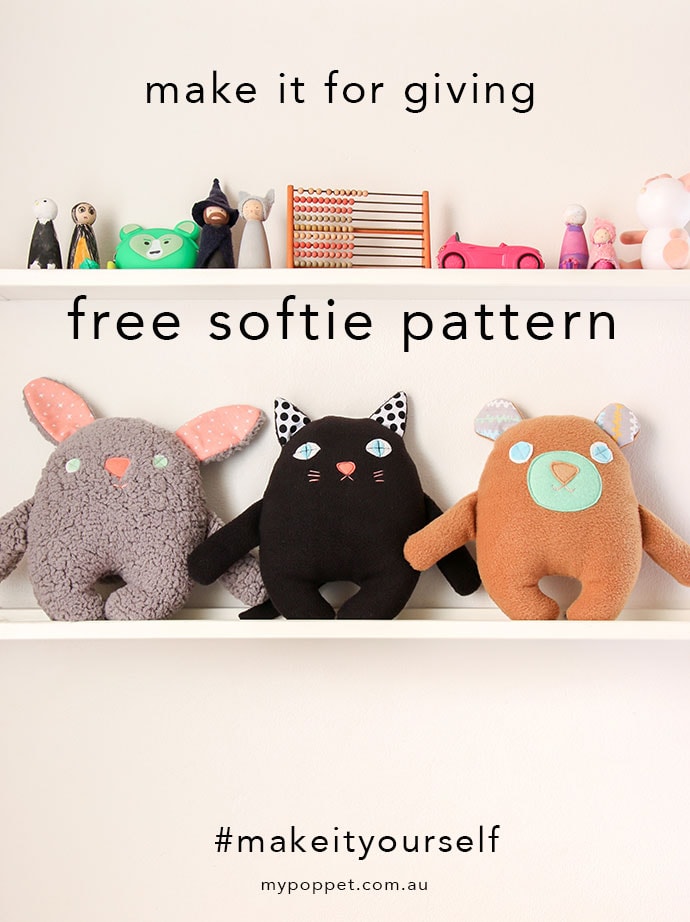
We all know that crafting is good for the soul; sewing, knitting and crocheting has been shown in lots of studies to be beneficial to our mental well being. But when you make something to give, it not only makes you happy, you are passing on a little bit of happy to someone that needs it too.
I always like to hand make gifts for friends and family whenever I can, especially when we’re welcoming the arrival of a new baby.
Crocheted blankets, pram quilts, knitted pants, and soft toys are my ‘go to’ gifts that I enjoy making and giving. But in the past few years I’ve also found some great charities that welcome hand made gifts and I’ve been making gifts to donate to them whenever I have the time.
Whatever your skill level or preferred craft why not ‘make it for giving’?
I like to support St Kilda Mums, a Melbourne based not for profit that helps children and parents experiencing hardship. They actively welcome handmade gifts, including toys, so I’ve kept them in mind when designing this softie pattern.
If you’d like to help your favourite charity through craft, please check with them first as the may have guidelines for the types of items that they require and will accept.
Make it yourself Softie Pattern
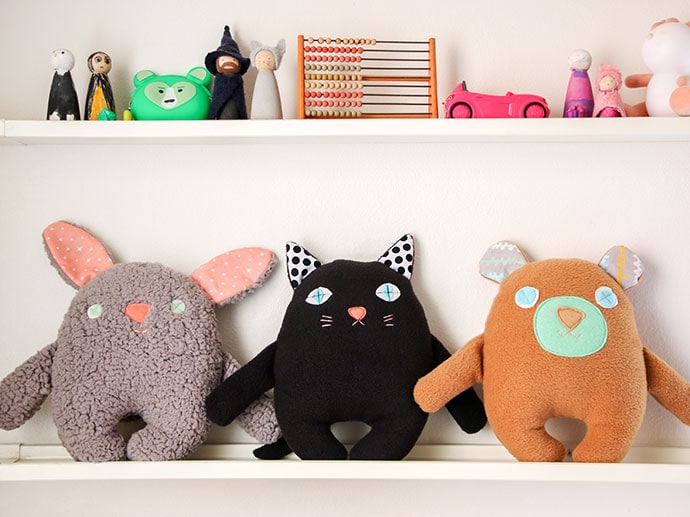
I’ve designed a softie pattern that is super easy to make and customise to your own personality. The one basic pattern can be adapted to make a bear, bunny or my favourite, a cat. If you want to get creative you can adapt the features to make other characters too.
You are limited only by your imagination. I’ve chosen to use polar fleece and softy cuddle fleece for these toys, but you can use any fabric you choose including wool felt or blanketing, quilting cotton or even upcycled sweaters.
In this example I’ve shown you how to make a bear, but the same techniques apply to the other characters too.
You will need:
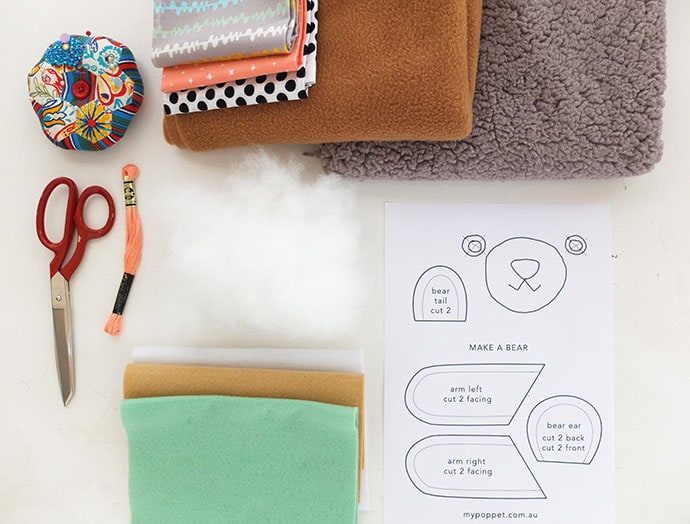
First you need to download the PDF patterns and print them at 100% on A4 paper
Main body pattern – required for all softie characters
Bear pattern
Cat pattern
Bunny Pattern
- Polar fleece or fabric of choice for main body
- Quilting cotton FQ or scraps for ear detail
- Felt sheets or felt scraps for face
- Embroidery floss for face detail
- Embroidery and hand sewing needle
- Hobby Fill Toy stuffing
- Chopstick or pencil for turning and poking
- Sewing machine and matching thread
- Scissors
- Pins
- General sewing supplies
How to:
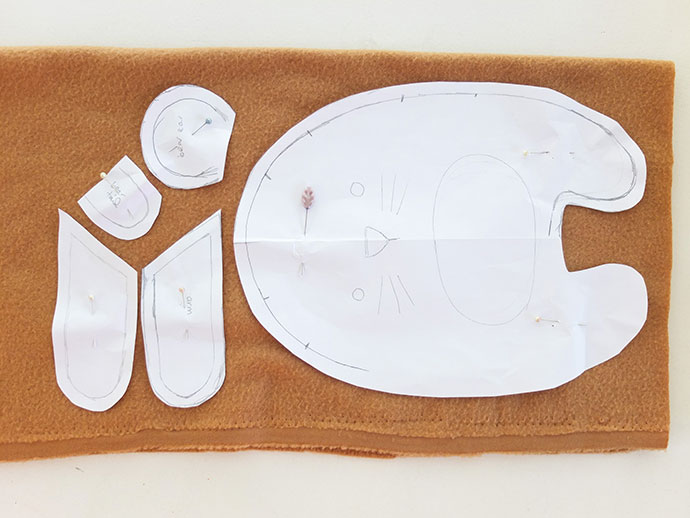
CUTTING
1/ Cut out paper pattern on solid lines and pin to fleece that has been folded over on itself. I paper pattern piece will cut 2 equivalent fabric pieces. For cat tail, line up straight edge on fabric fold to cut.
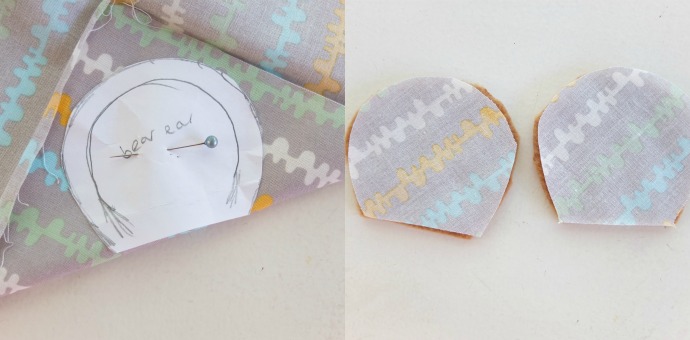
2/ From printed cotton cut 2 x ear pattern. Lay the ear pieces together with fleece ears, right sides of fabric facing.
3/ Cut out face featured from felt using pattern template as a guide. I’ve cut mine freehand but you can trace and transfer if you wish.
ASSEMBLY
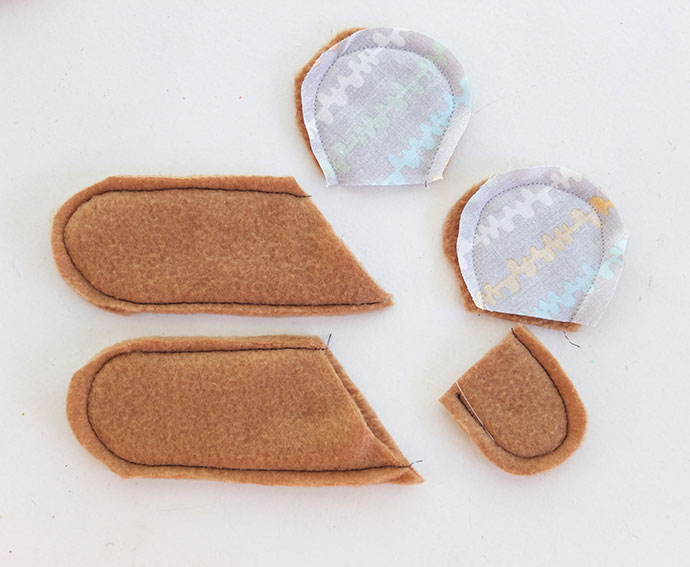
4/ With right sides of fabric facing, sew around arm, ear and tail pieces with using dotted line on pattern as a guide for seam allowances. Make sure you leave ends open for turning.
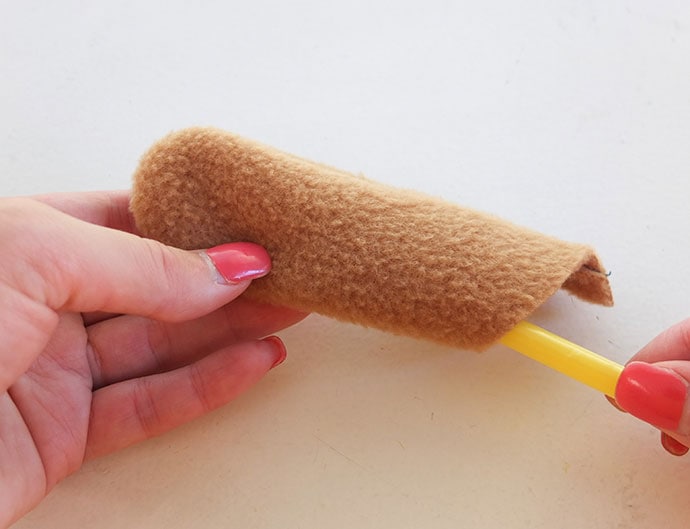
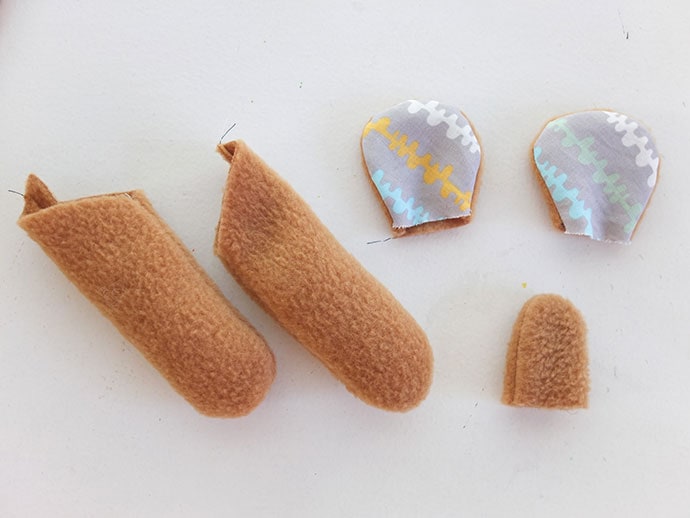
5/ Turn pieces right side out, a chopstick or pencil will help with this. Gently stuff the arms about half way up.

6/ Position and pin on felt face features, sew to secure. You can do this stage by hand if desired. With the full 6 strands of embroidery floss, stitch on mouth (and whiskers for cat). Ensure all eyes are securely fastened, for older children safety eyes may be used but to keep it safe for babies I just sew on or embroider eyes.
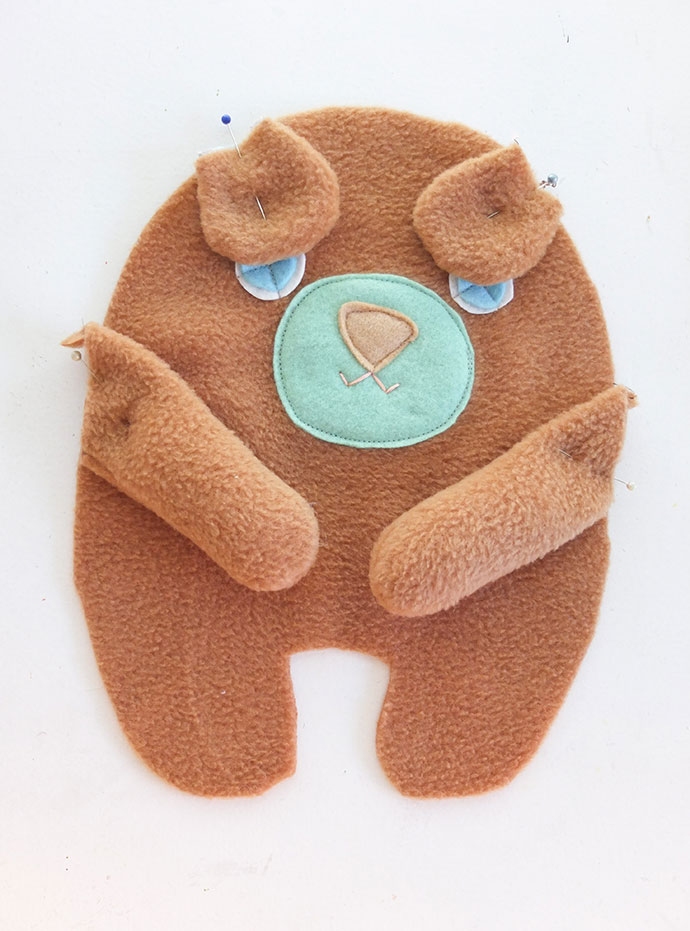
7/ To sew body together, on front piece (with face), position ears facing down and arms facing in (as pictured).
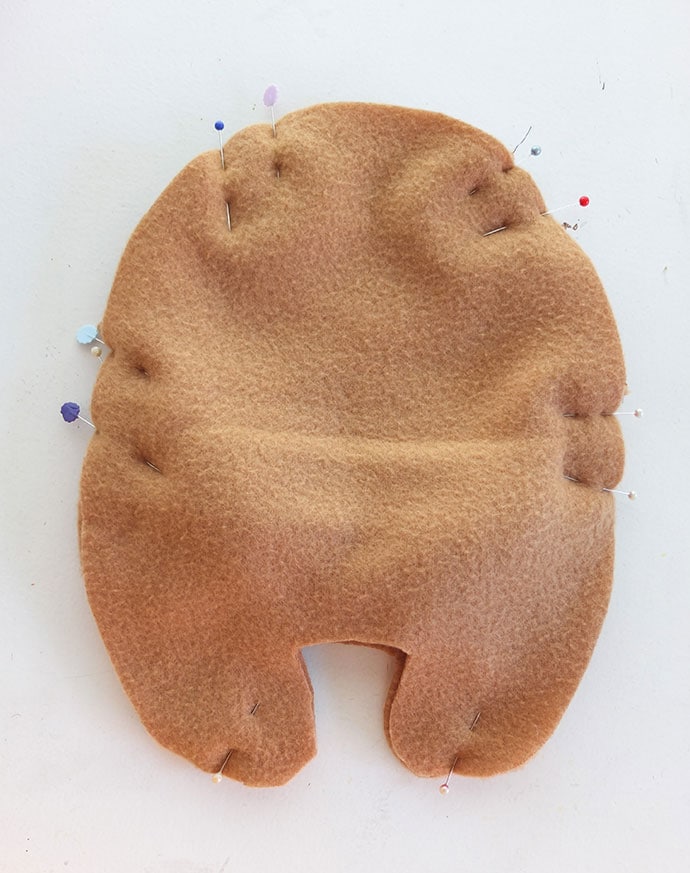
8/ Pin back piece over all the pieces with right side of fabric facing in.
9/ Sew around body making sure to catch arm and ear pieces in seams. Leave opening between legs for turning.
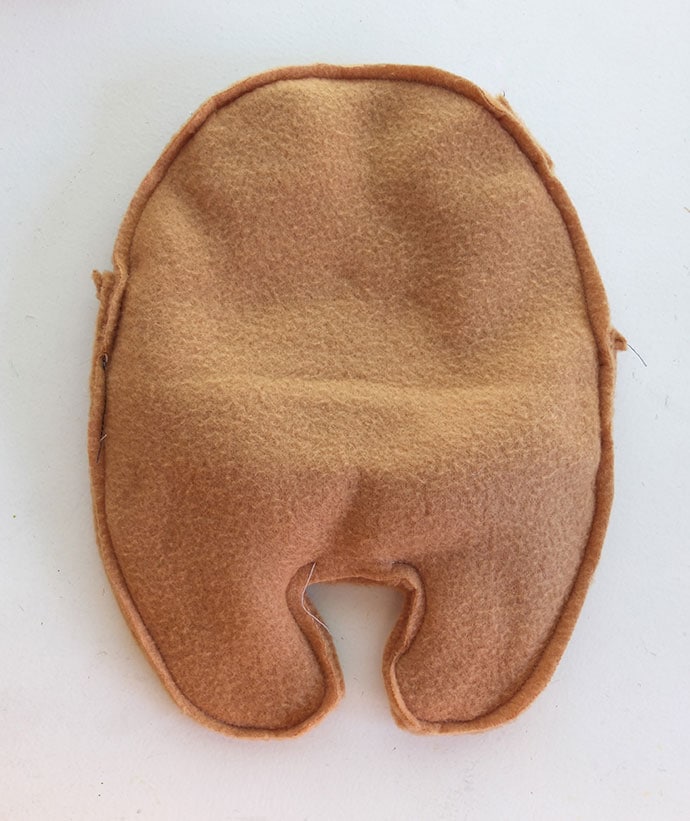
10/ Turn body out and check all limbs are firmly attached. If not turn back in and re-sew.

11/ Stuff evenly with toy filling using a chopstick to fill the tips of legs. Sew opening closed with ladder stitch.

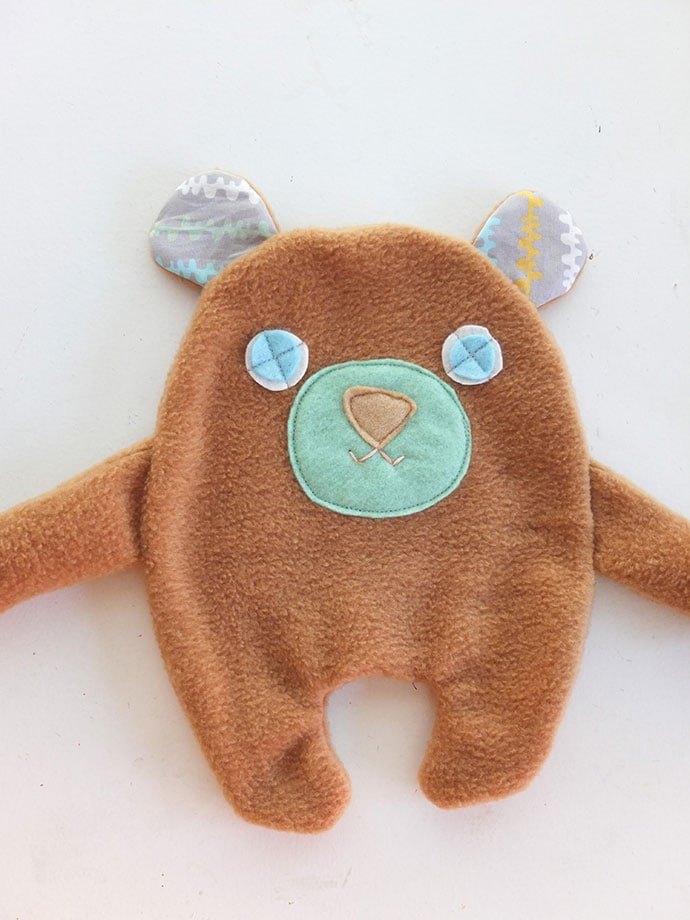
12/ To attach tail for bear and cat. Turn the raw edge into the tail hollow and stitch on firmly with ladder stitch. For bunny tail. Gather the edge of the fabric circle with a running stitch and pull in to form a little pouch. Fill with stuffing, turn in the raw edge and stitch on securely.
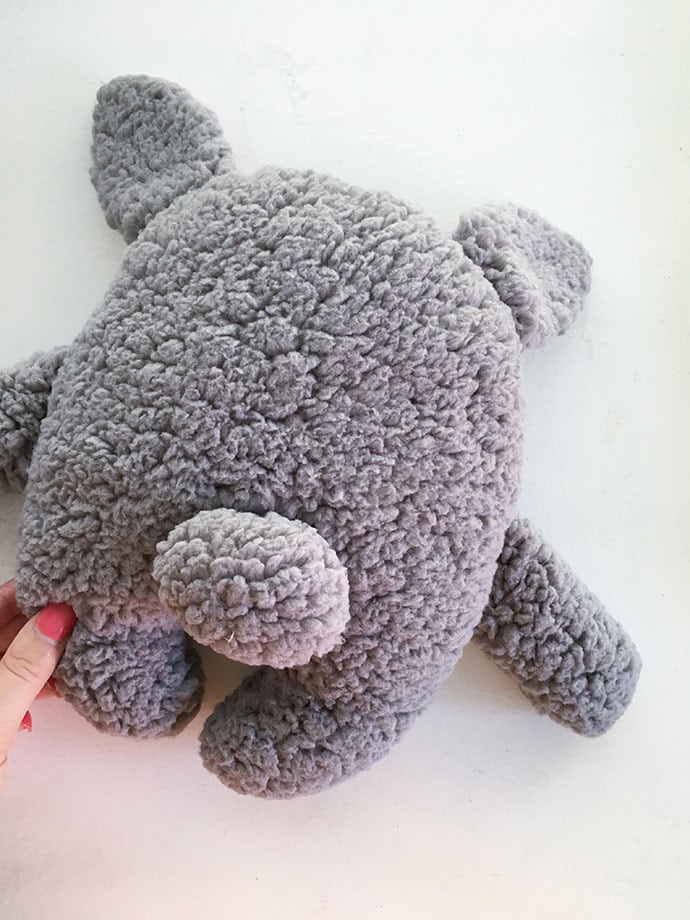
Now you are all done!
How cute are these little guys? I think I like them from the back just as much as the front. I’m so glad I opted to add tails to this design.
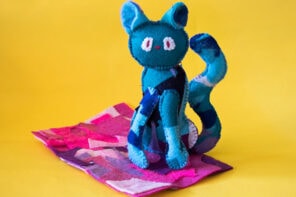
I can’t wait to see your softie efforts. Emma wants me to make her a monster toy, a hybrid of all the patterns together, I may get her to design her own as a fun project.
Thank you! I sew for foster children here in the US. They will love this!
That’s lovely to hear. Happy sewing.
love them all, but think the bear is my favourite.
Oh CUTE!!! I’ve got a Craft Gossip post scheduled for tomorrow that features your softie pattern: https://sewing.craftgossip.com/?p=92093 –Anne
Thanks Anne
I think that the bunny is my fave, I love the fabric used for it x
Thank you, thank you, thank you. My ladies group (Oldies but Goldie’s)here in SC make all sorts of items for children’s homes and nursing homes and these are going to be great for both. I will send you some pics when we have some finished.
Sounds like a wonderful project. I can’t wait to see the photos.
I am looking for a sewing project to complete with my very creative 6 year old. I think this may be just the thing!
Thank you so much for this pattern. I am using it to create a little bird/monster to give to children impacted by cancer, along with my book The Little Green Monster: Cancer Magic! I would love to share some photos of the monster when I finish in a couple of weeks. If you know a family going through cancer, or a cancer support organization I can donate my book to, as well as some monster stuffed animals, please let me know!
Thanks, Sharon
What a lovely idea Sharon – feel free to tag me on instagram @mypoppetmakes with your finished softie.
Hi Cintia, I made my first cat softie and am getting ready to make more. I plan to give them for baby shower and birthday gifts. I also scaled the pattern down to 50 % to make mini softies. What I like about this pattern is that it’s a fast project. Thank you for sharing it with us.
Glad you enjoyed the pattern. Scaling it down is a great idea.
Thank you so much for this free pattern! I love all of the variations and they were so simple to make! I made one for my nephew for Christmas and will make a few more for our local children’s charity for kids going through a tough time.
I’m glad you enjoyed the pattern. I’m sure your local charity will appreciate your handmade gifts.
I just printed the cat pattern to make with my 6 year old as a homeschooling project! She’s very excited to pick out fabric and get started.