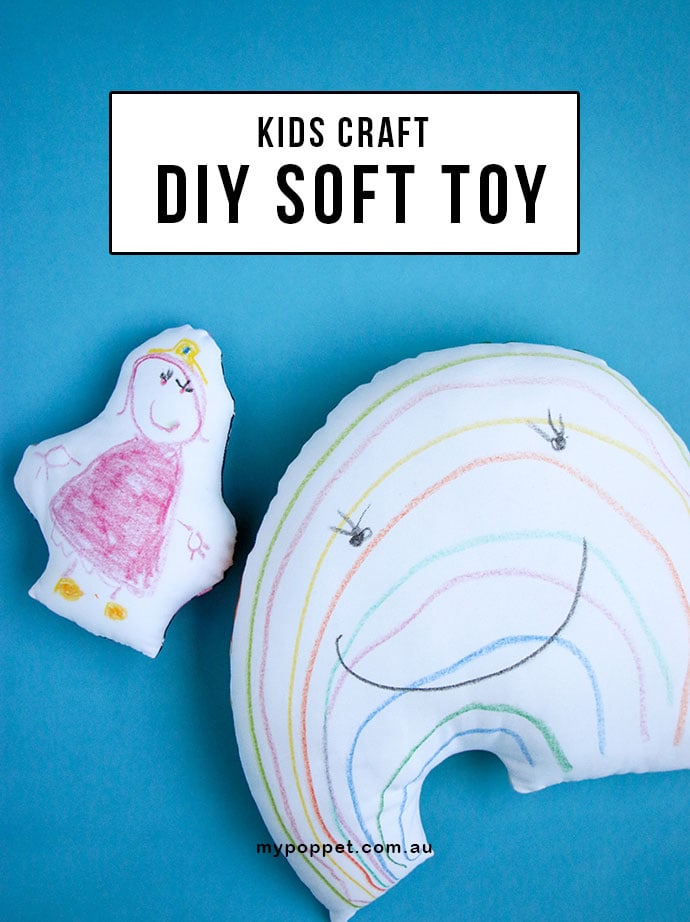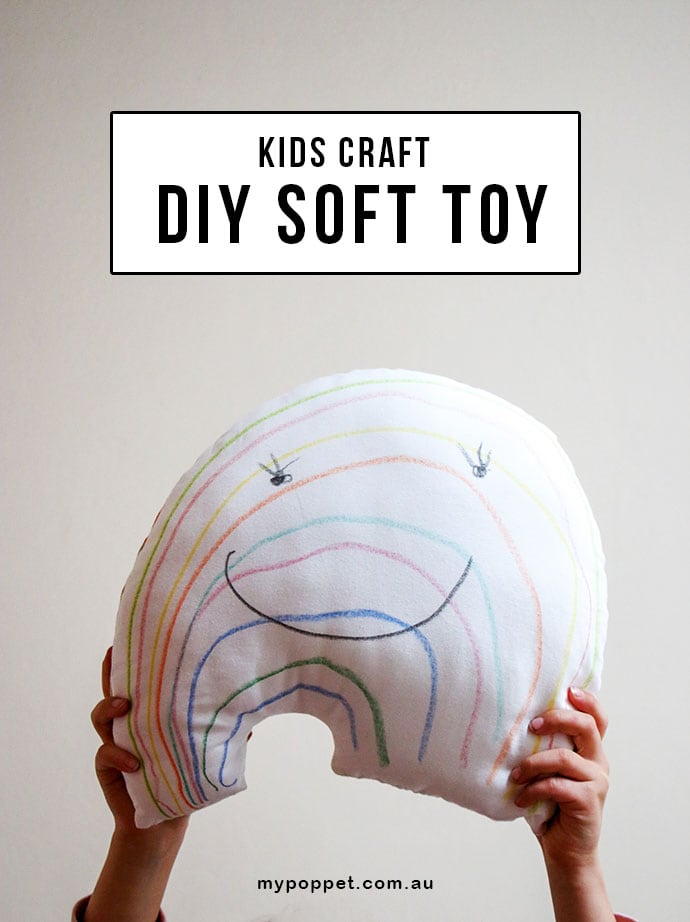
Here’s a fun and easy project that you can make together with your kids, DIY Soft Toys. They will love creating their own unique designs for themselves or as a special gift to a friend. Even with basic sewing skills these stuffed toys are easy to make. Sadly I accidentally deleted the step-by-step photos, but hopefully the instructions are clear enough to follow.
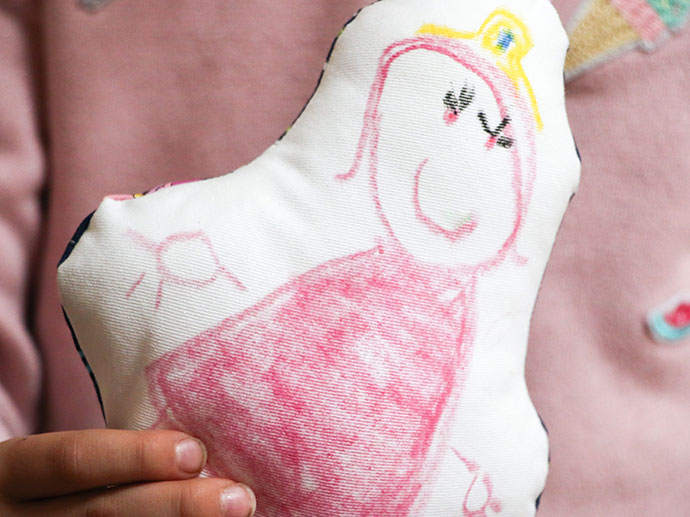
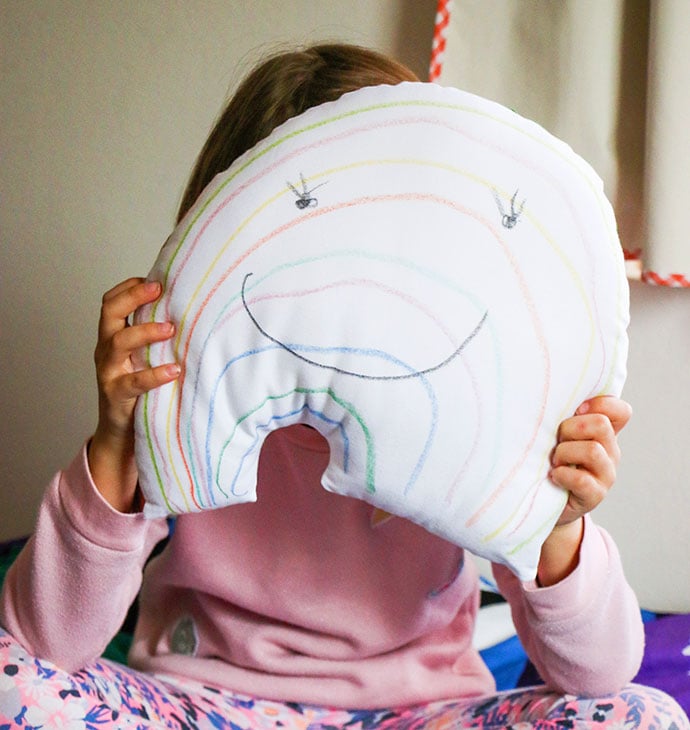
Emma has made a couple of DIY softies, a smiley rainbow pillow and a mini Princess Bubblegum doll.
You can use fabric markers or fabric crayons. They are all suitable for this project, just follow the manufacturers instructions for heat setting.
You will need:
- 1 fat quarter white cotton drill or similar mid weight fabric (for front)
- 1 fat quarter printed quilting cotton (for back)
- Poly fill or similar toy stuffing material of choice
- Pentel Arts Fabric Fun Pastel Dye Sticks (or similar fabric marker kit)
- Scissors
- Scrap fabric or greaseproof paper for ironing
- Iron
- Masking tape
- Sewing machine
- White thread
- General sewing supplies
How to make a DIY Soft Toy:
- Preparation: Prewash white fabric to remove residual starch and iron.
Stretch white fabric onto a smooth hard surface and tape down edges so the fabric is taut. - Child to do: Using pastels, or markers child can draw design onto white fabric. Ensure a min 1” border is left around illustration to edge of fabric.
- Assembly: Remove tape and permanently set design by covering with scrap fabric or greaseproof paper and ironing on a hot setting for several minutes. (See manufacturers instructions on chosen fabric pastel/marker kit for best results).
- Cut out design leaving a 1” seam allowance around drawing.
- Lay face down (right sides together) on printed fabric and using the white fabric shape as a template, cut out the same shape from the printed fabric.
- With right sides of fabric facing, sew around edge with a 3/8” seam allowance leaving a 3-5” opening for turning and stuffing.
- Clip curves and turn right side out. Press again if required.
- Stuff moderately firmly.
- Hand stitch opening closed.
This project was originally commissioned by and published in Handmade Magazine