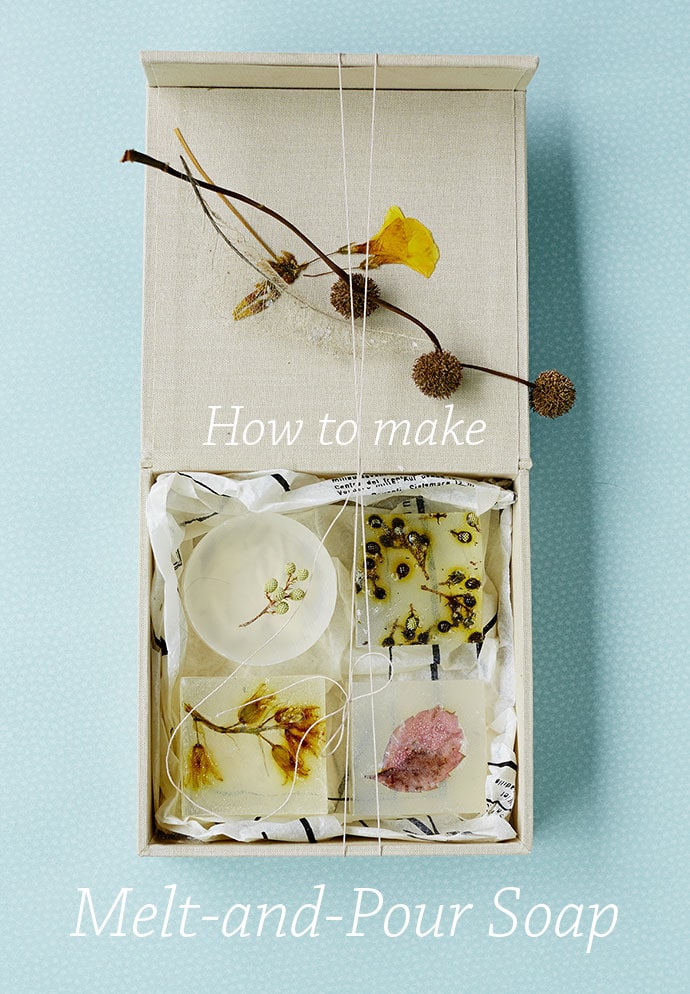
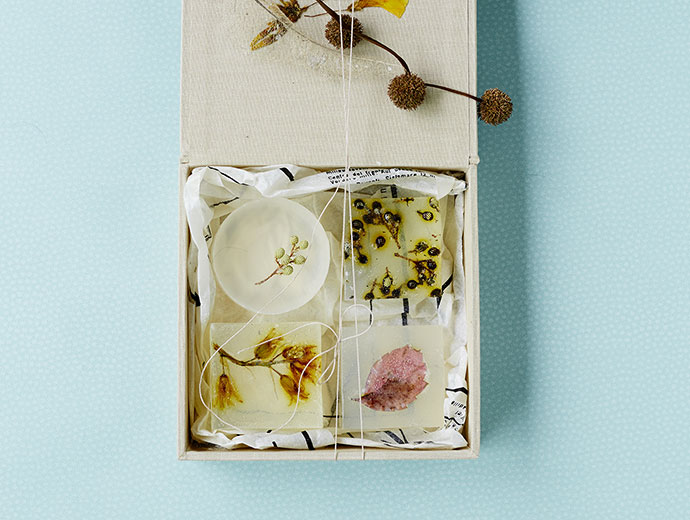
Have you ever tried making soap? It looks really fun and they make wonderful gifts. This soap making project is by Michelle Mackintosh from her new book Care Packages.
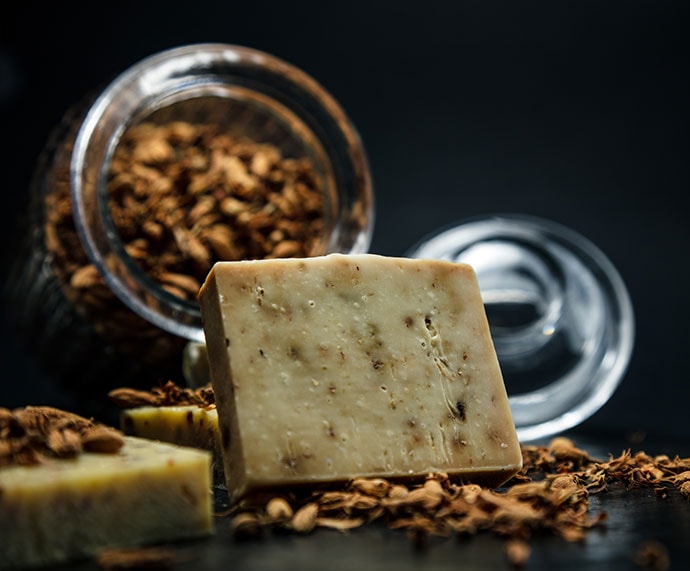
Making soap the traditional way is a bit of a tricky business, and not a suitable activity for children due to the use of caustic soda. However, making soap from a melt-and-pour base can be a wonderful afternoon project for all ages – and when finished, will still look incredibly impressive.
There are many fantastic online stores that specialise in base product and all of the additives you will need; however, if you have a lovely garden or a cupboard full of oils, salts, seeds and spices, you may already have half the ingredients required.
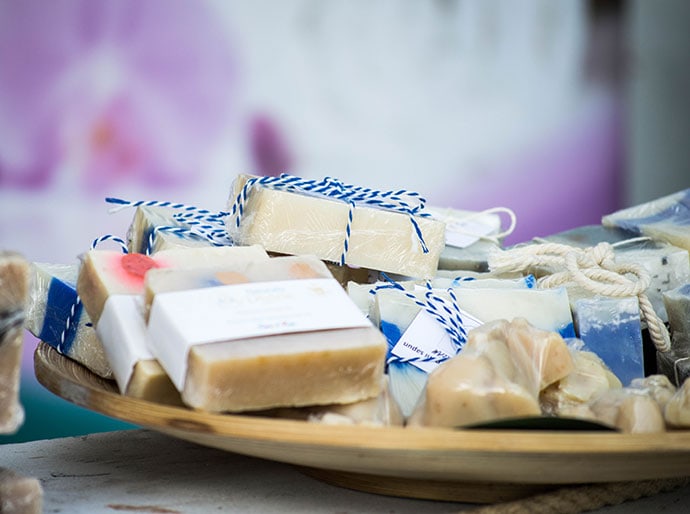
This is a great project that allows you to get creative with colour, texture and scent. And once you’re finished, packaging the soaps adds another dimension full of creative possibilities.
You will need:
- 450g (1 lb) melt-and-pour soap base
- Soap moulds or cake tin lined with baking paper
- 1/2 tbsp of neutral or essential oil of your choice
- extra additions if desired
Optional Extras
For exfoliation:
- salt
- coffee,
- sugar
- poppy seeds
- almond meal
For deodorisation:
- coffee
For visual effect:
- dried lavender
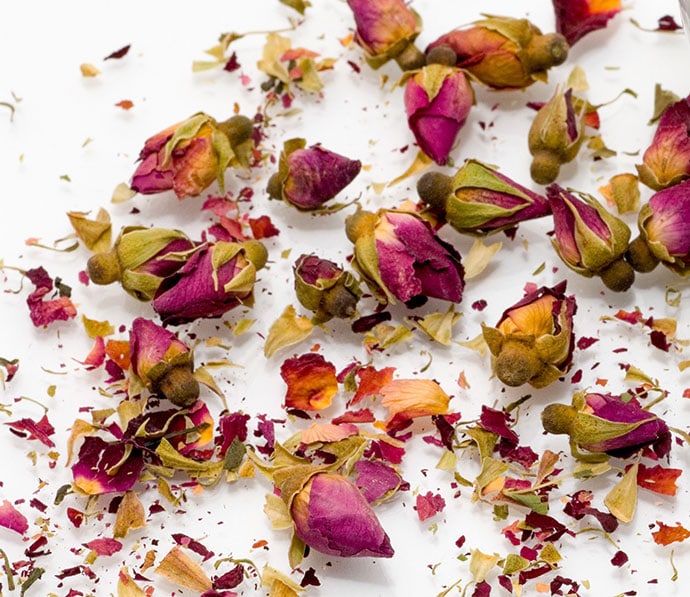
- dried rose petals or pressed flowers
- mint
- rosemary or thyme
- poppy seeds
For moisturisation:
- aloe vera
- Shea butter
- coconut oil
- beeswax (Start with a tablespoon; too much will prevent your soap from setting)
How to:
- Cut your soap base into 1.5 cm (1/2″) cubes and place in a large oven safe glass bowl. Microwave the soap base for 30 seconds, then for intervals of 15 seconds, stirring between bursts and checking to see when it is melted. Soap can burn so keep an eye on it.
- When the soap base is melted stir through the essential oil and divide between several smaller bowls then add any extra additions.
- Pour the soap into the moulds and decorate the top if desired. If making several varieties of soap, try layering one on top of another for a lovely layered and effect.
- Use a rounded knife or spatula to get rid of any small bubbles on top of the soap before the soap starts to set.
- Remove the soap from the mould after a couple of hours. Place onto a cake rack and leave overnight.
Wrap beautifully and add to your care package or store in an airtight container.
TIPS:
- When storing soaps in an airtight container is a layer of baking paper to separate them.
- Try setting your soaps in different shapes.
- Cut the soaps with the rough edges for a super-handmade feel.
This book extract has been re-published with permission by Hardie Grant Books, edited for web formatting.
Care Packages now for sale in Australia and is available from independent book sellers – Go and get it at your local book shop.
The US edition is currently available on Amazon.


