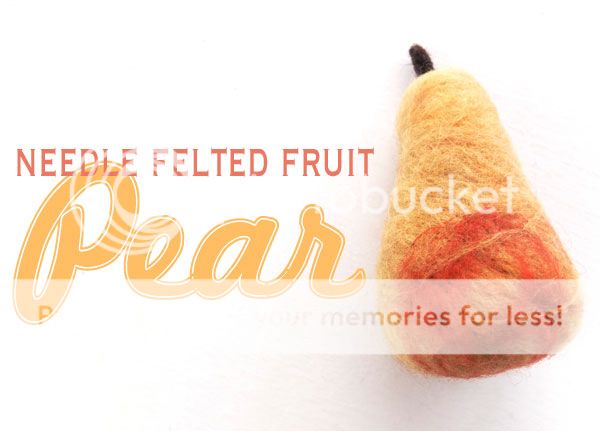
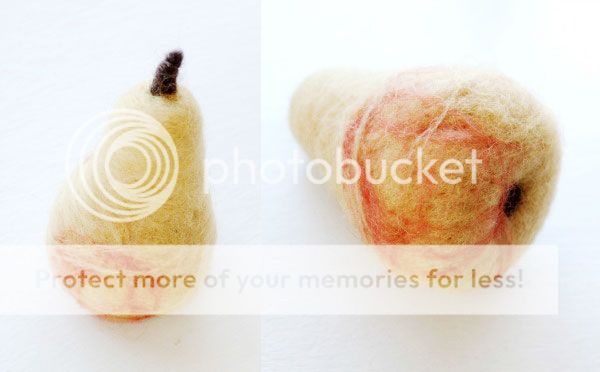
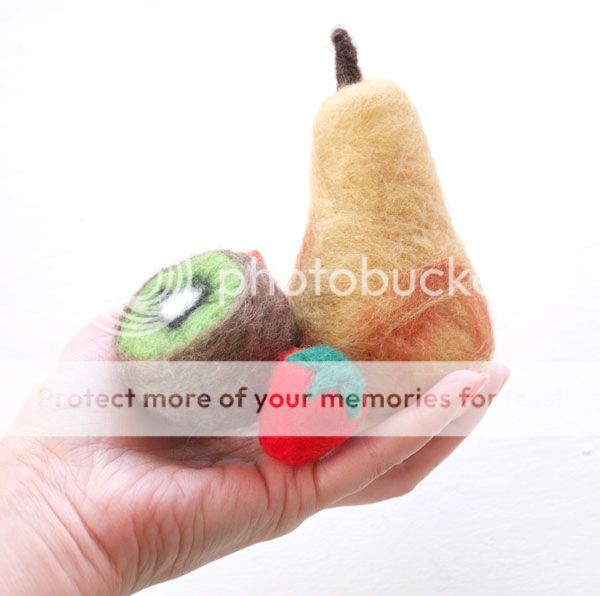
The last in the series of Needle Felted Fruit for pretend play. I’ve shown you how to make a Needle Felted Kiwi Fruit where you also learned how to blend fibers with a carding brush, and a Needle Felted Strawberry.
Today we will use a slightly different method and materials to create this pear and save on wool roving. Curious?
If you aren’t familiar with the technique of needle felting check out this post – Needle Felting Basics
You will need:
Wool Roving – light brown or green for pear body, dark brown for stems, optional rust for blush highlight
Felting needles
Foam Pad
Poly fiber or batting (normally used for quilting)
How to:
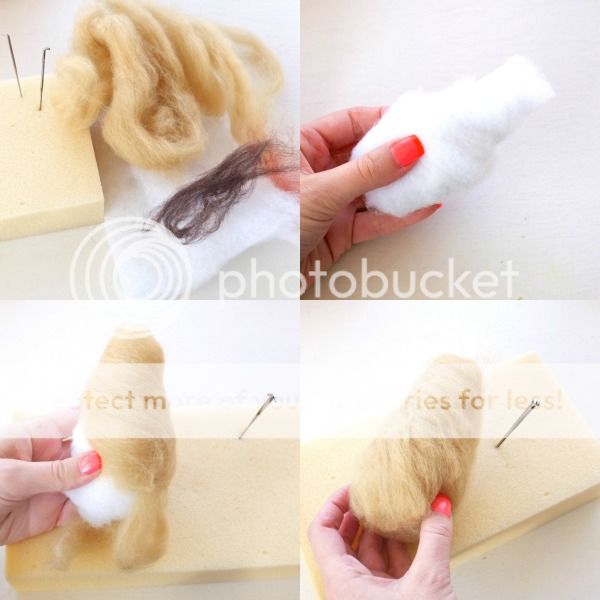
Sometimes larger shapes take up a lot of wool to create and for very large projects all that wool can get really heavy, so you may want to think about using poly fill for the core of your basic shape. The shape will always be more squishy than if you used wool as the core because it doesn’t felt, but poly fiber may be an option if you want to conserve wool, create a lighter object or create a squishy large object. If you prefer to work only with natural fibers, just substitute wool roving in the first step.
– To create the core, wrap poly batting in to the rough shape of a pear.
– Wrap a layer of your coloured wool roving over the top and needle till the surface is secure and doesn’t peel away from the core.
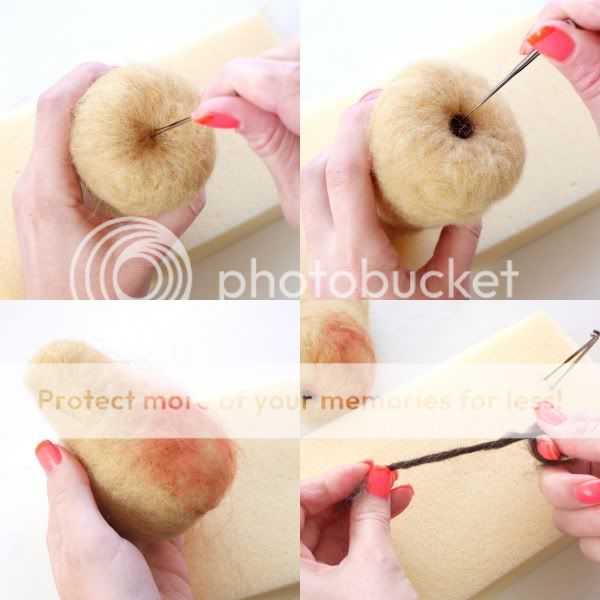
– Needle and indentation into the base and add a small ball or dark brown wool as the hairs on the base of the pear.
– If you desire, add a thin layer of pink or rust coloured wool to replicate a sun blush.
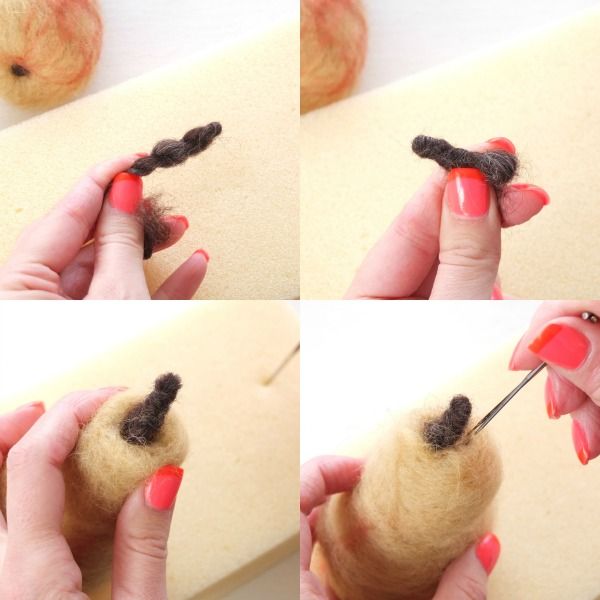
-To make the stalk, twist a strand of roving.
– Let the twisted strand go and it should wrap around itself, wind any remaining ends around and needle into a solid stem making sure you leave a fluffy bit for joining at the end.
– Make a little hole in the top of your pear by gently prying the fibers apart, insert your stem and needle the fibers around to secure the stem.
– Finally to tidy up any stray fibers, give the pear a ‘surface needle’ (rub the needle across the surface).
– You’re done!
I hope this has inspired you to give needle felting a try, It’s really easier than it looks and with practice you will be able to create a whole array of fun play food.
If you enjoyed this post you may also want to check out:
How To: Make a big felt Button

