Some of my most special Christmas memories as a child was sitting with my sister and unboxing the Christmas decorations every year. I’d love remembering the stories behind each ornament, where we’d bought it or who made it. My mum still has every ornament and when I see them on her tree I feel those magical moments flooding back.

When I was asked to take a little inspiration from the characters featured on Disney Junior to create something special for Christmas I knew that Emma would love to make a Mickey Mouse ornament – he’s one of her favourite characters on Disney Junior, and I’ve got quite a soft spot for the little guy too.
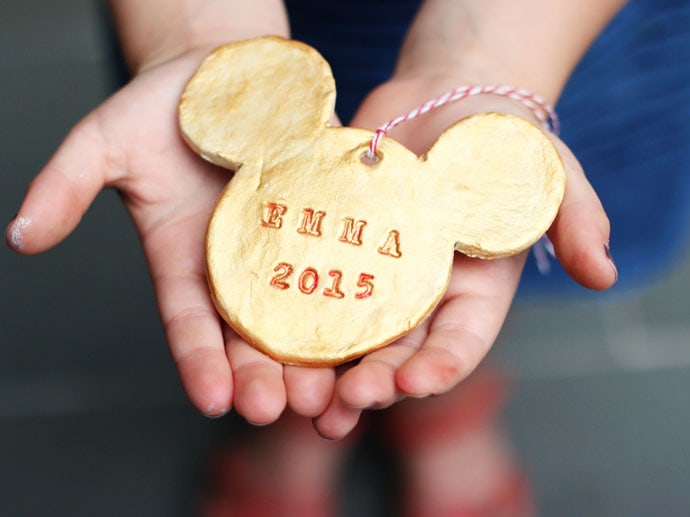
I thought it would be a lovely idea to personalise the ornament with a name and date so she can look back on it for years to come and remember the time we spent making it together.
These little heirloom ornaments would also make lovely gifts for family and friends, make a big batch and add a special message of your choice.
You will need:
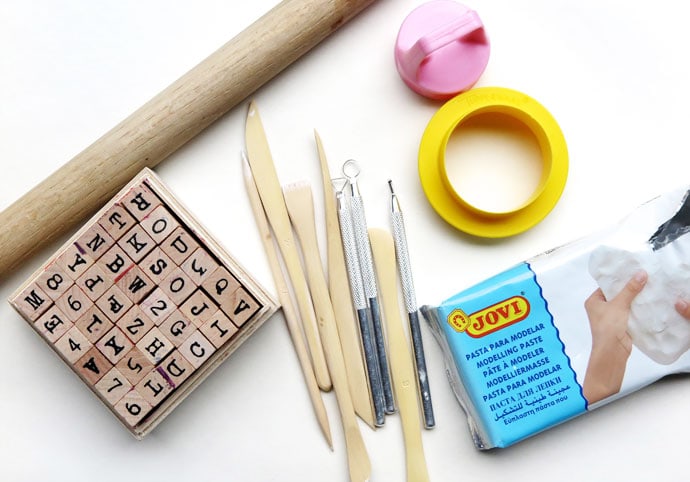
- White Air Dry Clay
- Clay cutting and sculpting tools
- Rolling pin
- Circle templates, one slightly smaller than the other – I’ve used a cookie cutter and drink bottle lid
- Alphabet & Number stamps
- Acrylic paint, colour of choice – I’ve chosen gold and red
- Paint brush
- Twine or ribbon
- Scissors
- Water for moistening clay and rinsing brush
How to:
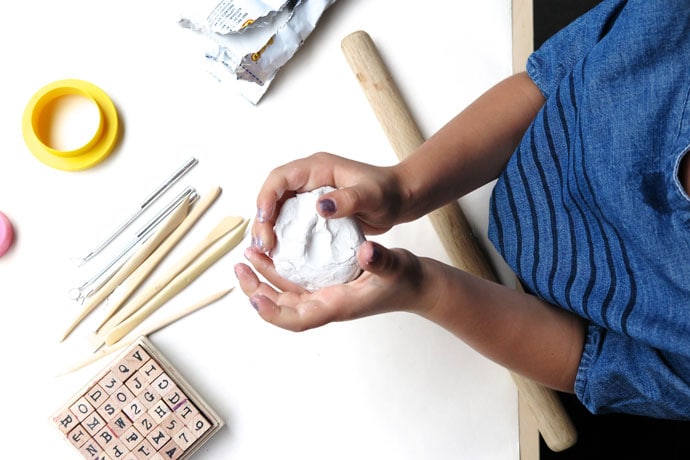
1. Cut about a quarter of a block of clay and knead well.
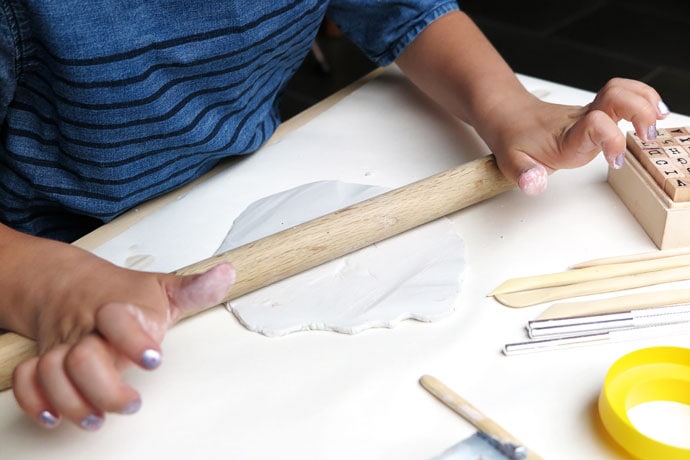
2. Roll out clay to 1/2cm thickness

3. Mark out the classic Mickey head shape by gently pressing the large circle template onto the clay for the head.
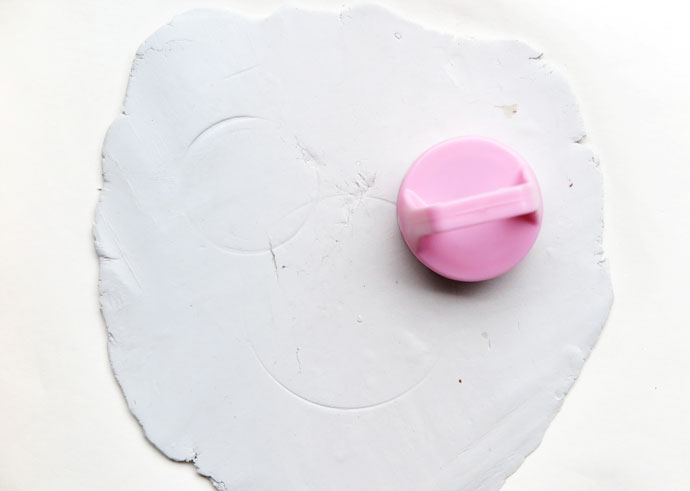
4. Mark out the ears with the smaller template.
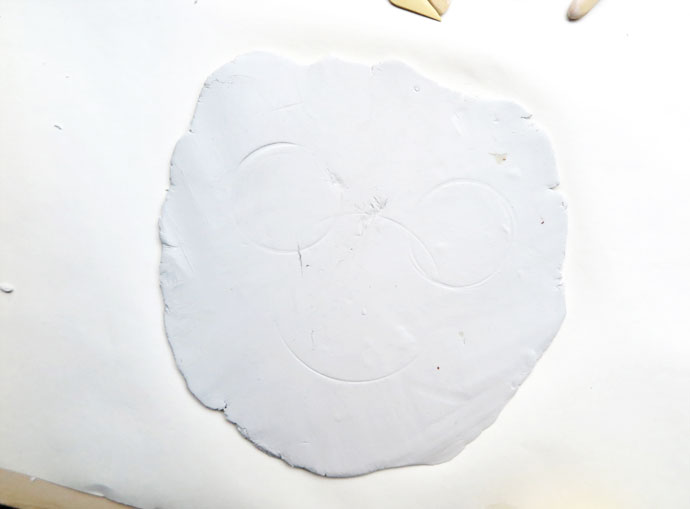
5. Make sure not to press all the way through.

6. Cut out the shape with a clay tool.
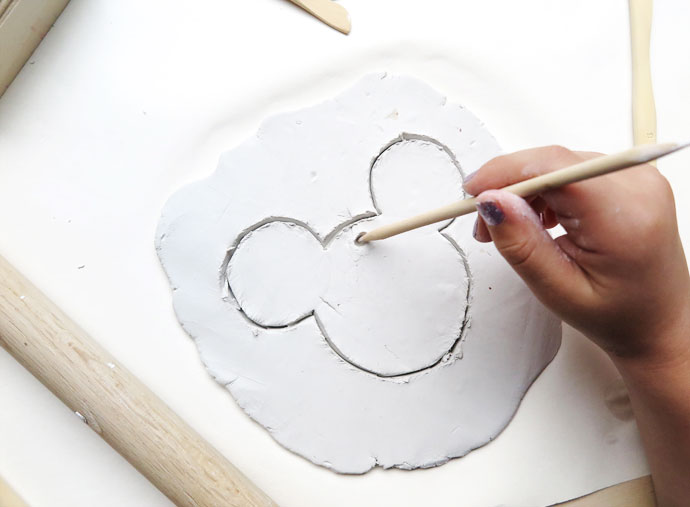
7. Make a hole for hanging.
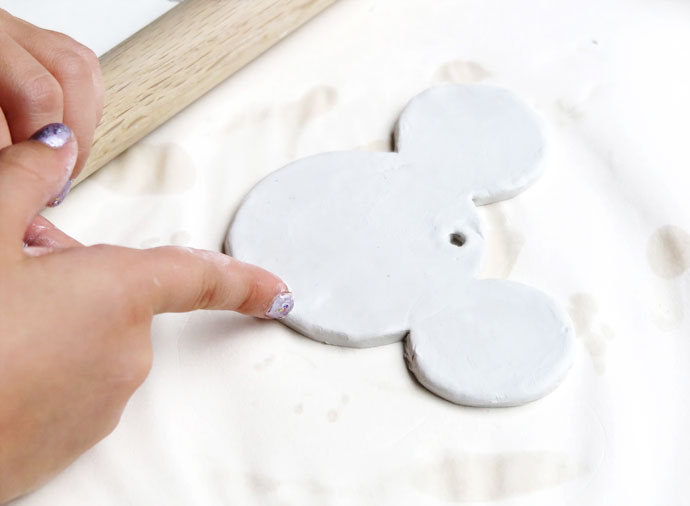
8. Remove excess clay and smooth down sharp edges with a damp finger.
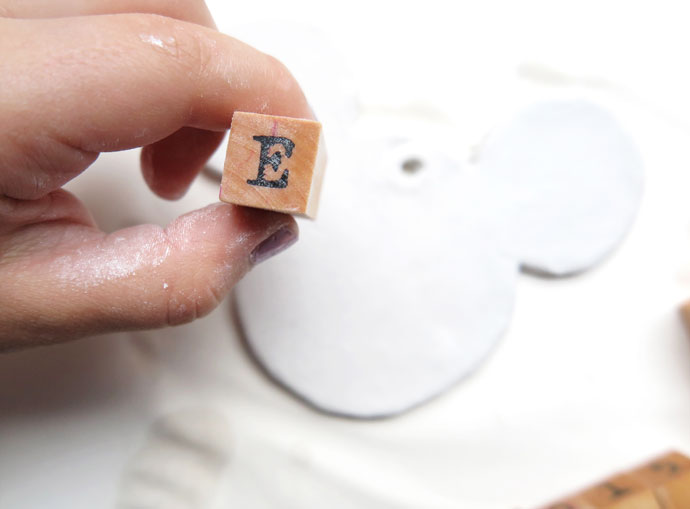
9. Stamp letters with your message into the clay shape.

10. Leave aside to dry overnight.
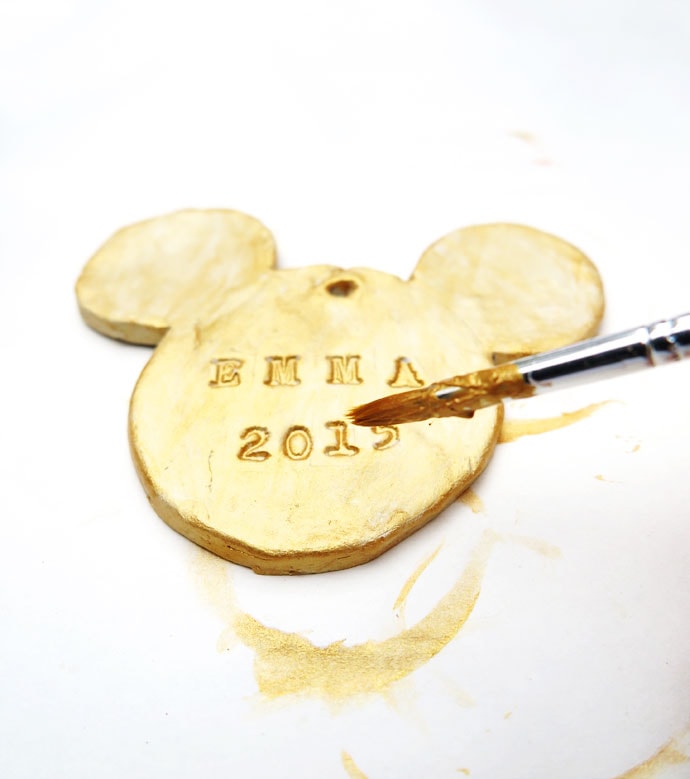
11. Once thoroughly dry, paint with a thin coat of gold paint (or whichever colour you choose). You can also leave it natural, just seal with a coat of Mod Podge.
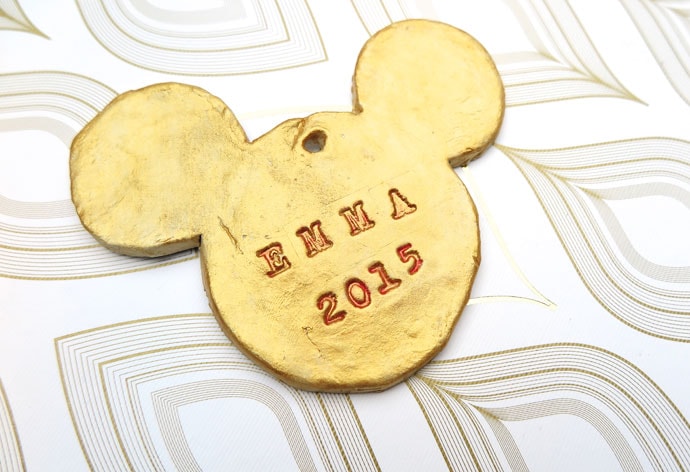
12. Add a contrasting colour to the letter impressions to help them stand out.

13. Leave to dry and add a cord for hanging.
All Done! Time to decorate your Christmas tree.