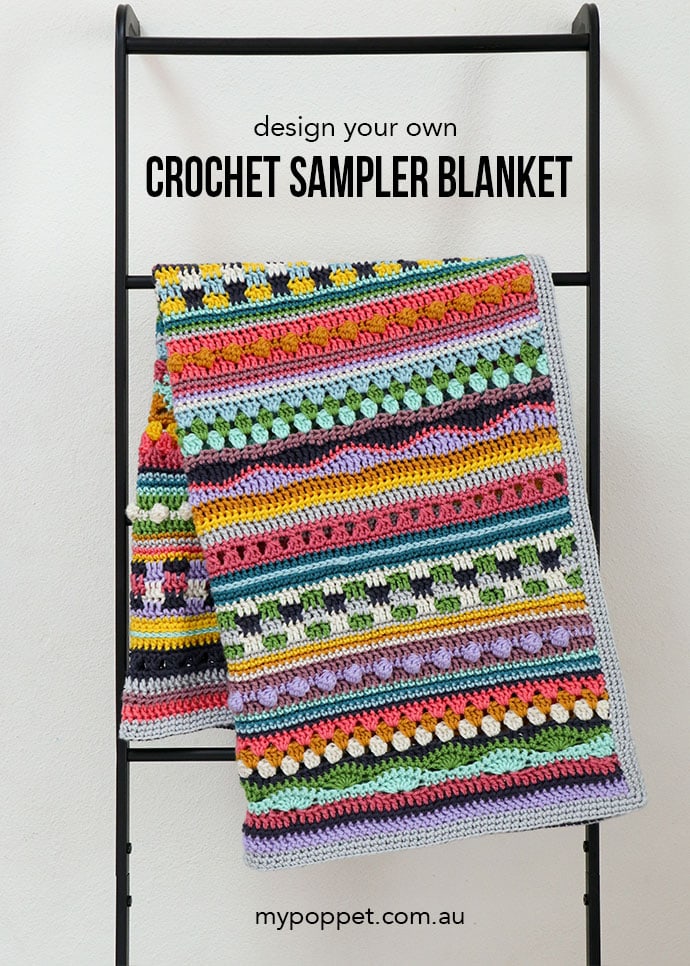
Design your own crochet sampler blanket, no need for a pattern. Mix and match colours and crochet stitches to create a unique crochet blanket in any size. I’ve included crochet stitch suggestions and design inspiration to get you started.
This yarn review and crochet pattern idea is a collaboration with American Yarns – This post contains affiliate links
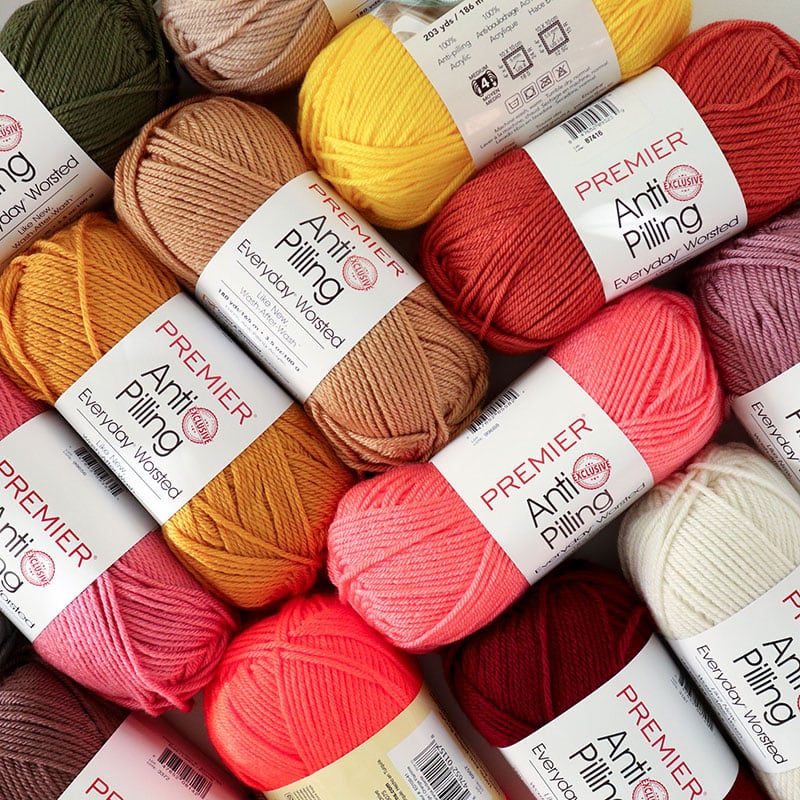
I’m back again featuring a fun crochet project using Premier Anti-Pilling Everyday Worsted from American Yarns.
After making my Granny Square Cardigan, I found this yarn a real pleasure to work with, and thought it would be perfect for blanket making.
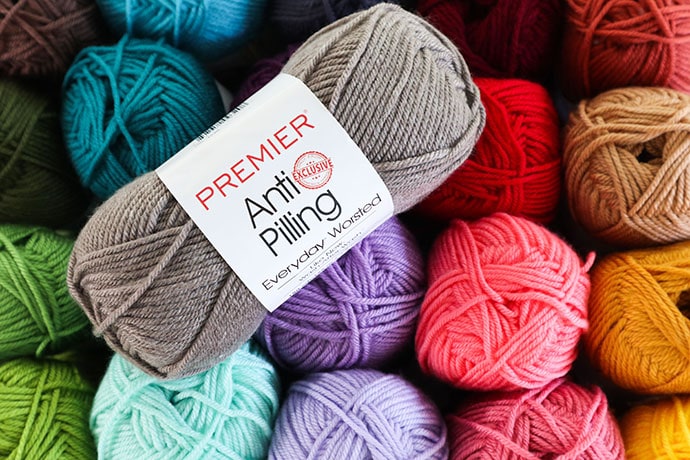
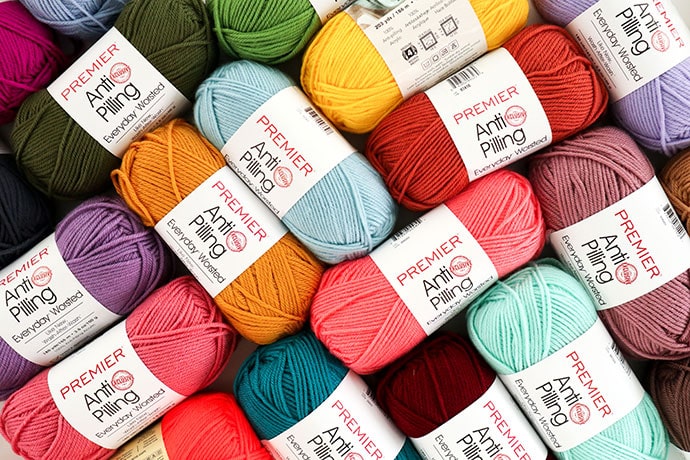
With so many colours to choose from (American yarns has 47 colours in stock), it was hard to narrow my choice down to just a few selections.
The colour choices range from brights, to pastels and neutrals. There is really something here suitable for every taste and project.
You can read my full review of Premier Anti-Pilling Everyday Worsted Yarn here.
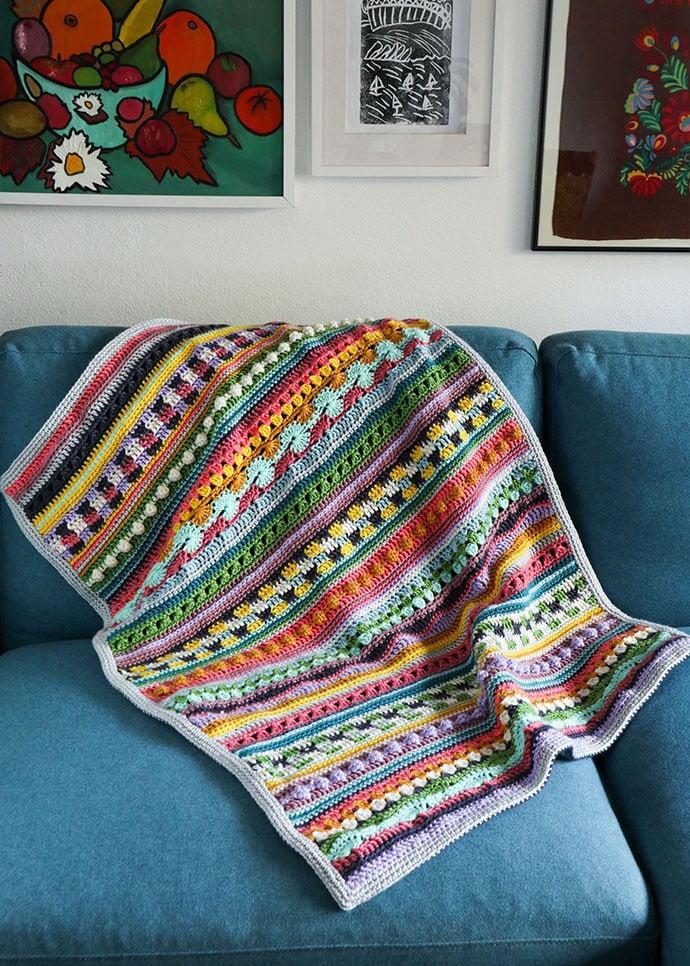
To show off all the pretty colours, I decided a sampler blanket was the logical design choice.
Sampler Blankets are an easy crochet blanket to make when you have lots of different colour of yarn to feature (especially if you want to use up leftover yarn), and at the same time you can try out fun crochet stitch pattern designs.
I love working on a crochet sampler blankets – the variety of colours and stitches means I never get bored when making it.
Mostly I make them without following a strict pattern and apart from deciding on the basic colour story and size, it’s generally a very flexible crochet project.
In this post I’ll cover:
- my top tips for planning, designing and making your own striped sampler style crochet blanket
- a summary of how I made my Crochet Sampler Baby Blanket
- crochet Sampler blanket pattern suggestions and inspiration
Tips for designing your Crochet Sampler Blanket
1. Choosing your yarn
Choose a yarn that will be robust enough to handle everyday use and can be machine washed, especially if you are making a crochet baby blanket, or one that kids will use.
Premier Anti-Pilling Everyday Worsted is a machine washable, pilling resistant acrylic yarn that is Oeko-Tex Standard 100 Certified, which makes it suitable for direct contact with the most sensitive skin, even babies and small children.
If you are using yarn leftovers, try to keep the weights and fiber make up of all the yarn as similar as possible.
DK (8ply) or Worsted (10ply) yarns are a good weight for sampler blankets and work up quickly.
2. Choosing your yarn colours
I like to choose around 8-14 colours for variety. Choose colours that work well together in regards to brightness and hue, and add in a few neutrals, like cream, grey or navy, for balance.
You can choose to go all-out with lots of brights, or keep it subdued with pastels, or tonal colour range.
When I choose my colours, I like to bundle them all together, and if anything draws my eye and stands out too much, I take that away so it doesn’t visually dominate or clash when the project is finished.
3. Decide on your blanket size
Who is this blanket for? Are you making a pram blanket, couch throw or a bed sized blanket?
The projects size will determine how much yarn you are going to need, and also how many stitches across you need to start with.
Here’s a blanket sizes chart. It also includes a handy stitch calculator which is designed for knitting, but can be used for crochet too if you make a gauge swatch.
I like to start my blankets with chainless foundation stitches like foundation double crochet (Fdc). It eliminates tension issues and produces a foundation row that is sized similarly to a regular row that I can measure as I go along, and stop when my desired width has been reached.
Also I try to keep my foundation row to a number of stitches divisible by 2 and 3, so I have flexibility in the stitches I can use later.
4. Sampler blanket crochet stitches
This is the fun part – deciding on which crochet stitches to include!
There is no hard and fast rule about what stitches will work best on a crochet sampler blanket. As a general guide I like to avoid stitches that are too lacy with large holes (not warm enough and gets caught on things).
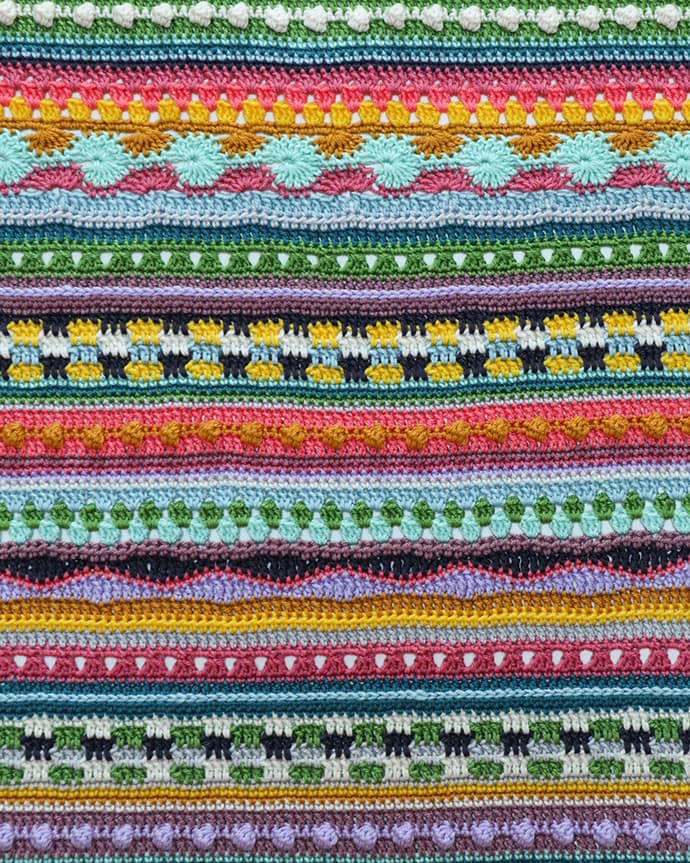
Ideally you’ll have a mix of plain stitches breaking up rows of more textured or complicated stitch patterns.
I love to use sampler blankets as an opportunity to try out and learn new stitches. If I don’t like how they look, I just don’t repeat that stitch pattern or just rip it back and try something else.
Make sure you include some textural stitches to add interest to your crochet blanket.
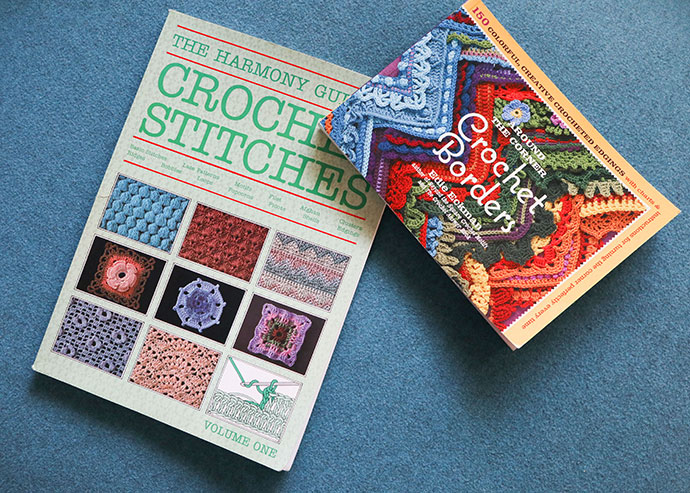
Take a look through Crochet Stitch Guide books for inspiration. Youtube also has a huge range of video tutorials that teach crochet stitches.
Change colours every row or two, or after each stitch section really highlight the patterns.
Sampler blanket stitch suggestions (click though to tutorial links):
Plain stitches – single crochet, half double crochet, and double crochet
Simple stitches – Granny row (3dc clusters), Surface slip stitch, moss stitch
Textured stitches – Bobble stitch, Puff Stitch
Fancy stitches – Spike stitches, cable stitches, Catherine wheel, Shell stitches, Block stitch, Interlocking block stitch
These are just a few suggestions, feel free to trawl the internet or vintage crochet books for interesting stitches.
5. Keep track of the stitch count
After every few rows, take a quick count of your stitches. Sometimes, and especially with fancy stitches, it can be easy to add, or subtract a stitch which may lead to wonky edges or a non-rectangular blanket.
6. Repeat the stitches in different colours
You don’t have to make every row of stitches unique (unless you want to). I tend to word around 10-12 stitch sections, then repeat the whole lot again for the length of the blanket, but in different colour combinations.
7. Weave in ends as-you-go
Trust me on this one. Weaving in ends as-you-go will save you a whole lot of work in the end. I try and crochet over my ends on single crochet rows to save time.
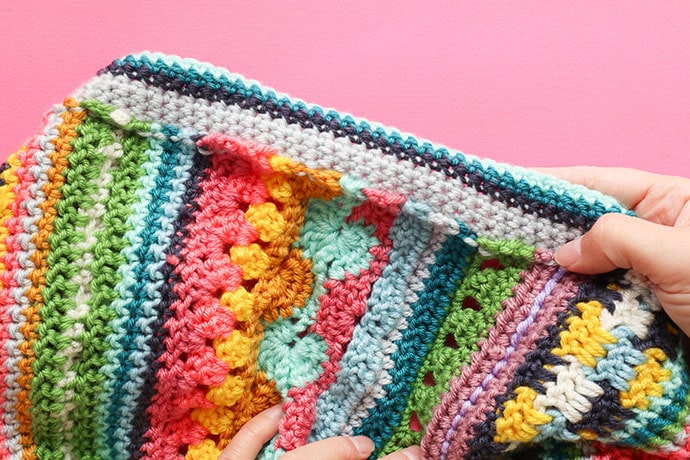
8. Keep the border simple
Because sampler blanket designs can be super busy, I like to keep the border simple in a neutral colour and stitch.
Single crochet borders are my preferred choice as it’s fairly firm and tends to straighten out the edges. You may not even need to block.
If you end up with wonky, wobbly edges (like I did with this blanket), try using a fold over edge border to hide any unsightly edge stitches. I’ve explained the technique further down in this post.
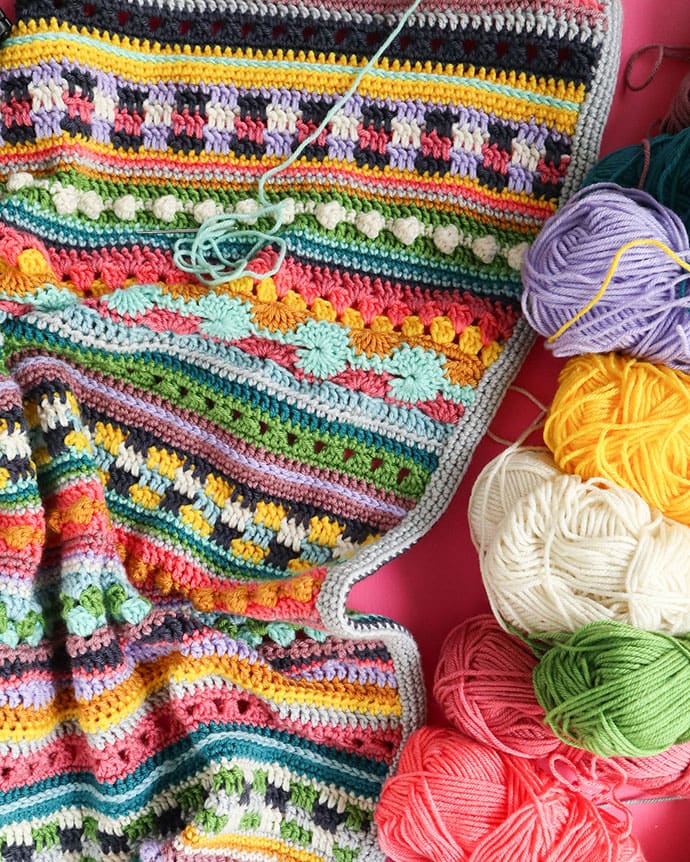
Crochet Sampler Baby Blanket
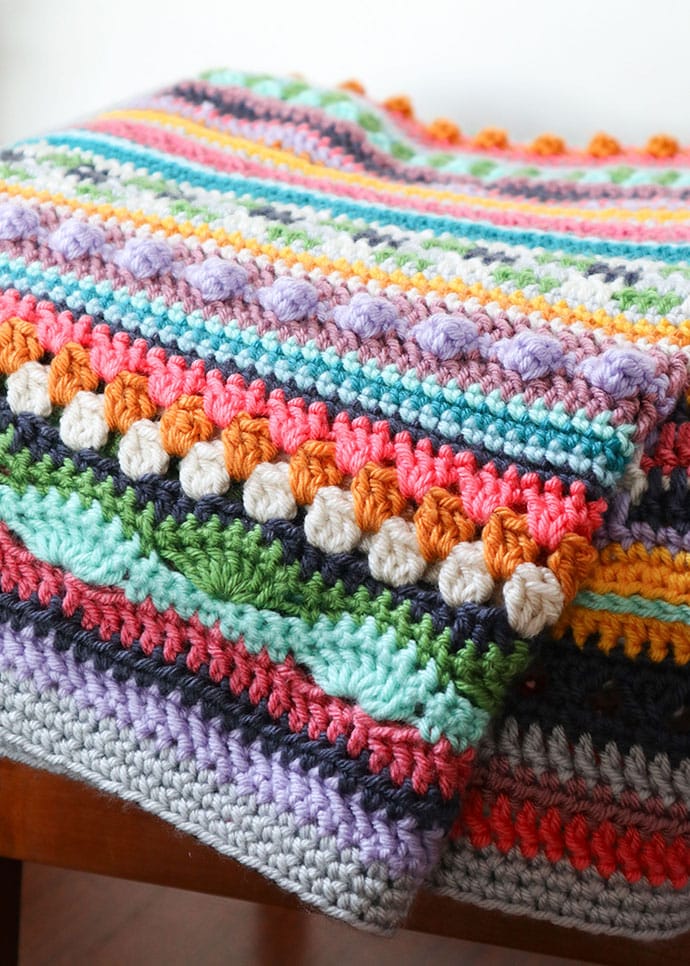
This colourful baby blanket is fun to make and is a great way to practice new crochet stitches. Rather than writing a detailed row-by-row pattern, I’ve described the stitches I’ve used.
You can follow my example, or mix and match stitches to suit your own design.
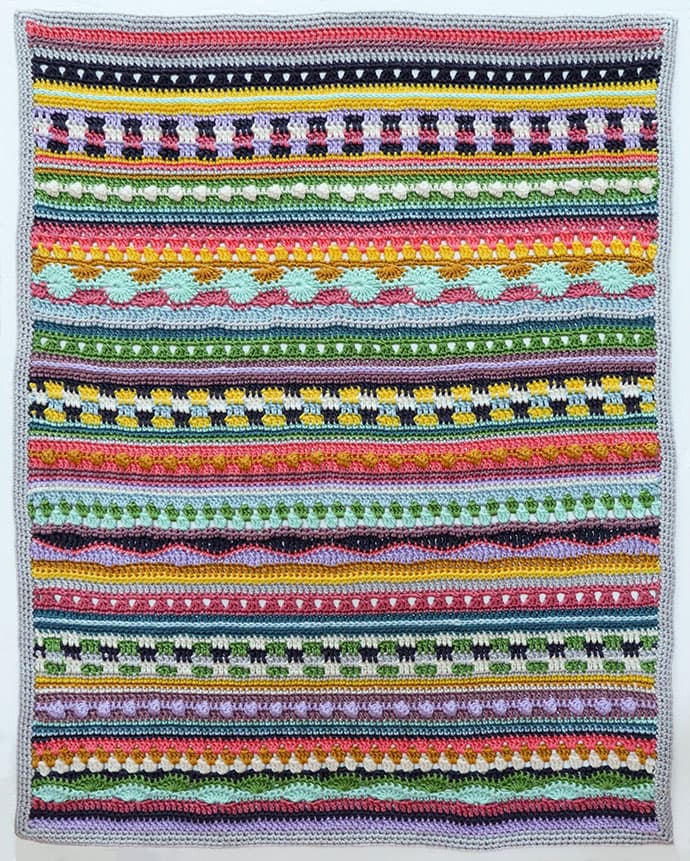
Finished size: 80cm width x 102cm height
Total yarn weight: 640g
You will need:
- Premier Anti-Pilling Everyday Worsted – 12 suggested colours: Rose, African Violet, Green Apple, Porcelain Blue, Cream, Mustard, Peacock, Coral, Silver, Lemon, Admiral Blue, Glass.
- 5 mm crochet hook US size 8
- Yarn needle
- Scissors
Sampler Blanket Row Guide (US terms):
Change colours with each row.
Foundation 102 st
WS = wrong side
dc = double crochet
sc = single crochet
hdc = half double crochet
- 1 row dc (or Fdc for first row)
- 1 row hdc (WS)
- 1 row dc into top 2 loops
- 3-4 rows either wave, shell or Catherine wheel pattern
- 3 rows granny stitch clusters
- 4 rows sc
- 1 row dc
- Bobble row (WS) *3sc, 1 bobble*
- 1 row dc (same colour as previous dc row)
- 4 rows sc
- 6 rows interlocking block stitch
- 1 row hdc
- 1 row hdc into top 2 loops (WS)
- Add a row of surface slip stitch between hdc rows
- 1 row sc (this and next 2 rows in same colour)
- *3dc decrease, ch2*
- 1 row sc (WS)
Repeat above 3 times then finish with 1st 3 rows again.
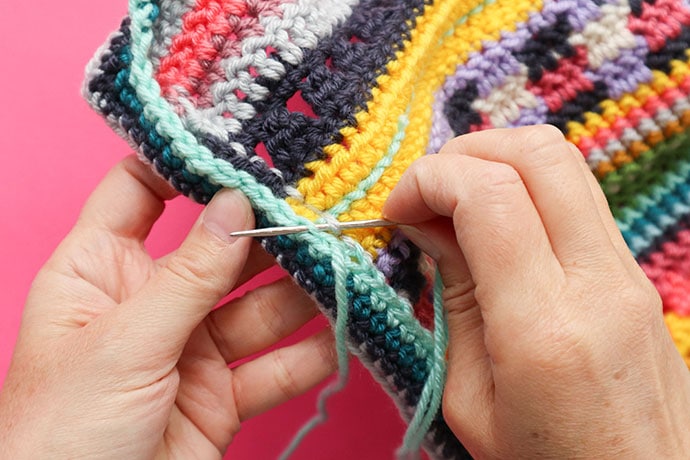
Fold Over Border Instructions
I’ve used a fold over border to encase wobbly edges and give a neat finish, similar to a quilt binding. Unfortunately I didn’t manage to take a photo of the initial steps but I did make some Instagram story videos explaining how the binding works that you can watch here.
1. On each of the the long (wobbly sides) of the blanket run a line of surface slip stitches on the right side of the blanket. Try and keep the stitches evenly spaced.
2. Single crochet around the whole blanket crocheting into the slip stitches when you reach the long sides.
3. For the front of the binding sc 3 rows in total with 3 sc stitches in each corner to increase on each row.
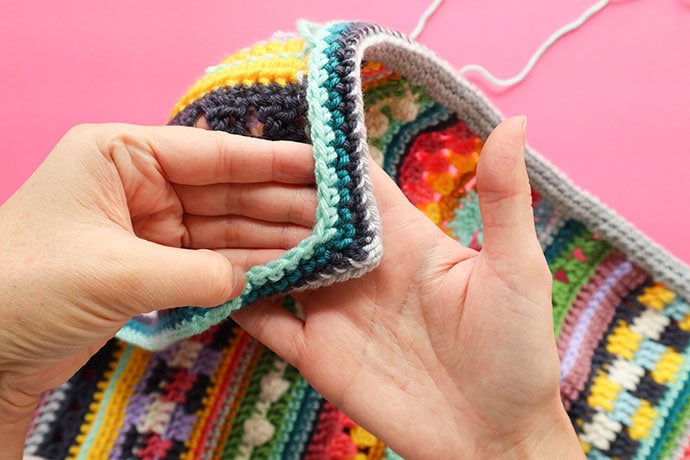
4. For the back of the binding, 3 rows of sc, with the first row crocheting into the back loop only to create a nice ridge on edge. On the corners decrease 3 stitches into one on each row. This will create a little pocket that folds over the corner neatly.
5. To finish, sew edge of crochet into back of slip stitches (or sc stitches).
All done!
![]()
Crochet sampler Blanket Inspiration, Patterns and Tutorials
Here are a few more striped crochet sampler blankets from various crochet designers with patterns to follow if you need some more inspiration or more detailed instructions.
- Rainbow Sampler Blanket by Haak Maar Raak
- Chunky Sampler Blanket by Mama in a Stitch
- As-We-Go Stripey Blanket by Not Your Average Crochet
Premier Anti-pilling Everyday Worsted yarn is available from www.americanyarns.com.au


What a lovely blanket! Thank you for this tutorial.
This is such a great tutorial! Thank you so much!
Thank you very much for the tutorial it has given me a lot of in site and I am very excited about trying my sampler blanket.