
This post contains affiliate links
Fact 1: Halloween is not far off.
Fact 2: With two kids who love dress-ups, and my growing fascination for cosplay, almost every day of my life is Halloween.
In the big lead up to Halloween I asked the kids which fictional character they would like to dress as. My youngest decided on becoming a Korok.
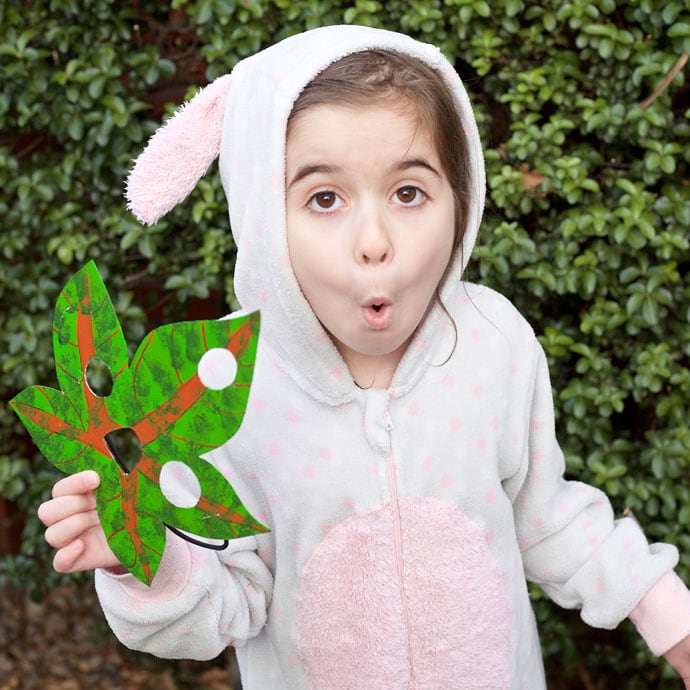
What is a Korok?
Well I’m glad you asked! Koroks are tree-like children of the forest from the Nintendo game, Legend of Zelda: Breath of the Wild. Koroks are mischievous spirits of nature, which pretty much sums up children don’t you think?
Korok Halloween Costume
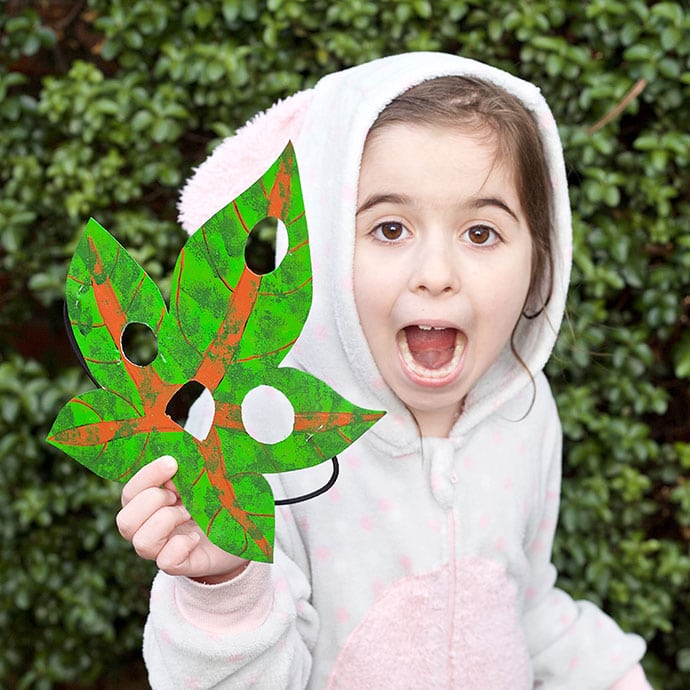
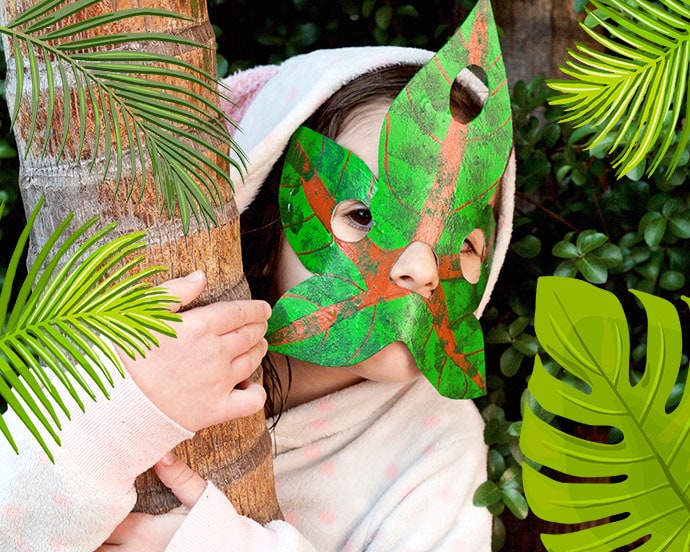
Making a Korok Halloween Costume is quite easy. You’ll just need a onesie (a brown one is ideal), but any all-in-one romper or even a sweatsuit will do. Then just add a Korok leaf mask, which you can make with the DIY Korok Mask instructions below.
How to make a Korok Leaf Face Mask
This Korok Mask is very easy to make with simple craft supplies and a piece of recycled cardboard from an old cereal or pizza box. Any lightweight cardboard will do, so rescue some out of your recycling bin to get started. I’ve included a printable template to make this project very easy.
The kids will love painting and decorating their own Korok mask.
You will need:
- Cardboard cereal (or pizza) box
- Acrylic paint – light green
- Acrylic paint – dark green
- Acrylic paint – brown
- Elastic (5mm width)
- Felt Tip Markers
- 2 x Paint brushes – thick and thin
- Sponge
- Stapler
- Scissors
- Craft knife and cutting board
- Measuring tape
Note:
If the mask peep and nose holes need to be bigger, you can use scissors or art knife to expand.
How to:
1. Print the template at 100%. Cut out the mask template piece along the outside line, and the shaded nose and eye shapes.

2. Place the mask template onto a flattened cereal box. Using a marker, trace around the cut out lines, and thenn cut out the cardboard shape with scissors.
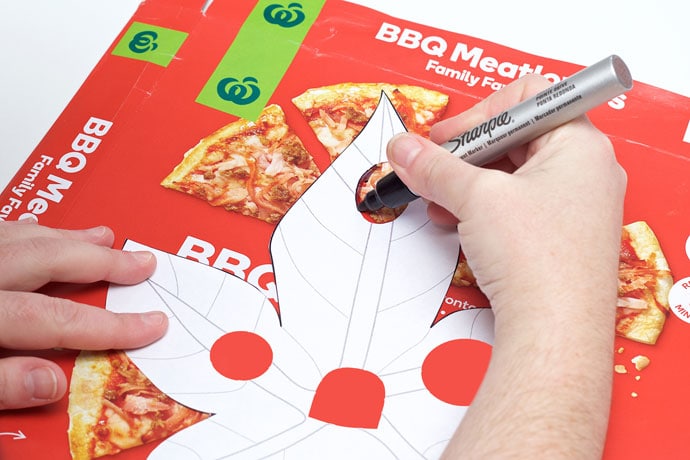
3. Cut out the nose and eye holes with a craft knife on a cutting mat.
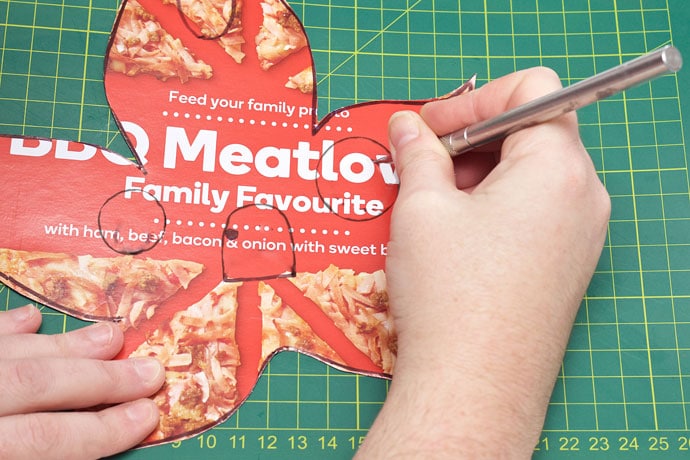
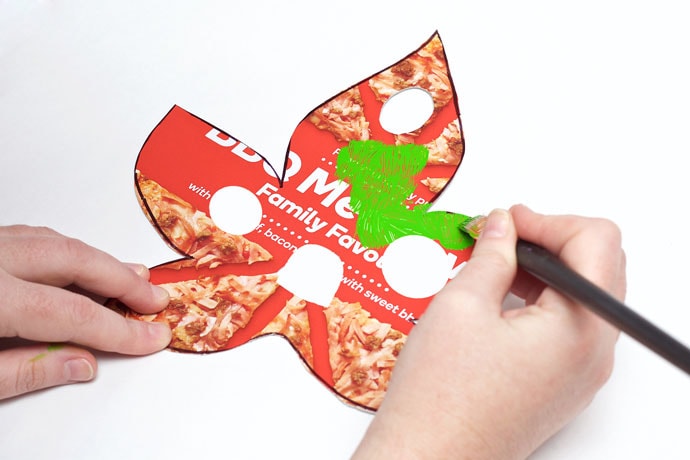
4. Paint the entire cardboard leaf, light green. Your paint strokes can be rough to give the mask texture. Put the mask aside and allow it to dry. If need be, you can give the mask a second coat of paint in the same colour.
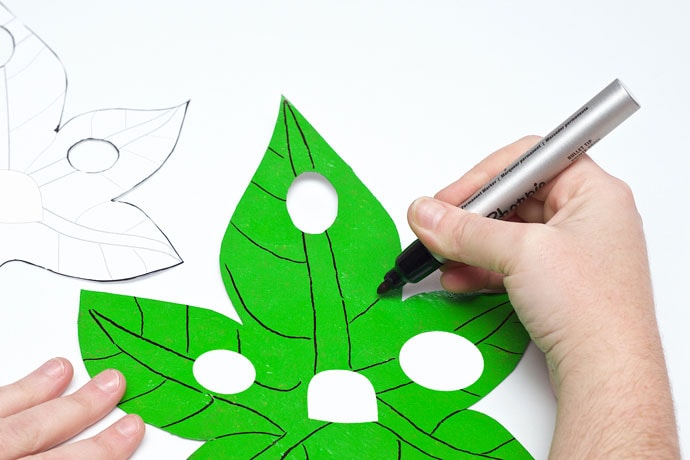
5. With a marker draw the decorative leaf details onto the cardboard, using the template line art as a reference guide.
6. Paint the brown areas (refer to the colour image below, as your guide). Put the mask aside, and allow it to dry.
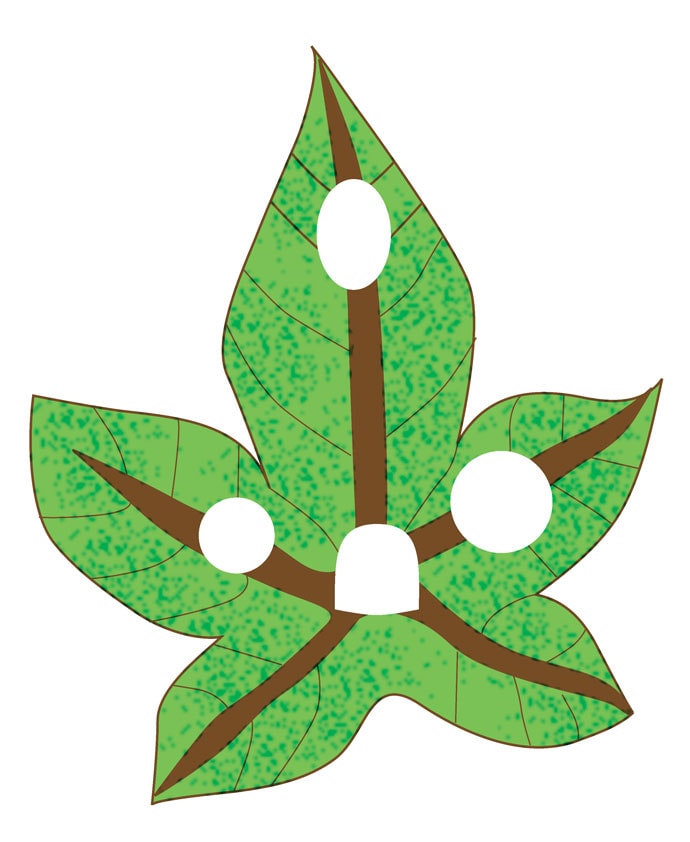
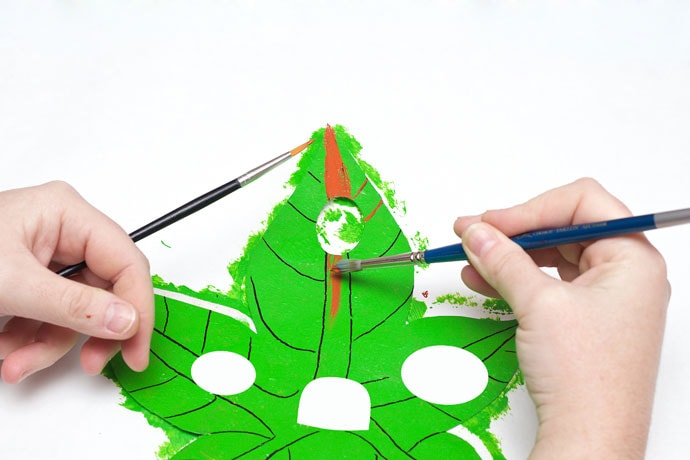
7. To create a more leafy texture, dip a small piece of torn sponge into dark green paint, and dab at the mask in patches. Put the mask aside, and allow it to dry.
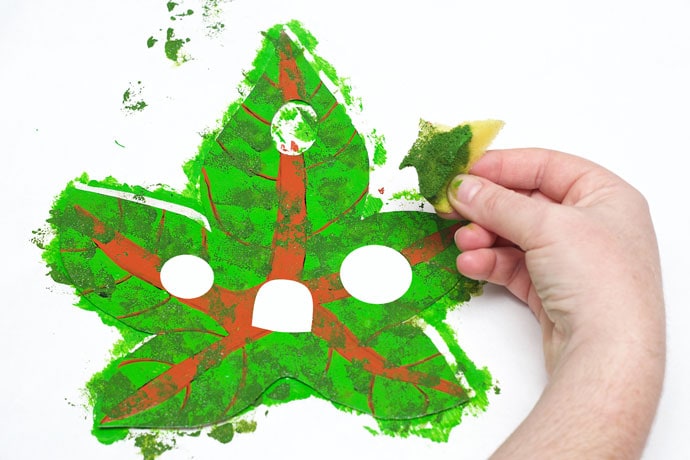
8. Measure the head of your little Korok from ear to ear. Add about 5cm to the measurement, and cut that amount of elastic.
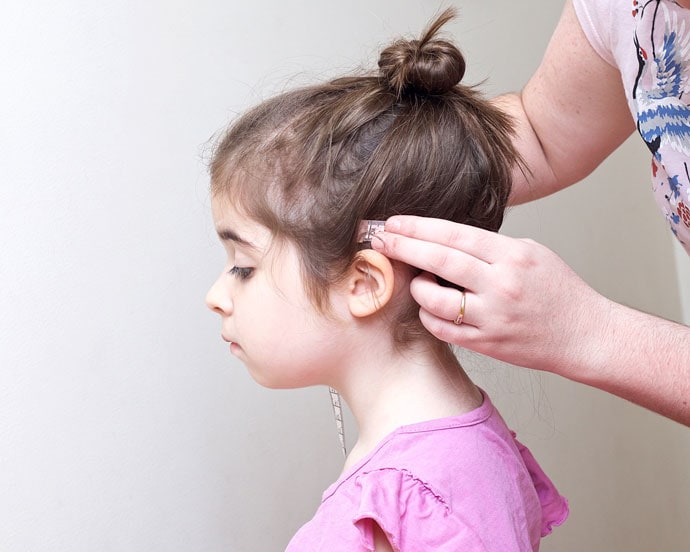
9. Staple the ends of the elastic to the sides of the mask and tie little knots.
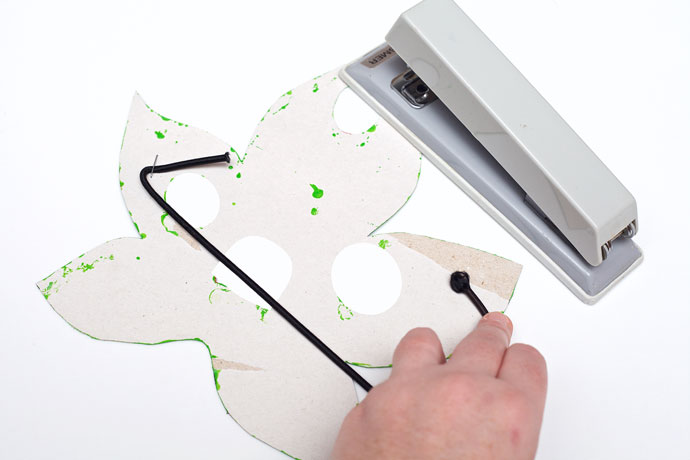
Arimasu! The Korok mask is ready to wear.
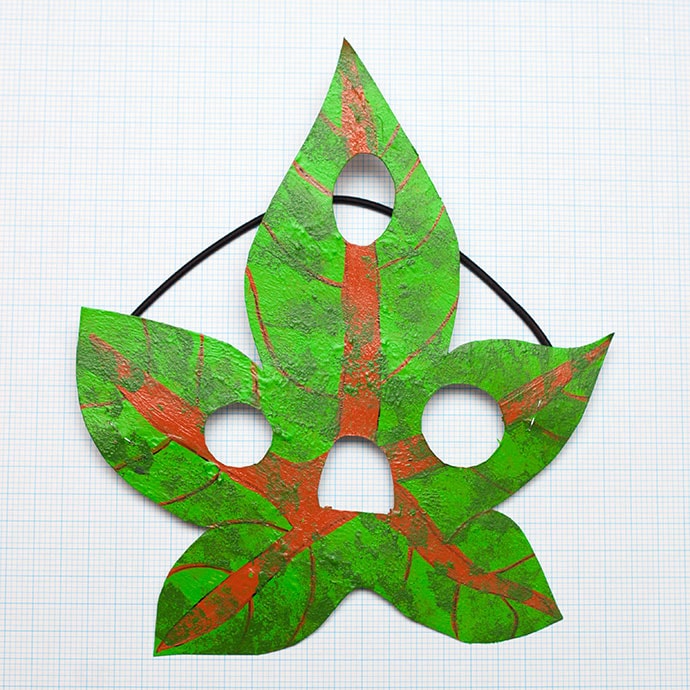

Leaf graphics Vector illustration credit: www.vecteezy.com


I’m glad you educated us on what a Korok is. I didn’t know. This is a clever and affordable mask. Thanks for sharing!
Thanks, Priscilla!
Thank you for being the only post that came up with I looked for DIY Toddler Korok costumes on Pinterest! We are a Zelda-loving family on a budget XD
Allison, I’m so pleased to hear this post has been helpful.
From one Zelda-loving family to another – enjoy!