This post contains affiliate links
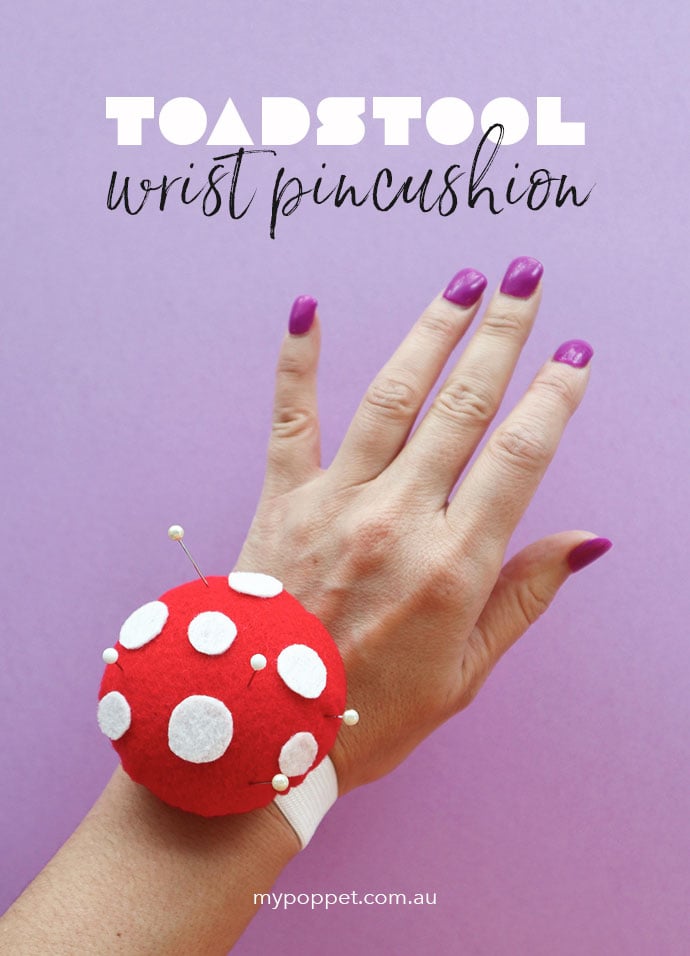
No matter how many pincushions I have, there’s never one handy when I need one. I end up with pins in my mouth or laying around everywhere, neither of which is very safe!
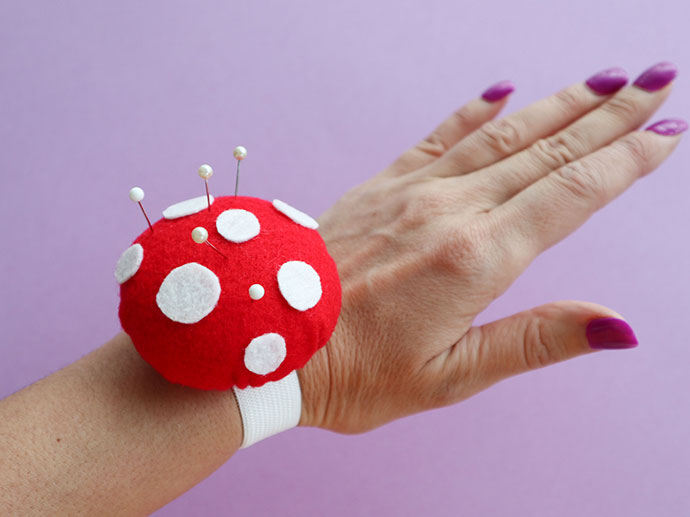
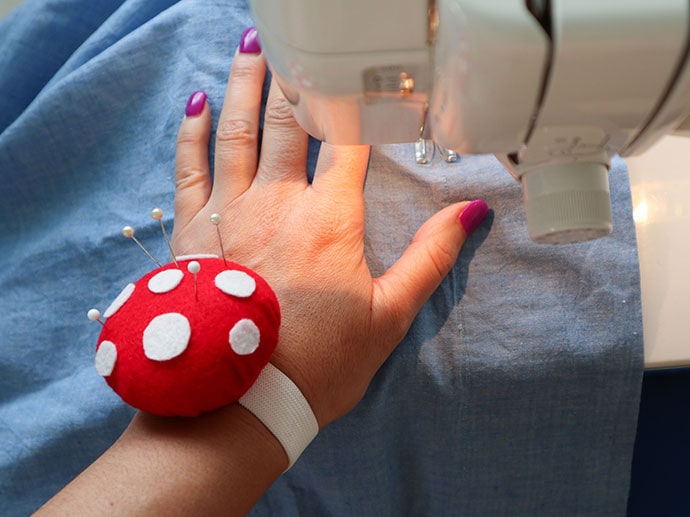
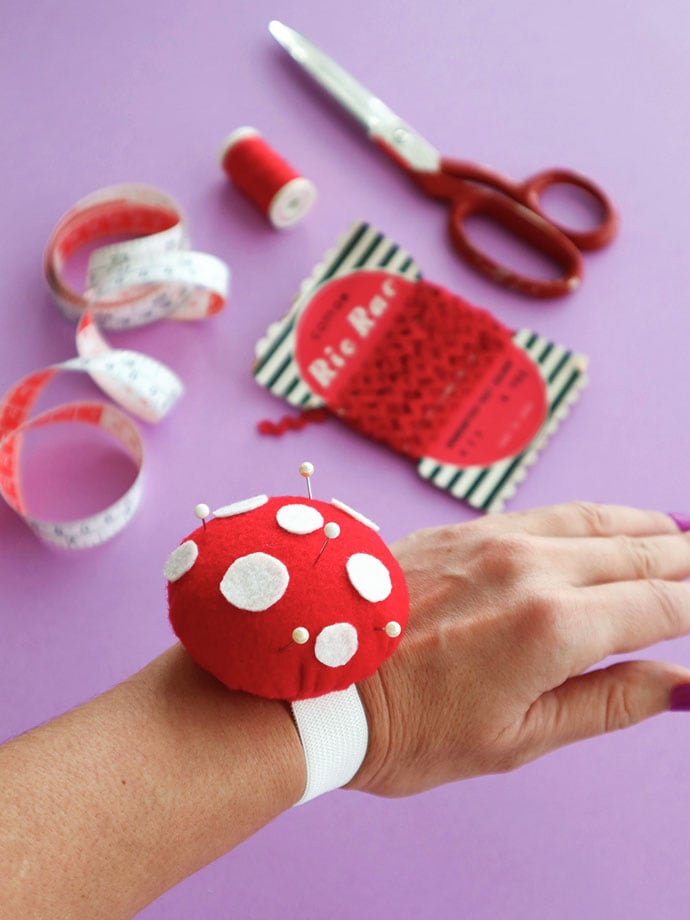
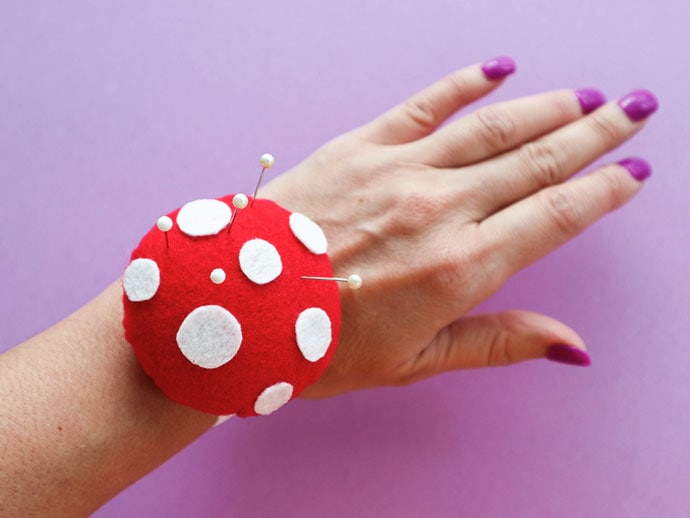
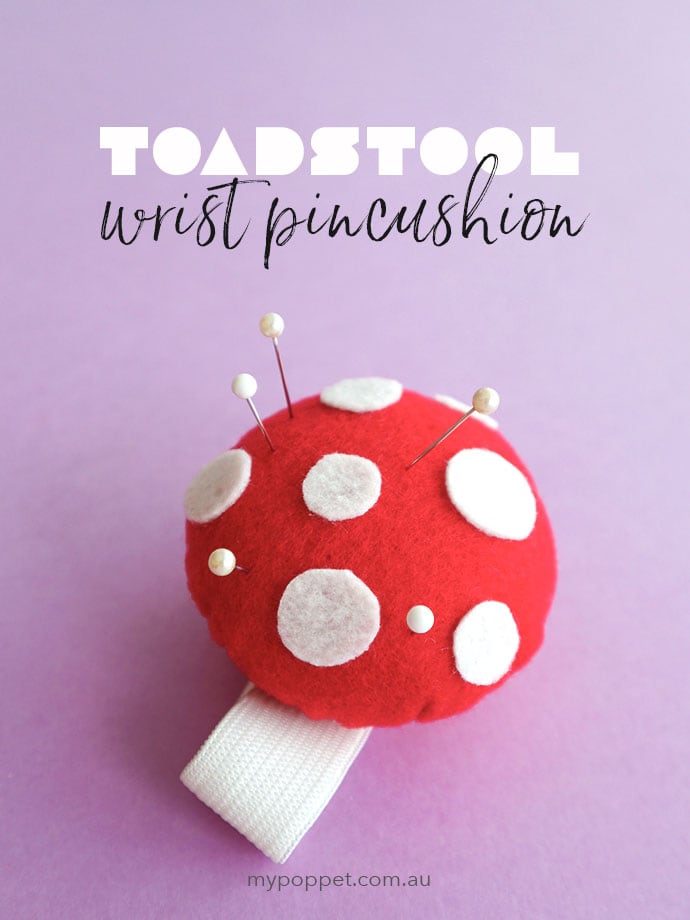
Well my errant pin problems are over, now that I have a very cute and very practical Toadstool Wrist Pincushion. It was very easy to make with some felt scraps, a piece of remnant elastic and some recycled plastic product packaging.
The inspiration for the toadstool/mushroom design came from the domed shape of the pincushion itself. It reminded me of a little fairy house – so whimsical. You can leave off the spots if you prefer it plain, or embellish it even further with an embroidery design of your own. One from this book would be lovely.
These make the perfect little gift for a friend that loves sewing, and a fantastic addition to a vintage tin sewing kit.
I’ve added a plastic base plate to protect my wrist from getting punctured if I’m too enthusiastic with my pinning. The plastic came from some product packaging that I fished out of the recycling bin. There is also a printable template included, but if you can’t be bothered with printing (or have run out of ink), measurements are included in step 2 for self drafting.
How to make a Toadstool Wrist Pincushion
You will need:
- Pattern Template
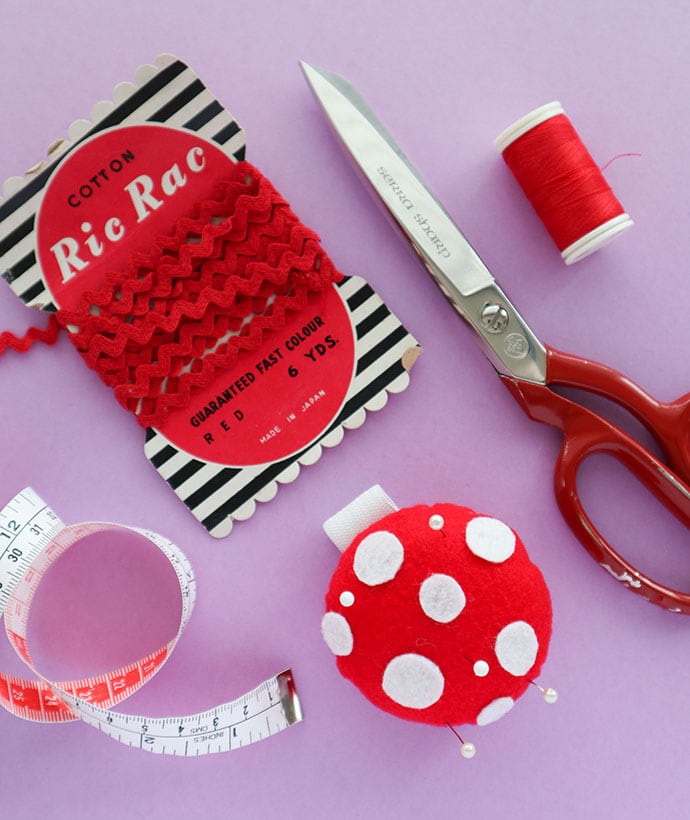
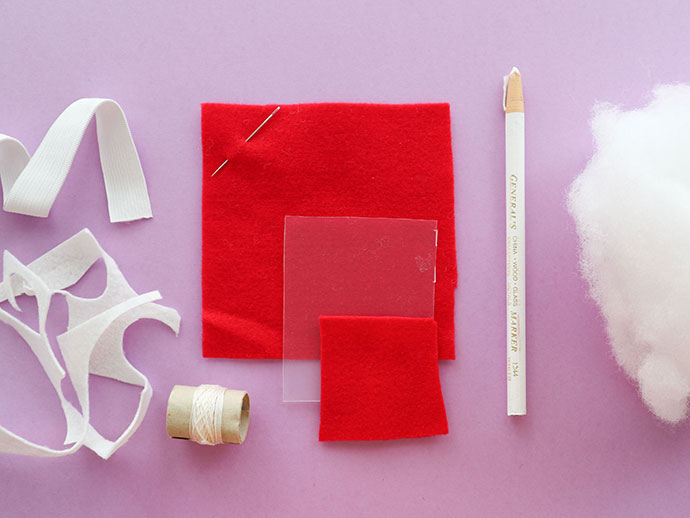
- Red felt 12x18cm (5″x7.5″)
- White felt scraps
- Plastic sheet 6cm/2.5″ square (recycle some plastic packaging for this)
- 1″ wide elastic about 20cm/8″
- Polyfill or stuffing of choice
- Sewing needle
- Strong thread
- Marking pen, pencil or tailors chalk
- Craft glue
- Printer and paper
- Scissors
- General sewing supplies
How to:
1. Print the Toadstool Pincushion Pattern at 100%. Cut out the 3 template circles. Alternatively refer to measurements below.
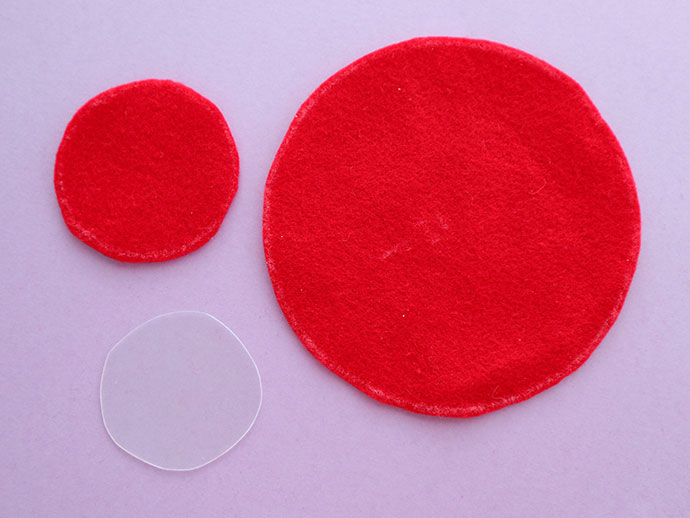
2. Use the template to cut the felt and plastic. You should have 1x red felt 12cm diam circle, 1x red felt 4.5cm diam circle, 1x plastic disc 4cm diam.
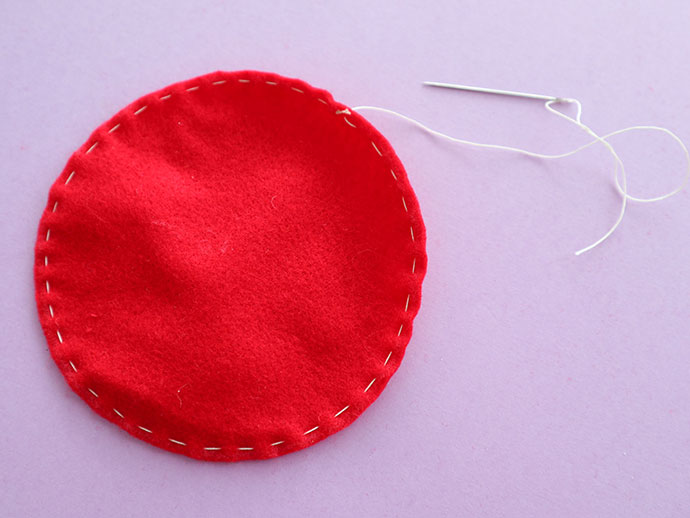
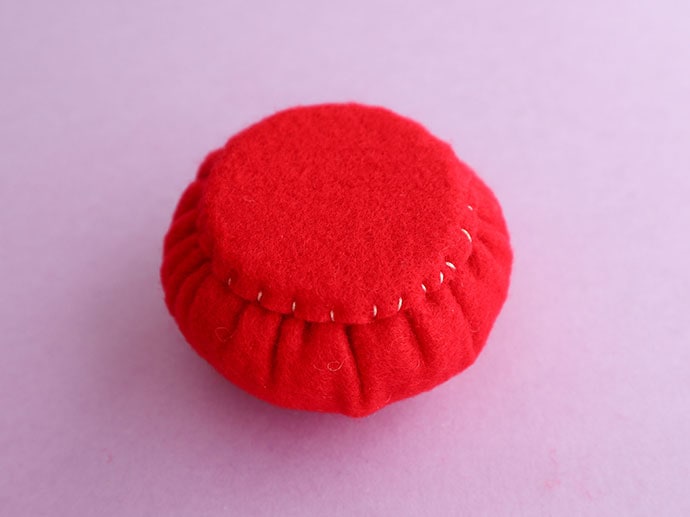
3. Stitch around the largest circle with an even running stitch close to the edge.
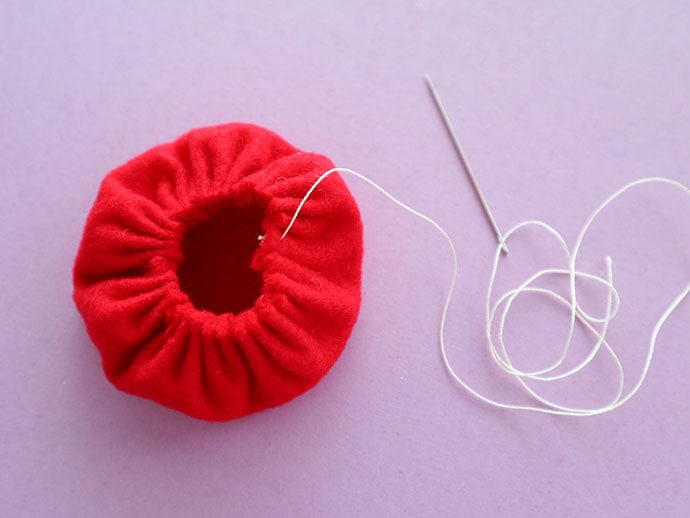
4. Pull thread to gather.
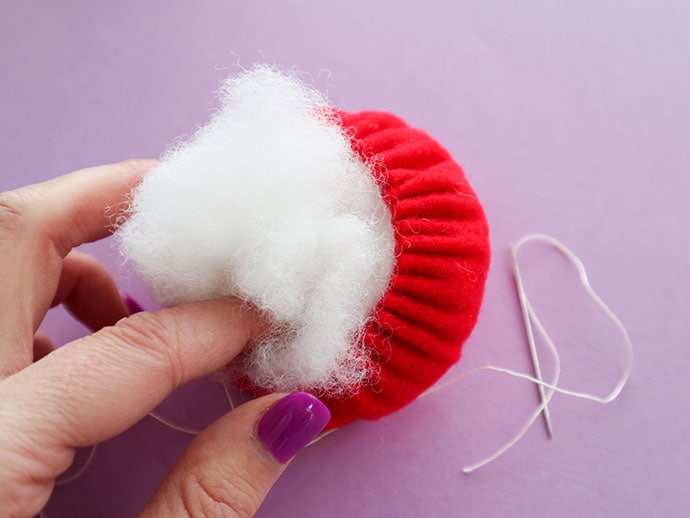
5. Stuff firmly with poly fill, or your prefered stuffing material.
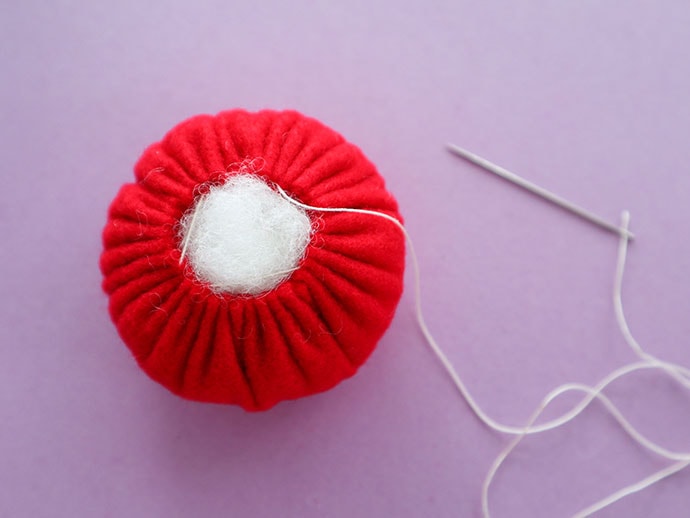
6. Add a few extra stitches to secure gathered opening.
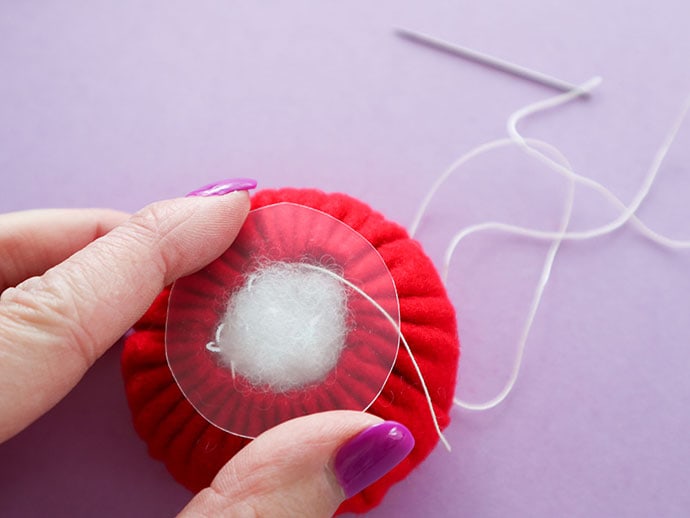
7. Place plastic disc over opening. You can add a few drops of glue to secure if desired to help keep in place for the next step.
8. cover plastic disk with small felt circle and stitch down edges to conceal it.
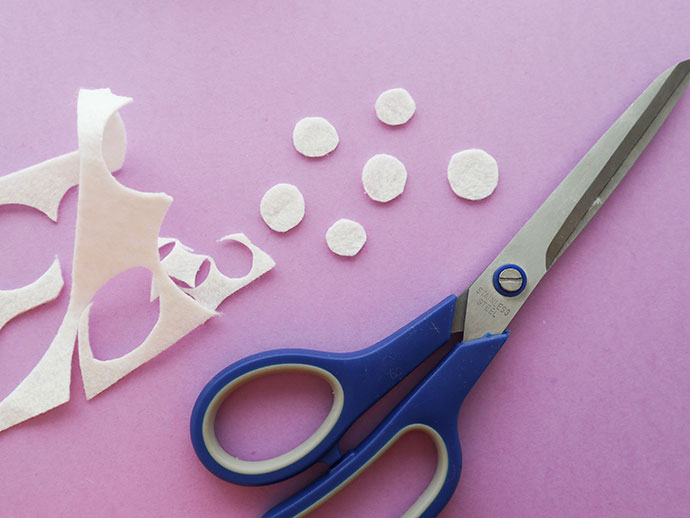
9. Cut small spots from the white felt scraps. I just cut them freehand, you can make them any size you think looks good.
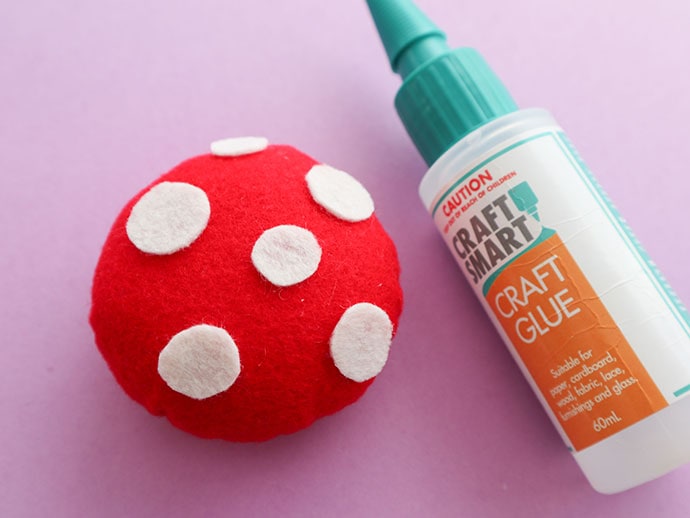
10. Glue on white spots to the rounded side of the pincushion, with a few drops of craft glue.
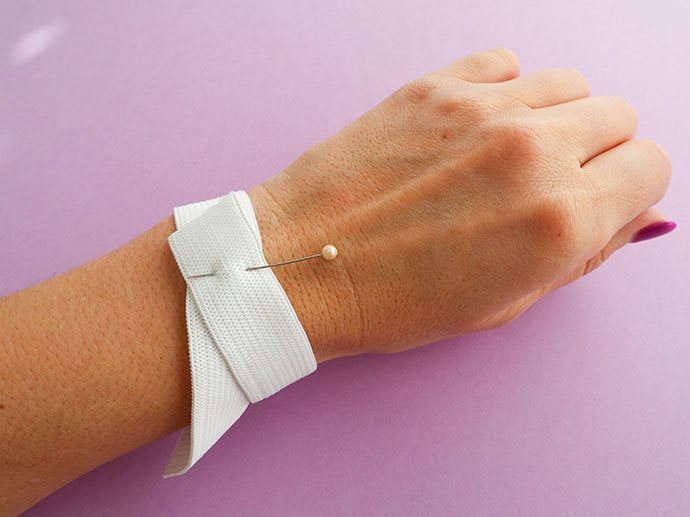
11. Pin the elastic around your wrist to measure the amount of elastic required for the wristband. Trim with about a 1″ overlap.
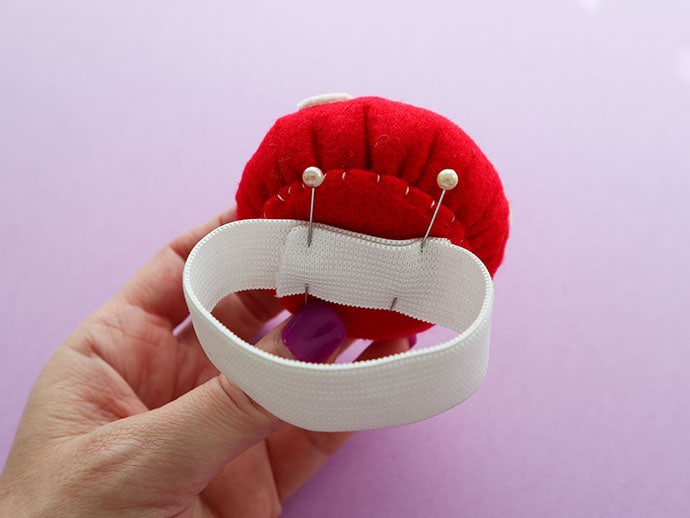
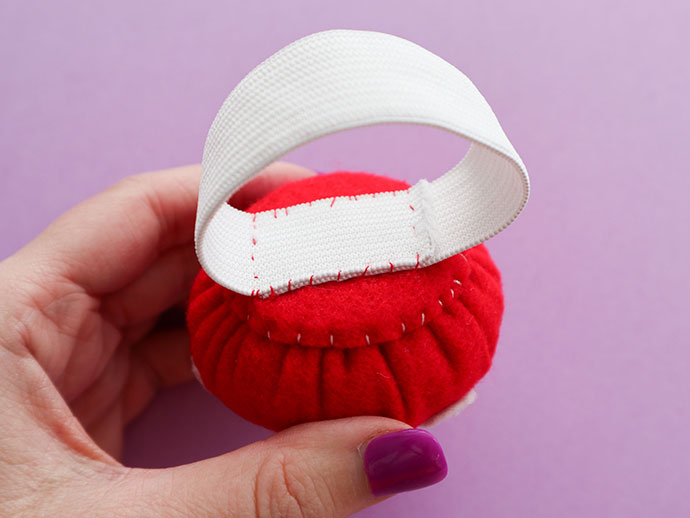
12. Pin onto the base of the pincushion and stitch on firmly.
Now your Toadstool Pincushion is ready to wear!
LOVE IT? PIN IT!

I am so making one of these. I need a pin cushion, and it’s just so cute.
My 8-year-old grandson has just learned to sew, I am going to make him one of these to hold his pins.
What a lovely idea.
Muito obrigada.
Vou fazer alguns para oferecer , e um para mim.
me encanta. I loved. receive a big hug
It’s an excellent idea ?
I made one of them! It’s so adorable and useful!
Love this! I had yellow and green felt so I made a lemon instead 🙂 great tutorial!