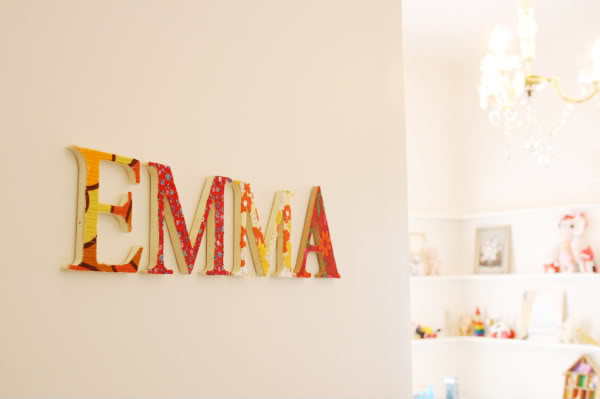
 I finally had a chance to make these fabric covered letters for Emma’s door. It was really easy, here are the instructions:
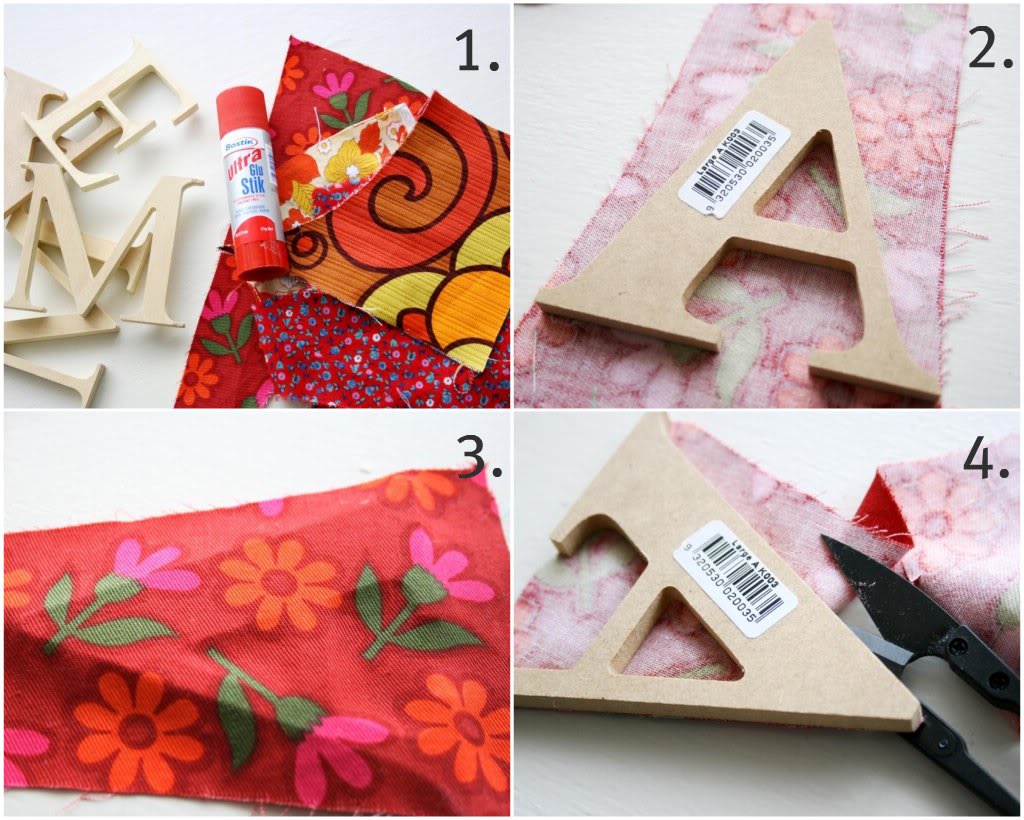
1. Materials – fabric scraps, Wooden letters (from a craft shop), Glue stick (suitable for wood and fabric), small sharp scissors or clippers, double sided tape
2. Smear glue generously onto wrong side of fabric, place letter front down onto fabric
3. Turn over and smooth fabric firmly over letter. Allow glue to dry
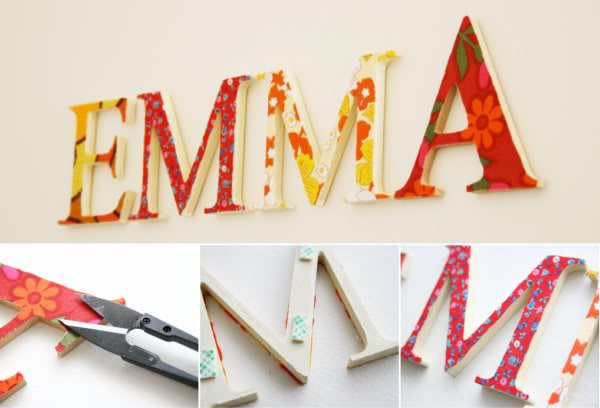
4. With sharp scissors or clippers, cut fabric away from edge of wooden letter
 Apply double sided tape to back of letter and it’s ready to stick to your door
 Handy Hints:
Try and let glue dry as long as possible to avoid glue getting your cutting blades sticky.
I found that clippers worked better for me because the sharp tips helped get into tight spots.
Choose light weight tightly woven fabric to make cutting easier and reduce fraying.
Alcohol based hand sanitiser is good at getting sticky glue residue off cutting blades.
Have a go at making your own covered letters, would love to see them. Post a link in the comments or a picture up on the facebook page


Nice and simple project with lovely result. Great!
Oh thanks, had been planing on doing this for ages..
No excuses, now that I know how!
ooh, i didn't know that about the hand sanitiser. great tip!
I love this idea! I have done this with key hooks and paper (not fabric and letters) so really i haven't done this at all… but me likies anyway!
This looks really nice! I will keep this in mind- thanks for sharing.
I love these letters. I have really enjoyed looking around your blog too!
Thanks Lauren, they are a fun and easy project
x cinti