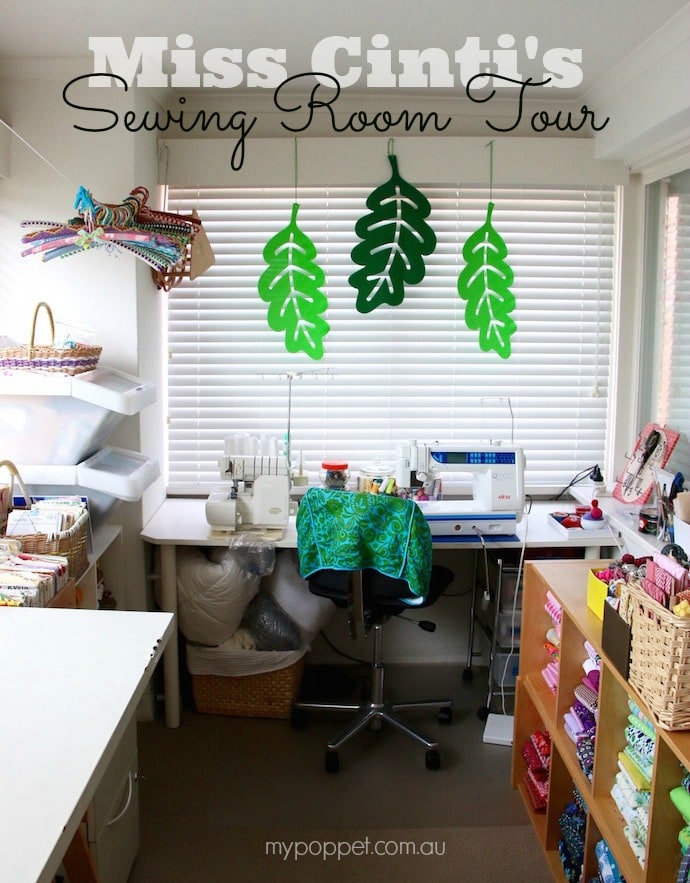
I love seeing creative people’s work spaces, behind the scenes glimpses are really fascinating to me. A while ago I was asked to share some photos of my sewing space so it could be featured on a craft website, and I realised the only photos I had of my room were over 4 years old. It’s a bit embarrassing to admit, but this space has been in a state of chaos since I last featured it on the blog in 2011. You can see the 2011 Sewing room tour here.
From then until now my sewing room was in disarray. There was hardly any floor space visible, in fact, I’d often trip on piles of fabric or boxes. There was hardly any room to work on my table and piles of stuff would need to be relocated if I wanted to get anything done. I won’t even mention all the items I misplaced that I’d spend hours looking for. All in all, this tidy up was well overdue.
It wasn’t always super bad, I did occasionally cull fabrics, rearrange bits and pieces and of course clean, but this is the cleanest and tidiest the room has been in 4 years so I thought it was fitting to document it. Now that everything has a place I’m going to work really hard to keep it this way.
My last sewing room tour was just a few pictures, but this time I’m going to show you everything, hopefully some of the ideas will help you get your space organised too. This isn’t a styled space designed to look pretty, every thing is where it is for practicality and to maximise storage.
About my room
My room, a glassed in balcony off my bedroom, is quite small 2.4 x 4.3m (8’x14′) but serves my needs and I’m very grateful to have a dedicated work space of my own.
Some of the upsides:
– windows on 3 sides give it plenty of light for shooting tutorials.
– it’s in an out-of-the-way area of the house that I can retreat to without getting in anyone’s way or being disrupted.
Some of the downsides:
– it gets incredibly hot in summer and freezing in winter.
– all those windows means my shelf/storage space is limited.
– lot’s of light (even with the blinds) means many of my fabrics have suffered from sun fading.
– it gets a bit tight with the ironing board set up.
– there is only one power point and the lighting (at night) is terrible. One day I’ll fork out for an electrician to rectify this last issue.
Sewing Room Layout
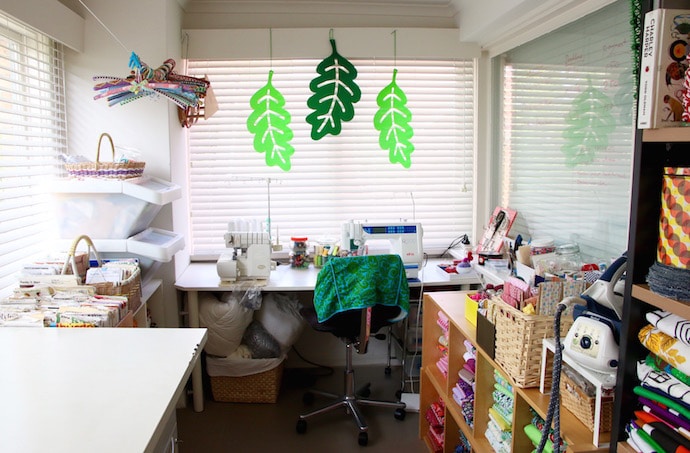
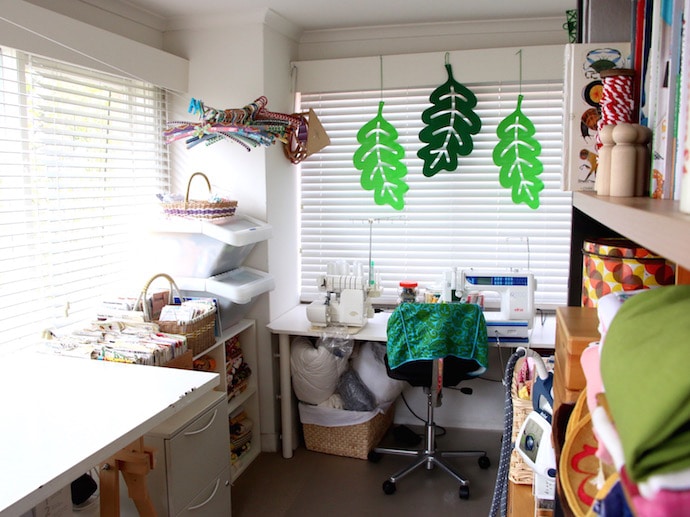
My sewing machine and overlocker (serger) sit on a table that Mr Man custom made to fit the space under the east window. He used 4 Ikea table legs and the side of an old wardrobe cut down to size. Underneath the table, I store quilt batting and toy stuffing in a basket , on the right I have a small trolley with drawers that hold haberdashery like zips, elastic and velcro, as well as findings, tools and gadgets.
My cutting table is an old door on trestle legs and I set my ironing board up in front of the low fabric shelves on the right which gives me about half a metre of space to walk through. All remaining floor space is used for shelves and fabric storage.
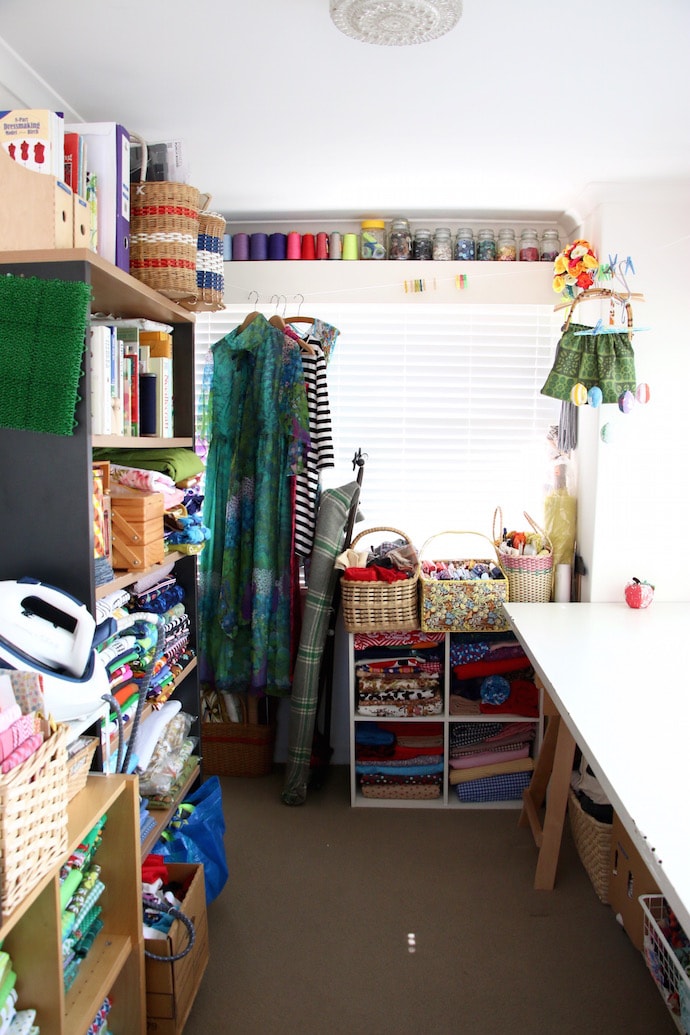
I’ve utilised the only wall space to house a bookshelf which was getting thrown out at Mr Man’s office. The top shelves are used for all my craft books, magazines, embroidery cotton and WIPs. The rest is for fabric storage with scrap fabric at the bottom.
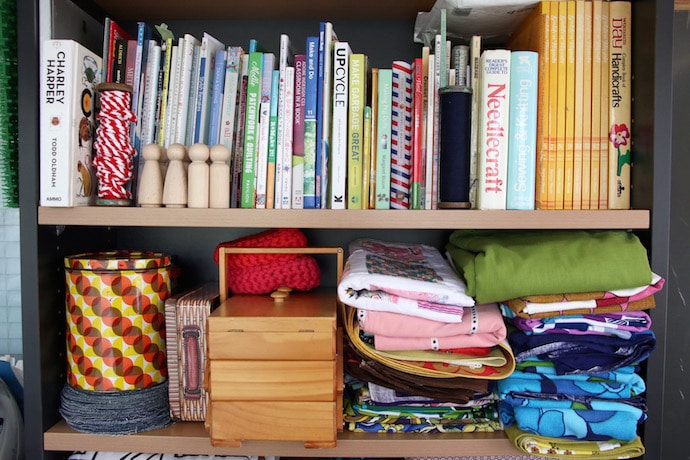
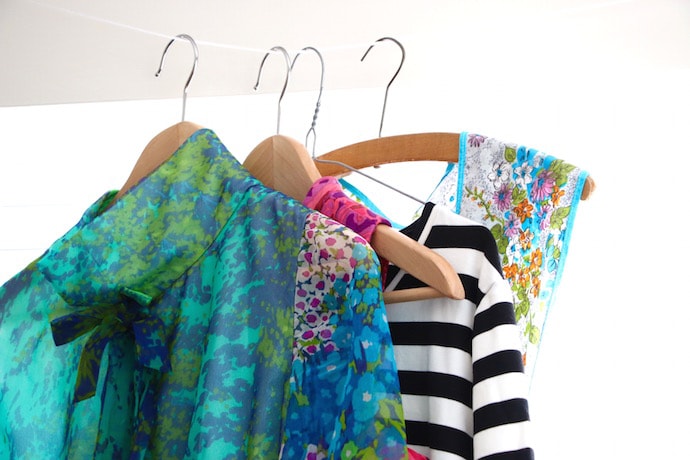
The space above the window pelmet is perfect for holding button jars and thread. Garments requiring alterations now hang rather than ending up in an ‘out of sight out of mind’ pile.
Fabric Storage
I have A LOT of fabric! The majority of it is vintage which I’ve sourced over many years. Much of it was bought from a lovely lady who was moving to a nursing home and needed to downsize. She had hoarding tendencies and although much of it was in good shape, sadly some of it has some staining from water damage.
I’m now on a strict fabric diet which means no fabric shopping for me unless something is specifically required for a project and I have no alternative in my current stash.
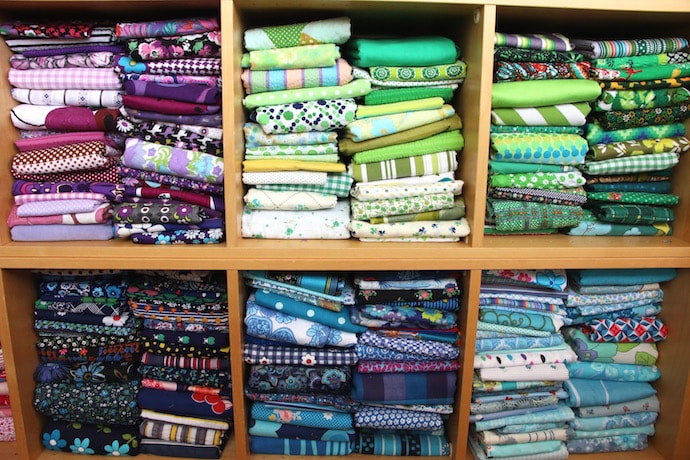
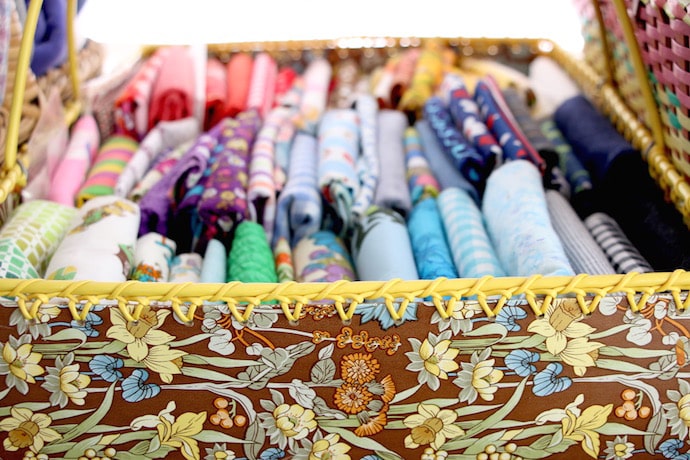
All woven cotton fabrics over 1m are stored folded on shelves and grouped by color (for the most part). I have some overflow shelves for bulk fabrics, corduroy, and fabrics with big yardage.
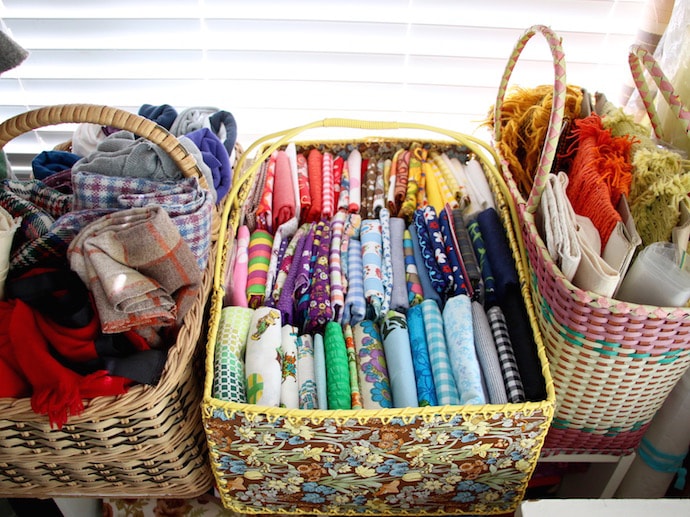
Wool blend fabrics are stored in a basket together, and all large remnants (FQ to under 1 m) are folded and stored in this big floral basket. Anything smaller than a FQ goes into the scrap box at the base of my bookcase. The large remnant basket is my go to for facings and small sewing projects.
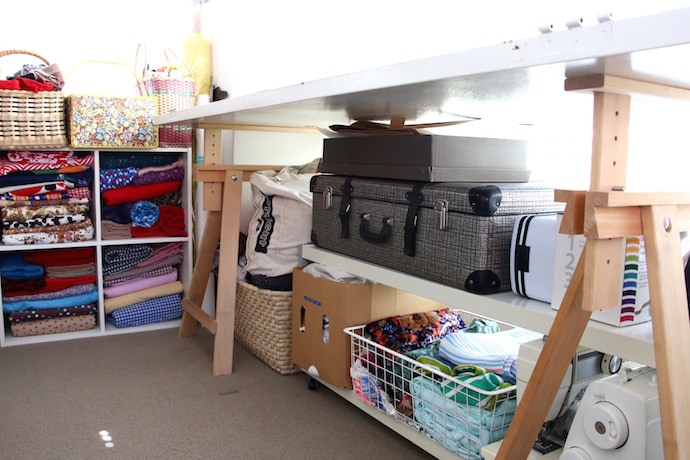
Underneath my trestle I have a wire basket for light weight dressmaking fabrics like polyesters, chiffons, crepes etc and some stretch fabric overflow. The big suitcase contains cotton jersey and tracksuit fleece. I also keep a big basket to store t-shirts and jumpers for up-cycling projects, which I’ve recently downsized.
Cinti’s Tips for storing (and using) fabric:
- Store similar fibers, weights or purpose together – It makes them easier to find for a specific project.
- Organise by colour – not only does it look great but it makes co-coordinating easier and gives you an immediate visual assessment of what you have on hand.
- Separate by piece size – I have a fabric cutting hierarchy, I never cut into yardage where a remnant or scrap will suffice. There is nothing more frustrating than being short just a few inches of fabric for a garment because you cut off a piece for a small project.
- Try to keep your fabric out of direct sunlight – This I’ve failed at because of all the windows. Many of my fabrics have a faded patch which I just have to accept and work around.
My Sewing Machines
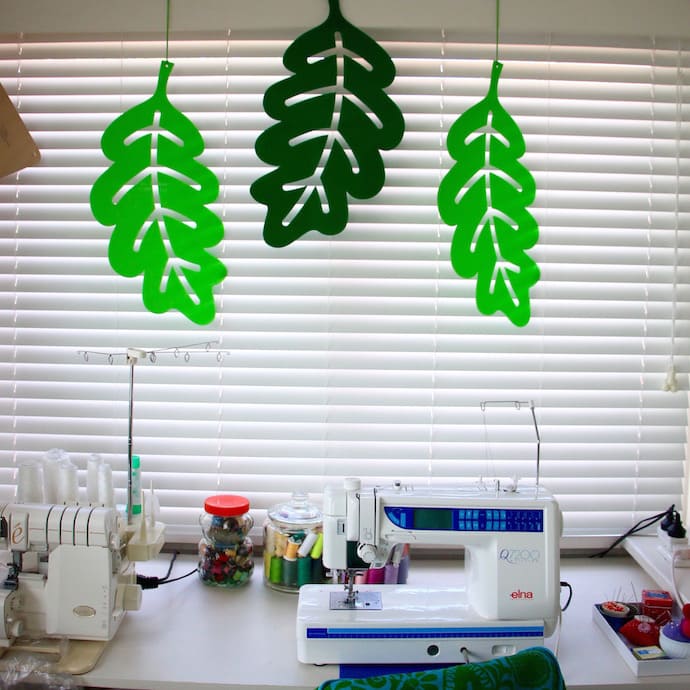
I have 2 machines permanently set up and ready to go and 2 backup machines (just in case).
My Main Machine – Elna Q7200 – I love this machine, especially the knee lift bar and automatic thread cutter. Such an upgrade from my previous machine, I paid around $2000 for it (maybe a little less), but it’s worth every penny.
My Serger – Baby Lock Evolve – combined overlocker and cover stitch machine. I use it in combination with my regular machine in nearly every garment project and exclusively with stretch fabrics. The cover stitch functionality requires a ton of re-threading so I haven’t used it in years. This machine was very expensive, mum and I went halvies after getting carried away at a craft show. I don’t regret the purchase though, the automatic self threading and differential feed makes using this machine a breeze.
Back up machines – My first machine was a cheap Toyota Quiltmaster which served me well for many years and was the main machine for My Poppet’s product making business for many years. I’ll keep it for Emma. I also recently picked up a old 70’s Janome for $40 which is built like a tank and is almost identical to the one I learnt to sew on whilst sitting on my mother’s lap.
Other storage Solutions
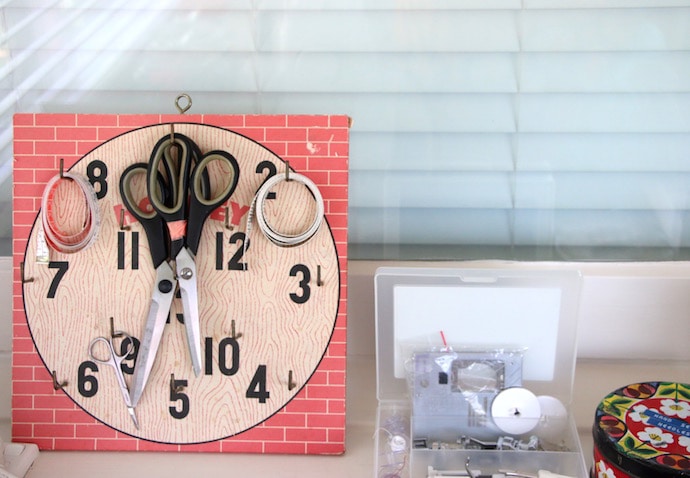
At arms reach of my machines (so I don’t have to jet up) I keep my threads, scissors, needles, bobbins an other machine accessories.
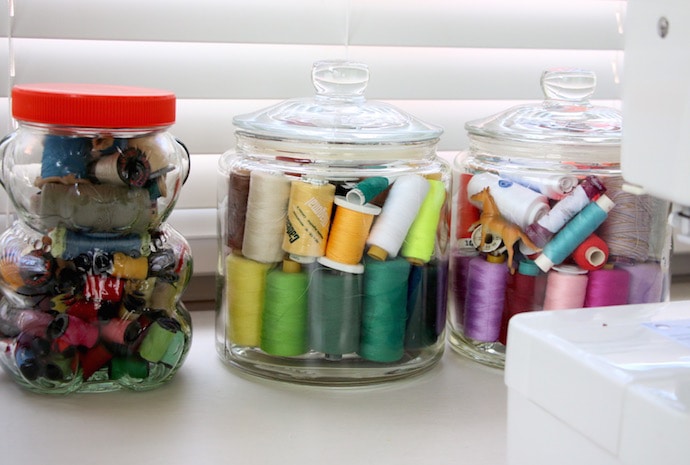
I’ve resorted to storing my threads in jars to keep them dust free. I’ve tried lots of open storage solutions for them but the amount of dust they collected was crazy and if I wasn’t careful my vac would just suck them up the pipe when cleaning.
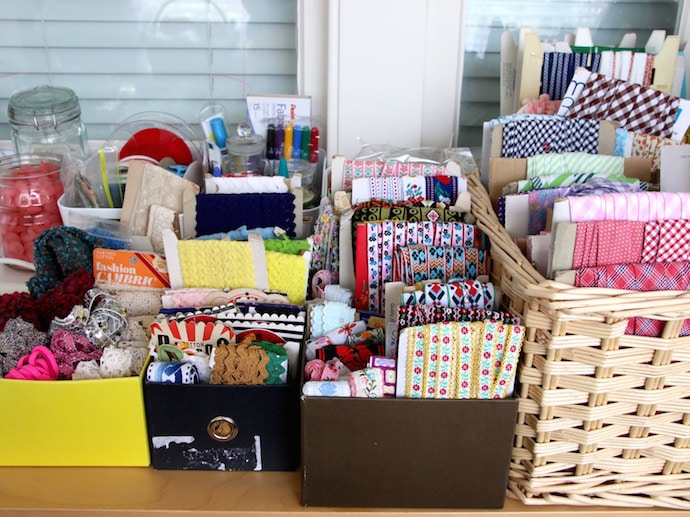
Braids, trims and bindings are wound up on cardboard and filed in baskets or shoeboxes. Other small oddments are housed in small tubs.
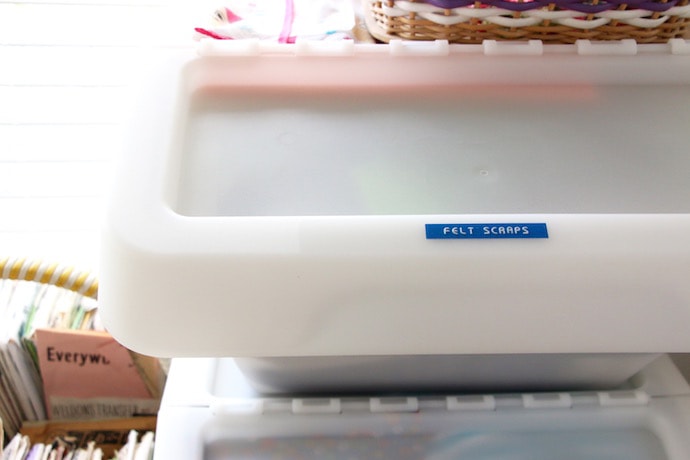
I keep my felt and felt scraps in their own tubs so they don’t get mixed up with fabric scraps.
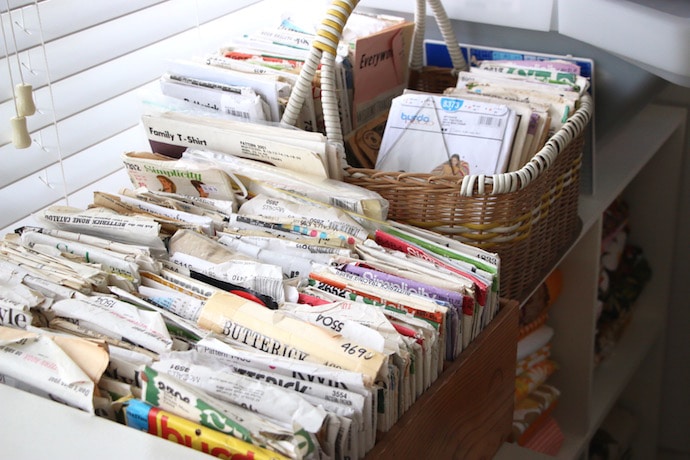
My vintage pattern collection sits in a wooden box and basket, which is not ideal but must do for now. I think I need to let go of some patterns that I won’t foresee using to free up some counter space.
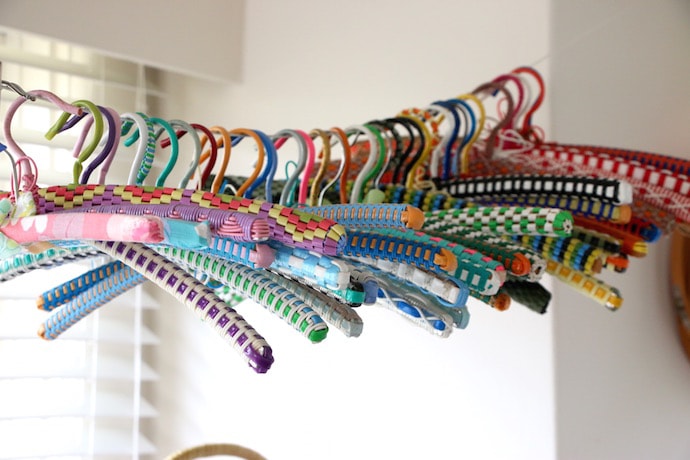
My Vintage woven coathanger collection currently resides in my sewing room until I can work out where and how to display it properly.
Well that’s the grand tour, I hope you enjoyed it. Now that I’ve got plenty of space and have unearthed some bits and pieces that I thought were lost, I’ve been re-inspired to get sewing again. Expect lots of sewing projects coming your way.
I’d love to hear about your craft or sewing space. Are you lucky enough to have a whole room or do you carve out a little corner for yourself?



I love the light and the color all around you! And you’ve fit so much into such a small space. It gives me vision for my own space! Can I suggest (and I know it will add “clutter” in a sense) that you put curtains over your shelves of fabric? Before you even mentioned it my first thought was how much light damage is being done to your beautiful fabrics. You’ve probably already thought of that, and it is wonderful to have everything within sight, but it would help alot to have some light curtains to block that light.
Thanks for the curtain suggestion, I actually have never thought of that! It will help keep the dust off too.
Oh, and I very much like the fact that your space isn’t perfect, not everything matches and that you’ve used “normal” things and adjusted everyday items to meet your needs.
I have a whole room, we build a new house and my craft space is in what is supposed to be the dining room. I also love that your space is pretty and real, love that you have repurposed things for storage!
Lucky you. Dining rooms are best utilized as craft rooms in my opinion.
Oooooh, this makes me feel half normal again. Thank you. The amount of times I see absolutely PERFECT rooms on Pinterest (in theory) but I just wonder how they would go actually being used. And then I send pics to my sister in frustration and say, “look at this, and and this. Aren’t they amazing?” When deep inside I wonder how well they would work. AND, I have the added bonus of doubling my space with painting. So if you take a look at most artist studios, they’re MESSY. I show her comparisons and just get frustrated. Four years ago, I had a little girl so I had a studio (shed) built in my back garden to house both my art and sewing as I’m in a two bedroom unit (lucky for the backyard!!!) – it’s more than big enough for both – but it’s been consumed by a chilli sauce business so I just hate going down there (it smells and there’s no room). I have my sewing machine set up down there and my sewing equipment accessible, but it’s far from “pretty” … like the ones I see on Pinterest. You have made me feel normal as I still have some things is boxes – fabrics stay in banana/tomato boxes because they are sturdy and have the slide off lid that keeps my fabrics from getting dusty and faded (and now the added bonus of horrible smells from ever brewing chilli sauces). AND, I’ve now thrown all my books from my book shelves in the house down into the empty shelves where once stood all my arts and crafts equipment for me and my daughter. I’ve swapped. We now have all arts and crafts in the house as it’s more accessible. Anyhow, even thought it’s all packed away nicely in tubs etc, it’s higglety pigglety and I pretty well know that as much as I try to streamline it, it will always have an informal, non-streamlined feel about it as there’s always things being added to it and left out because we’re halfway through a project. But yes, your room looks tidy and normal to me and approachable. Practical. It’s nice to see “real” and it looks like it works … For your needs, not for someone elses. Thank you for sharing and making me feel normal … Especially ebcause of the fact after four years, I want to sink my teeth into MY studio and get it working as a studio as it was meant to be.
Thanks for your comment, I’m definitely normal and try to be as real as possible. I do struggle with the internet presenting everything as so polished all the time, even as a blogger it makes me feel bad too. For me a space that is practical where I can find everything is much more important than it looking co-ordinated. Hopefully once you get the ball rolling on your studio space you’ll be re-inspired to get creating.
Have you ever considered light blocking roller shades in addition to or replacing the blinds? Not only would it save your fabric, but anytime you wanted natural light it would be simple to roll them up.
I also noticed that you left the hinges on the door for your trestle table and wondered why, I just cringed when I saw that because I would be knocking my knuckles and catching things on it every time I passed by.
I do like the way you’ve used every inch of space and I envy your sewing room.
My Venetian blinds are very good at blocking light, i suppose the light damage comes from just having the blinds open when I’m working- many years of it just builds up. I suppose I need to use my fabric rather than just store it.
Also re the hinges, they drive me mad and I just hit my elbow on it for the zillionth time. They are well painted on and I need to get a chisel or an angle grinder to cut them off.
Loved to see your working space, very well organized for a relatively small space and as someone said above…makes me also feel kind of normal 🙂 I also have a dedicated sunny-all year-long sewing room and had the same problem with fabric (and thread spool) fading before. I solved it just by laying one sheet of yellow cellophane over each fabric basket and spools area -it blocks sunlight and you can always see where things are, just make sure it is yellow.
Yellow cellophane! That’s genius. Thanks so much for the tip.
well Cintia, you have inspired me! I too have a glassed in space off my bedroom but that is where the overlap ends!! Mine is much smaller and seems to have way more stuff!! I can definitely use some of your ideas to restore order to chaos.
You’ve got to start somewhere.
Some great ideas for tight spaces! My sewing stuff is in the living room, I’m still working on making decorative ways of hiding it. I currently have several bins/boxes of fabric under a table covered by a large table cloth! could you put some open backed shelves over one of the windows? Either solid wood, shelves hanging from macrame’? Things that don’t fade, or are in boxes, could be stored there. I have some hanging file folders. I’m planning on wrapping some of my fabric around them to store in my wooden file cabinet. That way it’s out of the way, but in a piece of furniture that looks right in the living room. (It’s the wide kind.) I also have an end table with drawers that has fabric tucked way in it. Do you use power strips? I only have one socket at my end of the room. I’ve found that a little 8″ fan clipped on to a table is enough to keep me cool. Now to figure out a way to build an ironing board that can double as something else, like a table top that can be flipped over……
I only have one power point also, but use a power strip to plug my machines in.
Thank you for this. My husband and I have just finished utilising part of our 3 car garage for my sewing, and craft room ( l make cloth dolls). I used garage shelving for storing and showing my dolls. A boxed shelving unit for storing materials, ribbons and lace. I love your idea of storing cottons in glass jars.
We have recently moved so am still going through boxes and cleaning out at the same time.
I noticed the hinges on your cutting table. If you don’t want to take them off, you could hang baskets/buckets from them. Unhook the wire handle from the basket/bucket, insert it through the hinge and reattach to the bucket. A place for rotary cutter, scissors, pens, etc.
Thanks a great idea.
Wow, after seeing your small space, and how much you accomplish there, I feel inspired. My 3 children are grown, so I have a full 12′ by 14′ bedroom in our house that is totally mine. I outfitted it from Ikea and have put shelves in the closet as well. Unfortunately, I have also managed to fill it up with quilting & craft supplies, which I swear reproduce on their own. After each project I need at least a full day to reorganize & clean up. I will, I will, I will this year clean out and cull through my stash. I have taken your idea of a “fabric fast” and vow/will try not to, buy any new fabric this year. Wish me luck!
It’s so easy to fill up a space with supplies. I suppose the only benefit of having a small craft room is that it keeps my collecting tendencies in check! (although I have taken over a buffet in the lounge room for my yarn storage – but we won’t talk about that).
Hi Cintia. Thanks so much for sharing your creative space. What a wonderful place to work. It’s amazing how there are so many clever ideas for making the most of a small area. I’ve included your post in our latest Top 10 in Craft inspiration roundup. https://craftylikegranny.com/craft-table/ Cheers Jodie 🙂