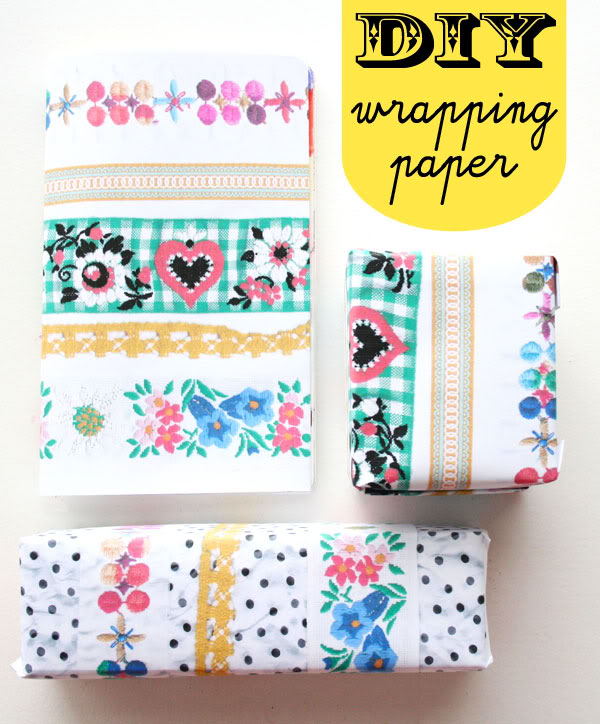
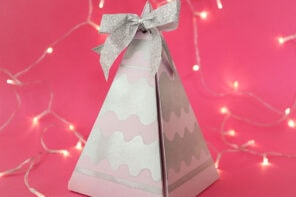
I recently was gifted a small collection of beautiful vintage trims from a friend of a friend. I’m totally infatuated by them and don’t know if I will ever find a project special enough to warrant cutting into them…and then I had a brain wave! Wrapping Paper.
It’s easy to create your own personalized decorative papers, all you need is a scanner/printer or colour photocopier. Get the kids involved, they will love creating their own designs.

How to print your own Wrapping Paper:
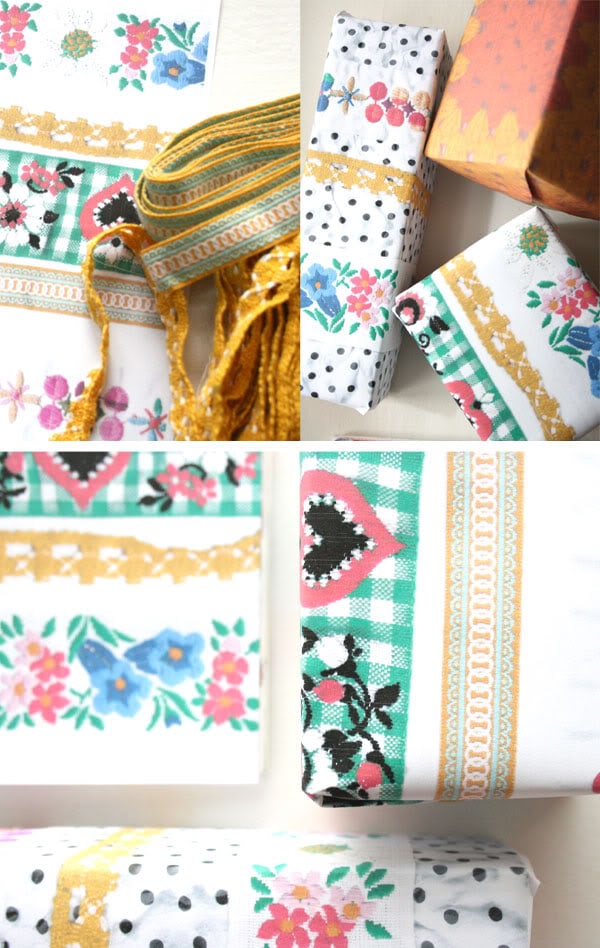
- Gather up interesting and colourful objects. Things that lay flat on the scanner bed tend to work the best.
- Depending on your make of copier, you may not even need to use your computer.
- Lay out your objects face down on the scanner bed, be careful not to scratch the glass.
- I’ve used vintage ribbons and some spotty tissue paper.
- Press ‘copy’ and in a few second you’ll have yourself some super original paper.
- If you have a scanner/printer that takes A3 paper, just enlarge the print for a bigger size.
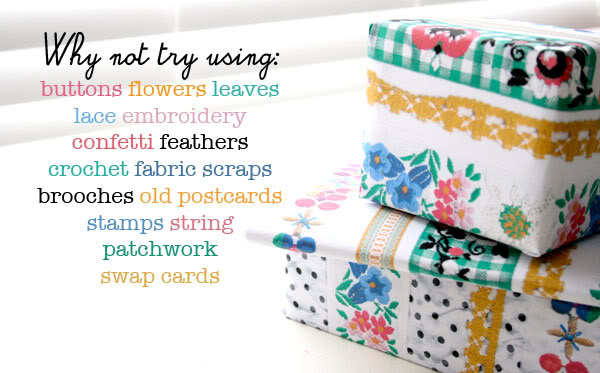
Objects that can be Scanned to make Gift Wrapping:
- Buttons
- Flowers
- Leaves
- Lace
- Embroidery
- Confetti
- Feathers
- Crochet
- Candy wrappers
- Fabric Scraps
- Brooches
- Old Postcards
- Stamps
- String
- Patchwork
- Swap cards
- Ribbons & Sewing trims
- Photos
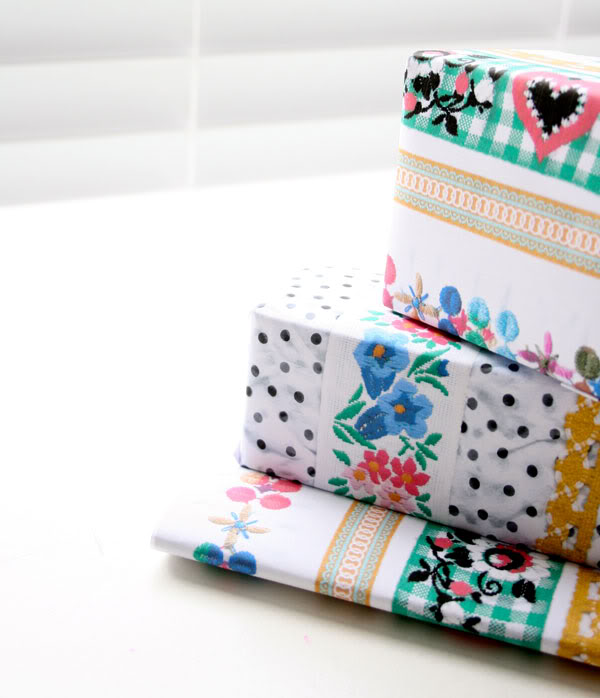
You can use your pretty papers as I have for wrapping small gifts (you may need to join a few pieces together), or covering a note book. But there are so many other uses.
Uses for DIY Wrapping paper:
- scrap booking
- decoupage
- collages
- origami
- kids crafting
- wallpapering doll houses
- making pretty envelopes
- personalised stationery
Just remember that some objects you copy may be subject to copyright so its best to keep the papers you create for personal use only.
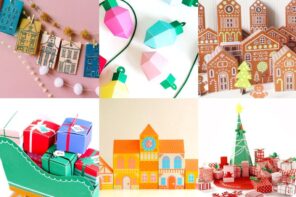
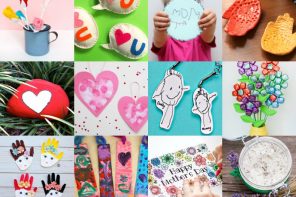
You may enjoy these Gift Wrapping ideas:
Love it!!!! Going to def try this one ��
Fabulous idea, thank you x
I am inspired! Off to the scanner i go!
What a brilliant idea! I LOVE this! thanks for sharing!
Oh, what a clever idea! It looks so beautiful! The shadows on the dotty paper give such a nice depth. I am so bookmarking this for the future…
Fine
So fantastic! Love that you can add the extra personalised touch to the pressie! Thanks for sharing.
Thanks for your encouraging comments. I'd love to see some of your scanner creations over on the My Poppet facebook page https://www.facebook.com/mypoppetshop
Waouh, very amazing ideas ! Very beautiful !
Fabulous! What a brilliant idea to scan those beautiful braids. I'm with you – I'd never be able to cut them up and would just admire them in my stash but this way you can let everyone enjoy their prettiness.
Such a good idea! It looks awesome. Fantastic way to personalise gifts
so great!
😉
Wow! What a way to share the ribbons and thread I love so much (but can't bear to give away).
Laura x
I’m in LOVE with your site and the photography is amazing as the projects! Thankyou!
sometimes you just need to whacked with a good idea! – thank you sew incredibly much for this idea!
this is soooo brilliant and smart, thank you for this great tute and idea of yours . i like it !!!!
Ah! Best idea ever!! I too have vintage trims that I can’t find a project precious enough to warrant their use… but this, this is perfect! Thanks 🙂
I tried this today, but I made my own writing paper and envelopes, instead of wrapping paper. I used trims, buttons and confetti. And it worked out great! Thank you much for this lovely idea!
great idea!