Do you remember making paper chains as a kid? We would always make them at school to decorate the classroom for Christmas – such a fun and easy way to add some colour. But what happens when the holidays are over? All that paper doesn’t store well, so into the recycling it would go.
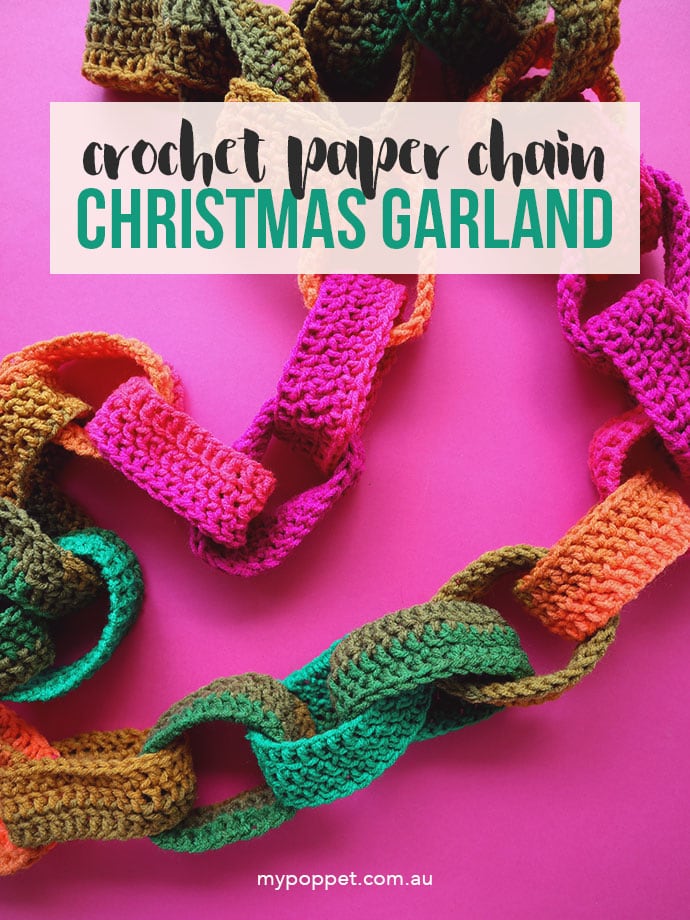
Well I’ve come up with the perfect solution that combines the nostalgia of decorating with Paper Chains for Christmas, with the longevity of yarn. Yes a Crocheted Paper Chain Garland that can be used over and over.
Brought to you by American Yarns
This Crochet Paper Chain is nice and squishy so it’s easy to store, you can even wash it if it gets a bit dusty!
There are lots of versions for crochet chains floating around on the web but most of them required sewing crochet rectangles together. I’m too lazy for that, so I devised my own no-sew pattern that grows a chain as you crochet.
The best part is the yarn! No need to buy lots of different colours (unless you want to of course), I’ve found a magical colour changing yarn that makes a cool ombre style chain. So very on trend!
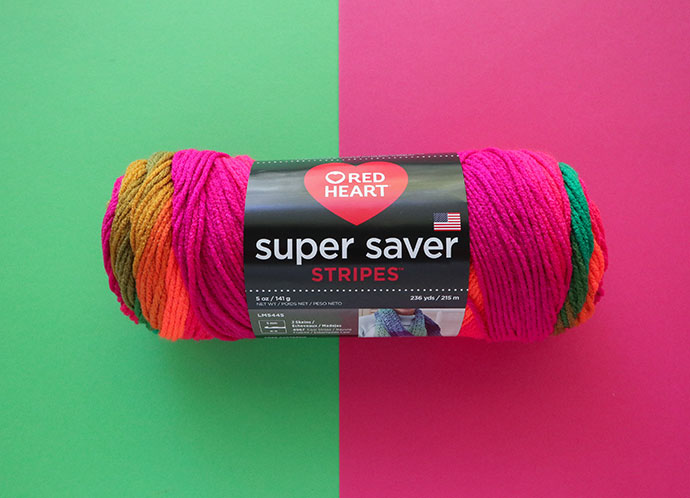
It’s Red Heart Super Saver Stripes – colour Preppy Stripe available from American Yarns.
Normally I wouldn’t give this yarn a second look, it’s pretty bright, almost neon, and being a budget acrylic yarn, it has that ever so slight plasticy feel that some acrylic yarns tend to have. It’s not too bad to work with as far as budget yarns go, and to be honest it’s much nicer than many local acrylic yarns that I’ve encountered.
I probably won’t be making a sweater with it anytime soon, but for kids crafts, decorative projects and making pom poms it’s pretty great, and the large balls go a long way.
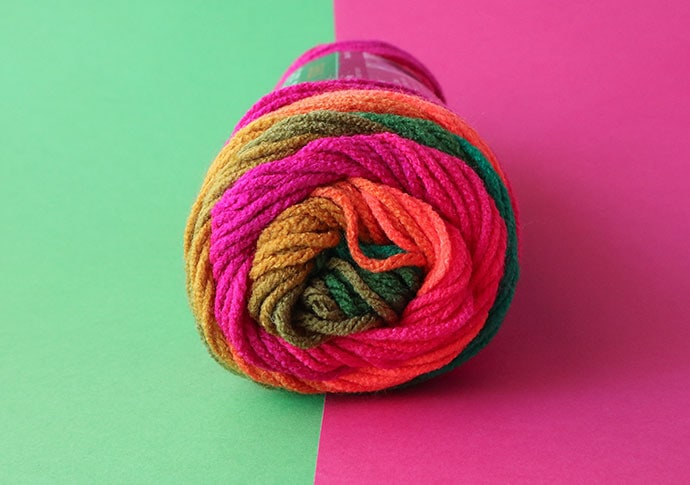
This project was inspired by the vibrant Red Heart Super Saver Stripes because I wanted something to really show off the colour changes, and the chain did the trick perfectly. I love how each link changes colours, it was a really fun project to make.
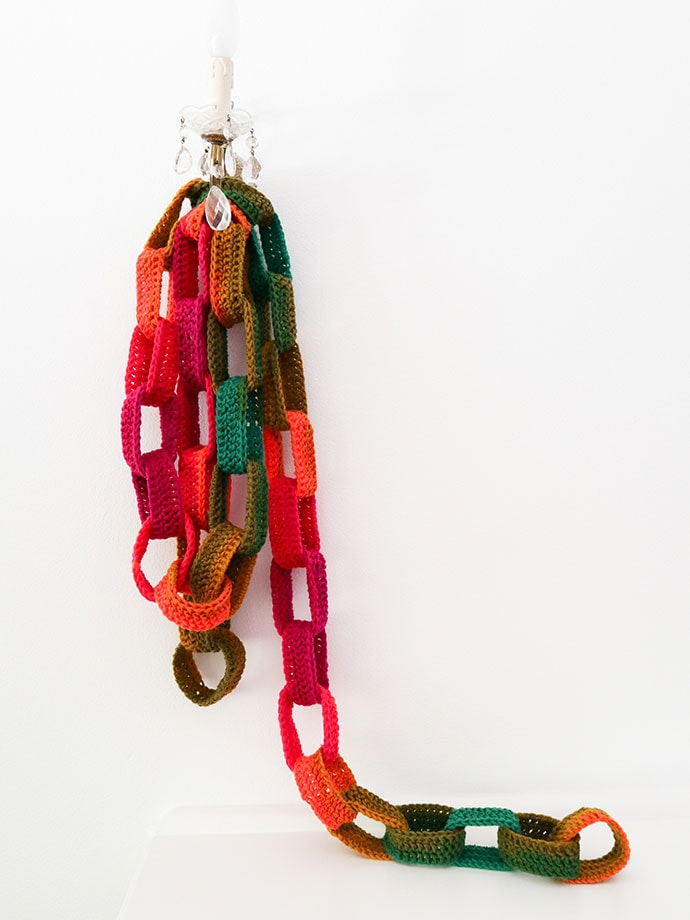
I’ve used 2 balls of yarn to make a chain about 3.5m long (35 links), but the length is up to you. Make the chain as long as you like. It would be fun to add a few links every year, what a great idea for a crafty Christmas tradition.
This crochet paper chain pattern is very easy, the yarn does all the hard work for you.
Crochet Pattern: Paper Chain Christmas Garland
Finished Measurements: Length 3.5m
You will need:
- 2 balls Red Heart Super Saver Stripes -colour Preppy Stripes (10ply)
- 5mm Crochet hook
- Finishing needle
- Scissors
Stitches used (UK terms):
- ch – chain stitch
- sl – slip stitch
- tr – treble crochet (UK) = dc double crochet (US) – instructional video here skip to 1:19
Gauge: not critical to project outcome
Written Pattern Instructions:
Each chain link will be worked in a cylinder shape, with 3 rounds of 30 st each.
To make first link
ch 30 loosely, join onto last stitch of chain tail with sl being careful not to twist foundation chain.
Round 1: ch 2, (this counts as first tr), 29 tr into each foundation ch stitch to end. (30 stitches)
to close sl to top chain stitch of 1st equivalent tr.
Round 2: ch 2, (this counts as first tr), 29 tr into each tr stitch in the previous round to end. (30 stitches)
to close sl to top chain stitch of 1st equivalent tr.
Round 3: as per round 2, breaking off yarn after last sl.
To make successive links
As per the first link but after ch 30, pass the chain through previous link before sl to join. Make as many links as desired.
To finish – weave in all ends.
Step-by-step Pattern Instructions:
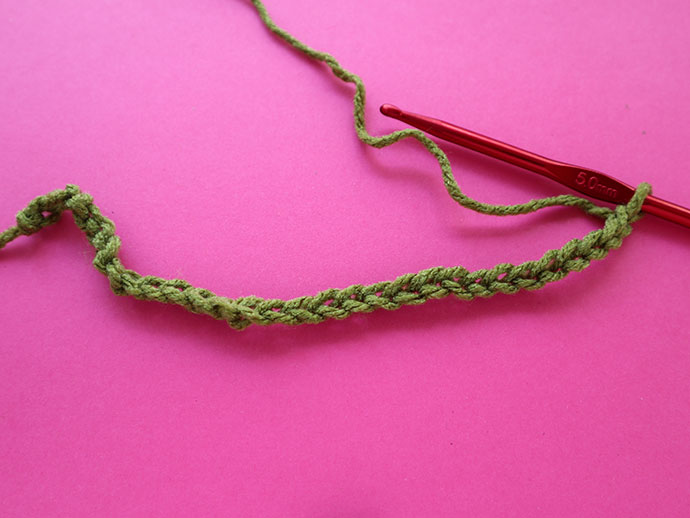
1. Chain 30 loosely.This is your foundation chain.
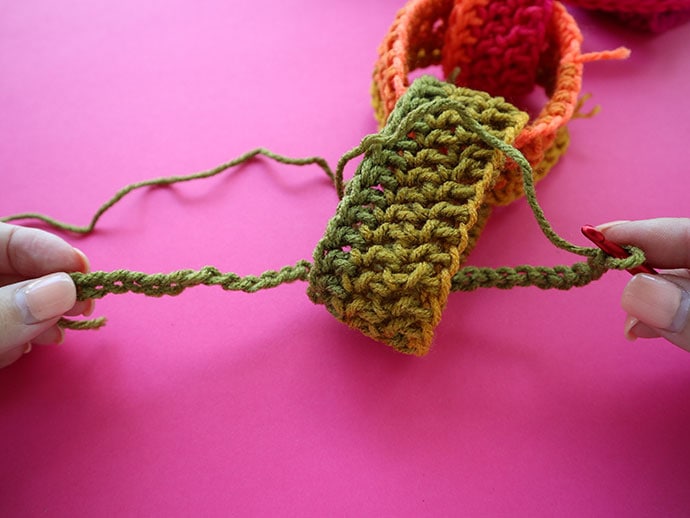
2. Pass the foundation chain through the previous link being careful not to twist. (If this is your first link follow the same instructions).
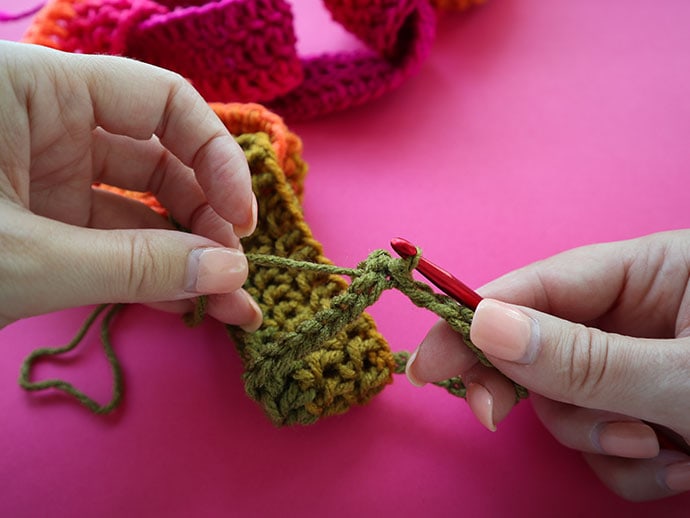
3. Join the ends of the foundation chain with a slip stitch to make a circle (loop).
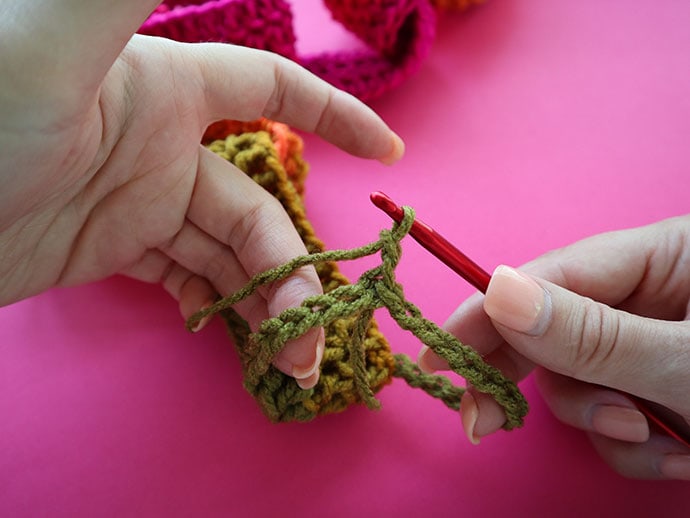
4. To start round 1, chain 2. This will count as a treble (tr) stitch.
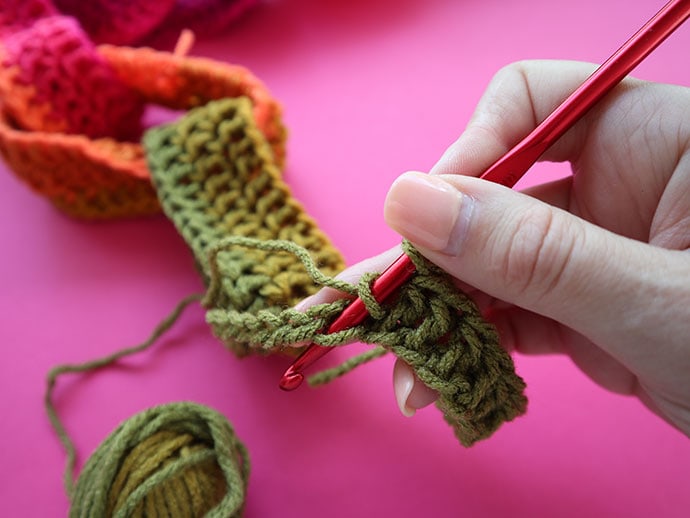

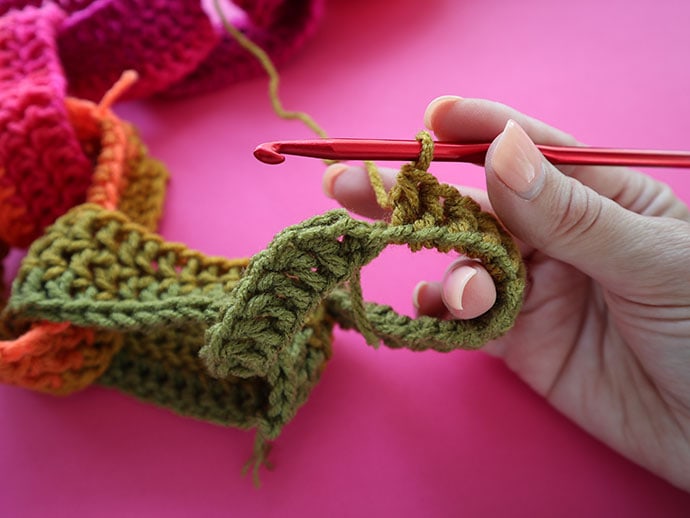
5. Work along the foundation chain making one treble stitch for each chain stitch. There should be 30 in total counting the first (2ch). Keep going all the way around.
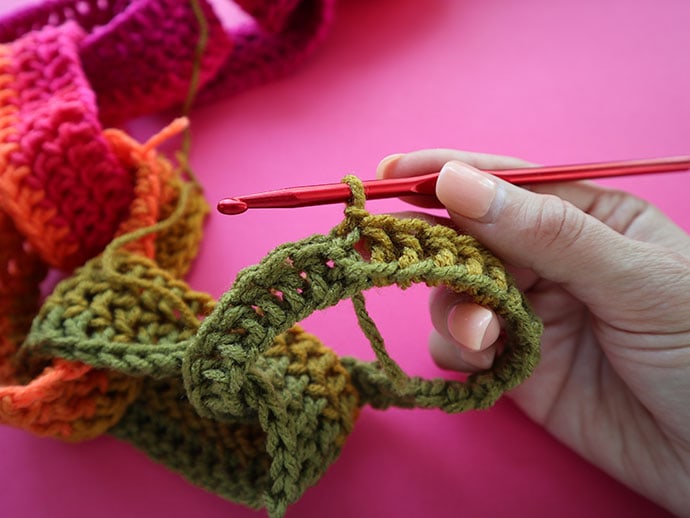
6. When you’ve done with the 30 stitches in row 1, slip stitch to join into the first stitch in that round. Now Round 1 is complete.
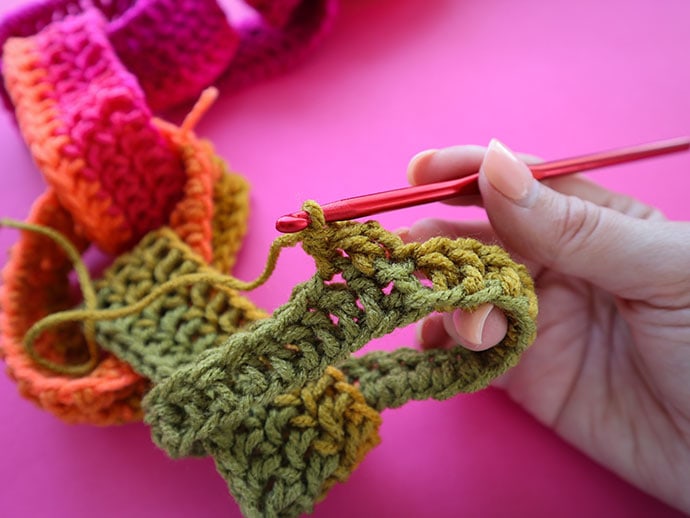
7. For round 2 do the same as round 1, but crochet into the stitch in the row below (instead of foundation stitch).
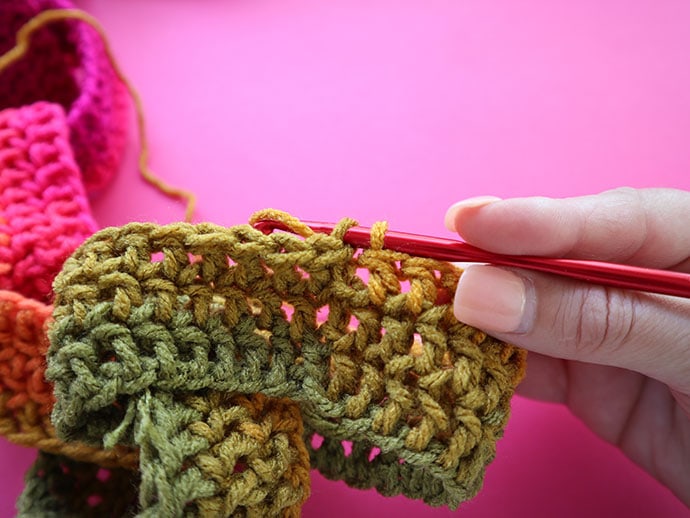
8. Carry on until you’ve made 3 full rounds and then slip stitch to close the round.
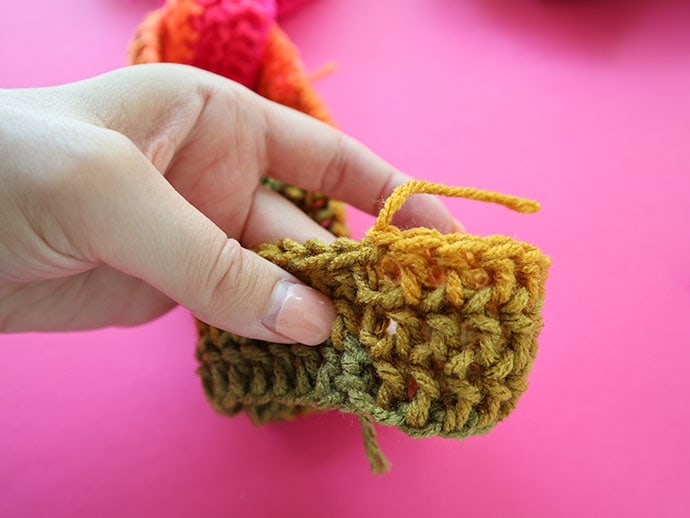
9. Break off yarn and your link is complete. Make another 34 (or however many links you like).
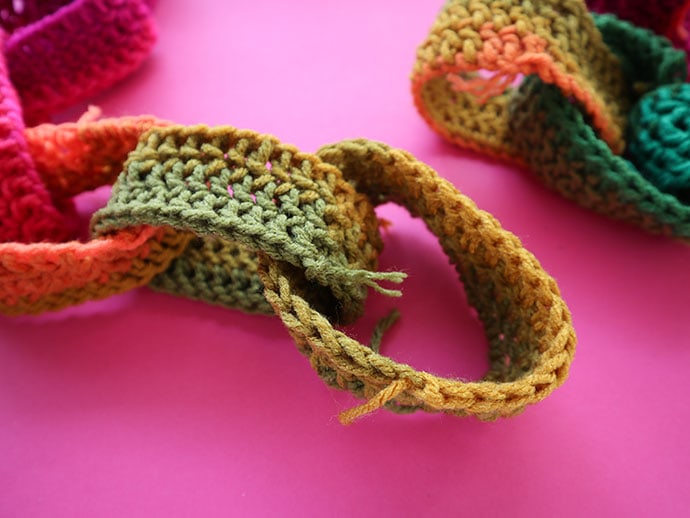
10. Weave in ends with a yarn needle to finish.
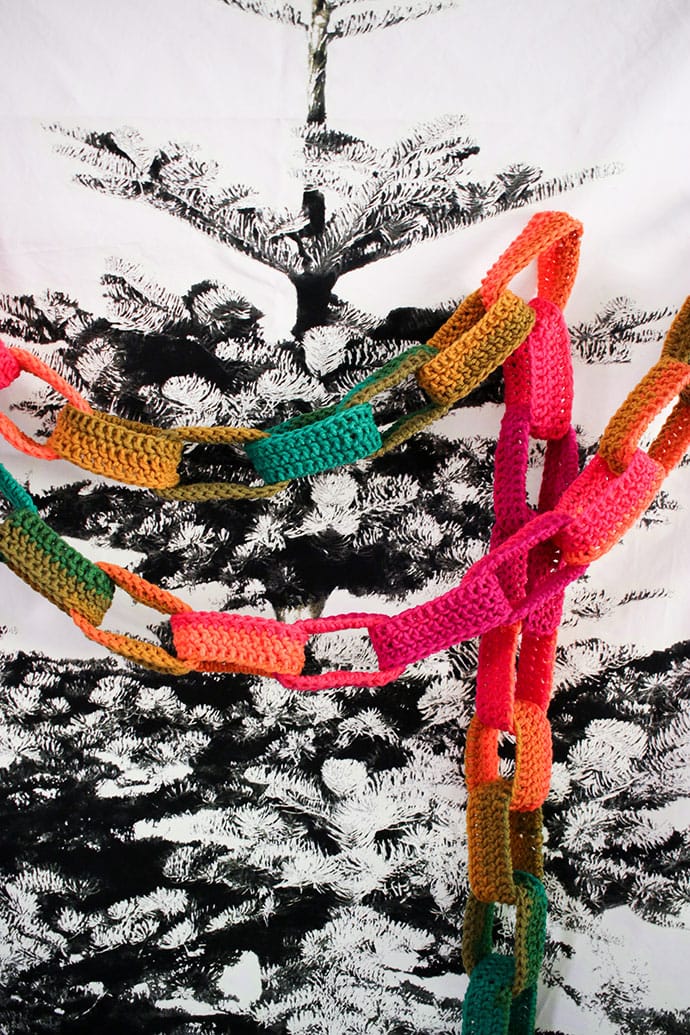
I found the link making quite addictive. It was really fun to watch the colours change as the chain grew and grew, I was tempted to carry on and make it longer, but had to stop so I could take photos and write the pattern for you.
I hope you make one too. Hang on your tree, over your mantle, or anywhere that needs a little festive cheer!
You can purchase Red Heart Super Saver Stripes yarn from www.americanyarns.com.au
LOVE IT? PIN IT!


This chain is nostalgic and cute and colorful. . . oh, I just love it! Thank you for the directions!
What a fantastic idea! The self-striping yarn is perfect for this type of project and I really like the idea of adding to it every year! 🙂 Lisa
I’m obsessed with this. Wondering if I will have the willpower to finish at least one current project before I start this. 😉
Lol that’s funny! You don’t even want to know how many unfinished projects I have laying around 🙂
These are so cute and I love the idea of adding new links every year. Making your own decorations is such a nice family tradition.
I wish I could crochet as I’d totally make these! It’s on my list of things to learn one day! Thanks for the instructions, I’ve saved them for a rainy day 🙂
Brilliant. To do it in already interlocked cylinders…blowing my mind. Definitely “pinning” this on Pinterest!!
Can’t wait to make my chain. Hope my sister will add a link next year and that her daughter and son eventually add links as well.
Seems like a great way to use up leftover bits of yarn. It wouldn’t even really matter if they were different weights as long as the loops came out about the same size….