Ok, put your hand up if you dread sewing buttonholes. Most sewing machines have a either a manual or automatic buttonhole setting that can make your life a whole lot easier.
My old machine had a manual 4 step buttonhole, which meant I had to manually change the settings between each stage. It was simple to use, but getting a consistently sized buttonhole was difficult.
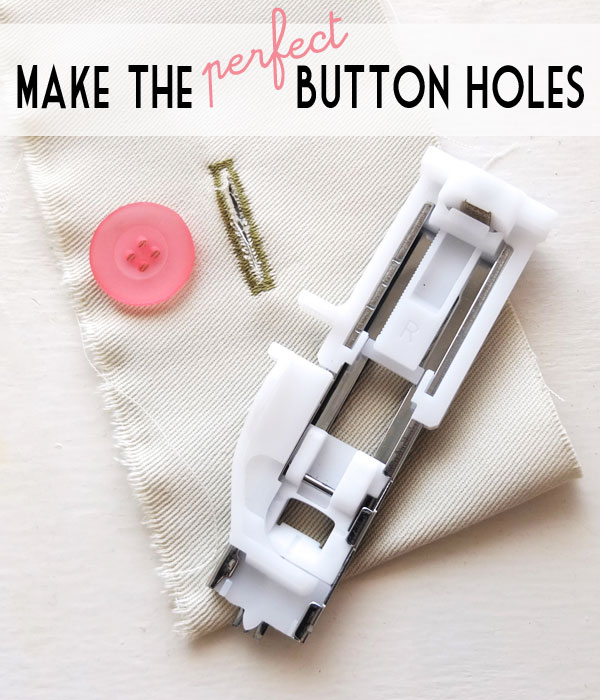
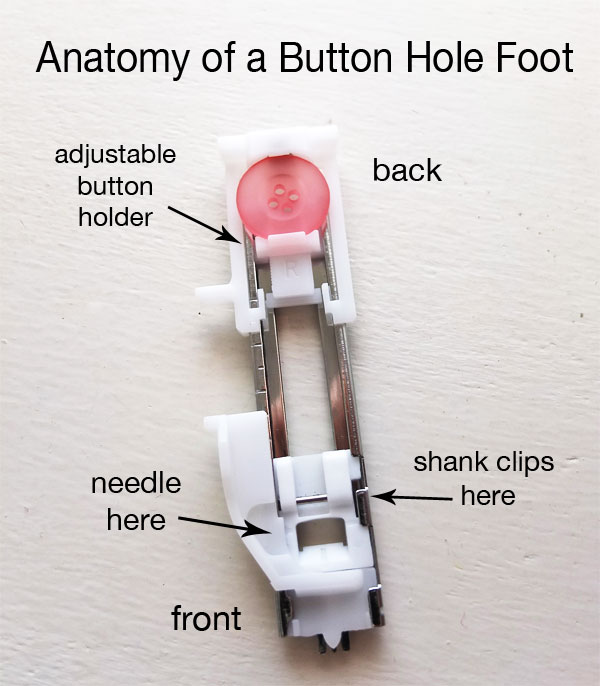
Now my new machine has an Automatic buttonhole setting which uses a special buttonhole foot to measure the size of the buttons and makes a perfect buttonhole every time. I recently made a duvet cover with a button closures (will share a How To soon), and fell in love with this little contraption.
It looks a little complicated, but once you see how it works, you’ll love using it too.
I’ve created a video to explain how to use it.
Yours may look slightly different, but the theory behind how it works should be the same.
I’ve made a little video so you can see the automatic buttonhole foot in action. It’s really quite a nifty little accessory. There are also some tips on how to cut your button hole.
How to use and Automatic Buttonhole Foot
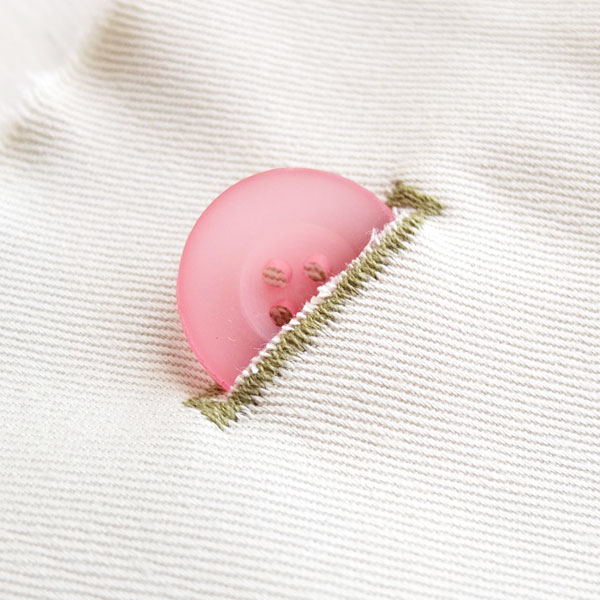
How easy was that? Now you can create consistent and perfectly sized button holes every time.
Are you intimidated by all the accessories in your sewing machine came with?


I found your blog via the nuffnang blogger program and I'm so glad I did!! Thanks for sharing.
The cutting part is always where I fall apart, so thanks for the tips!
That's fantastic… I have that foot, but my machine does not have the pulldown lever that does it automatically. But I use the foot anyway… and do the changing manually. It would be nice to see some videos that do it both ways… because not everybody has the newer fancier machines.
Yes it's true that every machine is different. I'll try to remember to film a video when I am using my more basic machine one day. Thanks for the suggestion.
I got this function with my beasty little Janome, purchased 15 years ago now. It works fantastic, except last time I made a buttonhole, I forgot to put the lever down. Will never make that mistake again – I had to unrip that buttonhole 3 times! 😉 Now if only I could work out how to make a consistent 1/4 inch seam, I'd be a happy sewer! I have the special foot for it, but it must be off, or maybe it's operator error.
You know what they say. Practice makes perfect.
I'm excellent at seam ripping too.
😉
You are an absolute gem for sharing this! I tried playing with that funny looking button foot the other day and thought it all too hard… Think I'll give it just ooooonnnnnnneee more go 🙂
Sophie xo
Thank you so much for posting this video!! I never went to the trouble to find out how to use my buttonhole foot, but now I will try it!
I don't know where I would be without automatic button hole creator. They just need to invent an automatic zip inserter and I will have it all sorted.
I found your blog via Pinterest, thanks for sharing. I recognize your Aussie accent, my husband was born in NSW. I have a Pfaff sewing machine and while viewing your video I had to check if I had a pull down & to my surprise I have. Your video really showed how easy it is with the right tools & knowledge we can all sew buttonholes, thanks again, love it…
Thanks for your comment Elizabeth. I hope you have fun experimenting with your button hole foot, as you can see it’s quite simple when you know how.
Holy cow! I have been avoiding putting buttons on anything since I got my new fancy-schmancy machine and now I feel way more at ease. Many, many thanks to you!
Now you can go button mad!
Love the tutorial! I’ve been struggling to use my button hole function and I’m about to try again!
I do have a Elna machine (a different model from yours)and this foot but I have had a terrible time getting it to work. The problem is that it would sew the large anchor stitchses and then would travel up and do the left side stitches but when it got to the back anchor stitches it would just keep stiching. It made a giant, thick back anchor and would never travel forward, down the right side to complete the buttonhole. BUT I didnt know about the little pull down lever-I cant wait to get home and see if mine does it. Thanks
without the lever down the buttonhole will just go on forever 😀
Hi! Thrilled to see your video since I have that dandy gadget, but I hadn’t used it in years. However, a problem: I have the stop lever, and in the right place, but after side 1 is done, the stitching just makes a huge pile of thread at the end point instead of reversing direction for the other side. Any idea what could be wrong? I’ll be grateful!
Does your machine do automatic button holes or manual(4 step) button holes. Some machines require you to switch to a different setting for the reverse section. Otherwise there may be a fault with the mechanism.
yes, I think it must be my machine setting. –it’s one I haven’t used much yet. It is set to a buttonhole setting and the buttonhole icon has the letter R below it but there does not seem to be an equivalent “L” setting. I will experiment more soon. Thank you!
I would like to order the button foot. How can I do so?
Contact your local sewing machine dealer – they should be able to sell you the appropriate accessory for your sewing machine model.
Thanks for sharing it was really helpful.
http://www.stitchadress.blogspot.com
Hi Cintia, your video was very helpful. One question, though: how does it manage buttons of varying thickness? It looks like it measures length only.
Yes thick buttons like domed buttons will need a larger hole. I would suggest measuring around the body the domed button with a ribbon and then finding a flat button of a similar size (so the ribbon wraps around it). Then use that in your foot. Make a few sample button holes to see if your length needs tweaking.