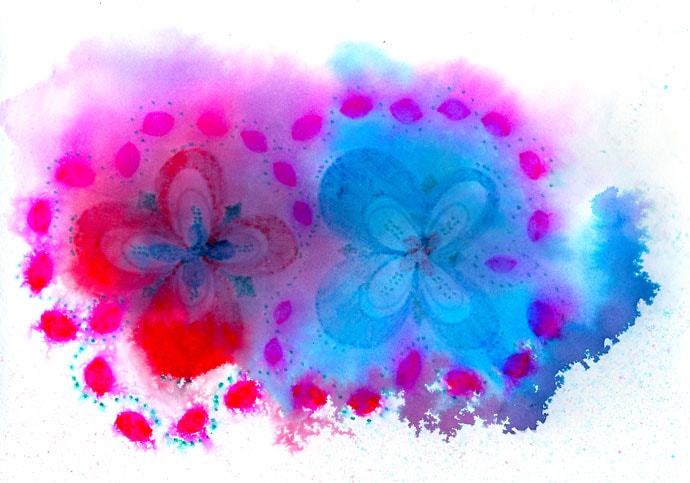
Some of the best creative notions come about from happy accidents, like today’s Kids Art Activity Project, Colour Bleed Art.
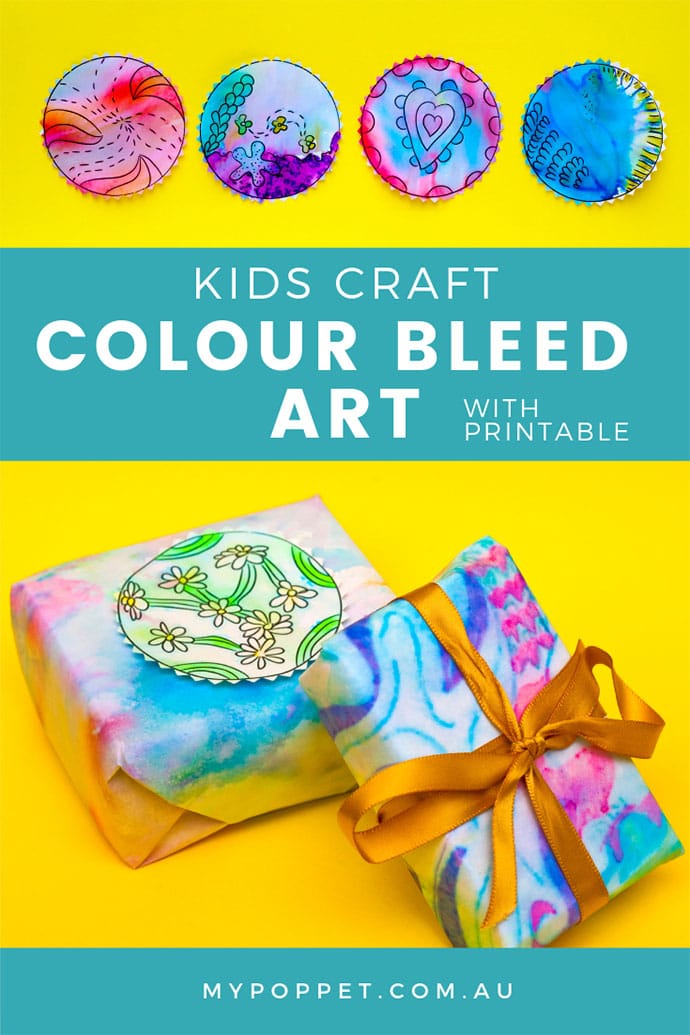
Recently my youngest created a sweet little mermaid illustration with felt tip pens. She was disappointed however to find that her art had sustained water damage. Yes, it happens if we leave artwork where food and beverage prep takes place, like say, the kitchen!
Much moodiness was however averted when I shared with her the beauty of the water stained art, which had bled and saturated her illustration into a hyper realistic underwater setting.
The illustration was wonderful to begin with, and now it was pure magic to gaze upon. The little one skipped away with lightness in her heart, and a renewed belief that her art had not been ruined, but enhanced by some serendipitous water staining.
And this little story is the creative inspiration for this Colour Bleed Art tutorial, such a fun kids art activity.
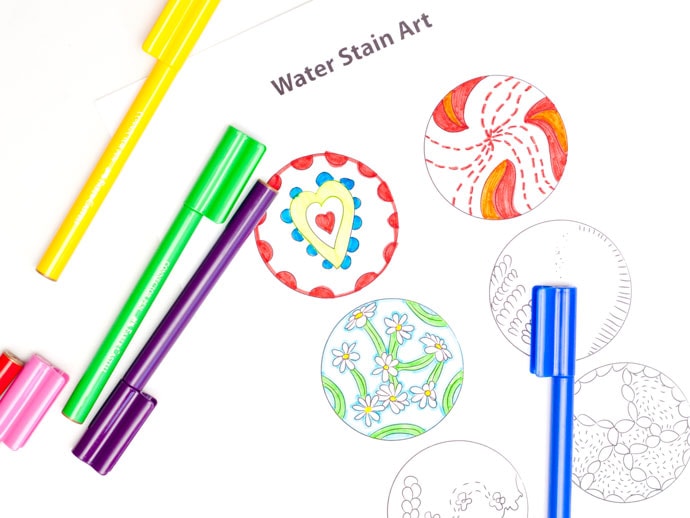
I’ve created a printable template with designs to colour in that you can then artistically water stain to create unique mini artworks.
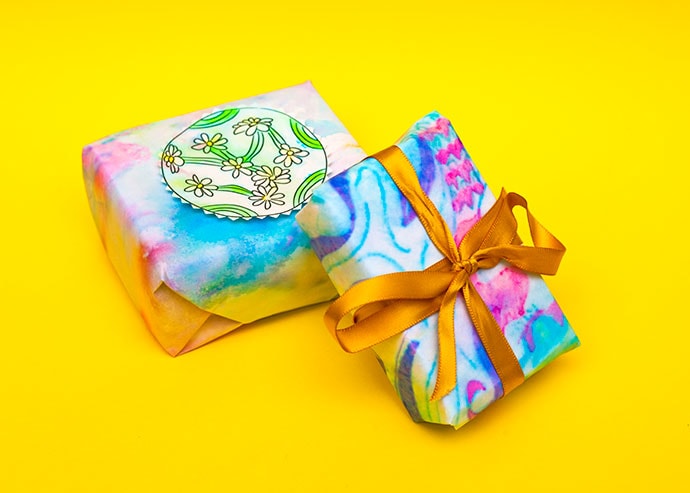
Kids Art Activity – Turn that Water Stain into a Work of Art
You will need:
- 2x sheets of printer paper
- Water based Felt tip marker pens
- Water spray bottle filled with water
- Paper towel
- Iron and ironing board
- Printer (optional if choosing to print template)
amzn_assoc_placement = “adunit0”;
amzn_assoc_search_bar = “false”;
amzn_assoc_tracking_id = “mypoppet-20”;
amzn_assoc_ad_mode = “manual”;
amzn_assoc_ad_type = “smart”;
amzn_assoc_marketplace = “amazon”;
amzn_assoc_region = “US”;
amzn_assoc_title = “Need Supplies?”;
amzn_assoc_linkid = “db4ee7ed3d64e6812ccb33f0e52b02c5”;
amzn_assoc_asins = “B001E6F108,B000H88PCU,B01AX6RCD8,B009ZMP31K”;
//z-na.amazon-adsystem.com/widgets/onejs?MarketPlace=US
How to:
1. Download and print the template at 100%.
2. With your felt tip marker pens, colour in the template designs. Go to town with this, using lots of different colours.

3. Mist your coloured-in template using the water spray bottle. You can re-purpose an empty and rinsed out ‘cleaning product’ spray bottle for this.
The water will bleed, saturate and mix the colours on the paper. How amazing is this!

4. Move your template around to get the colours running over the page, if you so wish. This reminds me of marbling.

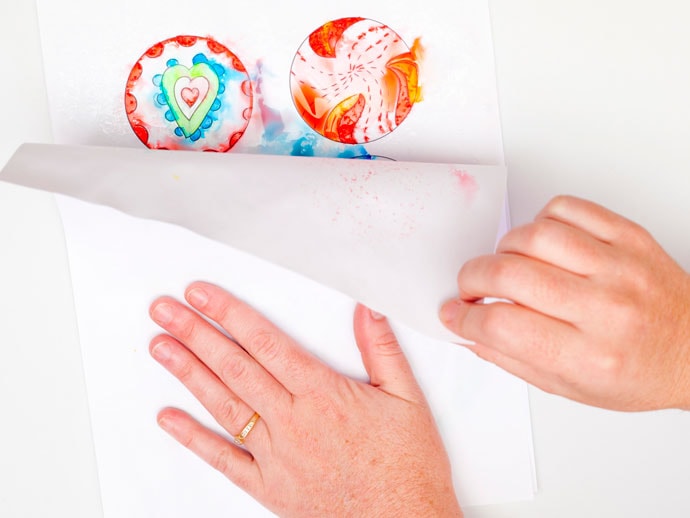
5. Place a piece of paper over your wet artwork, and press together to soak up excess water. As an added bonus you have now created a semi-transferred print (art in it’s own right).
6. To dry and flatten your artwork you can use an iron. Set the iron to low, and switch the steam setting to ‘off’. Place the artwork on the iron board with a paper towel covering it. Gently iron press the artwork.

7. To finish fully drying out your colour bleed artwork, put the template outside in the sun to dry or leave in a warm dry location, like near a heater.

Now there are lots of different things you can do with this creative colour bleed art technique. Use your artwork as wrapping paper, turn it into a card, frame it, or even use it for scrapbooking.

What will you do with it?
You can do this kids art activity without the printable template. Come up with your own illustrations and experiment with your own shapes and patterns. You can also try doing this with thicker paper, to produce different visual results.

