
Valentine’s Day is an opportunity to show our love… our love of craft to the people we care most about.
With my love of letter writing, and sweet mysterious notes in mind, I have produced for you a Valentine’s Day message pouch straight from the heart.
A fun little project that kids can make and give to their friends or family. Only basic craft supplies are required.
I’ve made a bright pink paper heart, but you can choose any colour you like. If you have the recycling bug, the cardboard from a cereal box works great for this project, just paint over the printed side.
This Valentine’s Day paper heart project is also great for developing fine motor skills and teaching basic sewing stitches. Younger kids can substitute the blanket stitch featured for a basic running stitch which just weaves in-and-out though the holes.
A printable heart shape template is included.
Make a Paper Heart Pouch for Valentine’s Day

You will need:
- Pink card stock (2x A4 or equivalent)
- Red curling ribbon
- Scissors
- Pencil
- Hole puncher
amzn_assoc_placement = “adunit0”;
amzn_assoc_search_bar = “false”;
amzn_assoc_tracking_id = “mypoppet-20”;
amzn_assoc_ad_mode = “manual”;
amzn_assoc_ad_type = “smart”;
amzn_assoc_marketplace = “amazon”;
amzn_assoc_region = “US”;
amzn_assoc_title = “Need Supplies?”;
amzn_assoc_linkid = “6fd29ea725a2ced08ab5086cfea4b113”;
amzn_assoc_asins = “B078N2FJHR,B00LJO8008,B07JVWDYFL,B07F3V3S57”;
//z-na.amazon-adsystem.com/widgets/onejs?MarketPlace=US
How to:
1/ Print the template at 100%. Then cut out the heart template piece with paper scissors.
2/ Lay the heart template on the cardboard and trace an outline. Repeat this step so you have two identical cardboard heart pieces.

3/ Cut out the two cardboard hearts.
4/ Lay the two cardboard heart pieces together. Making sure to line up perfectly.
5/ Punch one hole at the top of the layered heart pieces, as per the template reference marker.
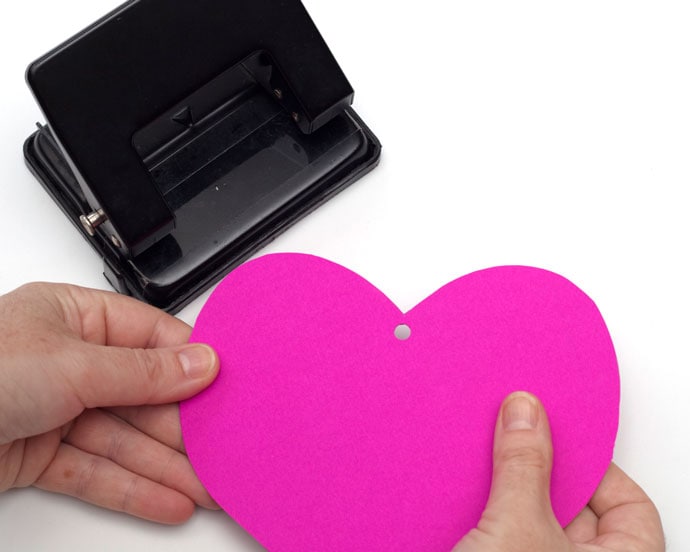
6/ Punch holes along the edge of the layered heart pieces, below the template reference markers.

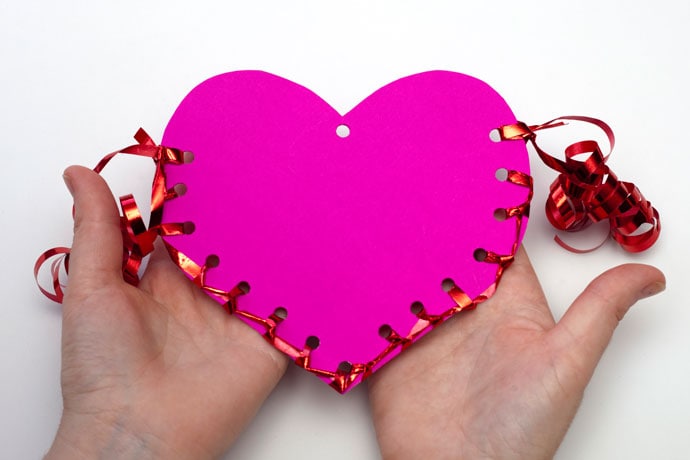
7/ Cut a length of ribbon, roughly 90cm (3ft) long. Feed the ribbon through the first side hole and tie a knot.
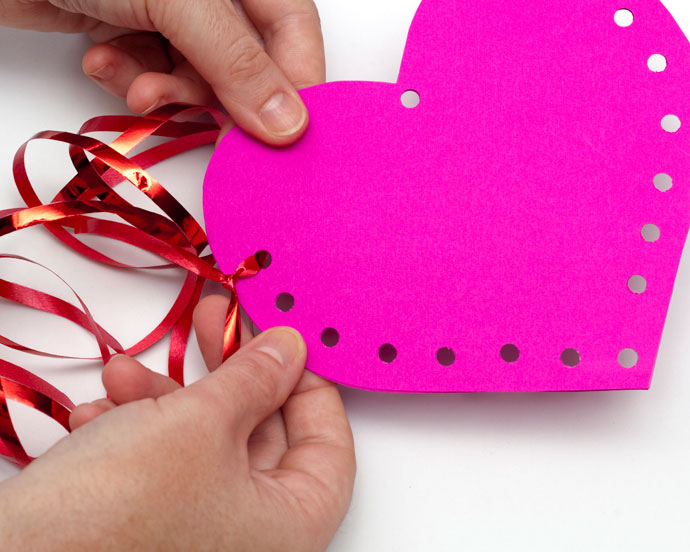
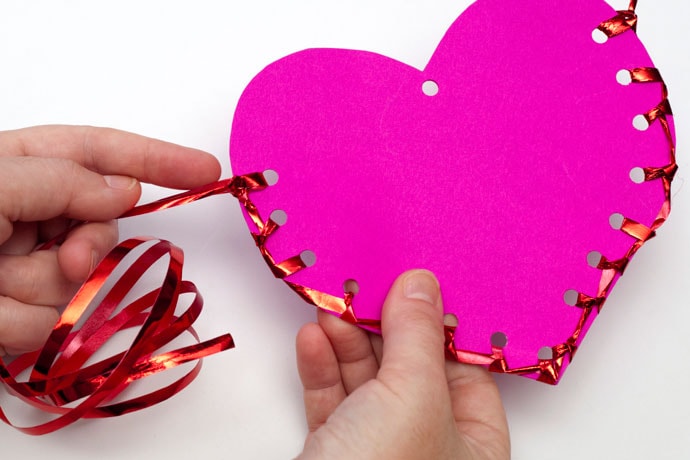
8/ Continue to feed the ribbon through the rest of the holes around the heart, using a blanket stitch (pictured) or running stitch (in and out).

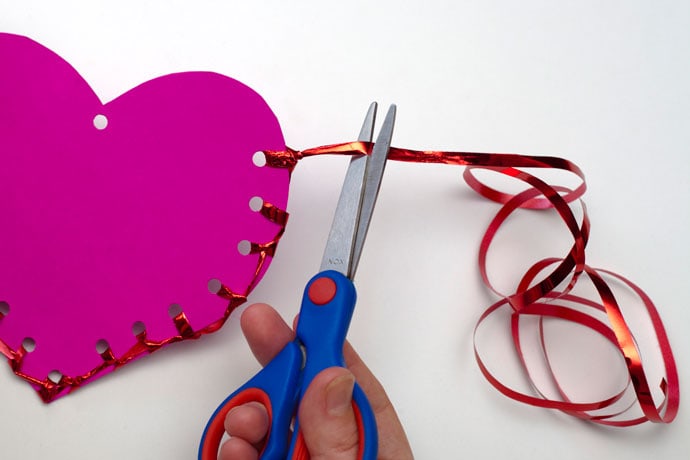
9/ Tie a knot on the last hole and cut off any excess ribbon.
10/ Cut a length of ribbon, roughly 120cm (4ft) long. Feed the ribbon into a hole on one side of the heart and knot in the middle.
11/ To curl ribbon – Quickly pull the long lengths of ribbon across the blunt metal edge of the closed scissors, creating curly ribbons.

12/ Repeat steps 9 and 10 for other side of the heart.
13/ Now you can place your message of love or some little treats inside your paper heart pouch. Write your Valentine’s name on the front of it.
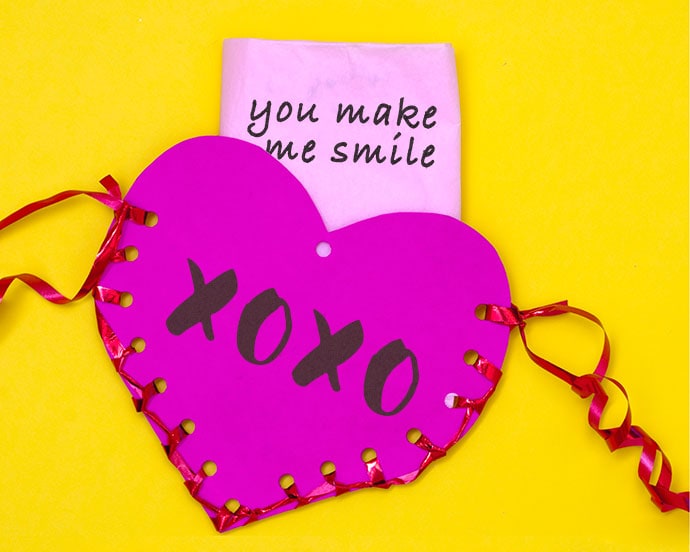
As a special gift, why not attach the Valentine’s Day paper heart pouch to a floating balloon, and deliver your message of love!


Melissa is a hyper creative artist, and content creator.
To see more of Melissa’s work, follow these links –
Balloon Illustration credit Vecteezy!


So cute, thanks for posting!
Thanks, Priscilla! 😀