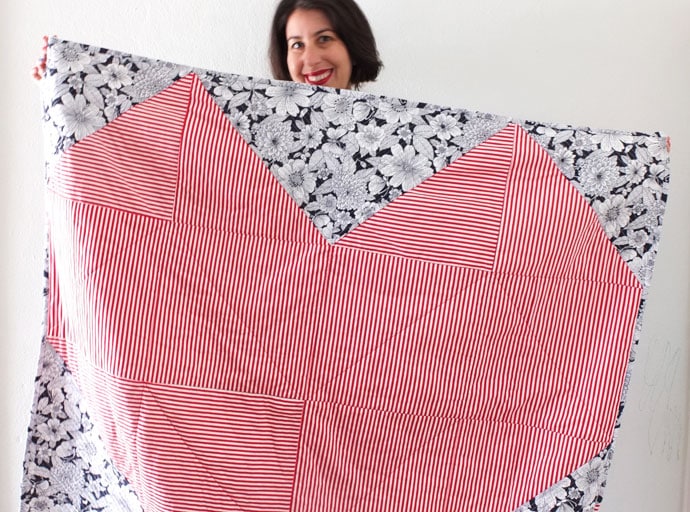
If you fancy snuggling up to someone you fancy this Valentine’s Day, maybe you should make them a Sweetheart Quilt so they can get the hint!
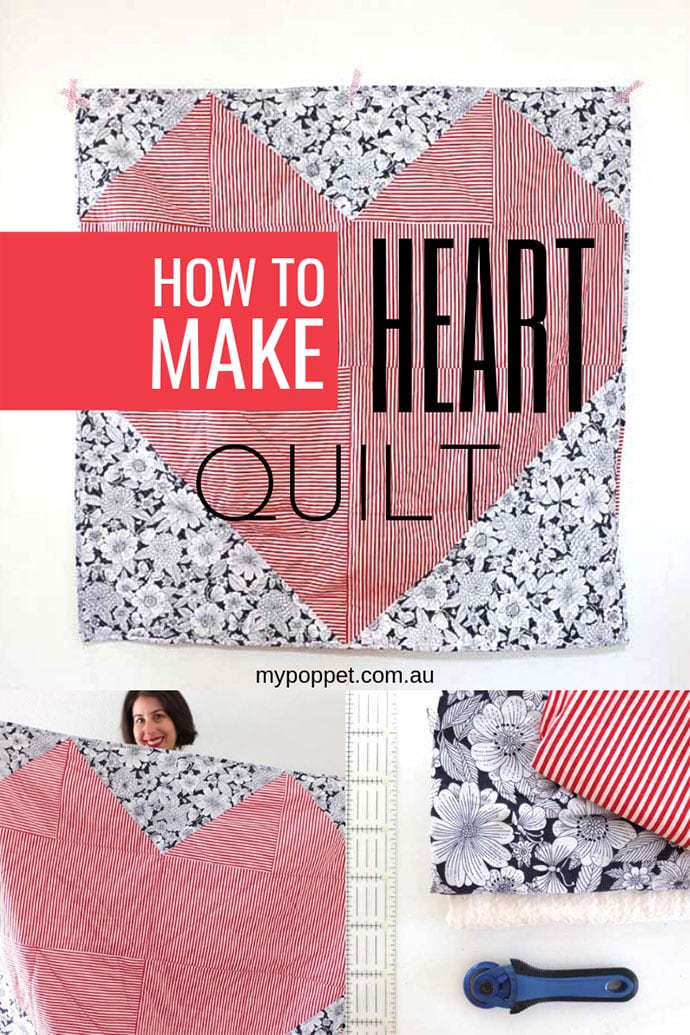
With a whopping great big geometric heart patchworked into the design, they are sure to appreciate the sentiment.
I originally designed this quilt a few years ago as the ‘We Heart Saturdays Quilt’ – Perfect for wrapping yourself up in on a Saturday night on the sofa. The size also makes a great play mat or picnic blanket.
Here’s the original post:
What do you like to do on Saturdays? I like to sew. Having the Mr Man home from work on Saturday means I can handover the responsibility of parenting for a little while, shut myself up in the sewing room, pop on my head phones and make something.
To celebrate the joy of Saturdays in the sewing room, I’ve designed the ‘We Heart Saturdays’ Quilt. A quilt that can be whipped up in one day and enjoyed that very evening.
Of course if you are new to sewing or quilting it may take a little longer, but I’ve included some short cuts if you are pressed for time.
Measurements are in inches but I have included metric conversions for fabric quantities.
Approximate Finished size = 48″x48″ (122cm x 122cm)
You will need:
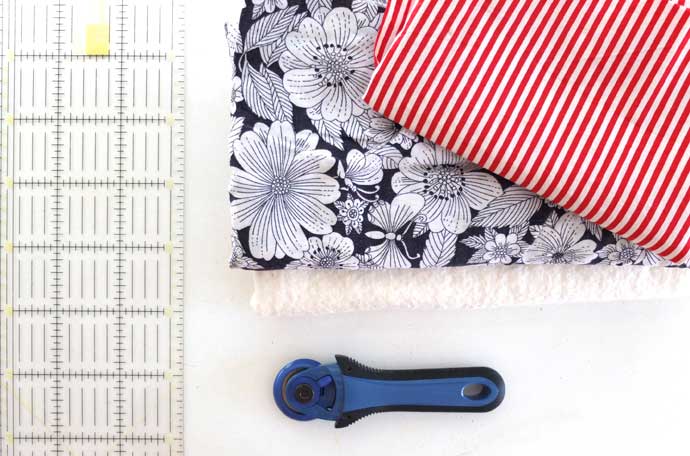
- 1.75 yd (155cm) red stripe or red print, quilting cotton. width min 42″ (110cm)
- 1.25 yd (115cm) black and white floral print, quilting cotton. width min 42″ (110cm) (I’ve used a sheet remnant)
- Quilt batting (cotton or blend) slightly larger than finished size
- Backing fabric slightly larger than finished size
- Matching sewing thread (red and white)
- Rotary cutter, quilting ruler and cutting mat.
- Basting Spray or supplies for basting method of choice
- 1/4″ sewing foot & regular or walking foot
- General quilting and sewing supplies
How to:
Note:
1/4” seam allowance used throughout except for attaching binding.
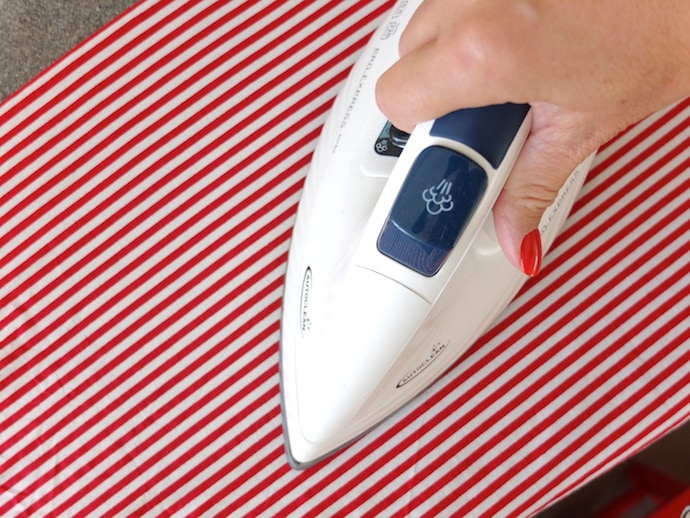
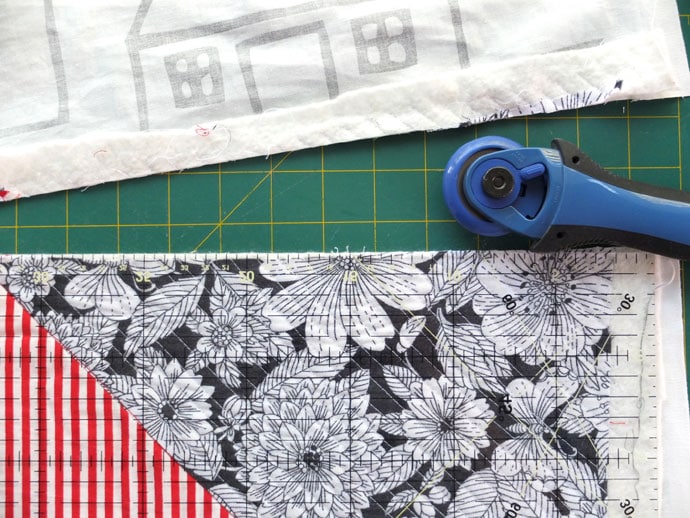
Make sure you iron all of your fabric before you start cutting.
Cutting
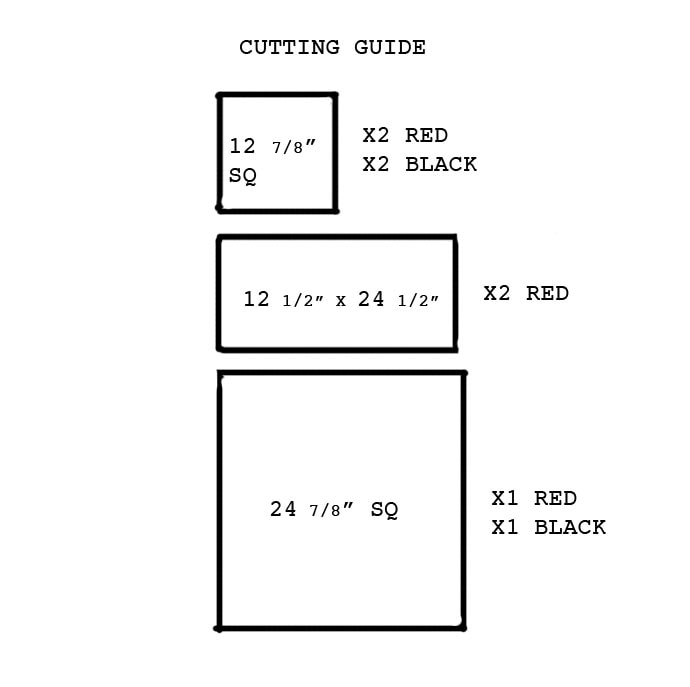
From red fabric, cut:
- two 12 7/8” squares
- two 12 1/2″ x 24 1/2″ rectangles
- one 24 7/8″ square
From black fabric, cut:
- two 12 7/8” squares
- one 24 7/8″ square
- two 2 3/4″ (7cm) strips across width of fabric for binding
Top Construction
1. Join the two red rectangular piece, short sides matching to make one long rectangle (12 1/2″ x 48 1/2″)
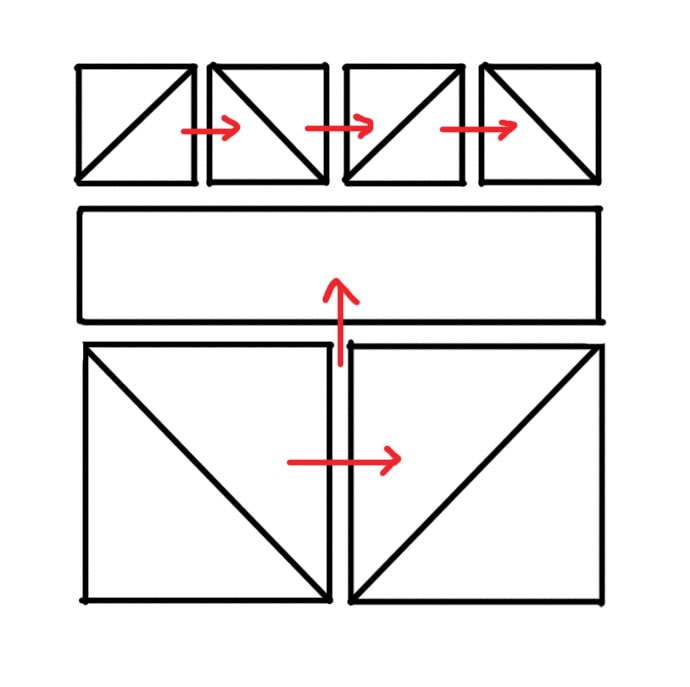
I’ve discovered an easy method of creating triangles shapes without too much messing about, it’s called Half Square Triangle, here’s how.
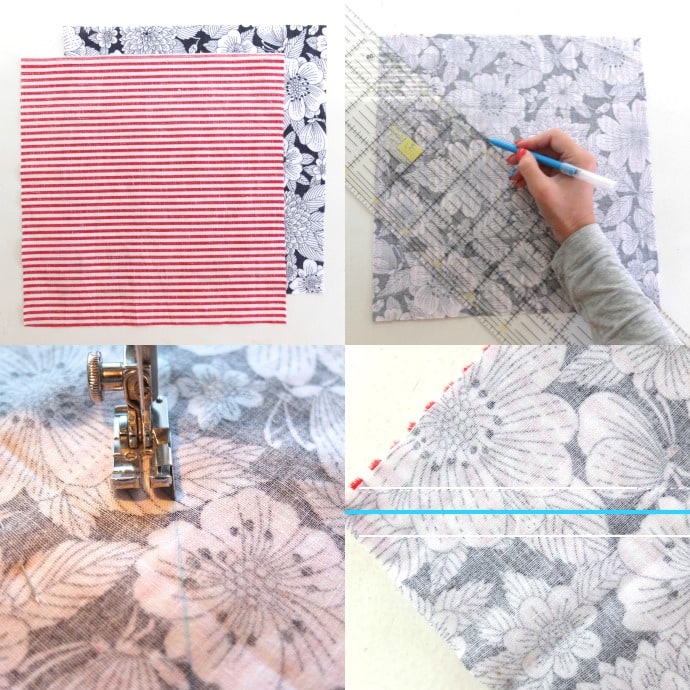
a. Lay matching sized squares over each other, right sides facing.
b. Rule a line diagonally corner to corner.
c. Stitch a 1/4″ seam on either side of marked line. (I’ve enhanced the markings on the last picture to make it easier to see)
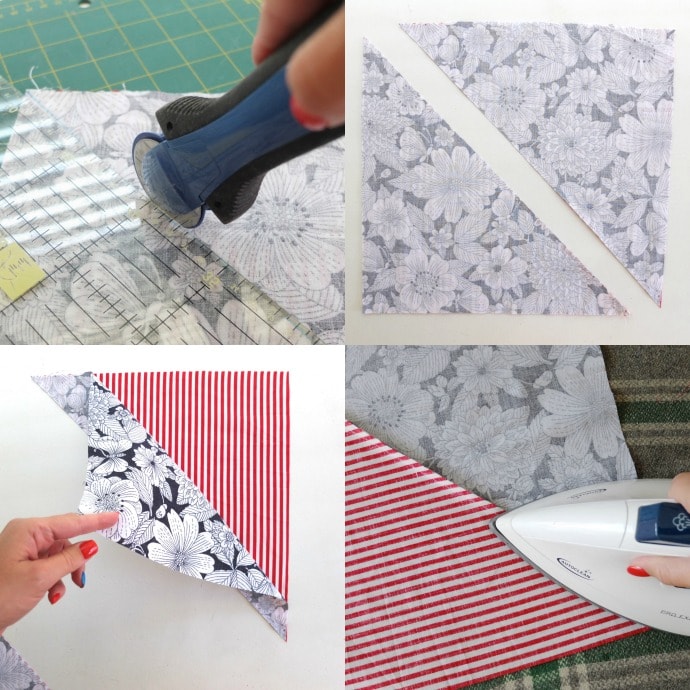
d. Cut along the center marked line.
e. Open each triangle and press.
2. Use the half square triangle method on 2x small squares and 1x large square of each colour to make:
four small half triangle pieces and two large half triangle pieces.
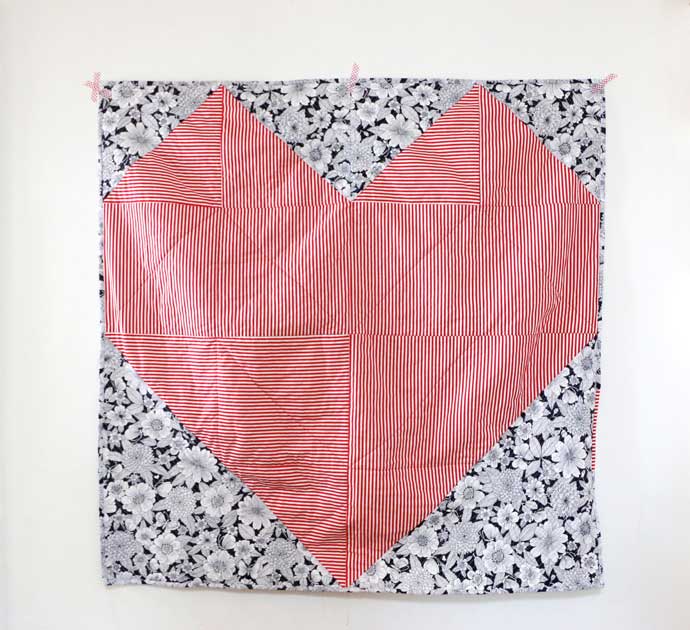
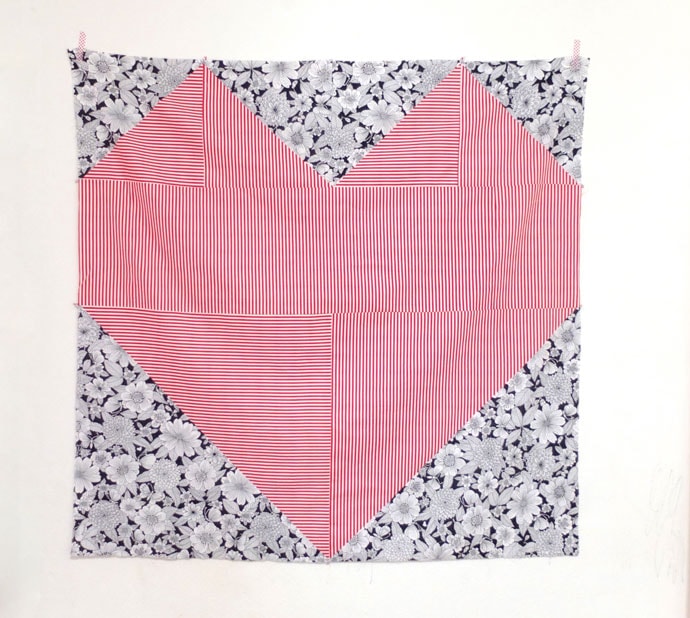
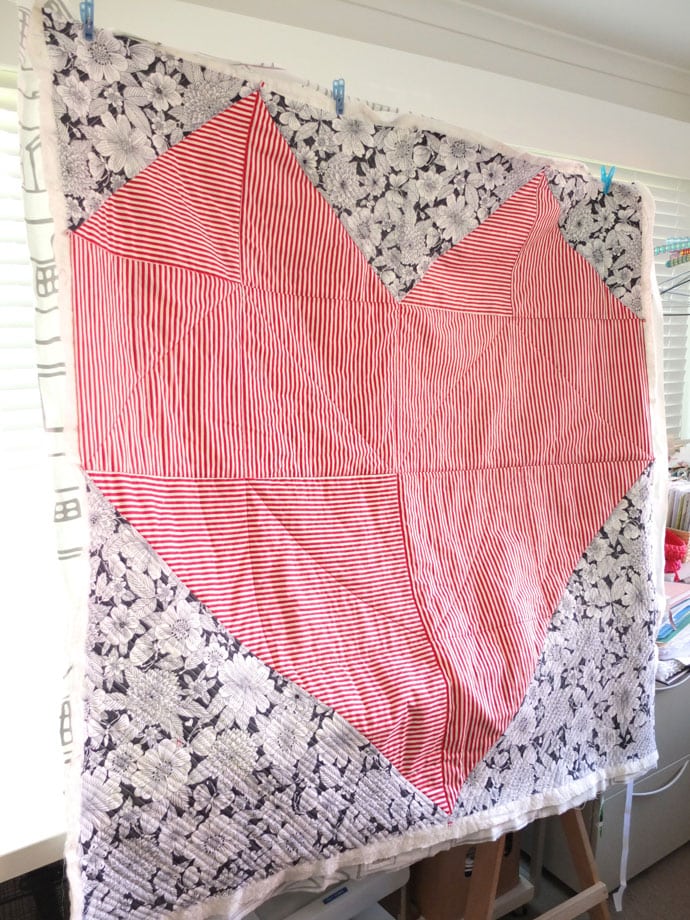
3. Arrange and join as per diagram below
Now the quilt top is done!
Backing and Quilting
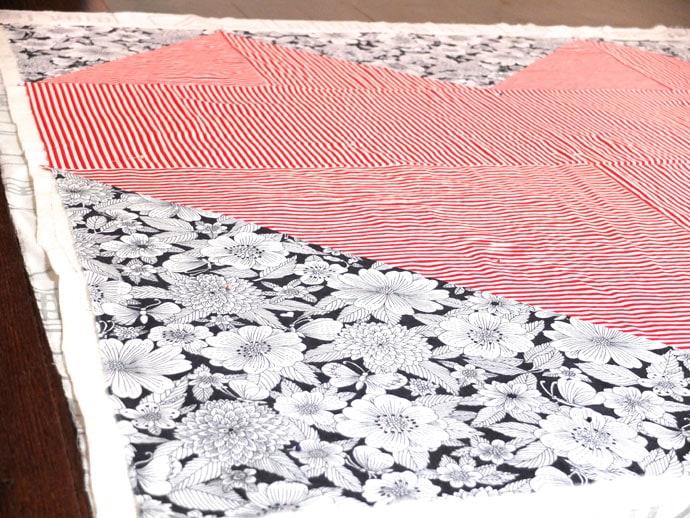
4. Cut the batting and backing fabric slightly larger than the top.
5. Press top and backing fabric.
6. Lay backing fabric right side down on a smooth surface and spray lightly with basting spray, lay batting layer on top and smooth.
7. Spray basting spray onto batting and lay top over batting. Smooth down layers to ensure no creases. No pinning or further basting is required. (I actually ran out of Basting spray so there are a few pins in there to secure)
This post has detailed instructions on backing and spray basting.
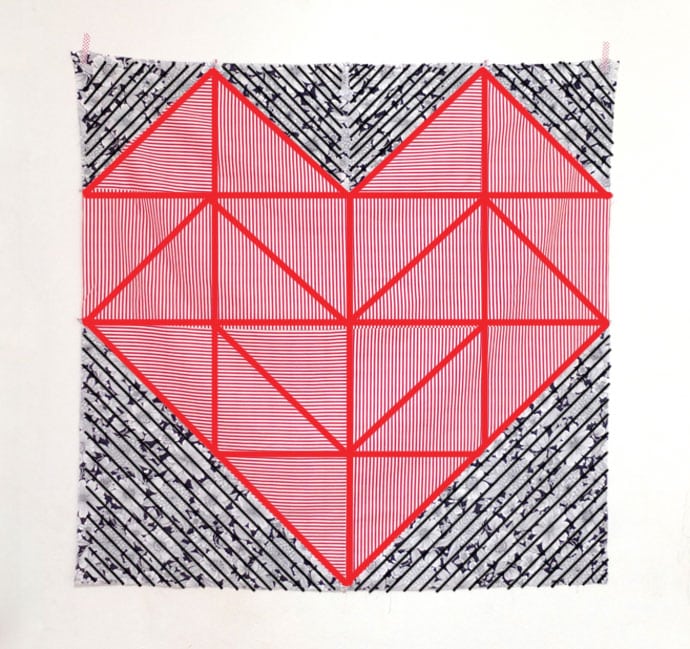
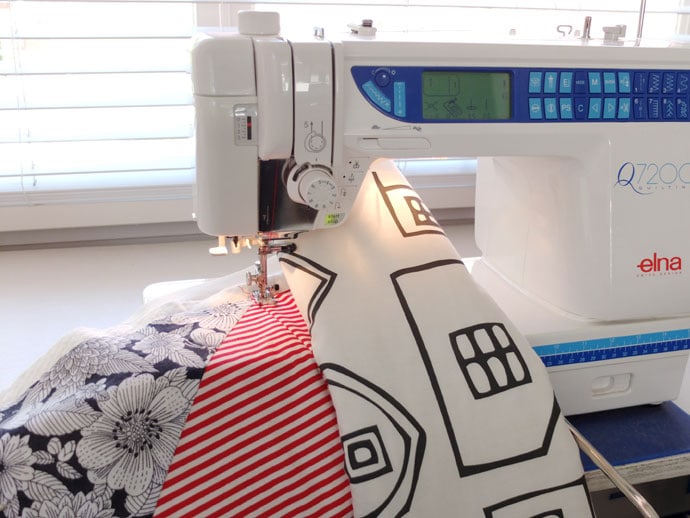
8. Quilt as desired. I’ve drawn a diagram of the quilting design I’ve done for this quilt. The straight line quilting around the edges was very close together. To speed up the process you can space the quilting lines out much further apart.
9. Square off and trim excess batting and backing.
10. Join the binding strips end to end with 45 degree seams. Trim seams and press open. Fold the strip in half length-ways with wrong sides facing and press.
11. Staring about halfway along the one side of the quilt, and leaving a tail for joining, sew the binding to the right side of the quilt mitering the corners as you go. Stop about 6” from the starting point and join the ends neatly with a 45 degree seam. Trim surplus and finish sewing the binding to the quilt top.
Here is a blog post that clearly explains making and attaching your quilt binding, including how to make perfect mitered corners.
Turning and hand stitching binding to the back of your quilt is the traditional but time consuming method of finishing off a quilt. If you want to get this baby finished in one day, machine sewing your binding is the way to go.
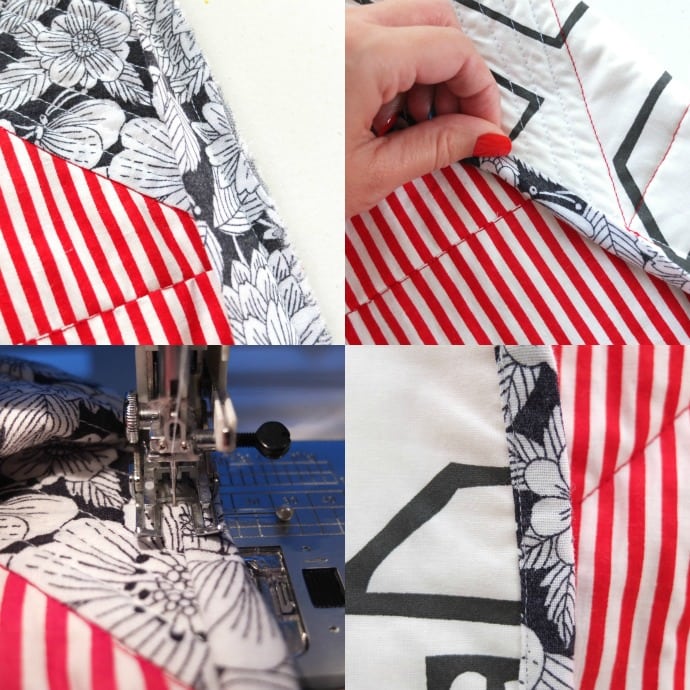
12. Flip the quilt over and roll the binding over the edge making sure the back of the binding extends a little further on the back of the quilt than the front side of the binding. Pin or use clips to keep in place. Stitch in the ditch between the quilt top and the binding. I’m pointing to the spot where you should sew on the front.
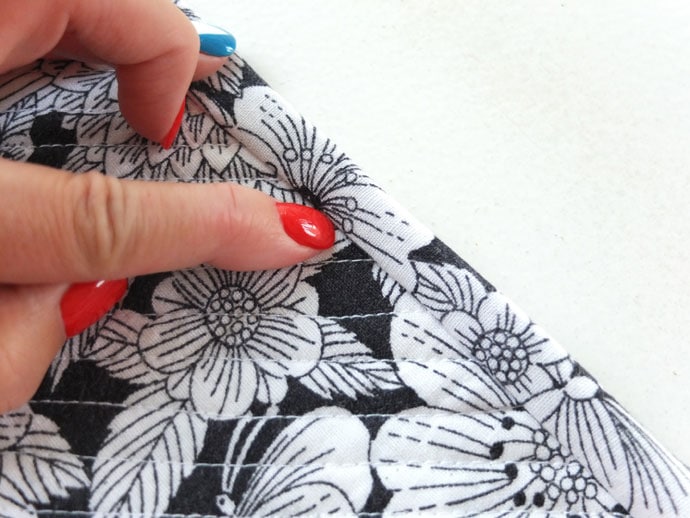
The stitching should catch the edge of the back of the binding here.
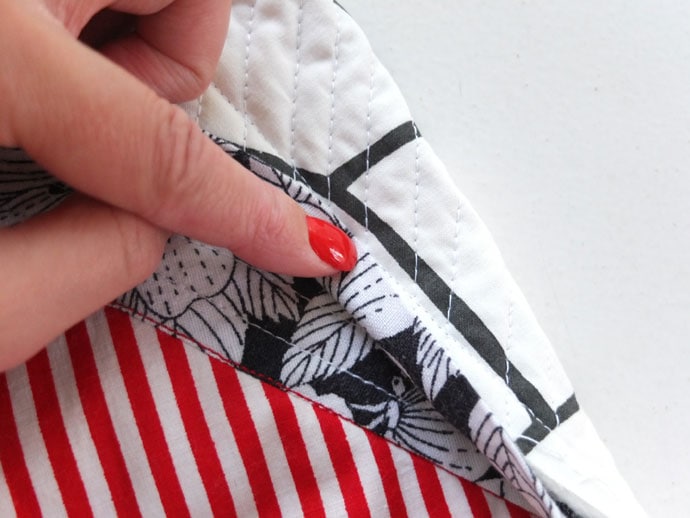
All done! You can’t even tell the binding was machine stitched on.
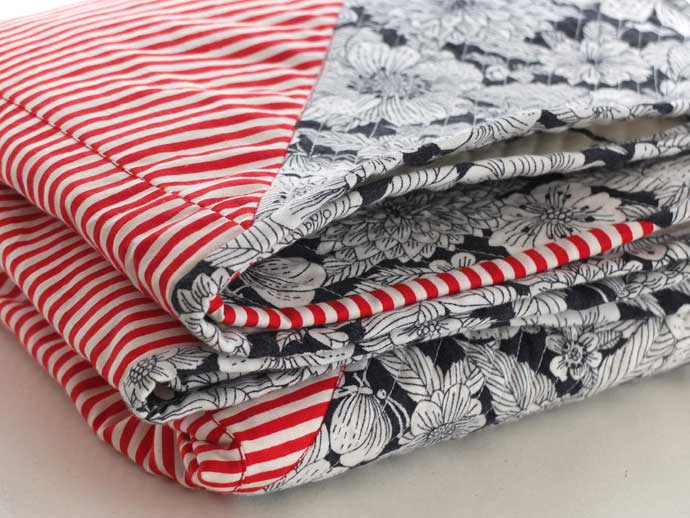
What do you think?
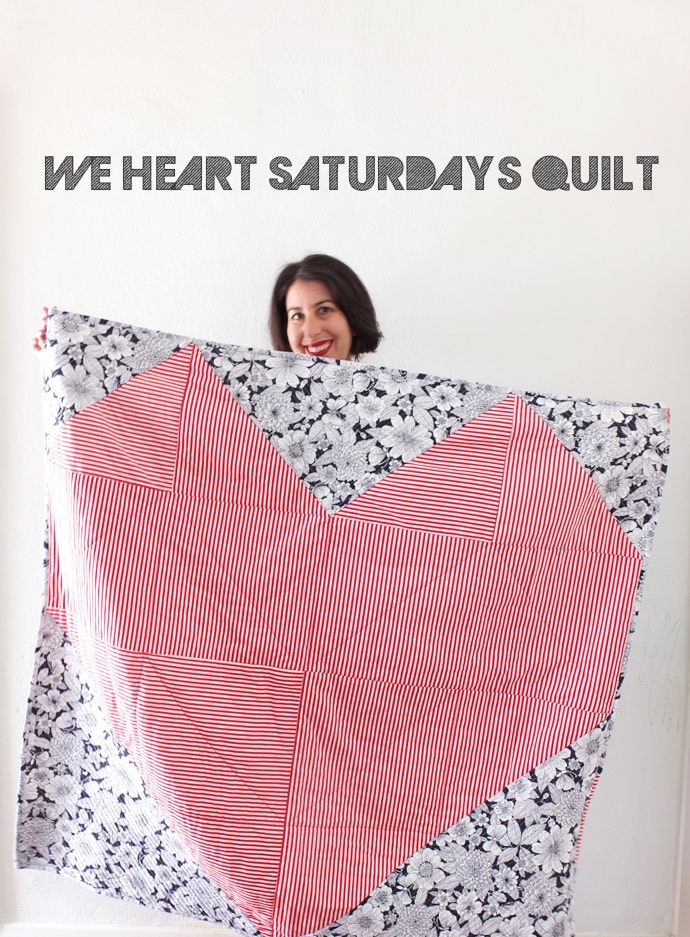
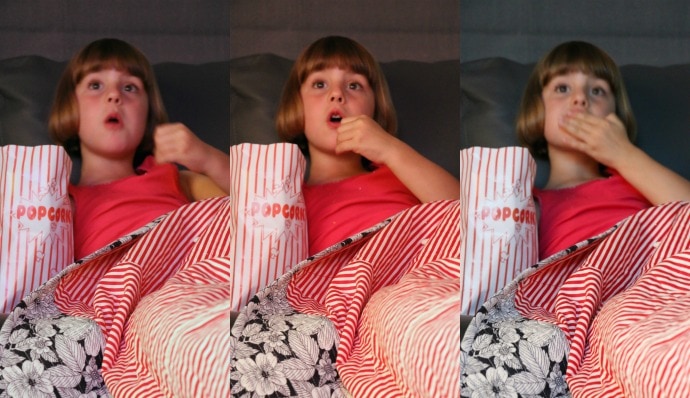
Ready just in time for Saturday evening ‘Movie Night’.

Get your popcorn ready, the show is about to begin.
This post was originally published on March 2015


Absolutely darling!!
OMG…I had this thought in my head. Googled “Free Large Heart Quilt Patterns” and BooYa….Your pattern came up. Thank You so much for sharing your talent.
LT
Glad I could help. I hope you enjoy making your heart quilt.