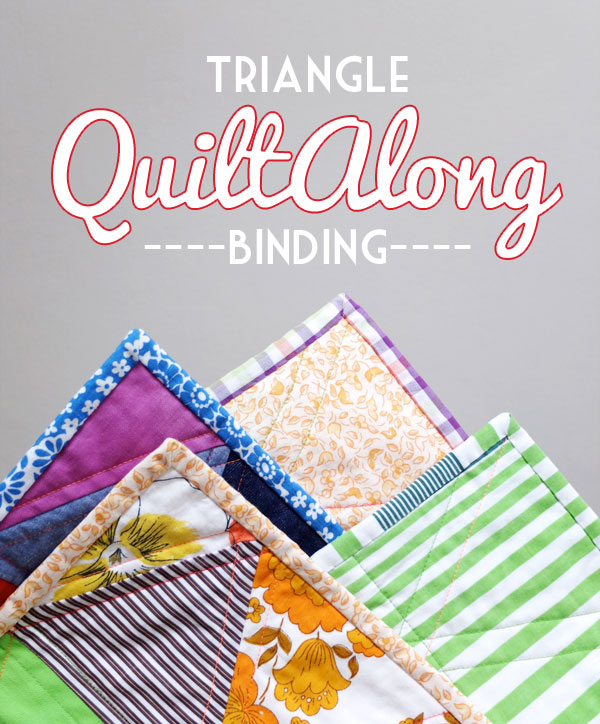
Hooray! The Triangle Quilt is nearly finished, all that’s left to do is bind the edges. Binding is the finishing touch to frame your quilted work of art. Choose fabric to blend in or contrast with your quilt, depending on the finished look you’re after.
In the past I’ve been in so much of a rush to finish my quilt that I’ve machine sewn whatever bias binding I’ve had on hand, just so my quilt will be ‘done’. This time I decided to try a more traditional technique, one that is easier and gives a very neat result, ideal for beginners. Nice mitered corners are super simple when you know how…
Before we get to the binding, we need to trim away the excess batting. I’ve used the quilt top as a guide and just cut with scissors, but if your edges are a little wonky, you may want to mark a straight line with a ruler and then trim.
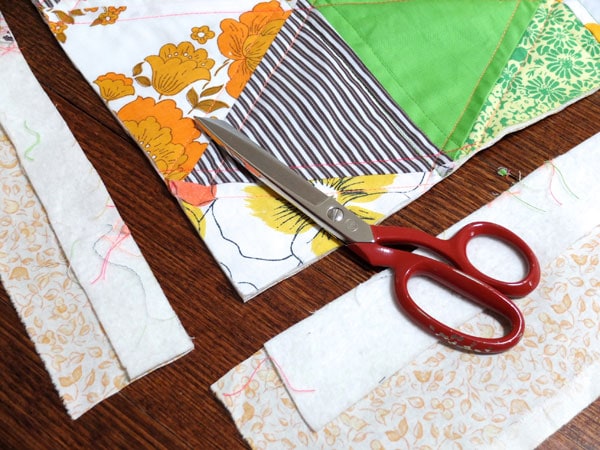
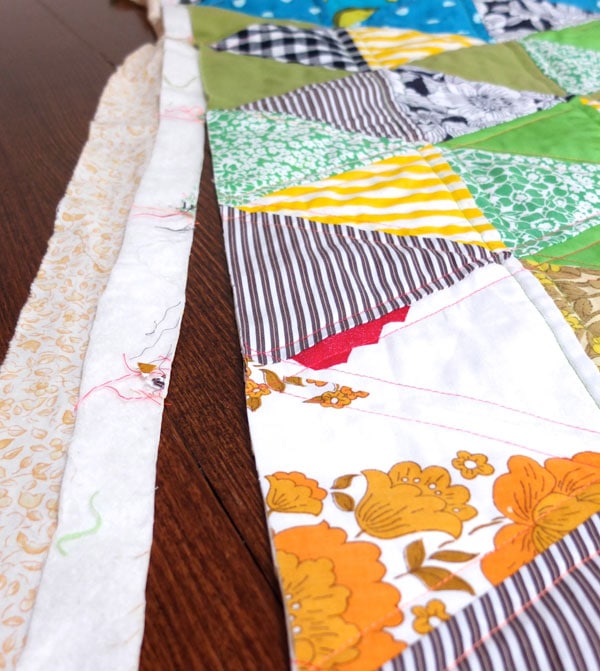
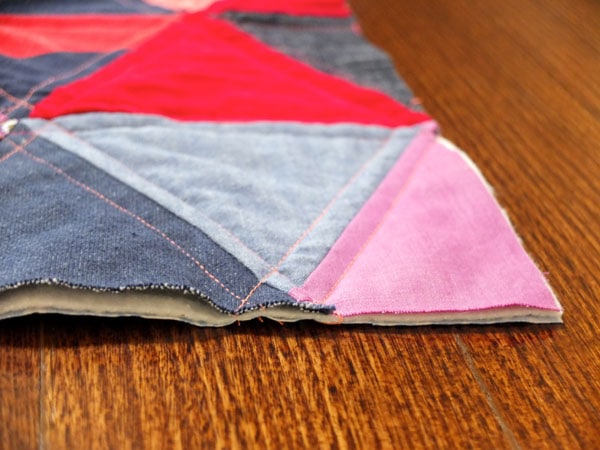
Here you can clearly see the layers of the quilt and how it’s constructed. I call it a quilt sandwich.
As an optional step, you may want to sew a seam around the whole edge of the quilt very close to the edge. This is handy if there is not much quilting close to the edges and can help prevent the layers from shifting. I skipped this step.
Making the binding strips:
There are lots of styles of binding and techniques that can be used to bind a quilt, for this project I’ve used straight grain double fold binding (sometimes called French binding).
That sounds pretty technical, but basically it’s just a long strip of fabric cut on a straight grain (not an angle) folded in half so that it covers the quilt’s edge with two layers of fabric. This makes it very durable and the binding of choice for any quilt that will be used regularly.
Straight grain binding is only good for straight edged quilts, if you want your binding to go around curves, you will need to cut it on the bias (45 degree angle).
Most binding tutorials will show you how to cut the strips with a ruler and a rotary cutter, but because I’m super lazy, I just ripped the fabric into strips. (Don’t tell any quilters, they will yell at me!).
I don’t have an issue with ripping fabric instead of cutting but others do, so do whatever is comfortable for you.
But before cutting (or ripping) we need to decide on the width of the strips.
I decided on 7cm (2 3/4″) and here’s why:
My walking foot gives me a seam allowance of 1cm (0.5″), I wanted the binding to be 1cm on each side and a little extra for the fold over.
So that’s about 3.5cm, double it (remember it’s double fold) and that’s how I decided on 7cm.
If you uses a smaller seam allowance or want wider/narrower binding, adjust accordingly.
The easiest way to work out how long you will have to make your binding is just measure around your quilt, then add a about 20cm (10″) for joining at the end.
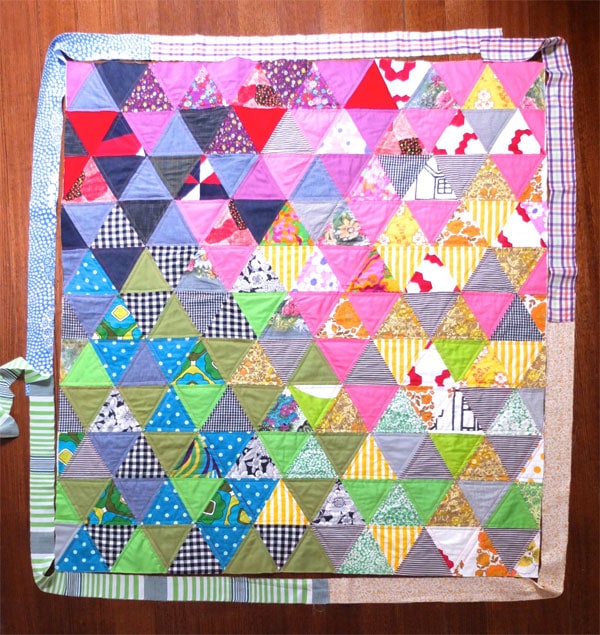
I’ve cheated a little and just placed the strips around the quilt. Because I’m joining a few different fabrics together to create one long strip, laying it out helped me decide which colours go where.
Again in the spirit of thrift, I used some remnant pieces of fabric to make my binding strips.
Joining the fabric strips:
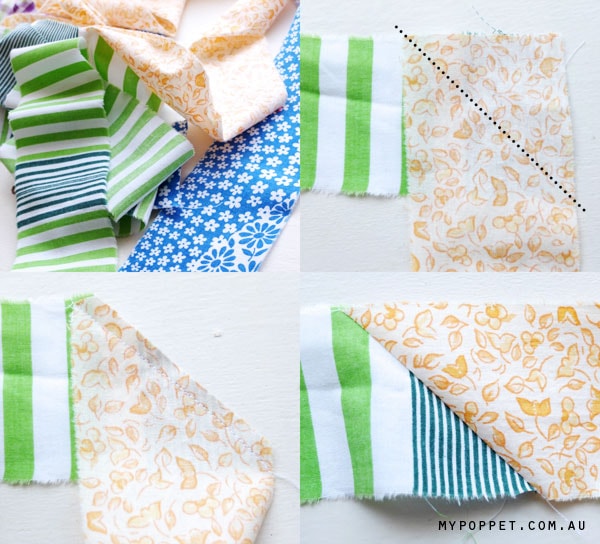
Diagonal joins are less bulky and, if you are using just one type of fabric, tend to give a more inconspicuous join.
1. Lay the strips you are joining at right angles, right sides of fabric facing each other.
2. Sew diagonally at 45 degrees then trim excess fabric
3. Open and press flat.
Continue till you have the desired length of binding.
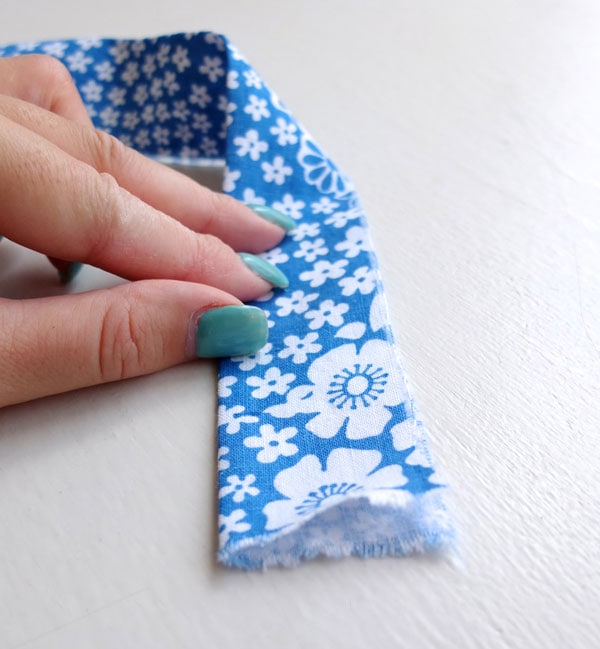
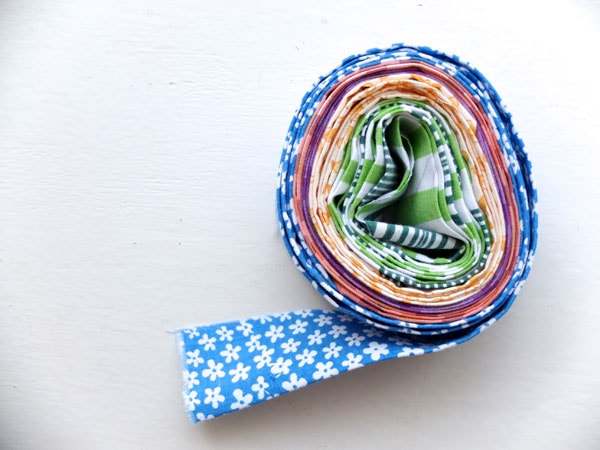
Once all the strips are sewn together, fold the binding in half (wrong sides together) and press. Roll it all up neatly so it’s easier to handle.
Sewing on Binding:
Tip: If you have a walking foot use it. It can prevent the different layers of fabric from shifting while you sew, giving a neater result.
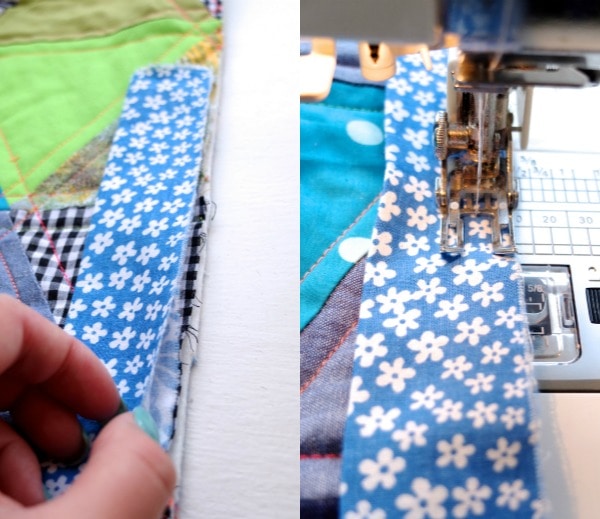
Place the binding with the open (non fold) side closest to the edge of the quilt. The quilt is facing top up.
Leave about a 10-12cm (5″) tail and sew the binding on.
Corners:
Don’t let corners stop you in your tracks. They are super easy with this technique.
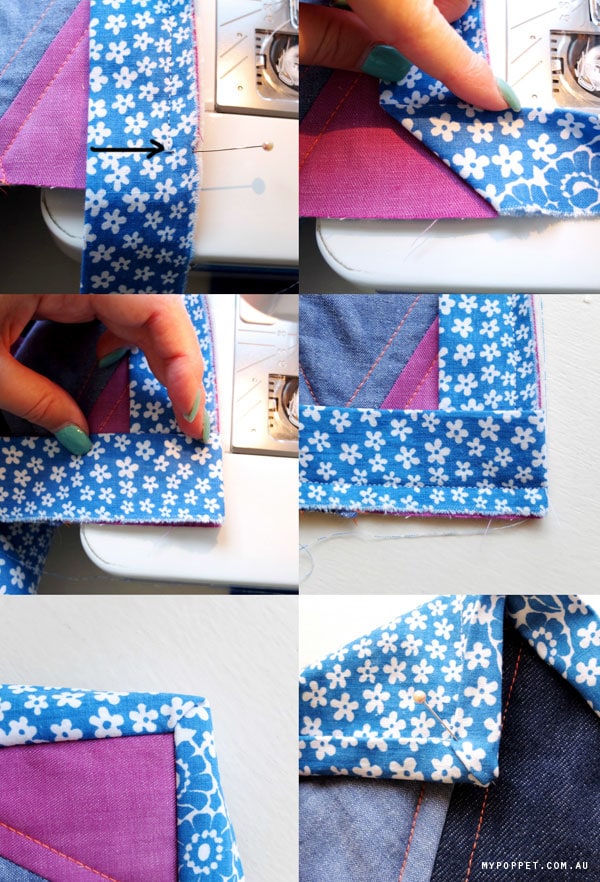
1. Mark with a pin the width of your seam allowance from the bottom edge of the corner. ie. I marked 1cm (0.5″) as this was the width of my seam. Sew up to but not over your mark.
2. Fold the binding strip back so its square to the edge, notice how it creates a nice 45 deg angle.
3. Fold back so the edge of the binding runs along the edge of the quilt.
4. Sew straight.
5. When the binding is turned it gives a nice neat mitered corner, and when you are ready to hand stitch the back, tuck in binding edge and pin for a neat result.
Joining ends:
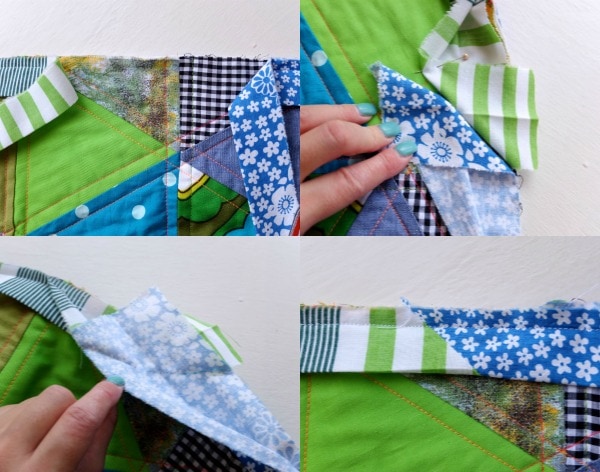
Carry on sewing your binding all the way around the quilt but stop about 25cm (10″ from) where you started. You should have 2 ends of binding strips that need joining.
This bit can be a little tricky, so don’t try to rush it.
Hint: A fabric marker or chalk is handy for this step.
1. Open up the strips of fabric and butt them up against each other at a 45 degree angle as pictured.
2. Mark where they meet and just like joining the strips earlier, lay them at right angles (right sides facing) and sew on the marked line.
3. Trim excess fabric and press. Sew down onto the quilt.
Now it’s time to switch off the sewing machine, grab a cup of tea (or wine) and sit on the couch to watch a movie.
Are you comfortable?
Flip the quilt over and roll the binding over the edge. Some people like to press or clip the binding down at this stage, I just used a pin that kept a little bit of the binding flat whilst I hand stitched, and then moved it along as I progressed.
Do whatever you find easiest.
Hand stitching takes a little practice to make the stitches even and (preferably) hidden, I found doing a whip stitch where the long part of the stitch is under the binding and just a short little tack to hold the binding was the neatest.
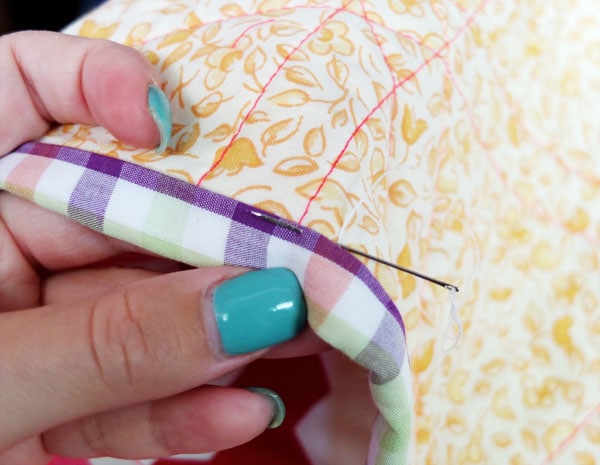
I used to think this part was tedious and avoided hand stitched binding at all costs, but I’m really glad I put in the extra effort as the finish looks very elegant.
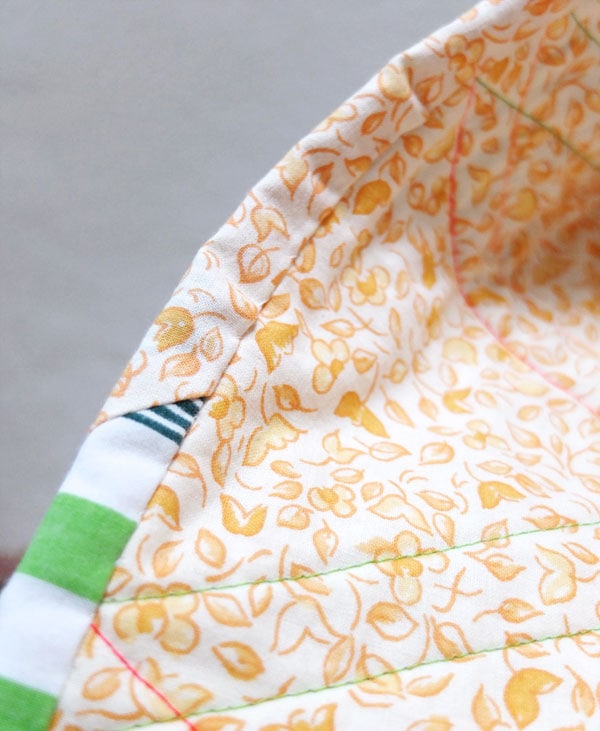
Looking back now, it was quite a meditative process, and a really nice way to wind up such a big project. I’ll certainly be hand finishing more quilts in future.
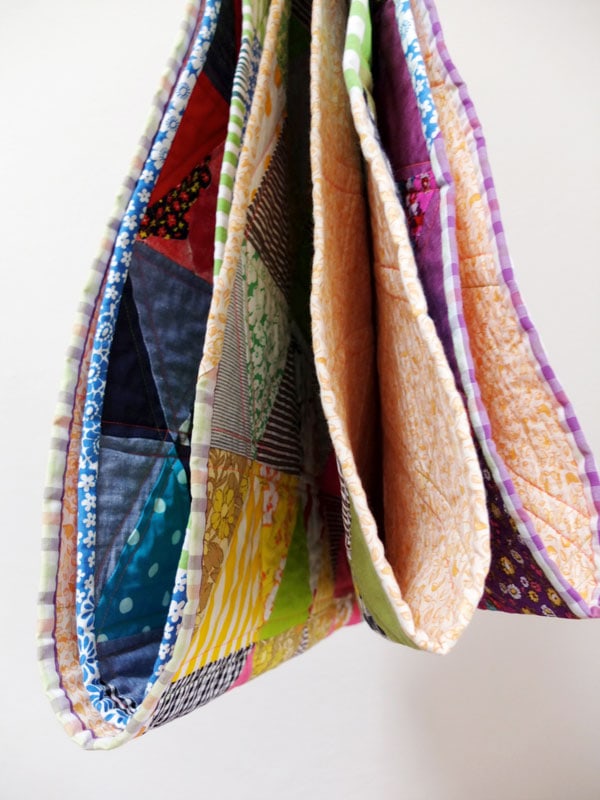
So the Triangle Quilt is finally finished and I’m curled up under it now as I write this post. It’s performing admirably!
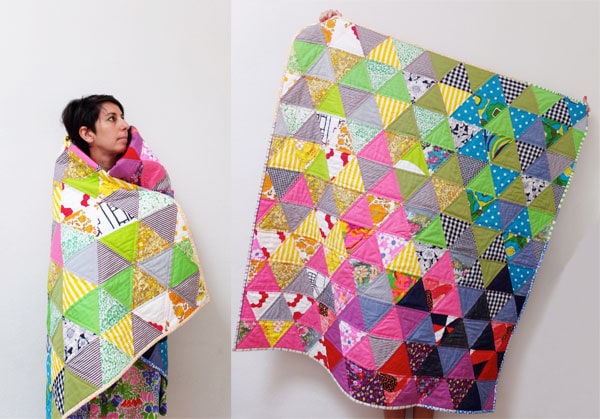
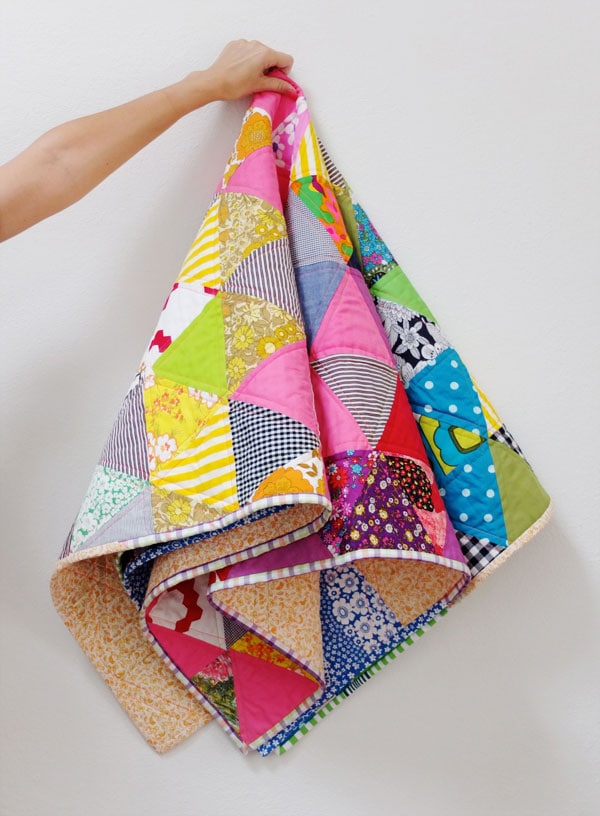
I hope you have enjoyed the Triangle Quiltalong series and learned lots of helpful things along the way.
As I mentioned in the first post, my quilt making style is not always ‘canon’, but as a self taught sewer, I sometimes only find out the ‘rules’ after I’ve worked out my own way of doing things. So what I’m trying to say is, have a go! Use my instructions as a guide, but feel free to adjust things to suit your style.
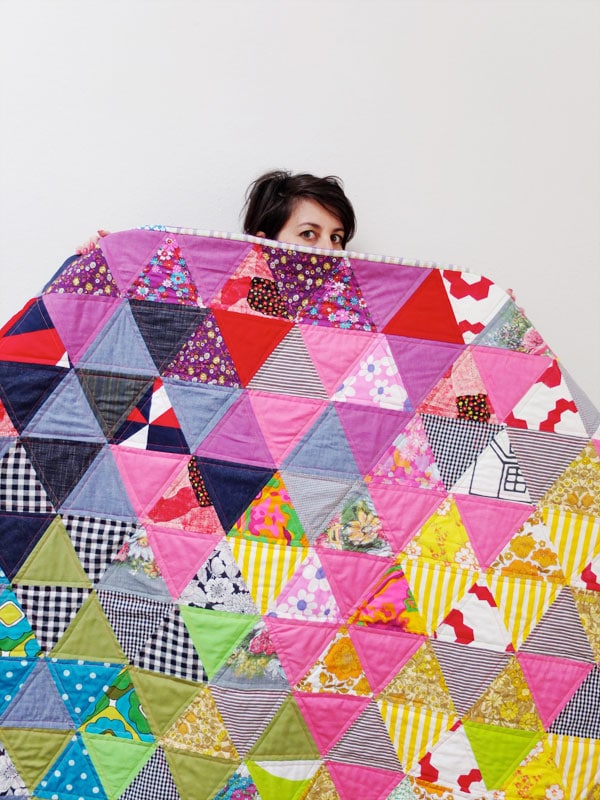
If you’ve started on or made a triangle quilt of your own I’d love you to leave a comment with links to any pictures of your progress, or just hashtag #TriangleQuiltalong on Instagram.
Triangle Quiltalong series:


WOW Cinti, it’s fabulous, as are your tutorials but the brilliance is in your graduating colour pattern!
Fantastic 🙂
Thanks jenni. Means a lot coming from you, I really admire your work too
Wow, I can really relate to your comments about finding out the rules after you have figured out your own method. I have done this all of my sewing career and wondered why! I’m so happy to know that there r other sewers out there who do the same. Love your triangle quilt n your method!
Thanks, I consider myself a rebel (she says with tongue firmly in cheek)
Your quilt looks gorgeous Cinti! Well done. I’m inspired now to use some of my stash fabrics to make one of these. Thanks for sharing your tips.
I love how using fabrics from a stash can challenge you to look at what you have in totally different ways. Maybe combining fabrics you would never use normally if you were purchasing specifically for a project.
This is just perfect, I love everything 🙂 it’s making me want to do another one xxxx
Love the varigated binding look. It adds that extra punch to handmade quilts.
Good tips on the cornering that I am going to use. Currently I’m sewing up my strips of triangles – five lines done so far 🙂
Awesome! I’ve always wanted to start quilting but it just seemed so difficult… now you give me some hope. Gracias!
Hello! I am working on my first quilt from this quiltalong… are your triangles the same size as the template in your tutorial? What is the final size of your quilt? Is it 16 triangles by 11 rows? thank you in advance.
Yes my triangles are the same size as the template. Maybe 1/2” larger ? I’m away from home so will measure and reply with final size when I get home. I never thought to measure. Thanks for bringing it up, I’m sure others will have the same question. I’d love to hear how you get on.
Cheers cinti
This a great tutorial. Thanks for taking the time to share your expertise.
LOVE IT!
Thanks for sharing this pattern! It’s a great pattern to use up scraps!
You’re welcome Julie
Hello! Thank you so much for this detailed tutorial. I just finished my first quilt using your processes with your Patchwork Duvet as my quilt top. The basting spray and binding methods were brilliant! I found quilting so intimidating at first but now I see it’s not so scary. 🙂 Bless you!
Great to hear! spray basting really helped me too.
Thanks so much for this series! My mom and grandma both used to quilt and now I’m getting the bug. I plan to start with a little doll quilt for my niece and work my way up in size from there.
That’s lovely Megan, a doll quilt is the perfect project to get started with. Have fun quilting.
Tutorial ordenado. Perfectamente enmarcado en las 4 partes sus partes del tutorial y fácil de entender. le felicito, y muchas gracias.
Gracias, Rosaura.
I’m a beginner thank you Love it we’ll explain can’t wait to start