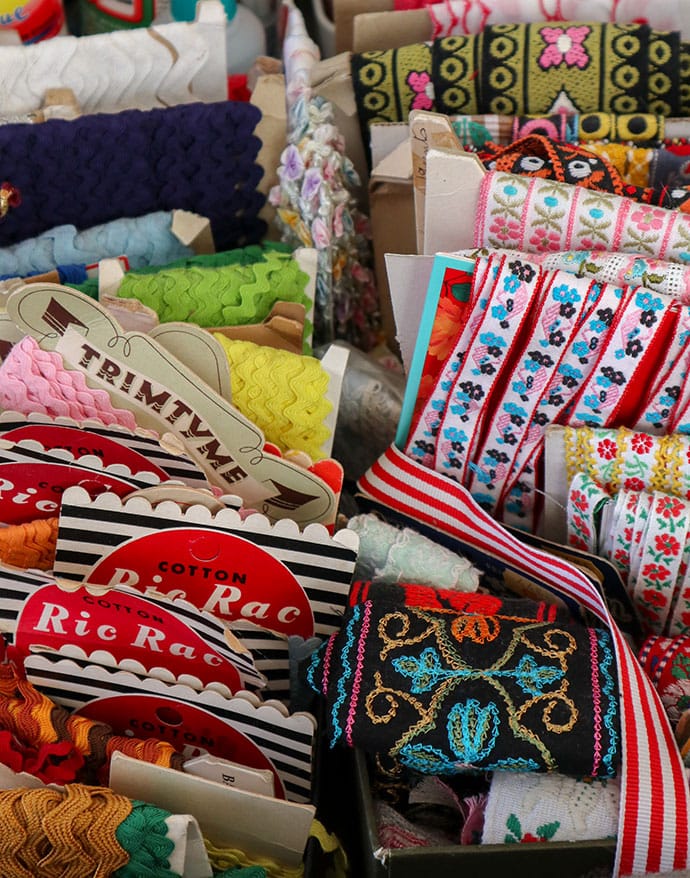
I love a pretty vintage trim, I mean what’s not to love? They are just so cheerful and bring back fond memories of my childhood when mum would embellish handmade dresses with trims and braids.
Over the years I’ve amassed quite the collection, mostly purchased from flea markets and thrift stores. It’s always exciting to stumble on an old shoe box filled with old buttons and vintage trims when rummaging through the forgotten haberdashery corner in a little Op-Shop.
My only problem is that I’m reluctant to cut into them or use them for anything that I don’t consider ‘super special’. After all, once they’re gone they’re gone. It’s an issue I’ve got to get over, and this little pincushion project is the perfect solution.
In an effort to use and enjoy my vintage sewing supplies more, I’m throwing caution to the wind and actually cutting into my trims!
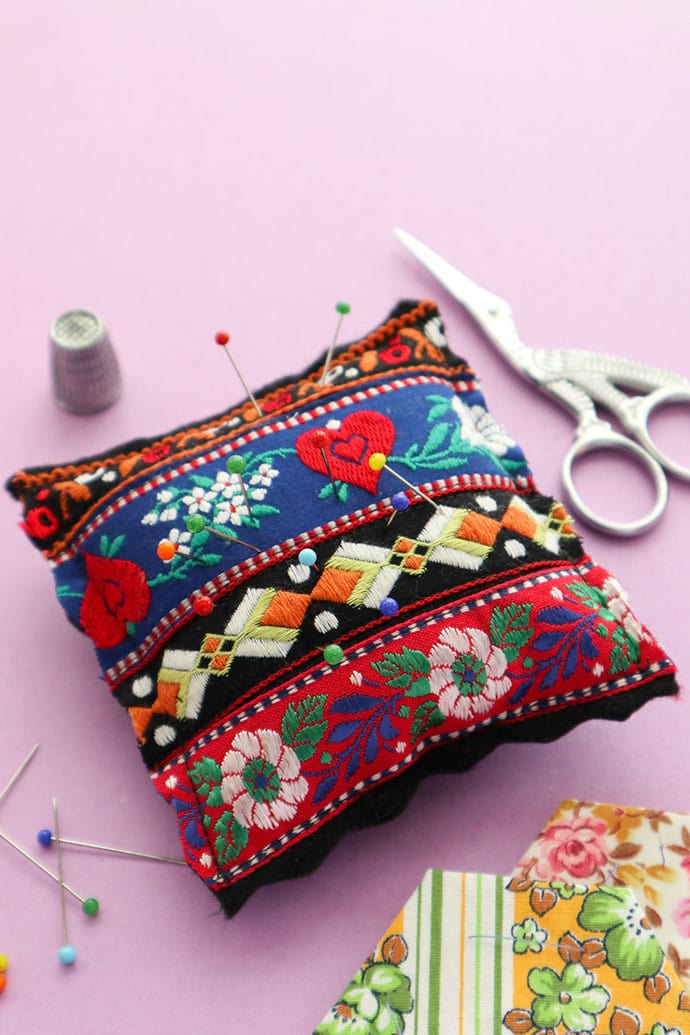
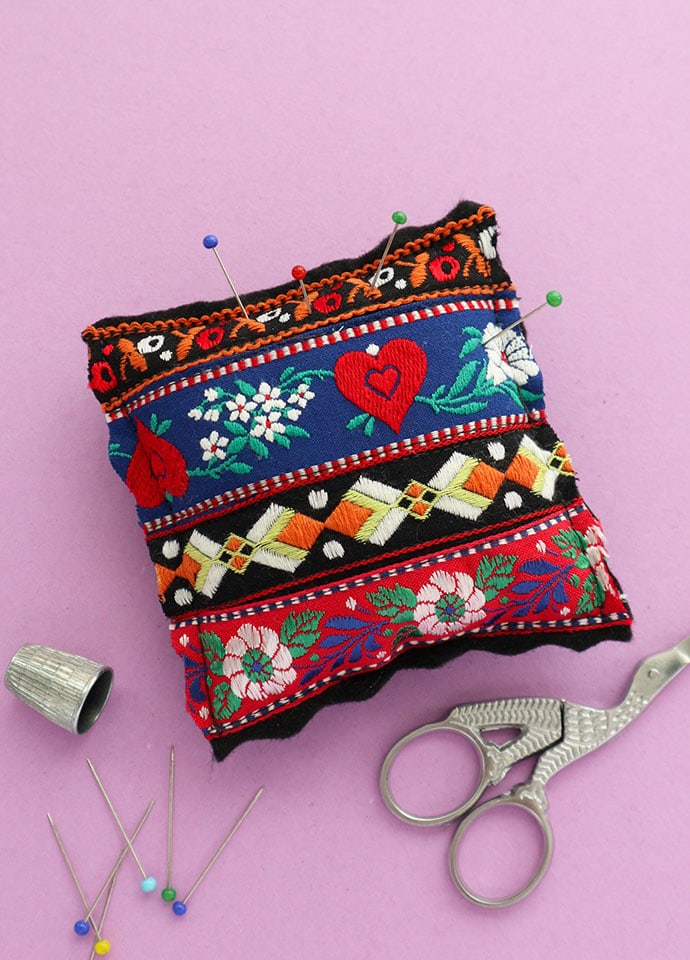
One can never have too many pincushions, and this cute little pincushion is the perfect way to use some of my very special pieces of vintage trim and decorative ribbon, without eating into my precious collection.
Because only as little as 4″ of each ribbon, this quick sewing project also a great way to use up pretty scraps and ribbon ends that are too short for anything else.
If you don’t have a sewing machine this craft project is small enough to make by hand and a great way to practice your hand stitching.
I have several bigger pincushions that I use in my sewing room, but little pincushion pillows ones like this one are perfect for keeping pins and needles in check in sewing kits and for portable craft projects.
I’m sure a crafty friend would appreciate one of these vintage trim pincushions as a gift – as I said before, you can never have too many pincushions!
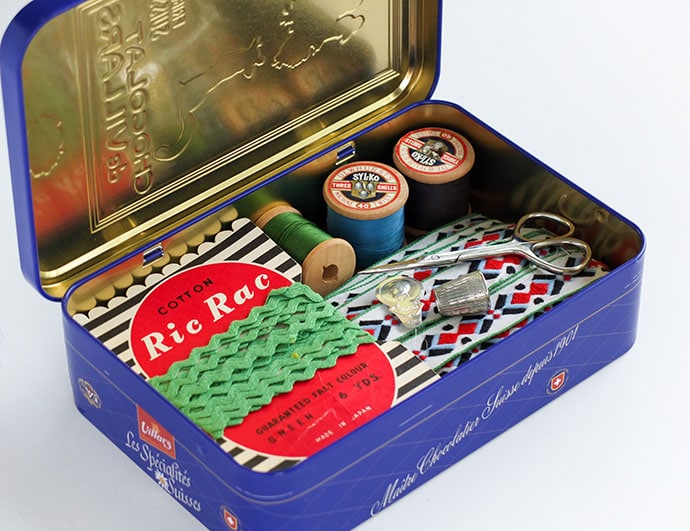
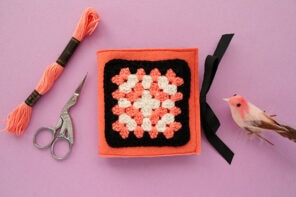
What a lovely addition it would make to a special vintage inspired sewing kit like this one.
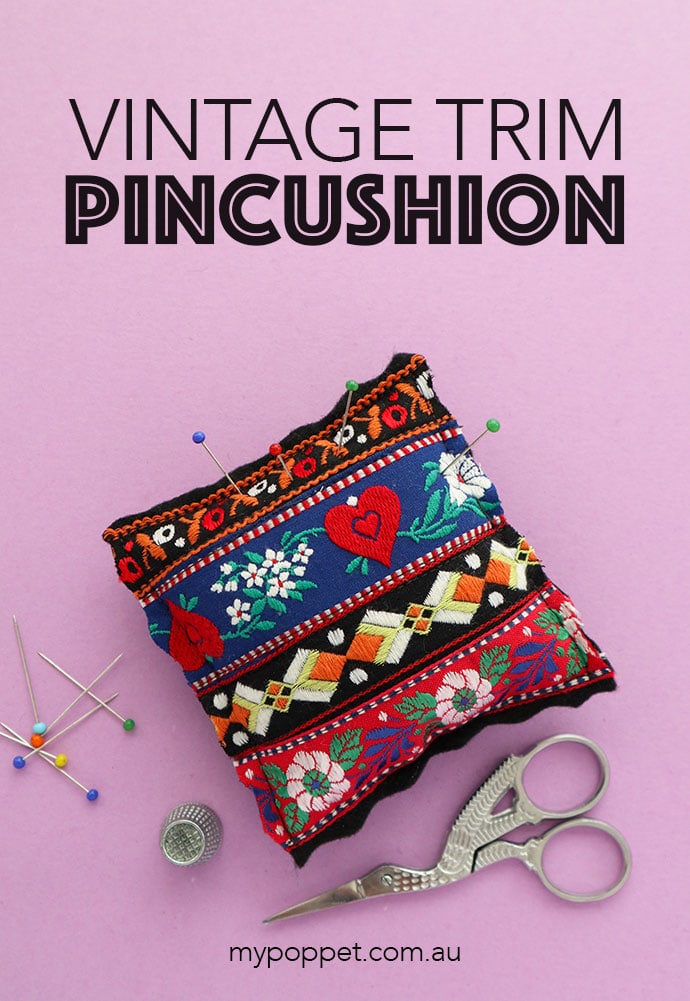
Make a Vintage Trim Pincushion
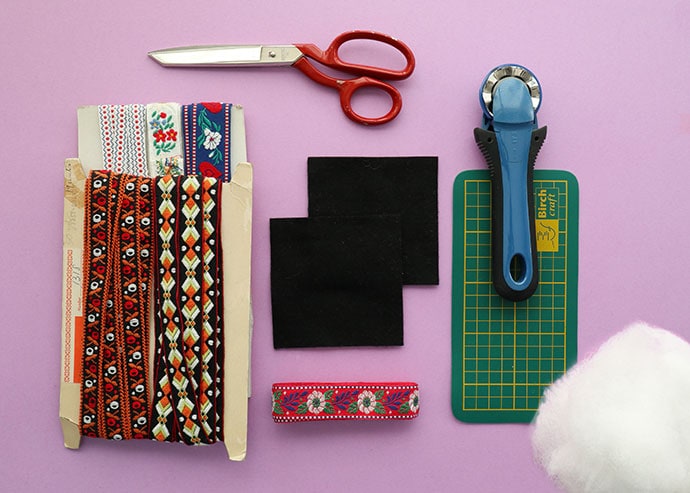
You will need:
- Assorted trims or decorative ribbon (minimum length 10cm/4″)
- 2 felt squares 10x10cm/4″x4″ or desired size
- Pinking shears or wave blade rotary cutter with mat
- Scissors
- Filling material (polyfill, wool stuffing, or fabric scraps)
- Sewing machine – preferable
- General sewing supplies
How to:
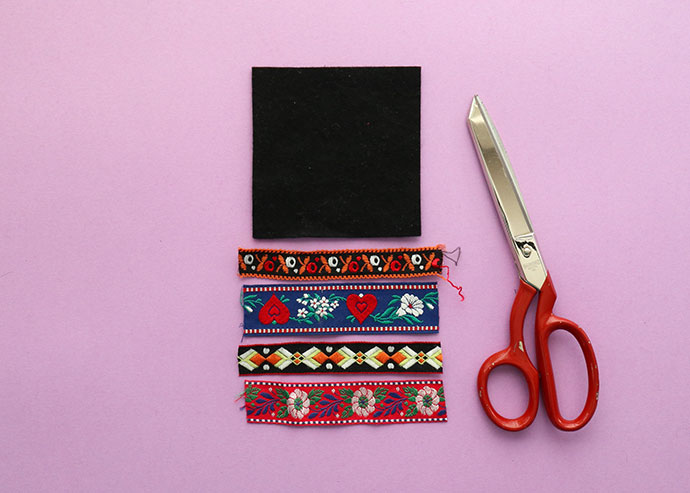
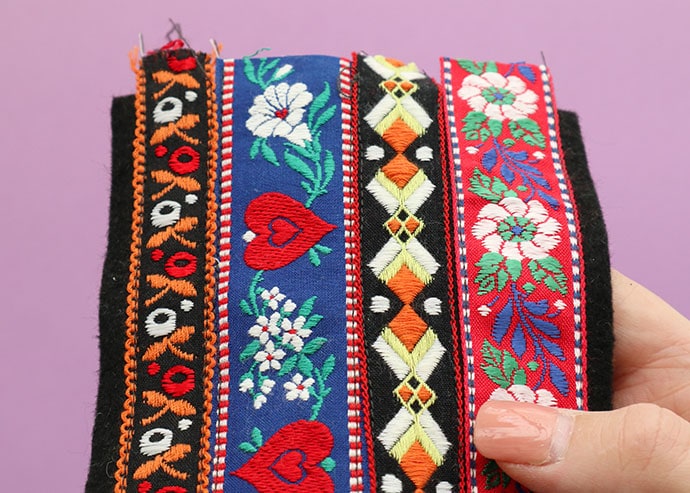
1. Cut as many lengths of trim required to cover one square of felt. Depending on how wide your trim is, you may need 3-5 different designs.
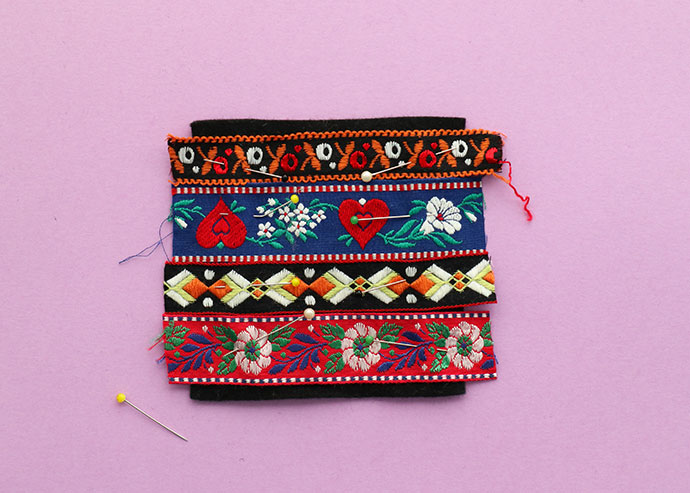
2. Pin trim onto square of felt leaving about 0.5cm/¼” exposed felt on top and bottom.
3. With a sewing machine, (or by hand if you don’t have a sewing machine), sew on the trim securely along the sides of the trim or ribbon.
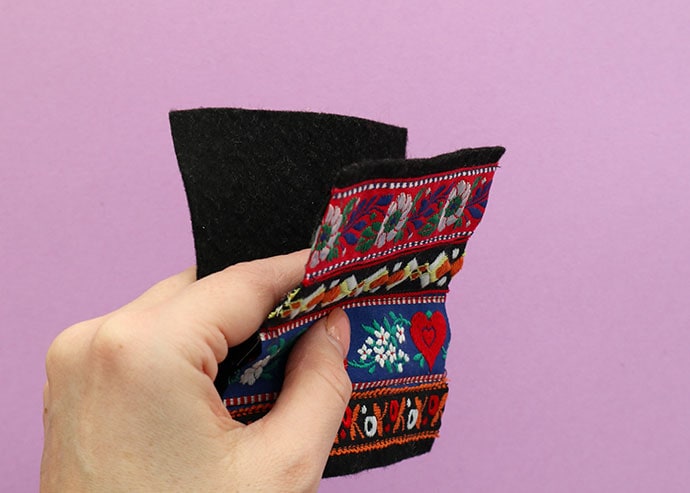
4. Add second square of felt to back of front square. Pin together if desired.
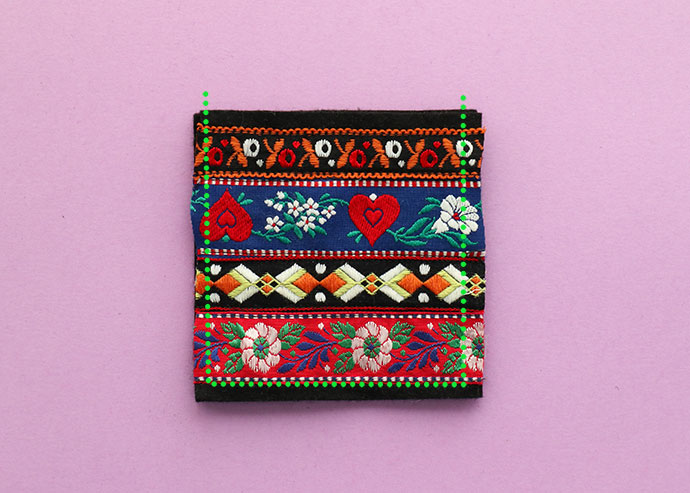
5. Sew back and front squares together up 3 sides as indicated by green dotted line. Leave one side open for stuffing.
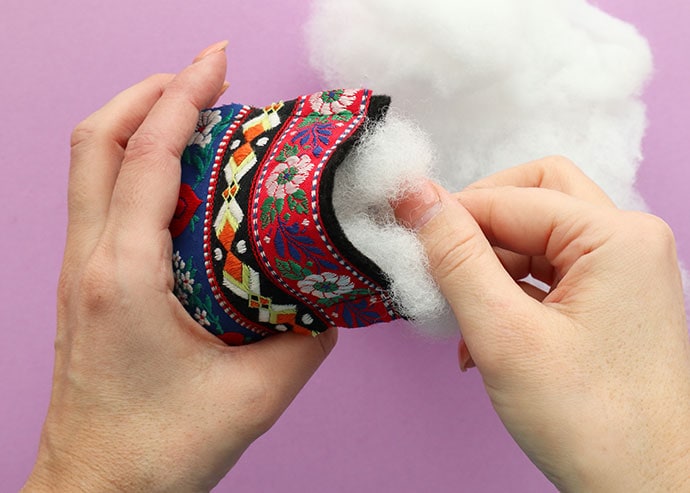
6. Stuff firmly with desired stuffing material – I’ve used polyester filling, but you could also use wool fibre, fabric scraps or even yarn scraps.
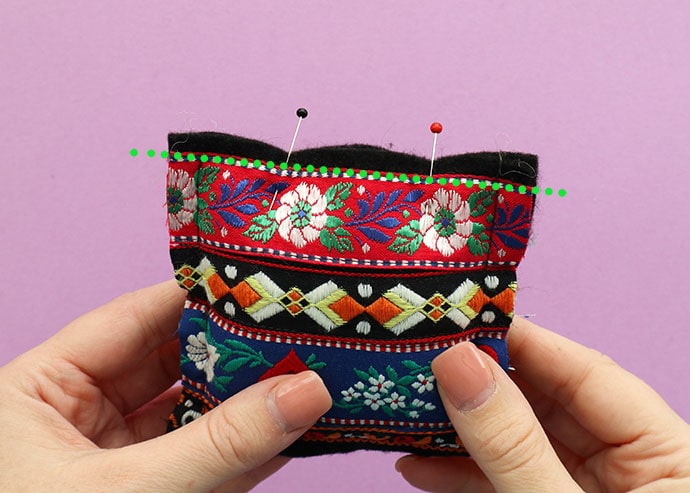
7. Pin opening closed and sew shut along top where indicated by dotted green line.
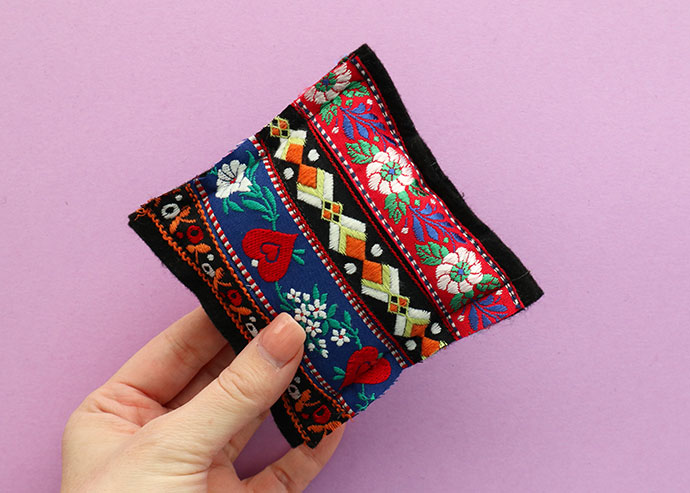
8. If you don’t have pinking shears or a wavy rotary cutter blade you can stop here. Your pincushion is fine to use, but just be aware that the edges of the ribbon trims may unravel with use.
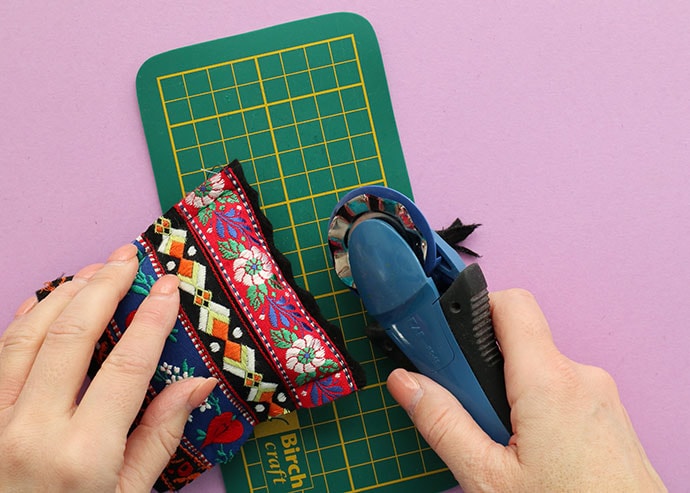
9. If you’d like to add an extra decorative element and minimise the the edges of the ribbons fraying, go ahead an trim the edges with pinking shears (which leave a zigzag edge) or a wave blade cutter.
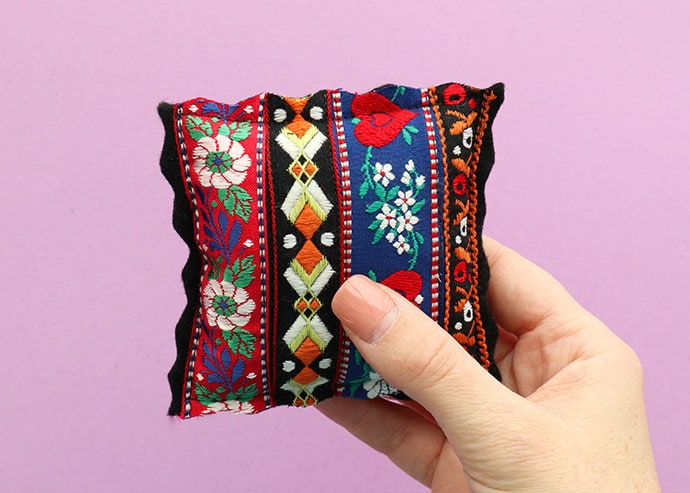
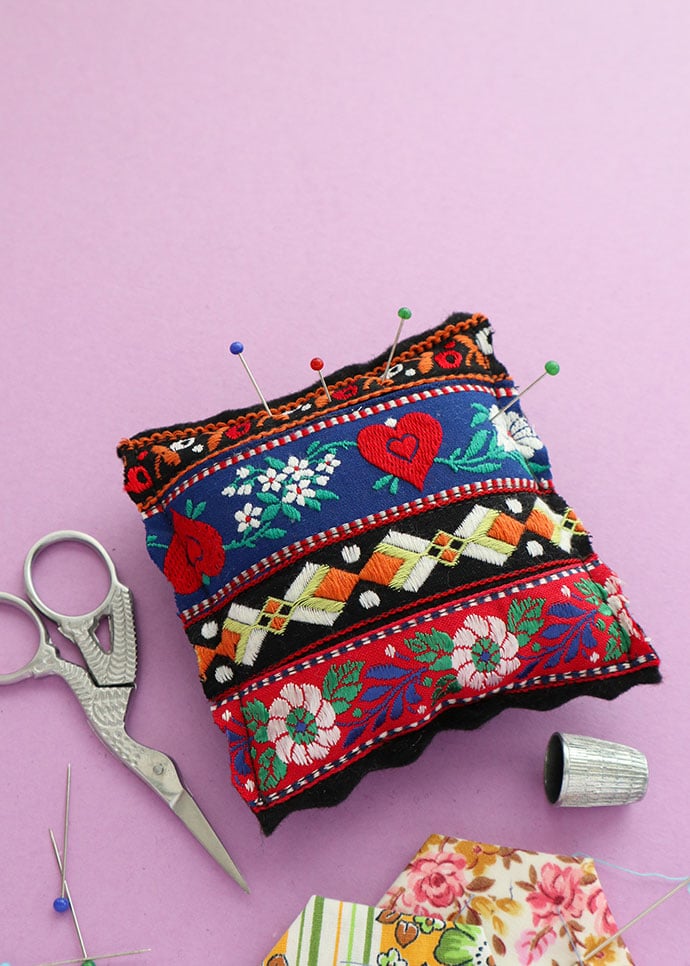
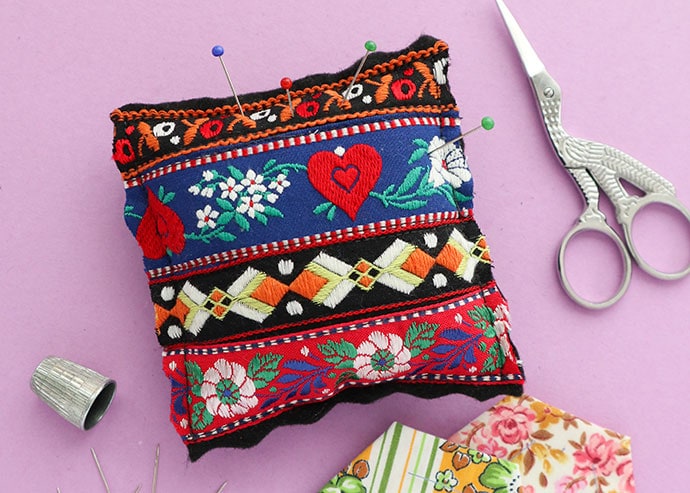
10. All done! And so cute with the decorative cut edges.
Pop it straight into your sewing kit – I guarantee it will bring a smile to your face every time you need to tackle the mending pile.
You may also like:


What beautiful trims you have. Even your scissors are beautiful. Thanks for posting!
This is so pretty.
And you know, I’m thinking about this as a larger pillow, or even as a pencil case, or a tote bag.