If your old peg bag has seen better days, I’ve got some easy to follow sewing instructions to help you make a new one from supplies you may already have at home.
This post contains affiliate links
My favourite thing about having sewing skills is that I can whip up simple practical items for my home in less time that it will take me to hop in the car and find a parking spot at the local mall.
Not only does it save me time and money, I can make something that specifically suits my needs and that totally suits my style.
After my big sewing room tidy up, I’ve been inspired to finally tackle all those little projects that I’ve been ignoring for so long. No. 1 on my list was a new peg bag, sadly the old one had seen better days.
Years of being out in the weather had faded the fabric, which I wasn’t too fussed about, but the clincher was when the pegs started to fall out the bottom through a big hole. A peg bag that can’t hold pegs is a very sad sight indeed.
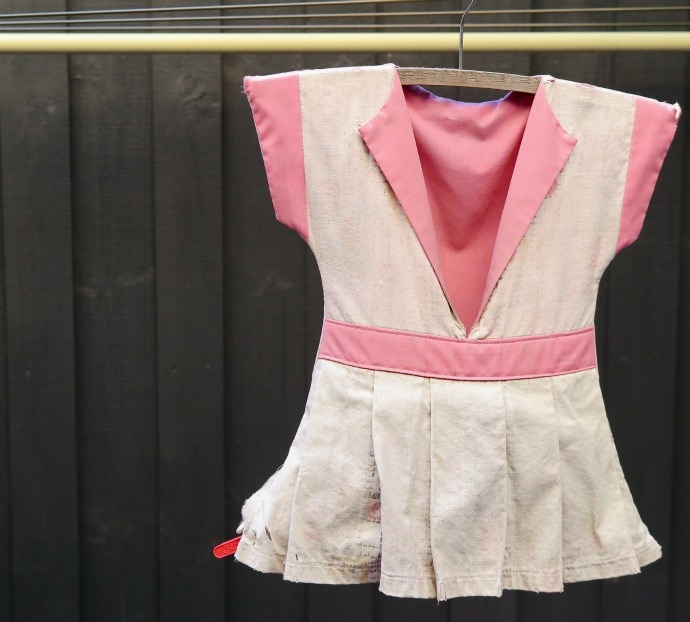
This cute little dress peg bag which I picked up at my local op shop just after Emma was born needed to be retired. I was tempted to re-make a similar design but decided to use a more robust fabric and I really didn’t want to spend a whole day sewing a peg bag.
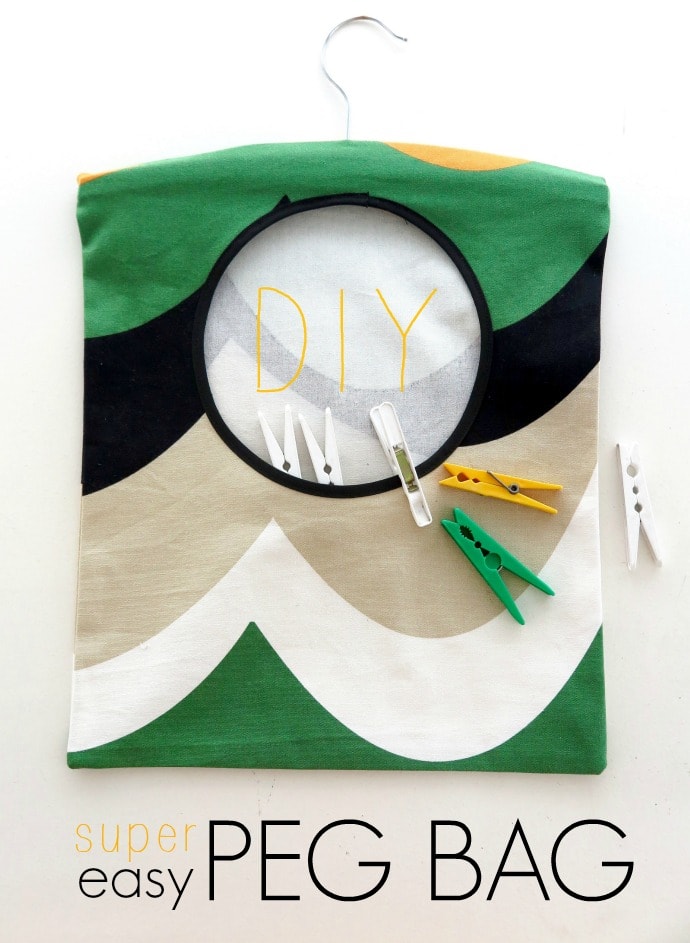
So here you have instructions on how to make the easiest peg bag ever! You won’t even need a pattern, just a few lines and you’ve drafted your own.
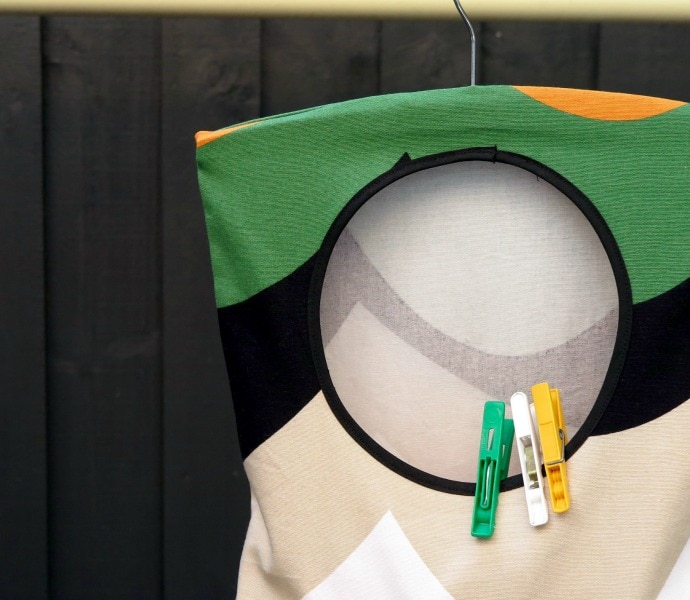
Mine took me about 20 minutes all up (but I’m pretty good at attaching bias tape). The simple circular cut out works well with a bold fabric print, so feel free to choose something fun and graphic.
These homemade peg bags make great housewarming gifts too. I’ve made several similar ones in the past to give to friends and years later they are still in use.
You may also like:
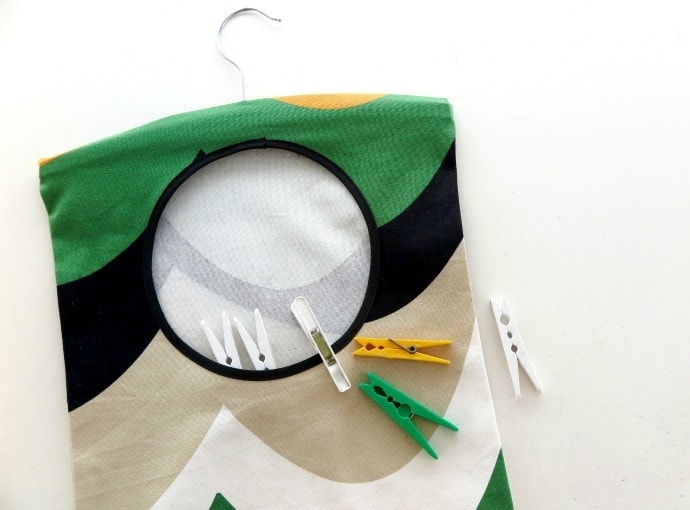
You will need:
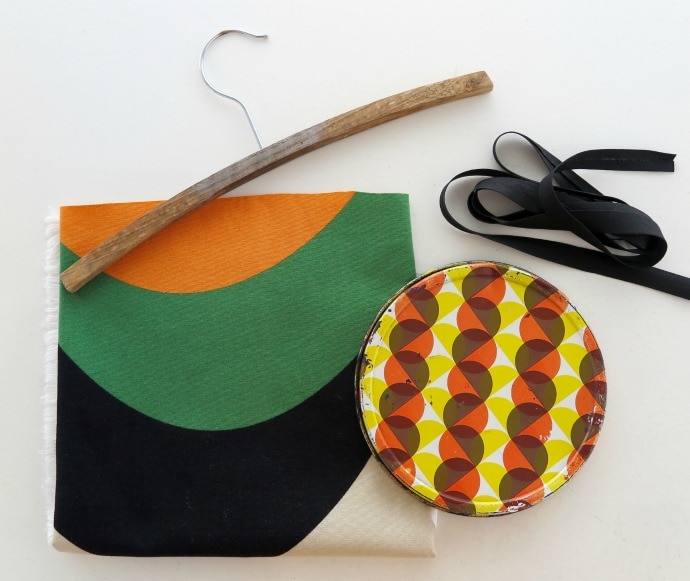
- child sized wooden coat hanger
- canvas fabric about 40cm x 70cm (IKEA upholstery fabric is ideal)
- 60cm bias tape
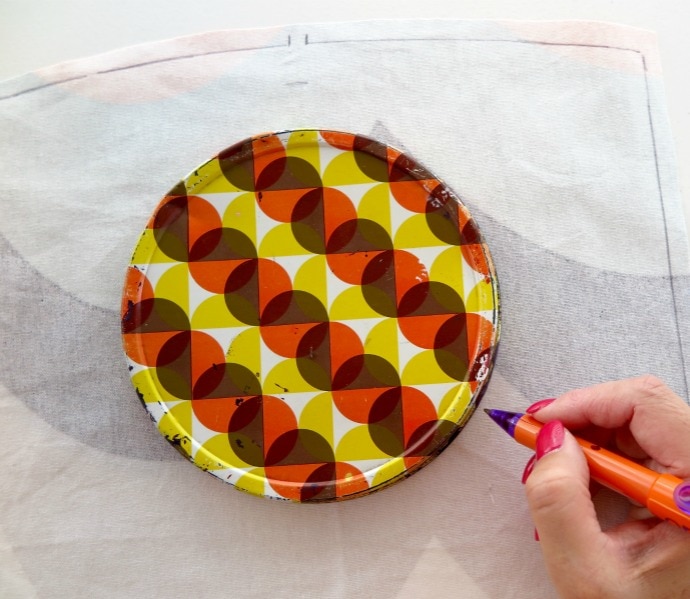
- small plate or lid (about 15cm diam) for circle template
- pen
- ruler
- scissors
- sewing machine and general sewing supplies
How to make a Peg Bag:
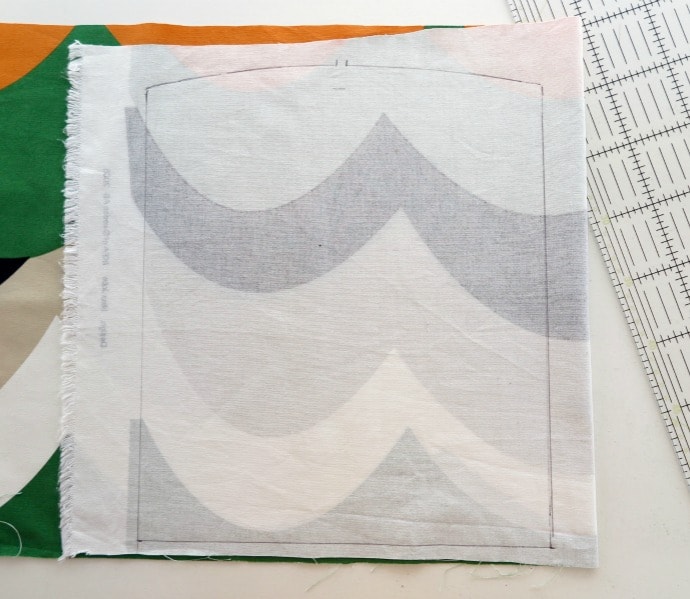
1. Fold fabric in half (right sides facing) and place coat hanger towards top.

2. Mark the outline of the coat hanger and make sure you note the position of the wire hook.
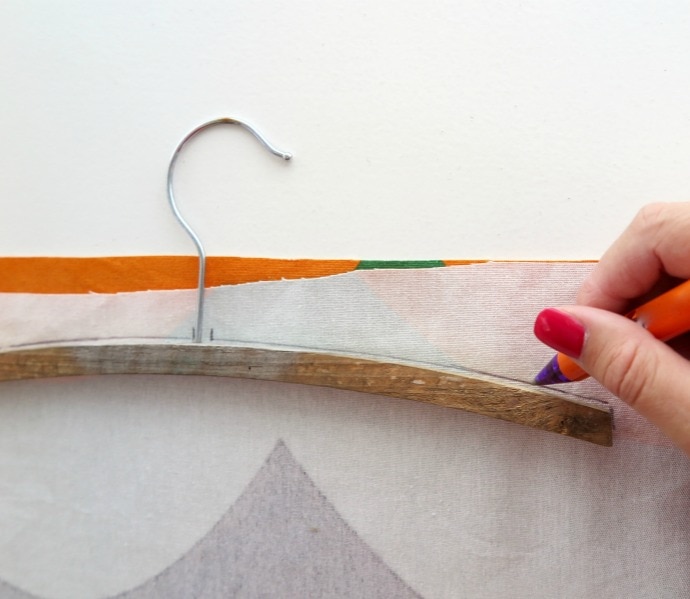
3. Rule parallel lines down about 35cm from the end of the coathanger marks and across the bottom. This will be the shape of your peg bag.
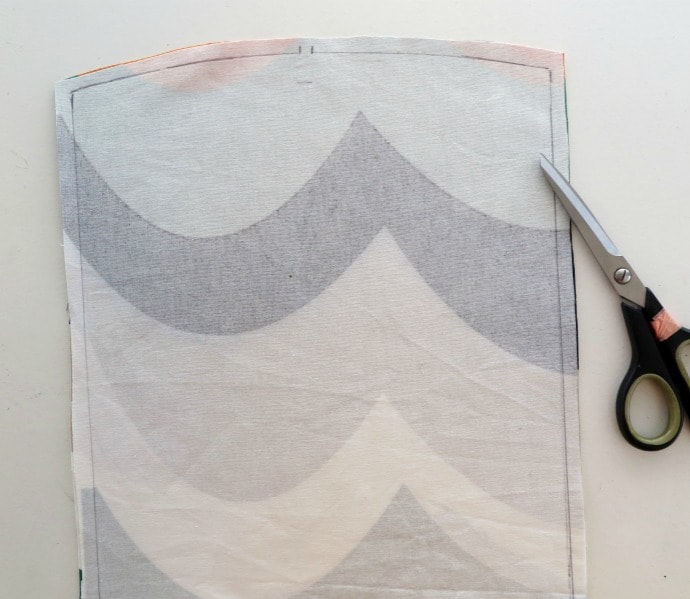
4. Cut with a 1cm (1/2″) seam allowance through both layers of fabric.
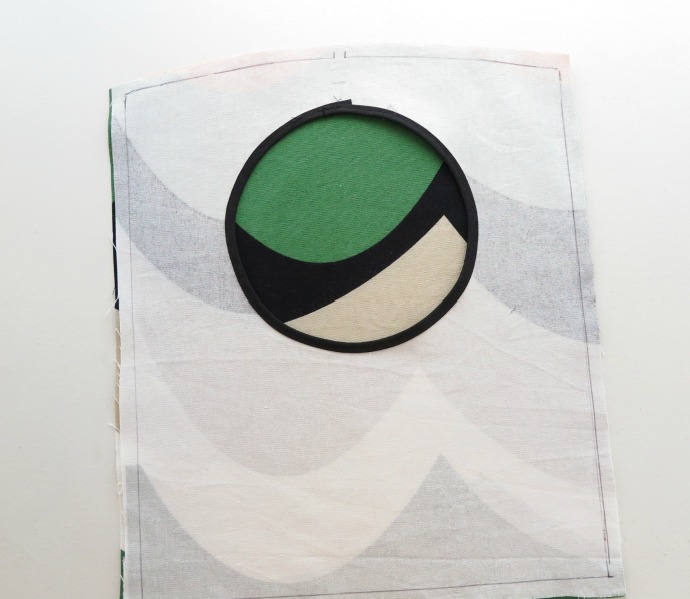
5. On just one layer of fabric (the front), trace circle template centered horizontally and towards top 1/2 of fabric vertically.
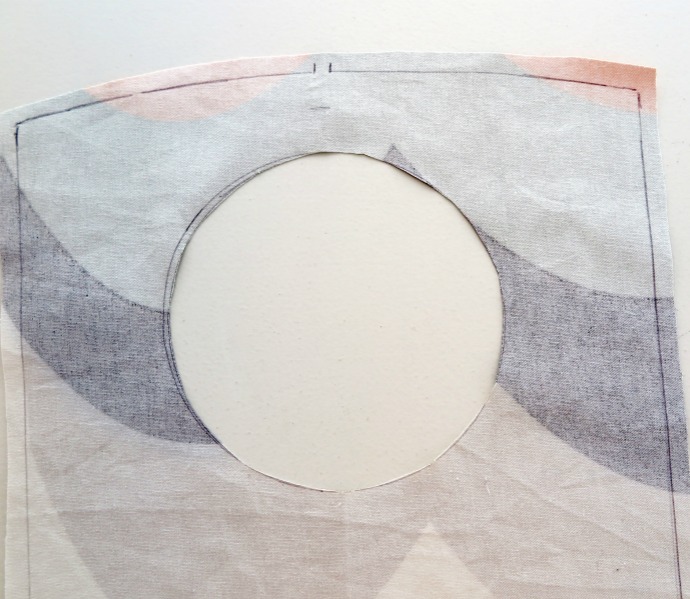
6. Cut out circle.
7. Starting from top, fold bias tape over inner edge of circle and pin in place.

8. Overlap tape and trim when in gets back to where it started from.
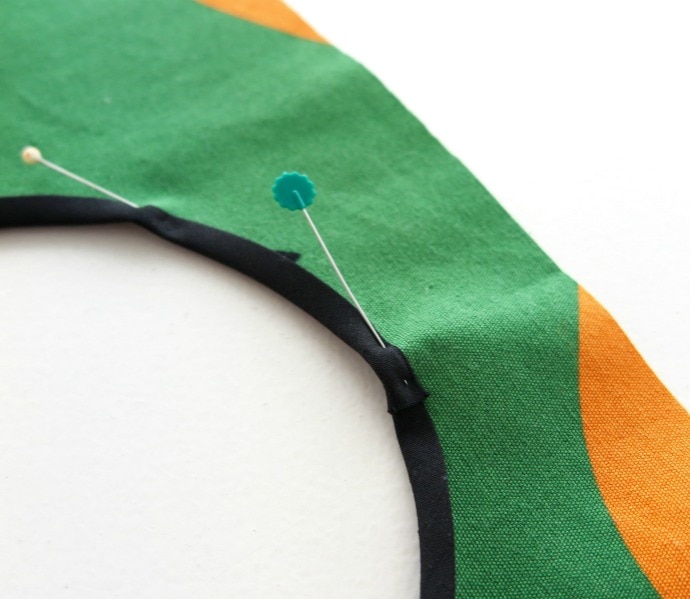
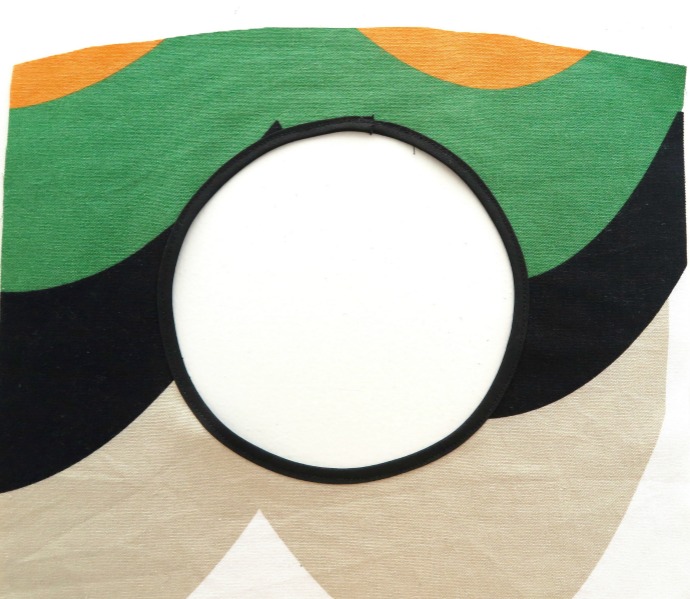
9. Sew bias tape in place, making sure to catch the back and front.
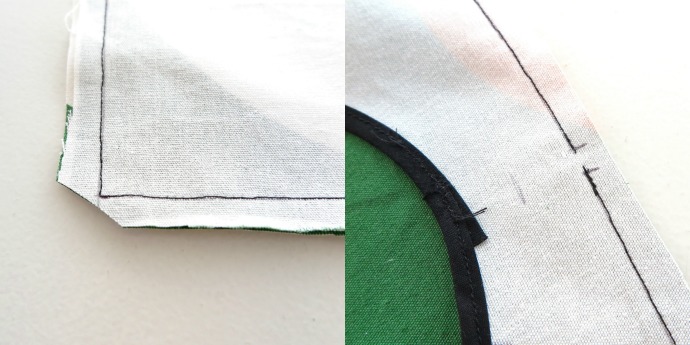
10. Lay front and back of bag together (right sided facing) and sew on the the marked line. Make sure you leave a gap for the hook to go through.
11. Clip corners and double stitch around opening to reinforce seam.
12. Turn right side out, press and insert coat hanger. Sometimes it’s easier to unscrew the metal hook and re-screw it through the top.
All done!
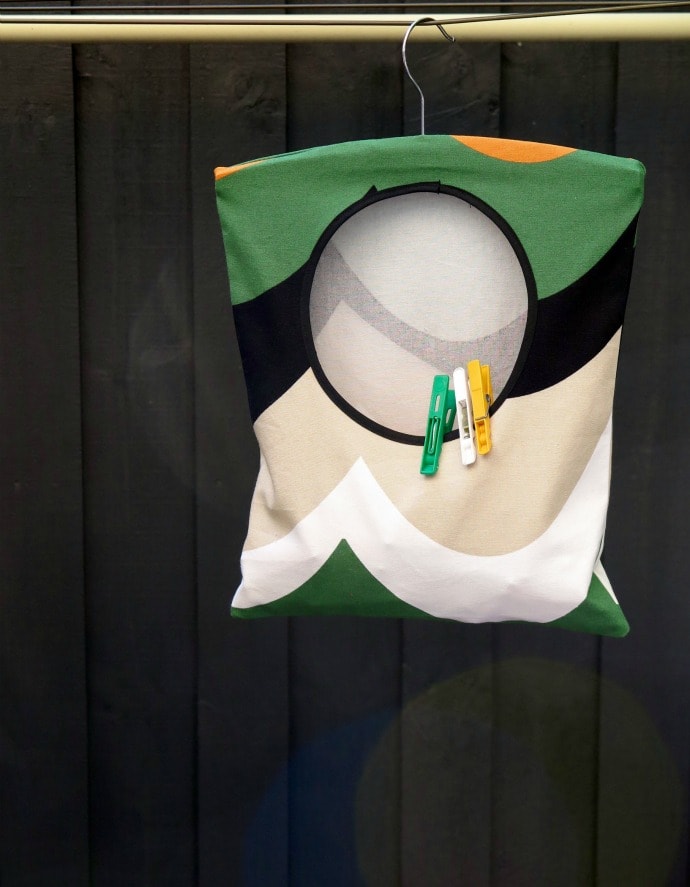
I’m so pleased with how it turned out, and it took hardly any time at all. All my pegs fit comfortably, and you may have noticed I reused the coat hanger from my original peg bag so it was a ‘100% from my stash’ project. Happy days!
The loads of washing are never ending, but at least I can now hang my laundry in style.


Soooo clever … Thank you.
Thank you for this idea! My bag has worn out too. It’s over 40 years old and the fabric has actually rotted where it just tore into! I was thinking I needed another but you reinforced that with a great idea! Thanks so much!
I have the dress bag. My mother made all 4 each of us kids when we married. I was the first…1968…and I still use it. Would love to have a pattern for it. I am definitely going to try the peg bag. It looks so much easier. TFS!
I think I would make a clothespin bag , of a sort but I would not be using it for clothespins. I would make it a little bit different of course with the hole in their that’s big enough to put the craft that I’m working on I would be crocheting a blanket and put the yarn in there where the yarn would go and stay in the the bag. So I could travel with it and hang it up on the seat head protecta I could still crochet on my project and have my needles were they would not fall out of the bag.
Great idea.
I love this pattern. I have made quite a few for myself and as gifts for friends. Thank you so much.