
Brought to you by American Yarns
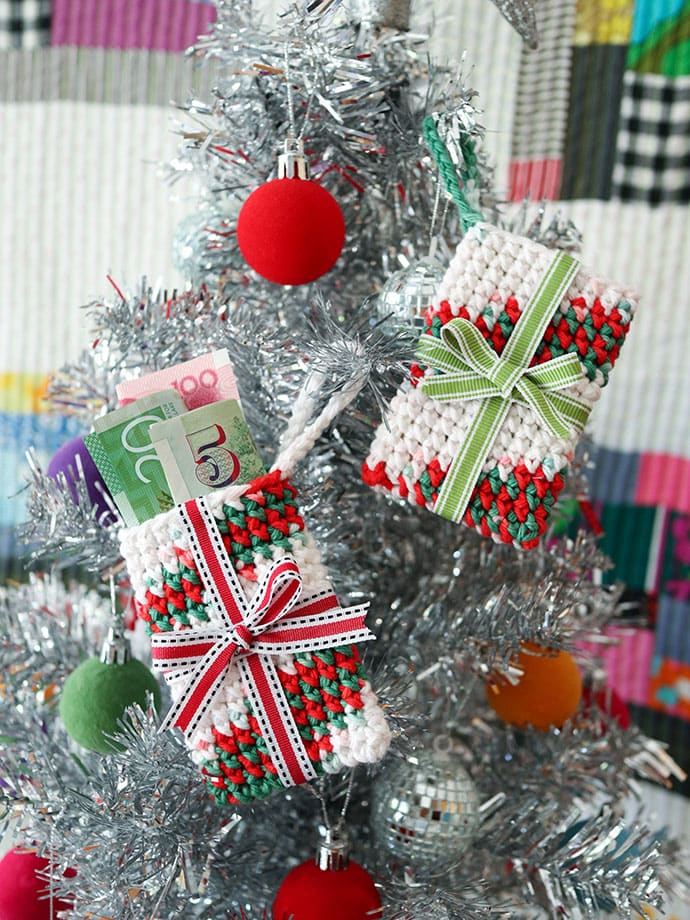
Are you giving gift cards or cash this year for Christmas? You can still add a bit of handmade charm to your gift by crocheting these Mini Present Pockets to put them in. Embellished with a bow, just like a real parcel, these Gift Card Holders look great hung up on a tree as an ornament or even tied onto a bigger gift as a gift tag – just slip a piece of paper with the recipients name into the pocket.
If you are super organised, get started on next years advent calendar and make 24 to hang on a tree or branch. Add little treats and activity ideas to each pocket. What a fun idea!
I’ve used Lily Sugar’n Cream from American Yarns for this project. There are several festive colour combinations in the range and I’ve chosen the classic, red, green, and white of Ombre Mistletoe which pools into a spiral around the pouch.
Other fun colourways to try would be Ombre Azalea (Red & White like a candy cane) or Stripes Holiday (pictured below).
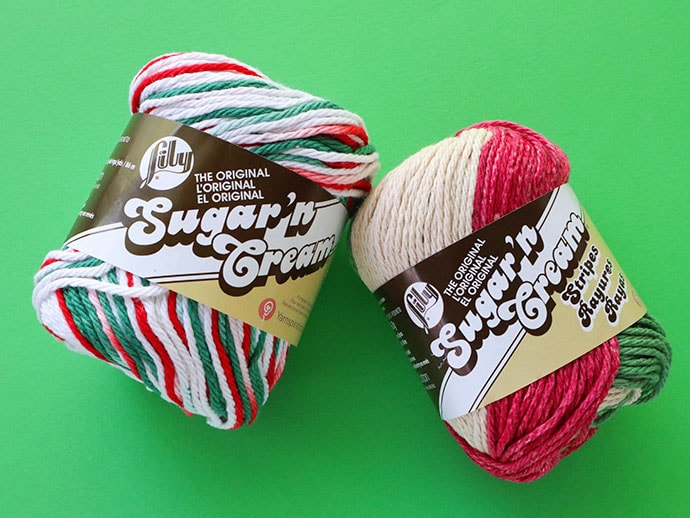
Colours Left: Mistletoe Right: Holiday Stripes
Of course this is a perfect project for using up leftover yarn and ribbon scraps. Have fun making Gift Card Holders in a rainbow of your favourite colour combinations.
Let’s make a Gift Card Holder Christmas Ornament

Finished Measurements (without loop): 10cmx6cm (4″x2.5″)
You will need:
- 1 ball Lily Sugar’n Cream – Ombre Mistletoe or colours of your choice
- 4mm Crochet hook
- Scissors
- Yarn needle
- Ribbon (1cm/0.5″ wide) 75cm/30″
- Needle & Thread OR Hot Glue Gun & Glue sticks
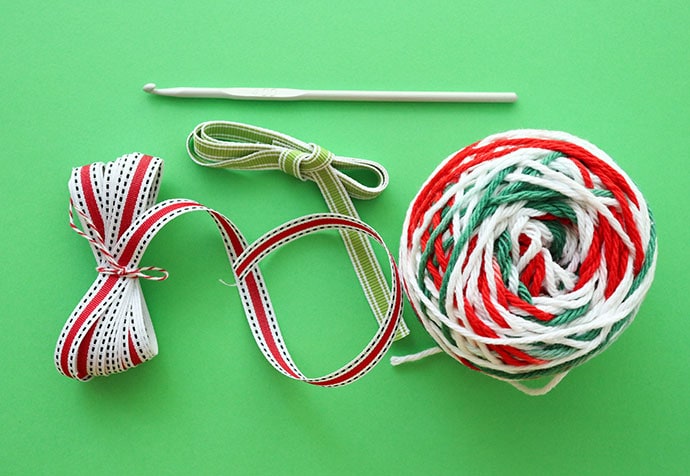
Stitches used (US terms):
- ch – chain stitch
- sc – single crochet (same as UK dc)
- sl – slip stitch
Gauge: 16 st x 17 rows (10cm/4″) – adjust hook size to achieve desired gauge.
How to:
Written Crochet Pattern
This pattern is worked in the round as a spiral – Stitch marker is not required.
- Ch 10 (loosely).
- sc 3 into 2nd stitch from hook, 7 sc into each chain , sc 3 into last stitch on chain. (13st) Do not turn.
- 7 sc into the opposite side of the chain.
- skip the last chain and sc into the first sc stitch.
- Continue to sc into all stitches working in a spiral for 17 rows (10cm/4″)
- To make loop ch 18. Fold over and sl into stitch next to last sc stitch. Weave in any ends.
Step-by-Step Pattern & Instructions
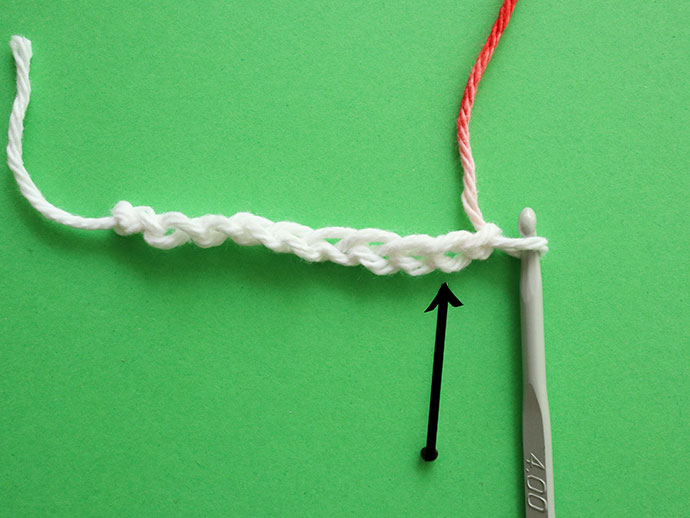
1. Ch 10 (loosely). You’ll be working into the second stitch from the hook/.
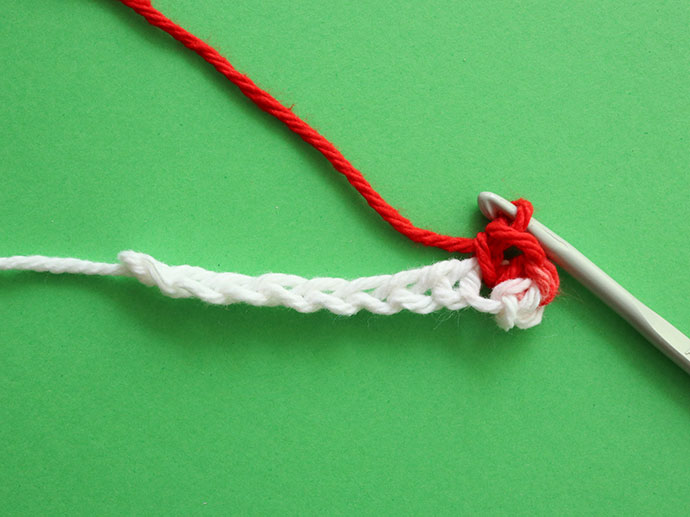
2. Sc 3 into 2nd stitch from hook.
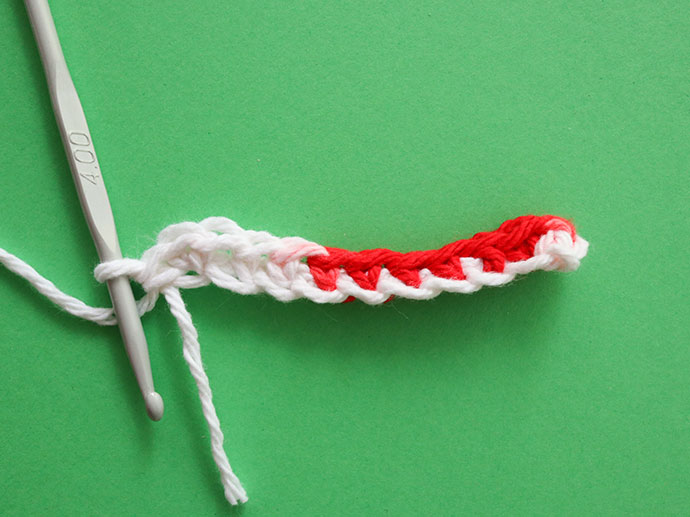
3. 7 sc into each chain , sc 3 into last stitch on chain. Do not turn.
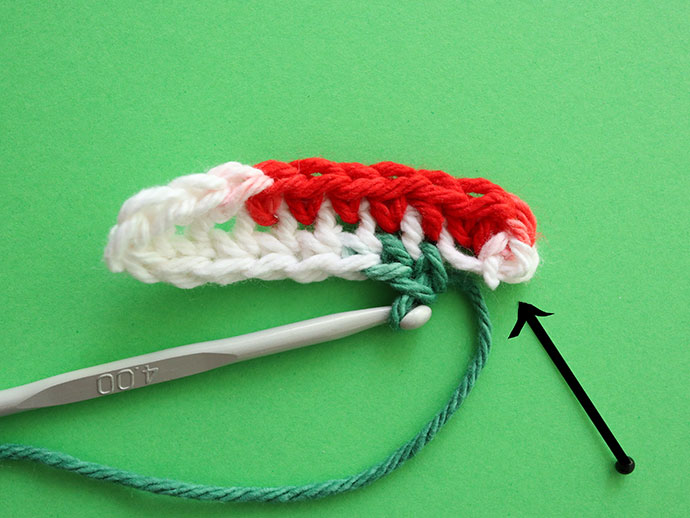
4. 7 sc into the opposite side of the chain. Skip the last chain and sc into the first sc stitch.
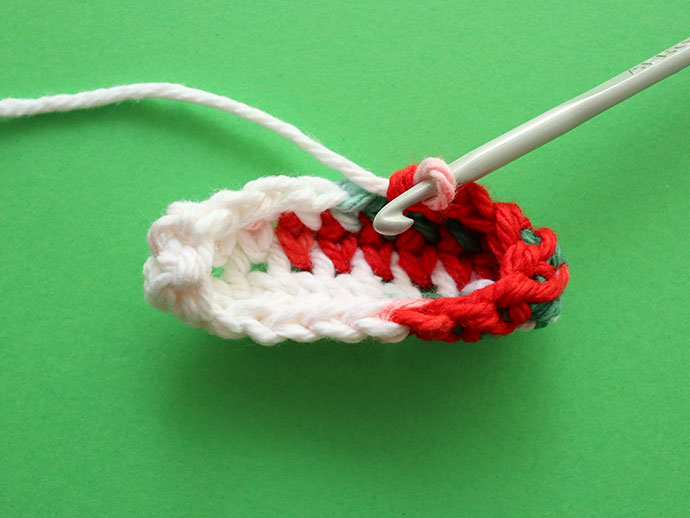
5. Continue to sc into all stitches working in a spiral. The ends will start to curl up.
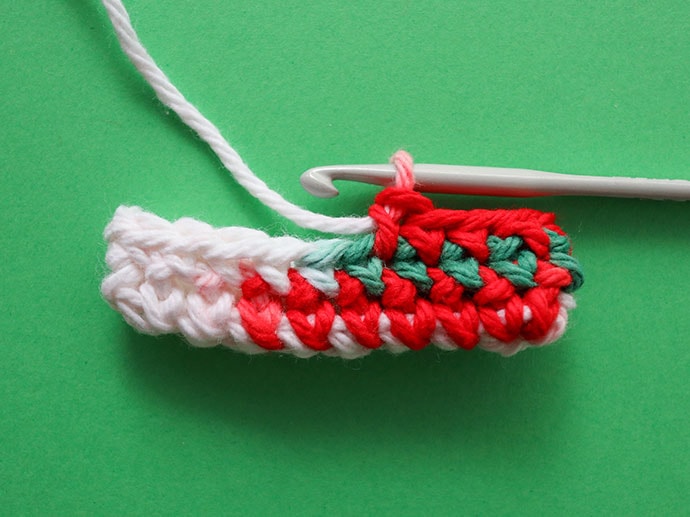
6. Turn inside out and flatten. You can slip a card in at this stage to test if it fits.
TIP: If it’s too small you can either add an extra stitch to the initial chain or use a larger hook. If it’s too large, make your initial chain one stitch shorter or use a smaller hook.
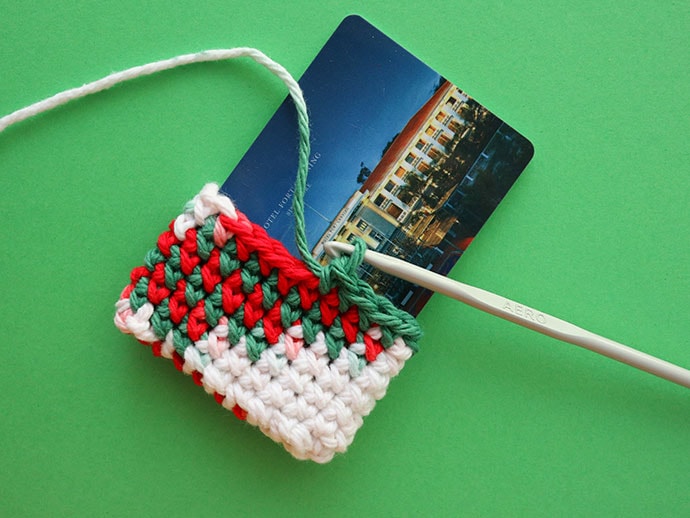
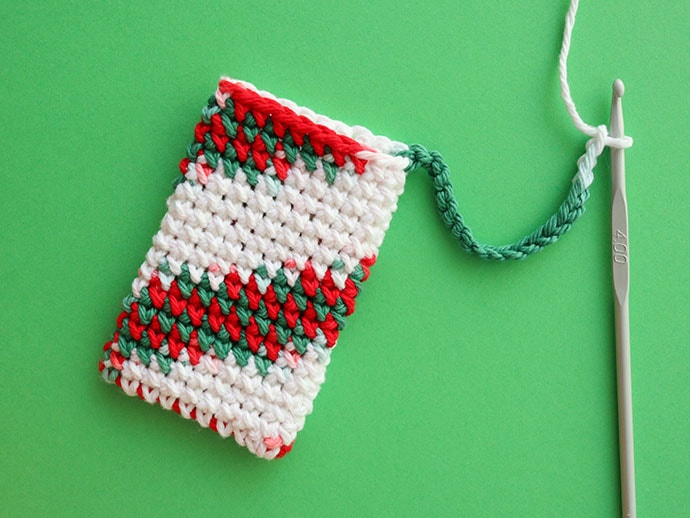
7. Continue working as a spiral for about 17 rows (or as tall as your gift card). To make a loop, ch 18.
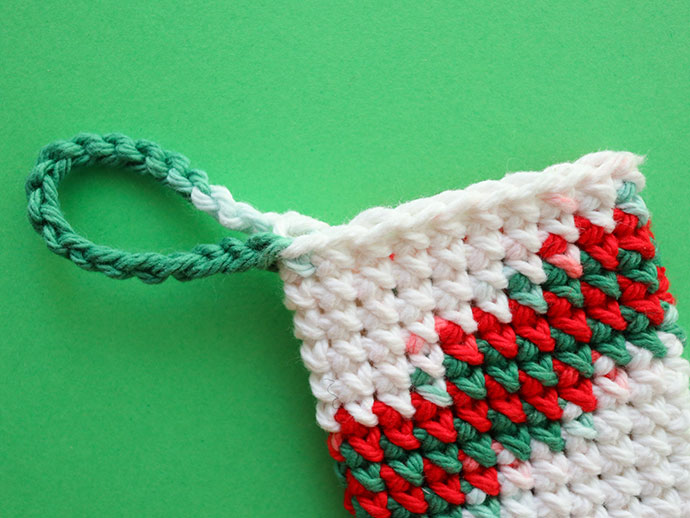
8. Fold over and sl into stitch next to last sc stitch. Weave in any loose yarn ends.
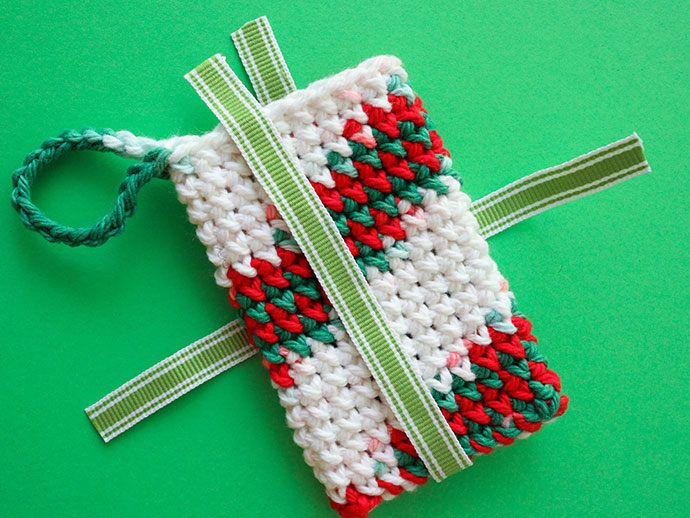
9. Cut 2 lengths of ribbon to go around the width and length of the rectangle. Make sure you have some extra ribbon length to overlap and also tuck into the top opening. (Don’t cover the opening with ribbon)
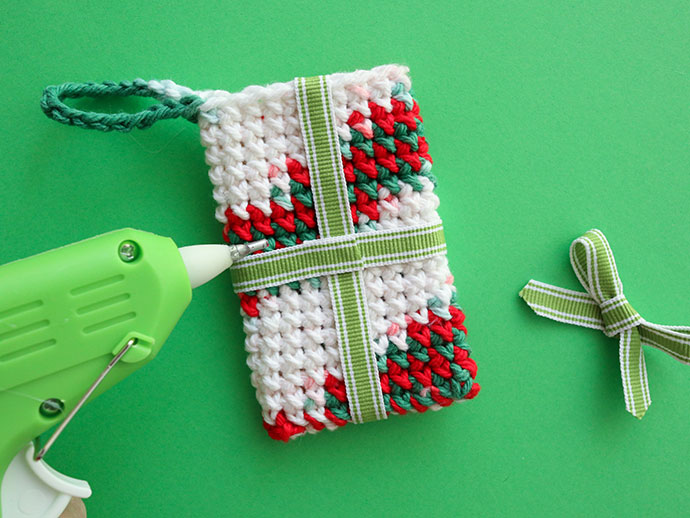
10. Use glue or alternatively sew on the ribbon as pictured and make a small bow with the remaining ribbon.
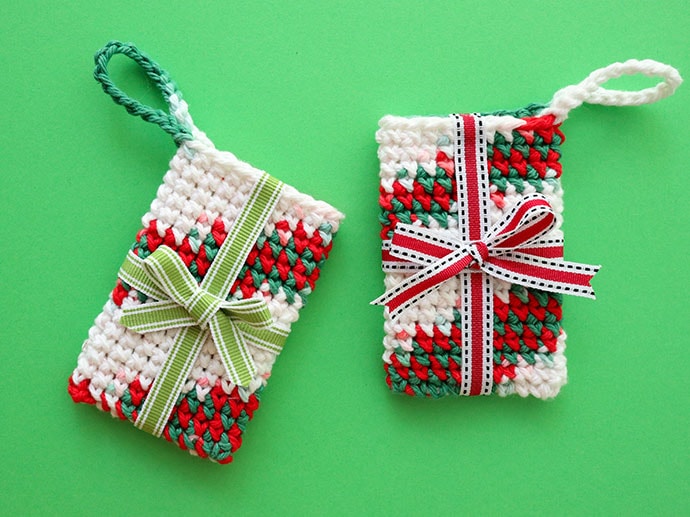
11. Affix the small bows onto spot where the ribbons intersect. All done!
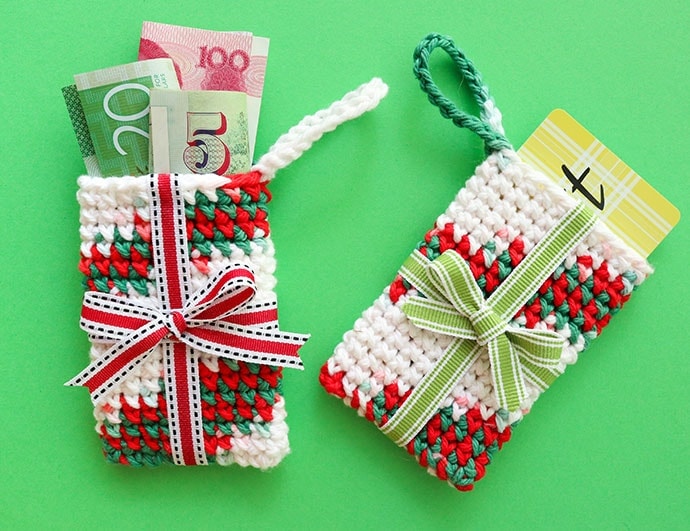
Now you’ve got a perfect little pouch to gift money, gift cards or other small treats in. They can be reused as Christmas tree ornaments the following year.

You can purchase Lily Sugar’n Cream yarn from www.americanyarns.com.au


The pattern was not what I expected. It’s easier! Working in a spiral makes so much sense. The finished gift card holders look nice hanging on the tree!
What a cute idea!
Loved making the cardholder. The instructions are really easy to follow. Thanks for sharing this idea.
Thank you from Ohio, USA!!