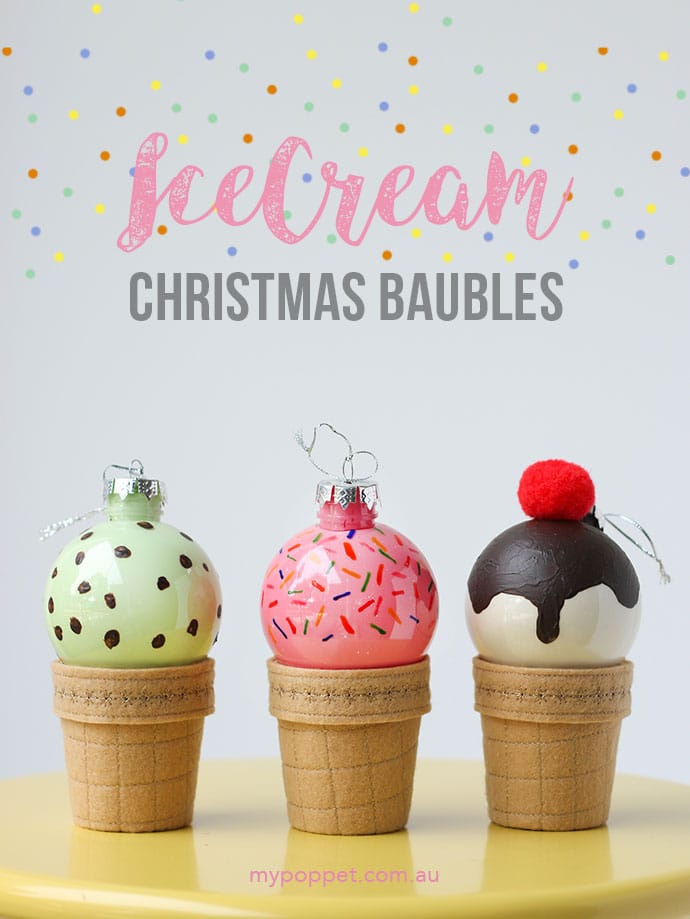
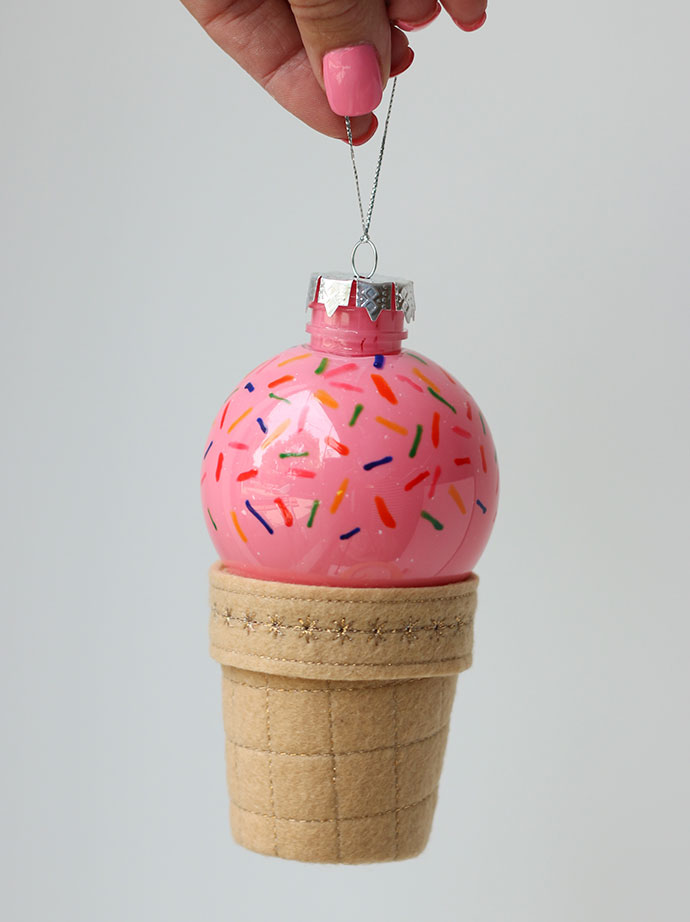
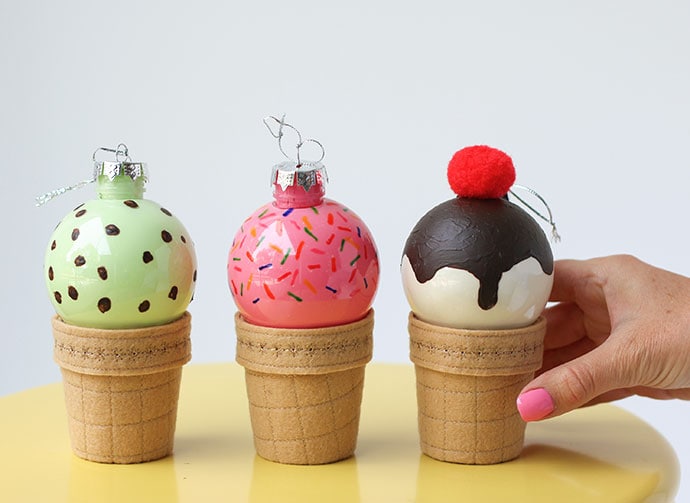
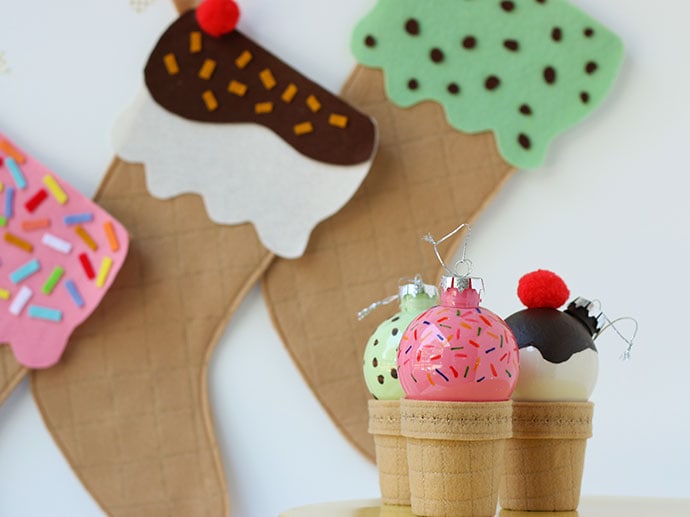
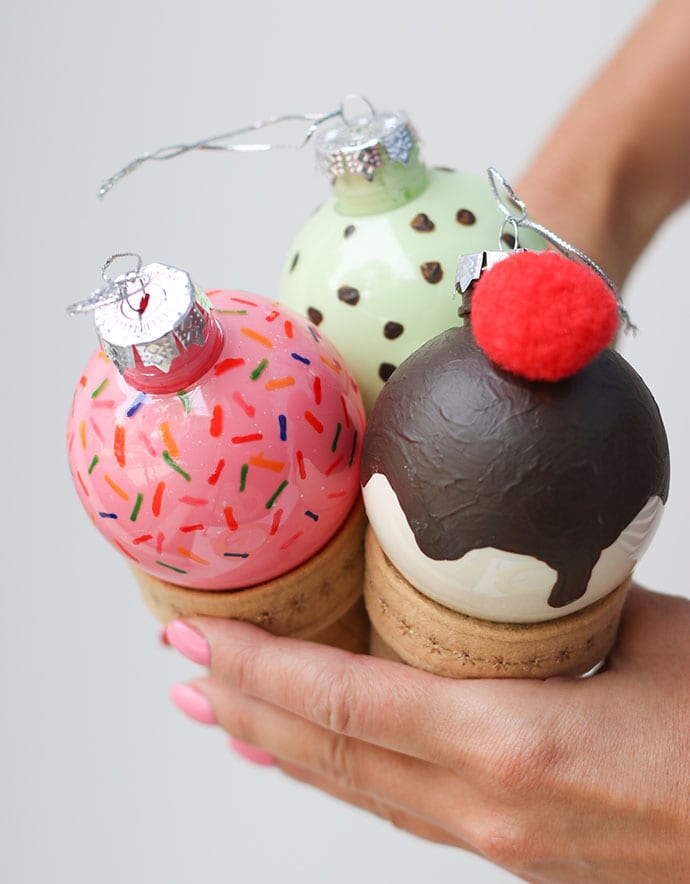
After making some Ice Cream Cone Christmas Stockings last week, I thought it was only fitting to make some ice cream cone tree decorations too. These Ice cream Cone Christmas Baubles have a fun summery vibe, and are perfect for those of us who celebrate Christmas in the middle of Summer!
Although this ice cream ornament project isn’t a quick one to make, they are certainly worth the effort. I think these decorations are really special and will become a cherished part of any Christmas decoration collection.
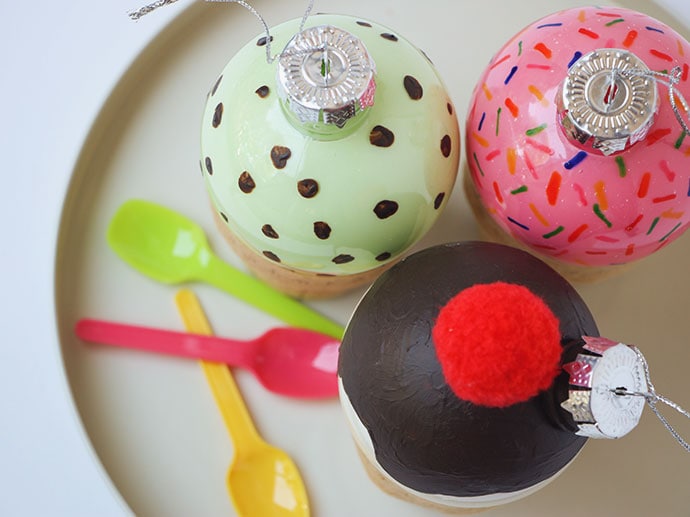
Choose your favourite flavour and embellish with your choice of toppings. Add choc chips, sprinkles, chocolate sauce and even a cherry. I’ve used some machine embroidery to mimic the patterns on a waffle cone, gold embroidery thread add some extra sparkle.
You will need:
- Clear glass (or plastic) ball ornaments with removable top
- Acrylic paint in ice cream tones & chocolate brown
- Felt square beige (for cones)
- Red pom pom
- Gold sewing machine embroidery thread
- Sewing machine
- Assorted coloured glass pens or sharpies (permanent markers)
- Paper Espresso sized cups
- Hot glue gun and glue sticks
- Scissors
- Craft blade and cutting mat
- Plastic container and spoon
- Paint brush
- Empty toilet roll or spare small cup
Note: In the past I have used glass baubles and Acrylic paint medium to help the paint stick (see a note about it in this post). This time I used plastic baubles and no paint medium. I found the paint dried streaky and didn’t ‘stick’ as well as in the past. I’d recommend using paint medium if you have it available.
How to:
Painting the Baubles
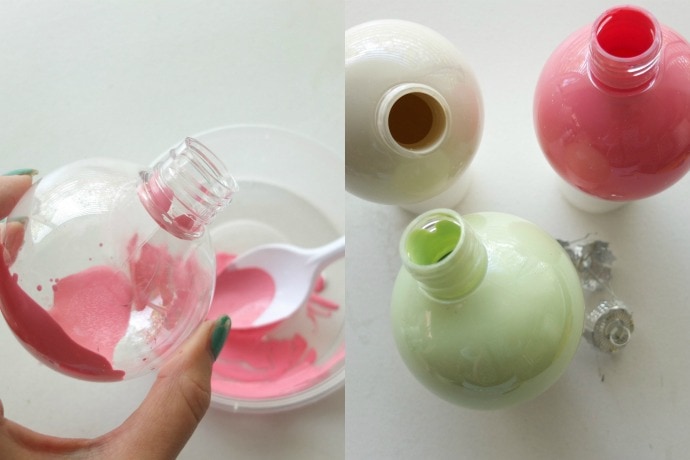
- Carefully remove the metal tops from the glass baubles.
- In a plastic container mix a small amount of paint to desired colour, mix well, it should have a runny custard consistency.
- Spoon some paint into the bauble. Don’t add too much, you can always top it up if you need a bit more.
- Cover the opening with your finger and shake, shake, shake.
- Pour out any excess paint and allow to dry.
Decorating the Baubles
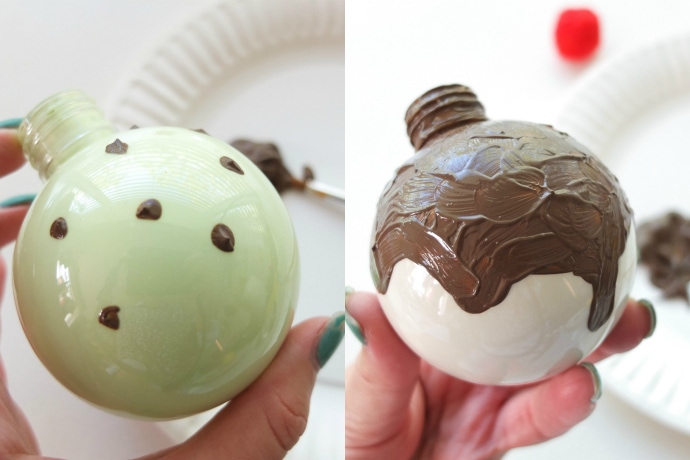
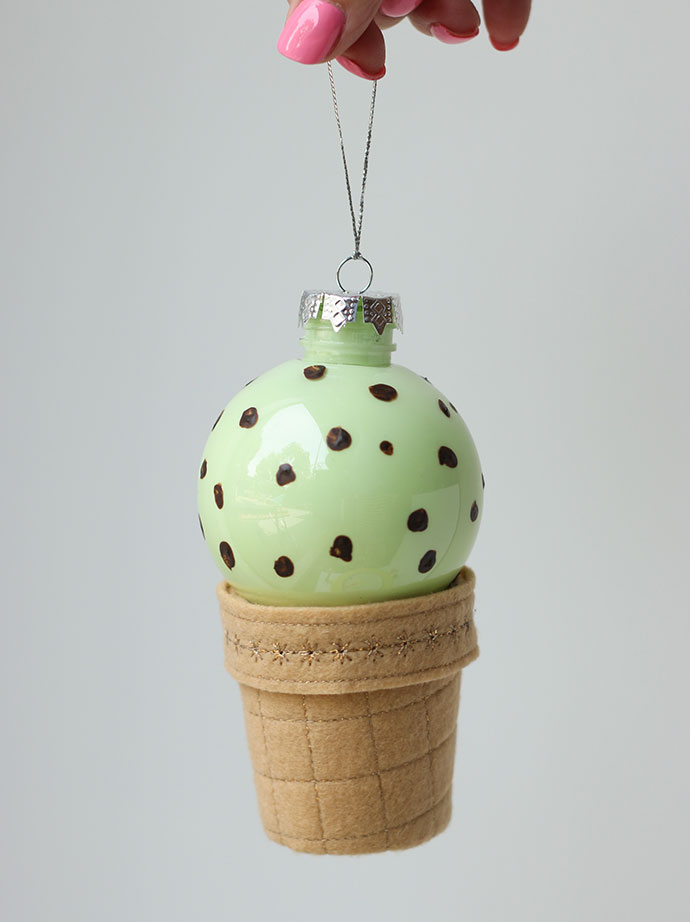
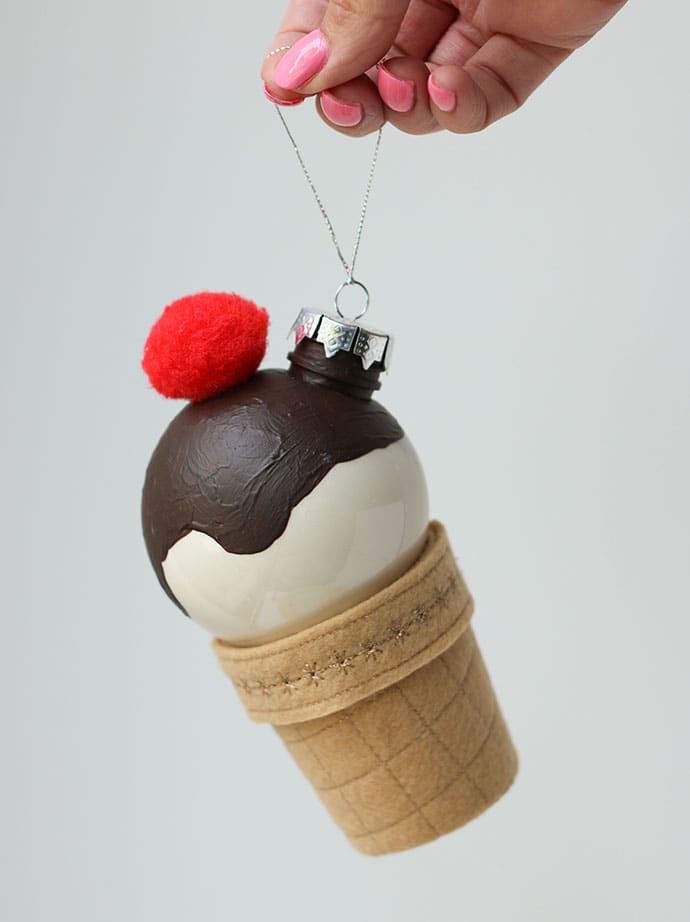
- With brown paint, paint choc chips or chocolate topping, allow to dry. You may need a couple of coats.
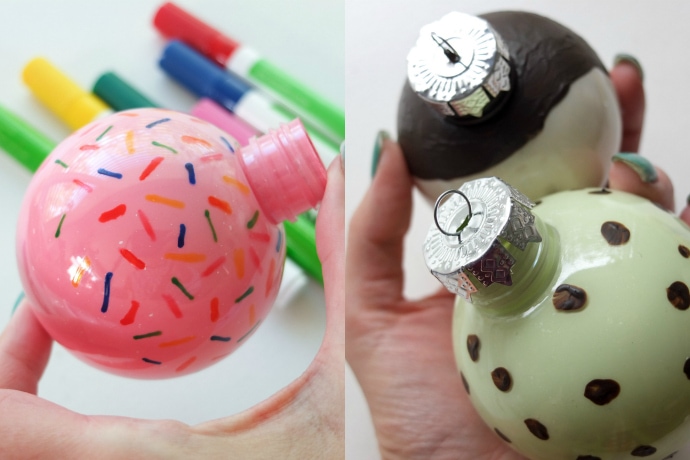
- For sprinkles, use glass pens or permanent marker.
- Once dry you can replace the metal caps.
- Glue on pom pom
Making the ice cream cones
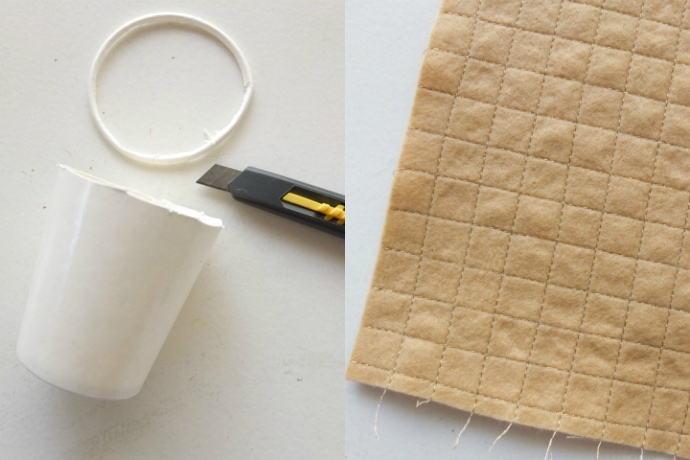
- Cut the lip off the small paper cut with a craft blade.
- To give a waffle cone effect, sew a grid pattern on to beige felt with gold thread. Spacing of 1.5cm
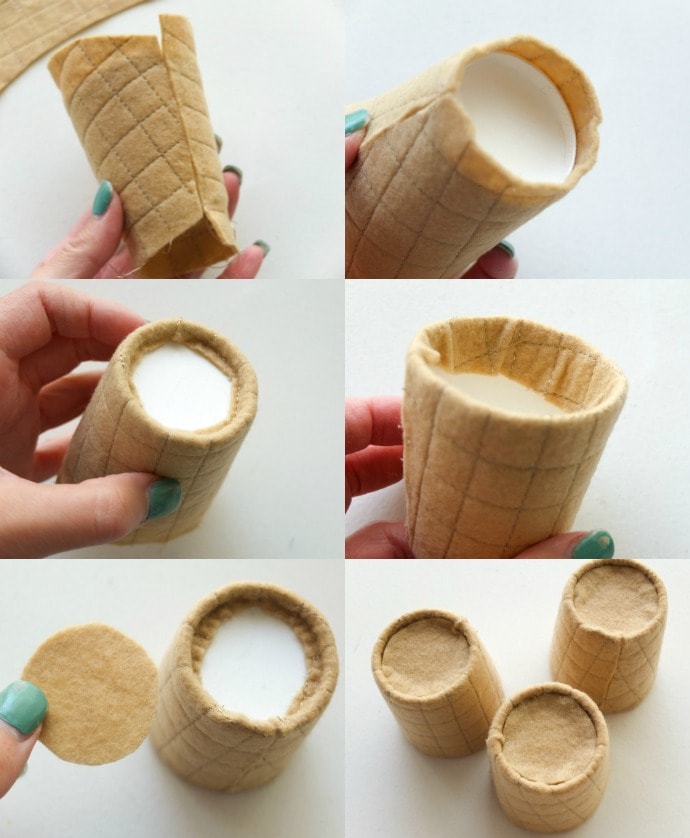
- Cover the cup with stitched felt and stick down securely with hot glue.
- Trim excess felt from top and bottom leaving about 1cm (1/2″) extra around the top and bottom of cup.
- Stick extra felt down over the top lip of cup and under base lip.
- Cut a small circle of felt to fit the base of cup.
- Glue on felt circle to cover base.
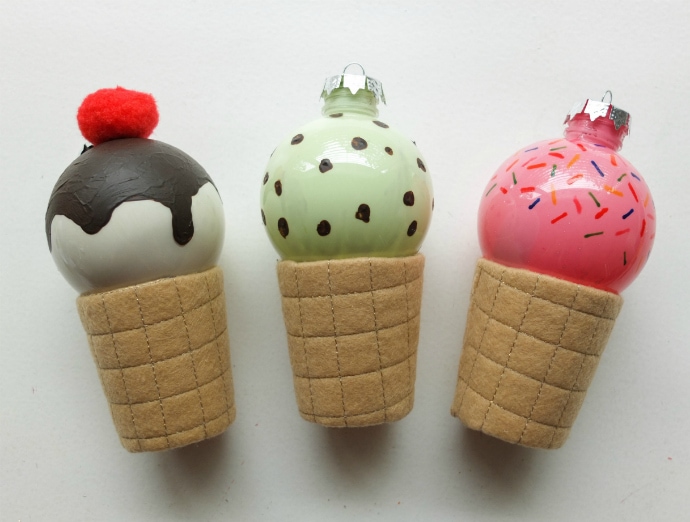
- Glue decorated baubles onto cup base with a small amount of hot glue.
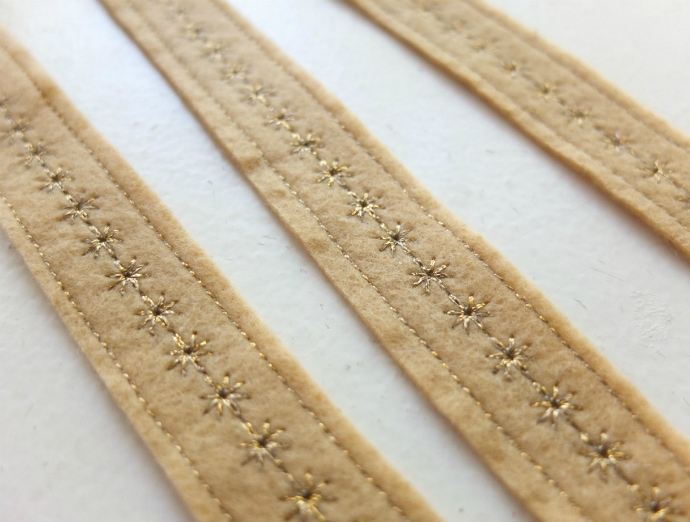
- To finish cone, cut a 2cm wide strip of felt for each cone. Use the fancy stitches on your sewing machine to add a design.
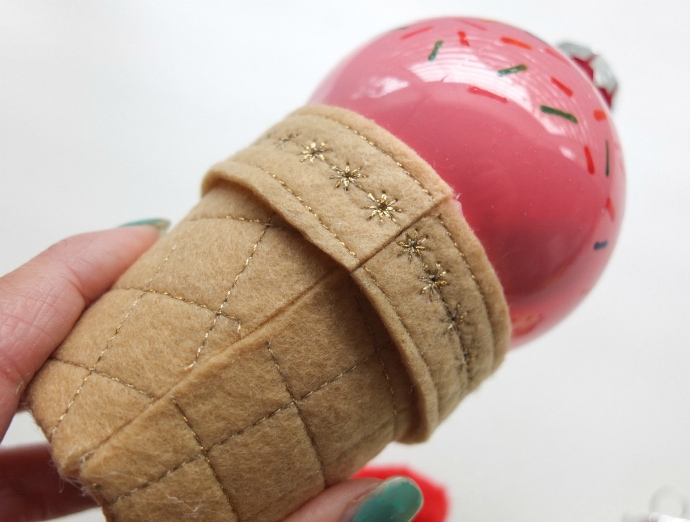
- Glue on decorative embroidered strip of felt to the top of the cone (cup) where it meets the bauble. Trim excess felt so the edges butt up against each other.
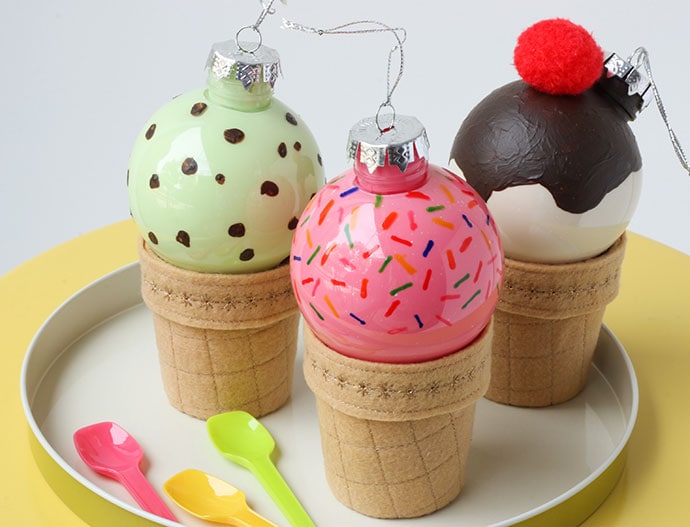
All Done! Hang them on your tree and enjoy your Summery Christmas Decorations.
Want to make more quirky Christmas baubles? You may like

Haha these are so cute! 😀 What a great idea.