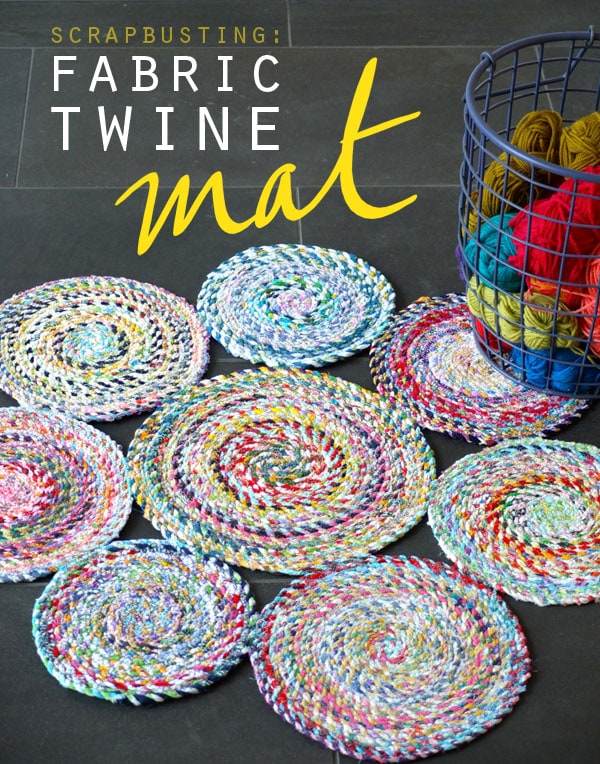
Don’t relegate your fabric scraps to the rubbish bin, recycle them into fabric twine and make this colourful Twine Spiral Mat, Recycled Fabric Rug instead.
This post contains affiliate links
The response to my Scrap Fabric Twine tutorial a few weeks ago was overwhelming. It seems to have captured everyone’s imagination.
I think the beauty of twine making is that it requires no special tools, although some commenters were very keen to try it using spinning wheels or electric drills to speed up the process.
So many people asked me what the twine can be used for. Well I suppose what ever you use yarn or rope for is a good answer.
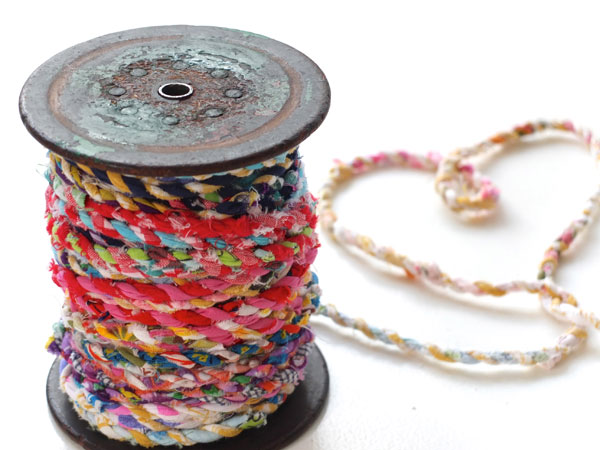
Some suggestions were basket making, crochet, weaving, macrame, cording for garments…the list is endless.
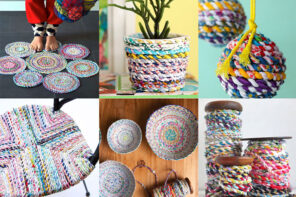
Here are some craft projects that I’ve made using my recycled fabric twine:
- Recycled Fabric Twine Planter
- Fabric Twine Recycled Christmas Ornaments
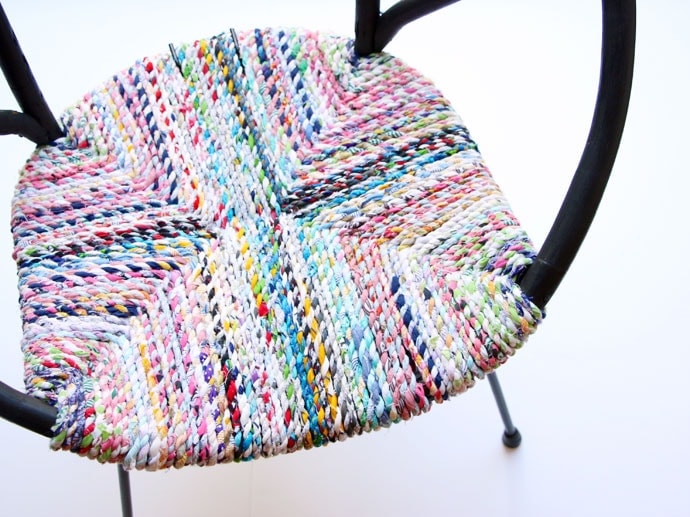
- Woven Twine Chair Seat
- Candy Cane Fabric Twine for gift wrapping
How the idea to make a Fabric Twine Mat came about
For this upcycling project I was drawn to my sewing machine, and wanted to see how this recycled fabric twine sewed together.
I started sewing circular disks as an experiment really, I didn’t have anything particular in mind, but as the circles grew, the idea for a spiral mat was born.
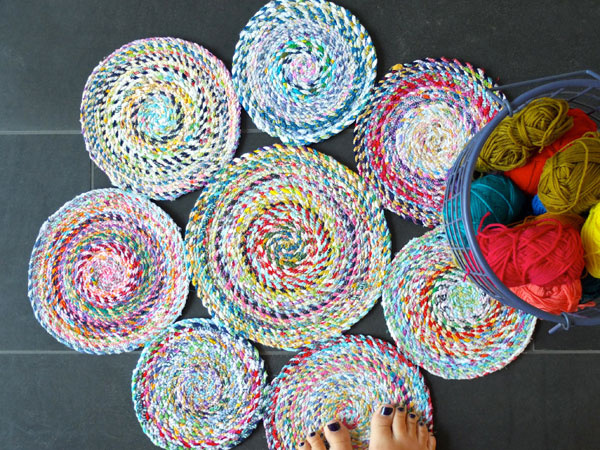
As I don’t have carpet on my floors, rags rugs and mats are always welcome and practical decor items.
This spiral sewing technique can be used for a mat of any size.
You can even keep the circles small and make place mats or coasters.
You will need:
- Scrap fabric twine, lots and lots of it!
- Sewing machine and thread
- Heavy Duty Sewing Machine needles
- Anti-slip rug underlay (I used Ikea STOPP underlay )
- Scissors
- Hot Glue gun and plenty of glue sticks
- General sewing supplies
- Marker pen
How to:
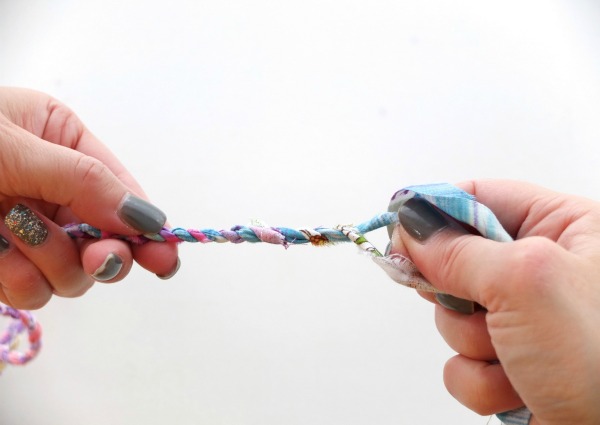
1. Make your scrap fabric twine, find the full instructions with a video here. You can make it all before your start or do it in stages as you go along. The more twine you have the bigger your rug will be.
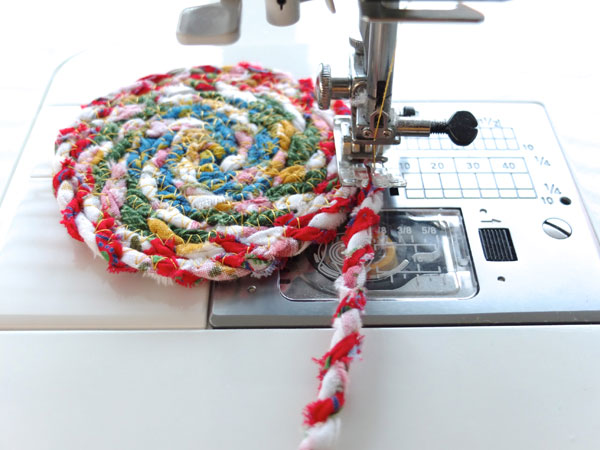
2. With your sewing machine stitches set to a wide zig zag, start sewing the twine into a flat spiral shape, making sure you catch both sides with the zig zag stitch.
Tip: I recommend using a heavy duty needle or denim needle for this project as the twine can be quite hard to sew through, resulting in needle breakage.
Try to keep the shape as flat as possible, it will have a tendency to cup up if you pull too tight on the twine as you sew. This is a similar technique to what I used for my Braided T-shirt Rug.
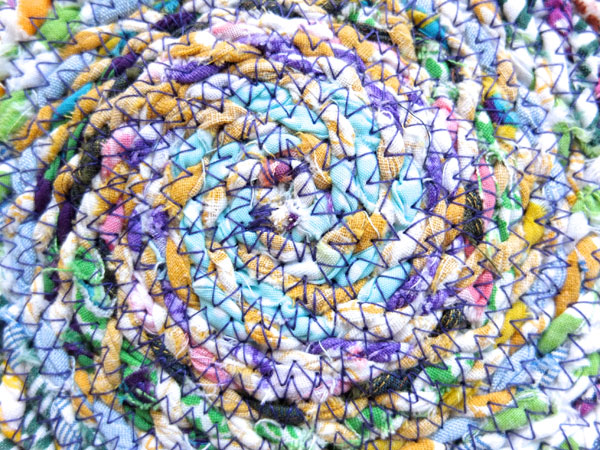
Hint: Starting is the trickiest, you can sew a little cross shape over the center to make it more secure. Don’t worry if its not perfect, a bit of wonkiness adds to the over all scrappy look. I had a few skipped stitches as I used an old sewing machine needle.
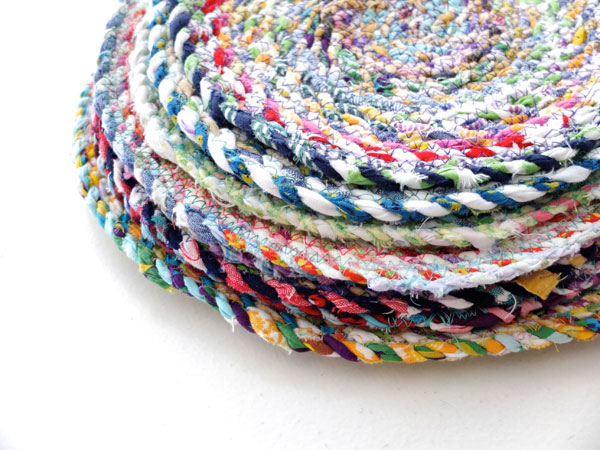
3. Make as many circles as you need for your mat. I’ve made a slightly larger central one and seven smaller surrounding ones. They are all slightly different sizes and it’s a good idea to lay them out as you go to check how the circles will fit together.
Hint: Don’t be limited to a circular design for your layout, you could easily make a long runner or a big square rug using the same method. Any design will work but the edges of the circles must touch each other when laying flat.
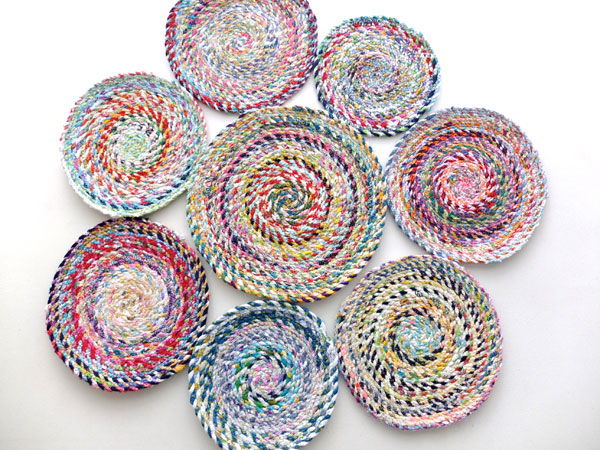
4. Once you have decided how your circles will be laid out, pin or tape them together where they join.
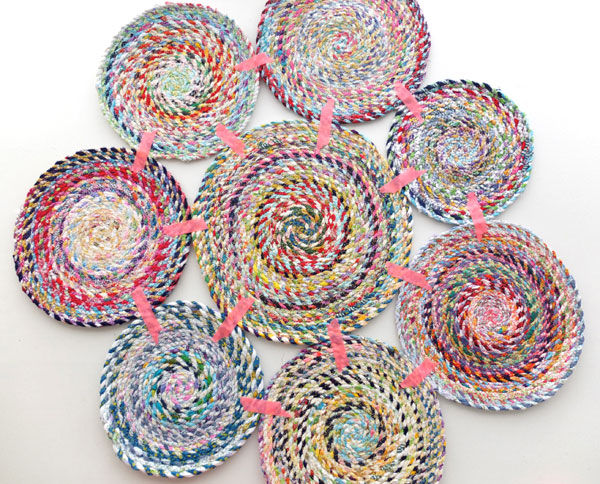
The tape on my mat marks where the joins will be sewn.
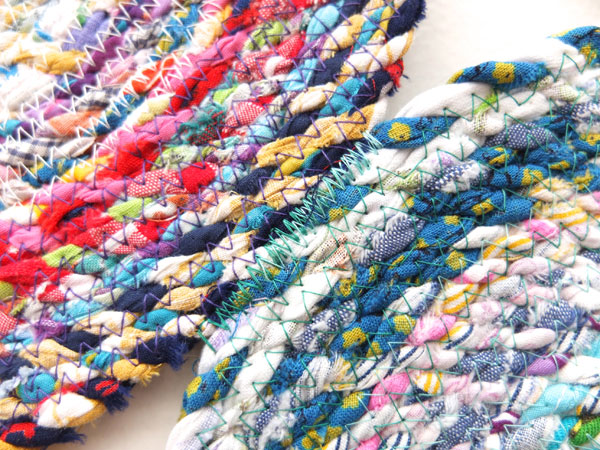
5. Zig zag the circles together at the join, reversing over the stitching a couple of times for extra strength.
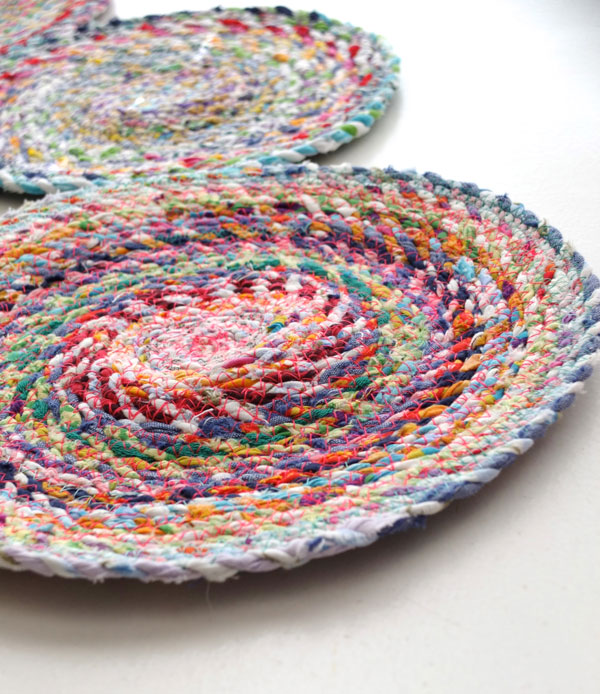
You can see that the circles have some cupping at this stage, don’t worry because the next step will fix that right up as well as stop your rug from slipping!
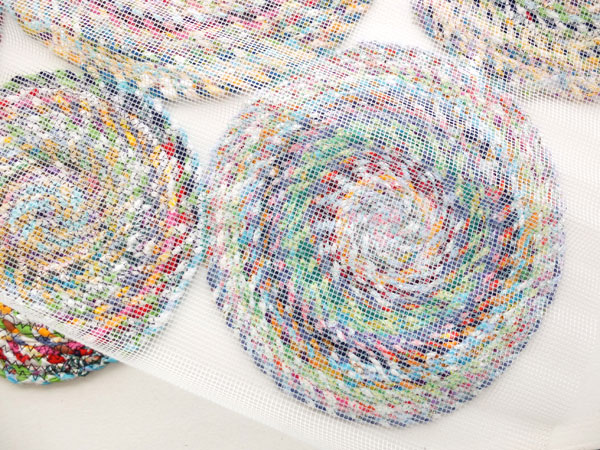
6. Flip your rug over and lay the non-slip underlay on top (back side). Draw the shape of your circles onto the underlay just a little bit smaller than the fabric circle, 1cm (1/2″) should be enough.
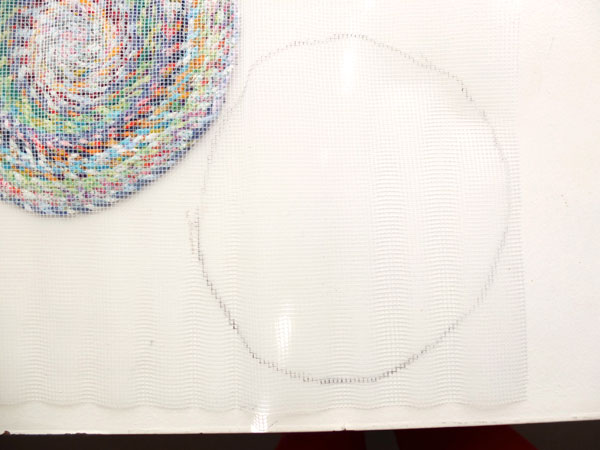
7. Cut out underlay circle shapes.
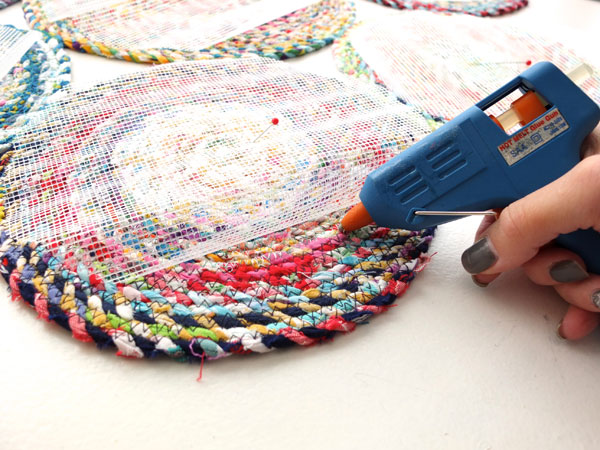
8. Use a hot glue gun to attach the underlay to the rug. Be careful the glue is hot so watch those fingers.
I found it best to apply the glue to the rug and then press the underlay on top when it cooled slightly as the very hot glue melted the underlay material.
Hint: As you are gluing on the underlay make sure that the fabric circles are stretched nice an flat, this will help sort out your cupping issues.
Spiral Fabric Rug Trouble shooting – Your questions answered
My spirals are cupping, how do I stop the edges curling up?
The spirals have a tendency to cup as you sew. This will happen if you aren’t feeding enough twine through the machine as you sew. Even a little bit of tension as you hold your twine will pull on the edges leading to cupping.
If the cupping is only slight, a good press with a steam iron should flatten it out.
The glued on underlay will also help hold the circles flat, and then as you start walking on your mat, the cupping will settle and flatten out with time.
Worst case scenario – turn your spiral circle into a basket!
Help! My needle keeps breaking. How do I avoid broken needles?
Fabric twine can be quite tough to sew through, especially if it’s very tightly twisted. I’d recommend sewing slowly and using a heavy duty or denim sewing machine needle.
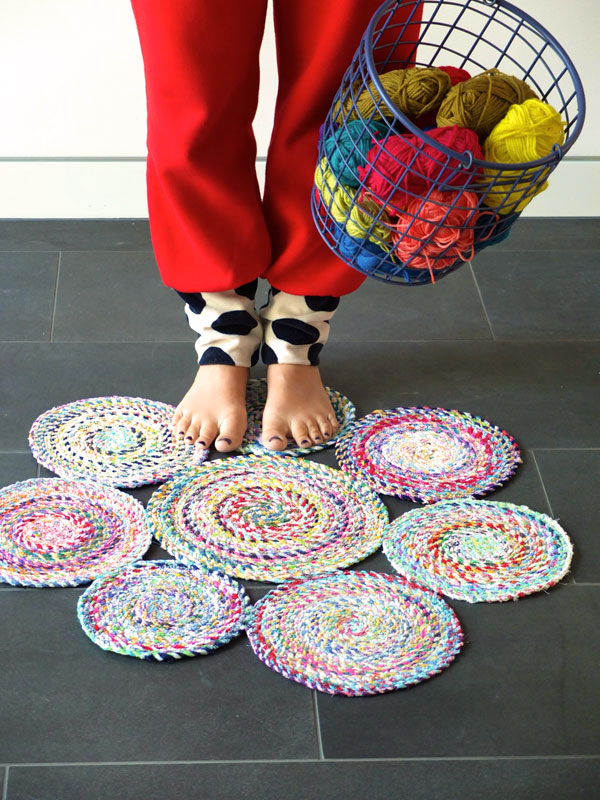
All done!
This recycled fabric rug is pretty, and adds a pop of colour to any space. I’m using it as a front door mat at the moment, it’s great because the pattern hides any dirt. You can just give it a vac or throw it in the washing machine if it gets really grubby.
Oh and if you are curious about where I got my spotty track pants, I made them myself 🙂
I’ve run out of twine now but will have to start on another batch soon, it’s so handy!

Love this IDEA! I saw the first twin episode and was thinking, what could I do with all that? NOW I KNOW what to do. I was just telling my husband the other day I needed a wonky rug. Too bad I used all of my strips in a scrap blanket! Oh well, I’ll be able to make more!
Great job!
Brilliant! This will be a project most desired by all! Great inspirational work!
FAB & CLEVER IDEA sewing together fabric twine circles & forming 8 into a UNIQUE rug! Your 8-step directions and sharp photos “tell” it all with a larger circle in the center with varying sizes of 7 circles all ’round. Colorful indeed, so thanks for sharing. Sarah in Minneapolis
ive started this, i started making one before this tutorial and got many things “wrong!” but this is real good and i started over. i havent stitched with the machine yet. i have many WIP at the mo
This is perfect for me! We have another set of ripped bed sheets and I was trying to work out what to do with them: this will be perfect!
I love them. I’m going to teach myself to make this twine when I get home from my retreat. I love it. I have so much scrap that I can’t use in quilts that would be great for this. Thanks for the idea.
I loved the look of them on spools so started making the twine with my scraps…right now I have the twine wrapped around spool…looks so cute and “scrappy”! I have made mats similar to your circles with rug hooking wool strips braided together…
very similar …but different because of the earthy dyed wool…I will try making a single circle…could use it as hot pad…or whatever…Thanks for sharing!!!
Awesome! Thanks for the great idea!
VERY COOL
This is truly fabulous! I’ve made several from crocheted rags, which I love since I can throw them into the washing machine…now I’ve got to try this! Would love to see you on Craft Schooling Sunday if you have a moment to drop by and share!
will pop in 🙂
Thanks
This is such a great idea! I love the colors. This would go great in my daughters dorm room. Thank you!
I have seen people wind and sew twine before to make stuff, but I have never seen anyone use their sewing machine and a zig zag stitch before. That is genius.
Fun! My grandma used to make plastic bread sack crocheted rugs to catch the dirt grandpa brought into the house. I think I’ll try the same idea with the twisted thread, big hood and looser stitches. Thanks for sharing this.
Love this idea! This could become quite addictive lol. Thank you for sharing 🙂
Cintia, My grandmother used to make trivets and pot holders similar to this. Granny didn’t have much and she would use her dresses and shifts that could no longer be patched. Though she had a treadle sewing machine; she would sit and sew these together by hand. We all had some of these as she would give them to us for holidays and birthdays. My collection is down to just two now and I treasure them. Granny has been gone for some twenty years now, but I can still visualize her sitting on her sofa sewing her trivets.
Thanks for the memories, I guess now I should make some of my own to perhaps pass on.
Marie
What a wonderful memory. Yes you should definitely pass it on 🙂 Thanks so much for sharing, I love hearing about stories like this.
I watched the tutorial for how to make the twine before, and love how colorful yours is. And this, OMG, so cute! Lots of labor to make it, but a great project.
Thanks for sharing!
Hi There,
I have enjoyed watching your video on fabric twine, I think I need to do this as like most crafters I have oodles and oodles of left over fabric.
I’ve started making the twine, having so many fabric strips left from a planned log cabin quilt. I made a fabric yo yo table topper that I love and I think the twine would be cute for that. Love the table runner idea too. I don’t think I could bear it being stepped on. Thanks for the great tutorial and ideas.
Love it! Ever knit a lap throw with it?
Hi, what a great find your site is. Love the twine, as I cannot throw anything out either! I have even made fabric of my thread off cuts, now that’s thrift. Looking forward to more browsing on your blog. Cheers
Fabric from thread off cuts. I’m curious now – would love to see that.
What a great idea! Can’t wait to see all your projects made with the twine. My Mom used to make rugs from her left over fabrics. They lasted forever it seems. Wonderful, colorful memories of them. Can’t wait to make some for myself—no shortage of fabric.
Thanks for the tutorial!
Thanks Karen, I also love using scraps because they remind me of past projects.
Had so many fabrics waste here and there…. Couldn’t understand what to do with them. Thank you Cintia. Now it makes my room look so creative, amazing and colourful. Its easy to wash them too. Not as neat as yours but thank you so much.
Great, I’m sure it’s just as good as mine. Anyway it’s on the floor so can’t really see it too closely.
If you steam iron the circles it will take care of the cupping. I have done this with great success.
Great tip – thanks for sharing, I never thought to iron the spirals.
Really ingenious. You must have a ton of patience! If I thought I could turn out something as beautiful as yours, I would give it a try. Love it.
I am so in love with this. I am working on my 8th circle and I am having severe cupping issues. I have used a wide zizzag stitch but the circles are not flat. Any advice, suggestions before I try to glue them to the backing. Thank you!!
Have you tried ironing it with lots of steam? it may help flatten it.
Thank you! I did iron them a bit but maybe not enough steam. I will try this method again.
Hello Cyntia,
I like to know how you make your nice spotty track pants.
Is there a pattern?
thanks
Coby
Hi Coby, It’s sort of self drafted, I adjusted a regular pattern and added extra long cuffs.
Hi Cintia,
I just found your website and its beautiful!! I was in such a craft rut and now I am totally inspired. With regards to this rug, could I make one large one or would that be a sewing machine logistical nightmare?
Thanks so much. Yes you can make a bigger rug but I’m not gonna lie, it will be a challenge. You can use similar techniques that I’ve used to make the large t-shirt braided rug. https://mypoppet.com.au/makes/2013/04/upcycle-style-braided-t-shirt-rug.html
Wondering if you can do this without having to use a sewing machine. I am not talented with a sewing machine so trying to find another to do this.
If you can crochet, you could try this technique, with the fabric cord instead of scrap fabric. https://mypoppet.com.au/makes/2015/10/coil-crochet-scrap-fabric-rug-diy.html otherwise hand stitching like this may work too
https://www.we-are-scout.com/2013/05/tutorial-make-rope-coil-vessels.html
Can the rugs be washed with the non slip backing hot glued on? Will it stay glued?
I have washed it in my washing machine a couple of times. Some parts of the backing did come unstuck but I just re-glued it when the rug was dry. I just dried outside on a warm day.
Hi Cintia!
I had the same problem with cupping using the sewing machine to sew them together and I gave up. Could you use a glue gun to glue the cord together in place for each circle?
I’m not sure a glue gun would hold- it depends on what you were gluing it to and how strong/flexible the glue is. You could always make a small sample and see how it holds up.
Any advice on how to keep it flat. I don’t think I’m pulling it too tight, but maybe I am. I love this too much to give up on it!
Even mine curled up a bit. It does flatten out when you glue it to the non slip backing, and even more once you use it. If it’s curling up more than a little bit, yous you will have to ease the tension. Worst case, make a bowl!
I love this but I keep breaking needles on my sewing machine! How can I avoid this? Is my twine too tight?
Oh, possibly you may have very strong twine. Also I found that Denim needles (usually blue tipped) are a bit stronger than regular needles. Sometimes sewing slower helps.
So how large a circle can you make this way. Just would like one large circle instead of the joined circles and I wondered if you had made one big mat and how big one could be.
You can make it as large as you like. They do have a tendency to cup up, but that can be avoided if you work on a flat surface like a quilting table.
Hi, made heaps of fabric twine and tried to make a mat but kept curling up, didn’t matter what my tension was. So I came across this bag from mellysews.com I hope it is ok to put it up if not take it down. She used rope and I used the fabric twine. If I could put a picture up I would. I have a project site with folders saying what’s in them so I will put it under bags