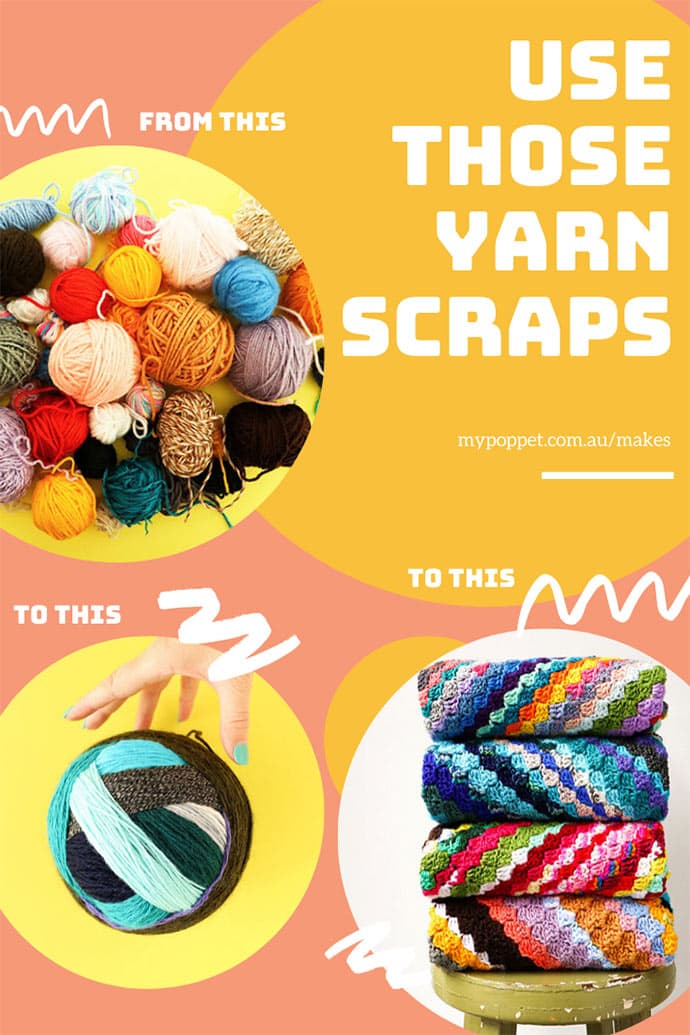
If you are drowning in yarn scraps leftover from various knitting and crochet projects, I’ve got a fun and resourceful way to use them. Make a Magic Yarn Ball!
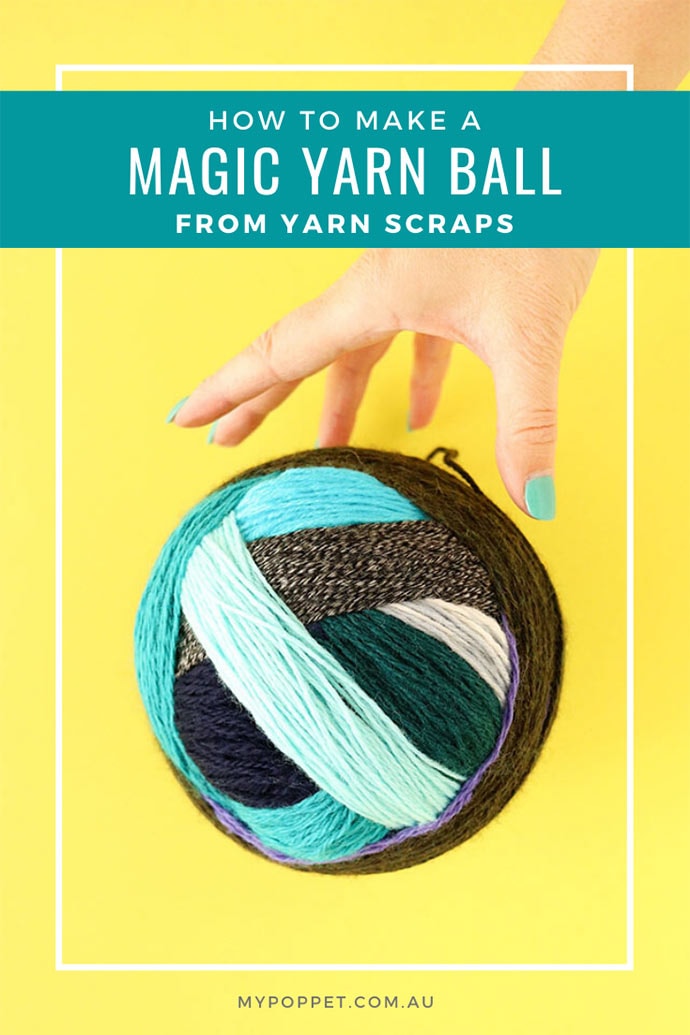
Using an easy invisible yarn joining technique, hundreds of little scraps can be joined to make a giant continuous ball of yarn, in a fun rainbow of colours.

Over the years, I’ve accumulated so many yarn scraps. Some of it ends of balls left over from bigger projects, some of it thrifted, others frogged and reclaimed from unwanted knitted projects. After a while it piles up.
As a big proponent of using up craft supplies from my stash, I thought it was time to tackle the leftover scrap yarn pile, and make something useful. Time for some Scrap-busting Stash-busting!!
The annoying thing about using short lengths of yarn in any project is having to weave in hundreds of ends. I don’t know about you, but I loath weaving in ends, so the idea of a giant ball of yarn that was ‘end free’ made me very happy.

With some scrappy crochet baby blankets in mind, I set about joining all my leftover yarn scraps using a handy invisible joining technique called a ‘Russian Join’.
In the past I’ve also joined yarn by needle felting ends together, but this technique only really works for 100% wool.

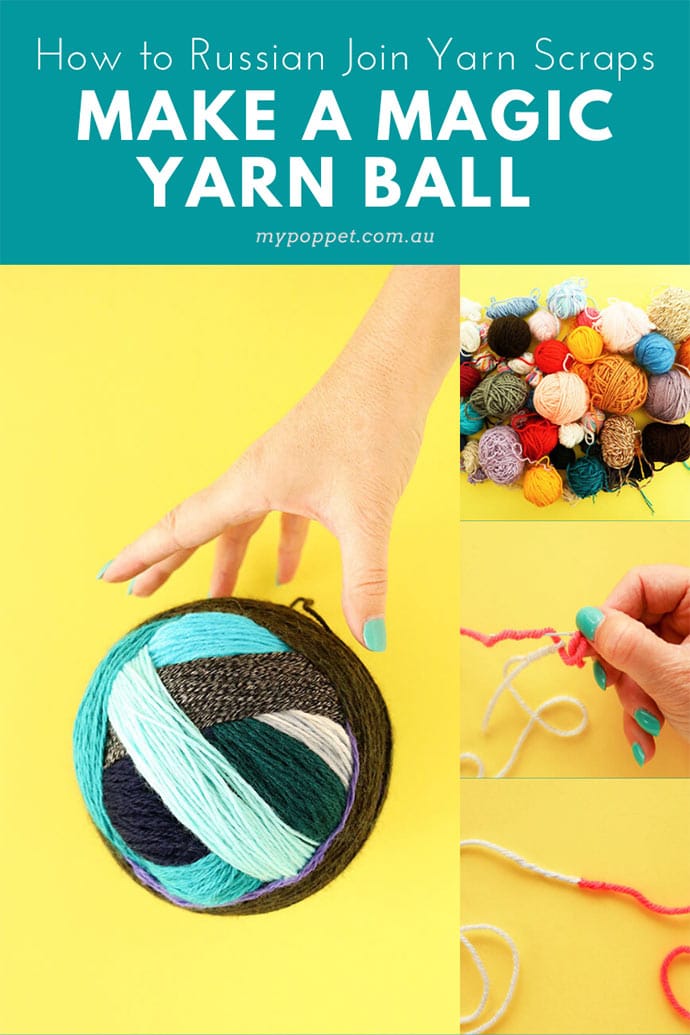
How to Russian join yarn scraps to make a Magic Yarn Ball
A Russian join works well for joining most styles of yarns together without knots or very obvious bulkiness.
It works best for joining yarns of the same weight, but I’ve found it works fine even with yarns that are a little lighter or heavier than your main yarn weight.
For example, most of my yarn scraps are DK (8ply) weight yarn, but I’ve also included some random bits of worsted (10ply) and sports weight (5ply) yarn.
If you plan on joining several different weights of yarn scraps, just make sure they are just one step up (or down) in thickness, from the yarn you are joining to.
Depending on how ‘magic’ you want your yarn ball to be, you can either join scrap yarns randomly (like I did), for a surprise result on your finished project.
Or if you like a more orderly approach, maybe group your yarns by colour theme, or in rainbow order.

You will need:
- leftover bits of yarn (lots of them)
- Tapestry (wool) needle with a large eye (a blunt one works fine, but I prefer a sharp pointed tapestry needle for this).
- Scissors
How to invisibly join yarn with a Russian Join:
1. Thread your needle with first yarn. As you continue and wind up the joined yarns, the first yarn will be the end (tail) yarn in your ball.

2. Untwist yarn slightly and insert needle though the center of the yarn for about an inch.
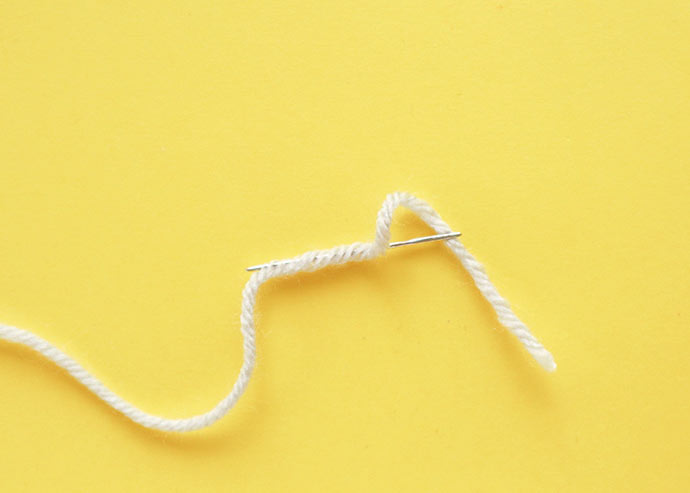
3. Pull the tail of the yarn thorough to create a loop.

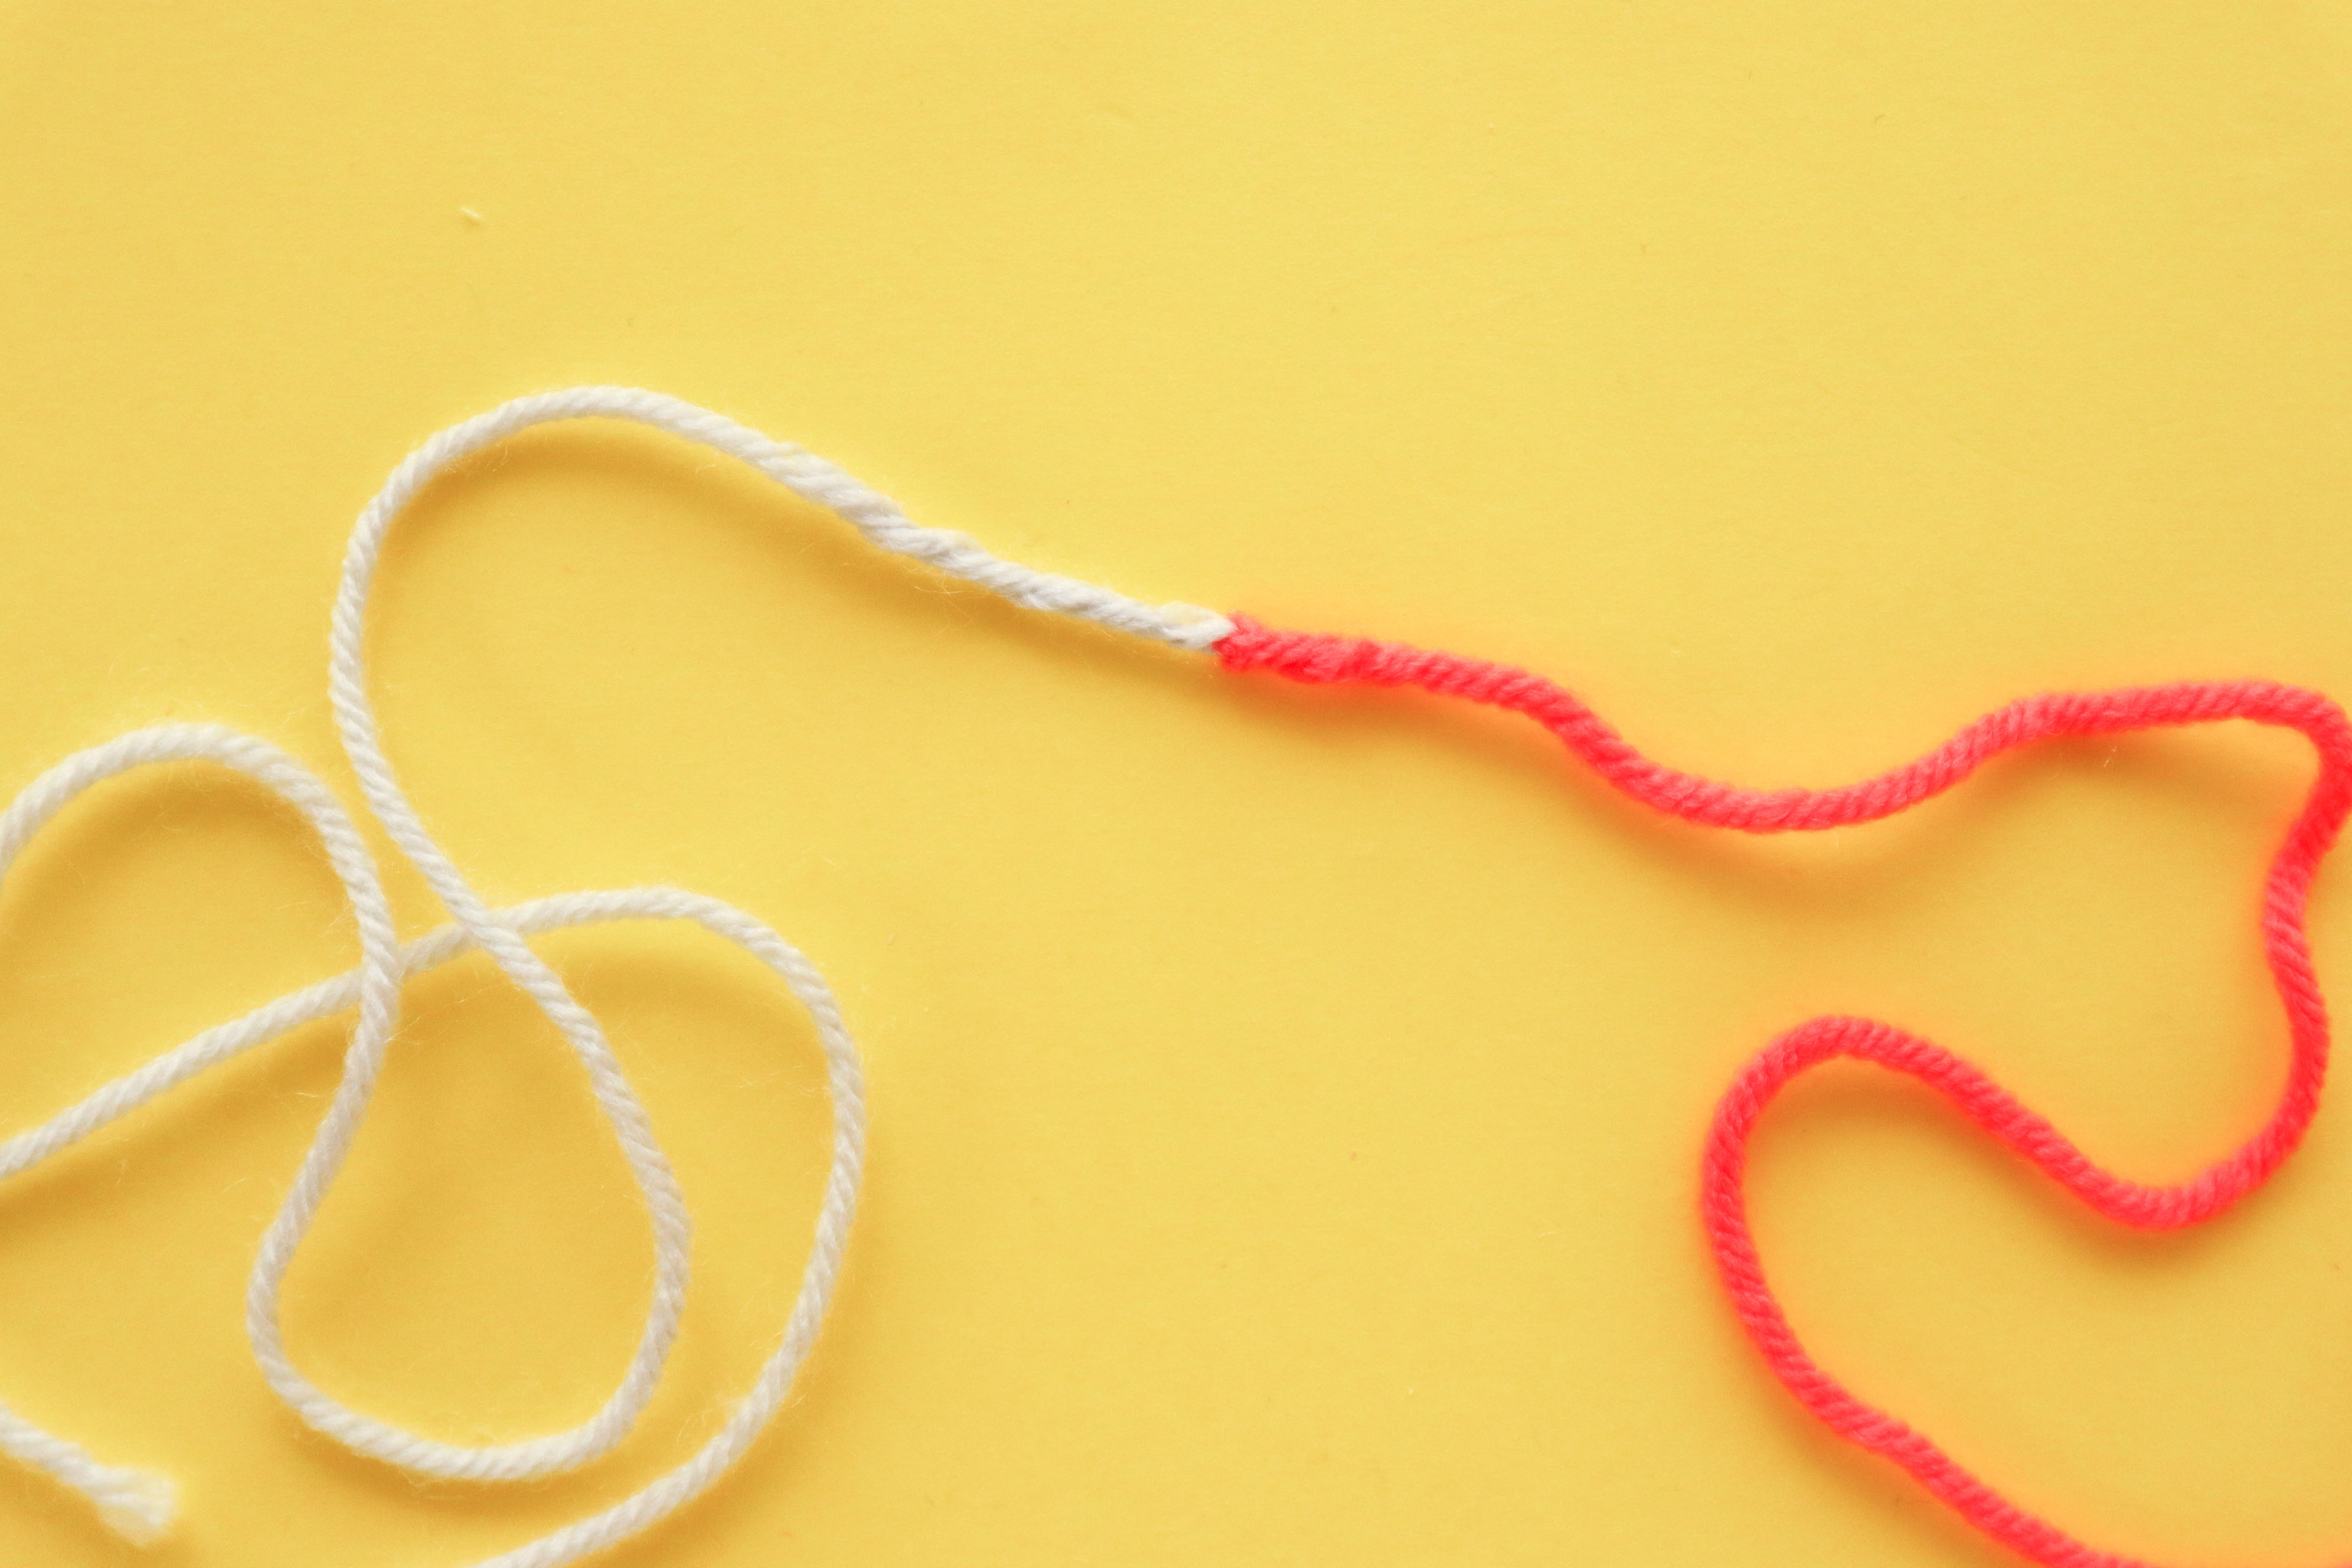
4. Now thread the second yarn onto the needle, then pass the needle through the loop of the first yarn.

5. Just like in step 2, untwist the yarn and insert the needle through the center for about an inch.

6. Now you should have 2 interlocking yarn loops.

7. Gently pull the loose end to tighten and close up loops.

8. Trim off excess yarn tails, and your yarn is ready to be wound into a magic yarn ball.
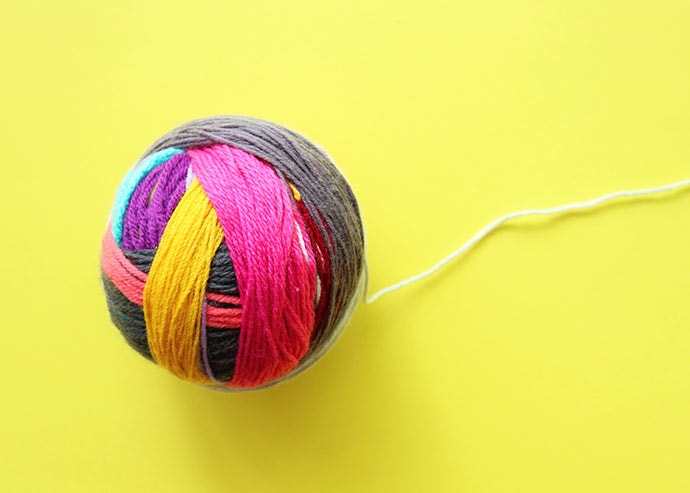
Make the ball as big as you like. You’ll be surprised at how quickly it grows.
I quite like joining scrap yarn while watching TV, then when I have some motivation to start a crochet project, it’s ready to go.

Here’s a sneak peek of the Scrappy Crochet Baby Blankets I made using my Magic Yarn Balls and all my yarn scraps. They were entertaining to make and I really liked how the random coloured yarns made cool stripey patterns.
Not having to weave in ends meant that these crochet blankets were done as soon as I finished the last stitch!
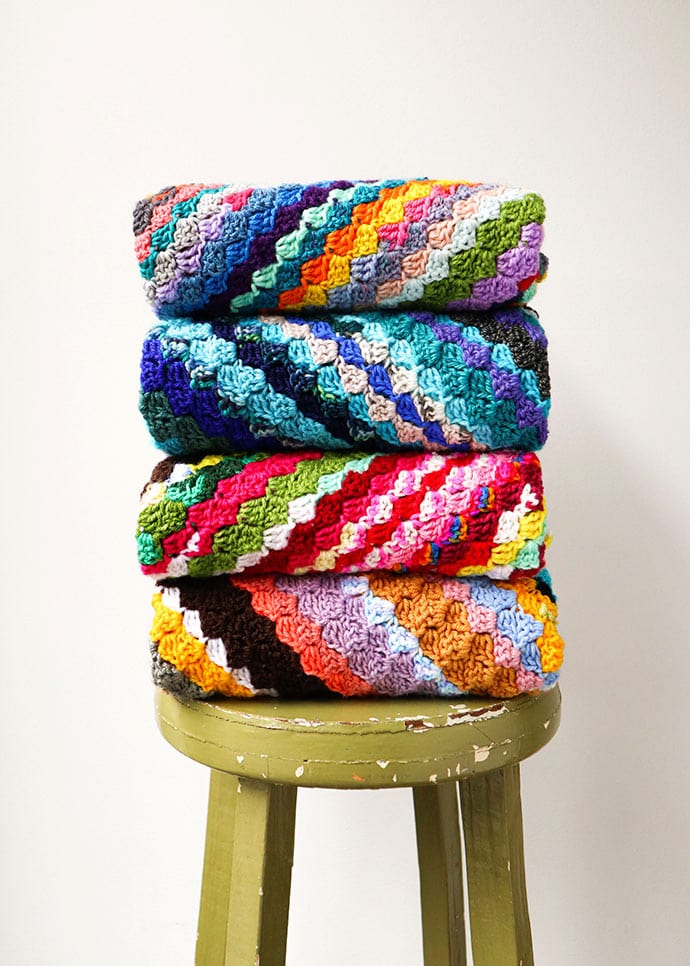
They turned out really fun, and I’ll be sharing the crochet pattern for them soon. They will be donated to St Kilda Mums.
Now off you go and gather up all your yarn scraps. There’s a magic yarn ball to be made!
LOVE IT? PIN IT!


Your blankets are so beautiful! It is lovely that you are donating them, but they sure look gorgeous piled up together! It will be hard to give them away……..
Yes I also love how they look together. Quite the Missoni vibe. Hopefully their new owners will enjoy using them as much as I enjoyed making them.
Wow
Cintia,
Thank you so much for your email showing how to connect yarns together without having to do so much tieing-in. I just love how this works and not having to go back and snip all those tails. The afghans you made and donated are so beautiful and will be much appreciated by all who receive them. I’m going to get started right away on my yarn scrap stash and brighten up some cancer children’s days.
Martha D.
My pleasure Martha, I dislike weaving in yarn tails, so anything that makes the process quicker and easier is such a bonus. I’m sure your afghans will be well received too.
Yes, this is beyond lovely! I have a hard time finding yarn cakes that I like so this is the perfect solution to that struggle! But that does bring me to a different struggle.. Do you perhaps also have any tips on how to roll the yarn into neat balls using only your hands?
What a lovely idea!
Thank you so very much for the instructions on joining yarn ends.
This technique is nothing short of genius! By coincidence I am trying to use up a collection of yarn odds and ends and yes, I do get tired of weaving in ends! My group makes items for charity (I like making lap robes for nursing homes) and are donated tons of yarn. As a result we get many partial skeins and odd colors and amounts (to say nothing about my own personal stash of left-overs!), so this method will help me make more in a shorter amount of time (good use of time during this “safe at home” period. To whoever came up with this, thank you!!
Thank you so much on how to join all tail ends
I love the idea of making a magic ball. Like u I have tons of left over yarn and was just thinking of what to do with it this is perfect. Also learning how to join the yarns together is ingenious
Now I’ve been inspired to get it together and use up all that yarn. Thanks for sharing these tips it made my day!
I think I’m in LOVE!!
Thank you so much for this idea!!!!
You are a genius!!!
Thank you for writing this post. I have tons of scraps and like you hate to weave ends. This will solve that problem. It will also help to solve the problem of all those balls of scrap yarn.
LOVE this idea as well as donating these lovelies. Did you happen to share this pattern? Would love to have it.
Sure thing. The pattern is here https://mypoppet.com.au/makes/scrappy-corner-to-corner-crochet-blanket/
I do a lot of blankets for charity so this method will save lots of time Its great thank you Dot
My mother used to do this technique. I could never remember it. Thank you so much for sharing. I will start using it now!
So excited to get this project started. Have tubs full of yarn that I can join. Thank you. Daughter is asking for lap blankets for hospice patients. Perfect.
Your instructions on the Russian join are so clear! The pictures help, too. My daughter and I made 87 knit and crochet hats in 5.5 weeks for a local elementary school. We used up some uglies by combining with a strand of nice, and the results were stunning! Now I want to make a magic ball with smaller leftovers. Thanks!
Hi Cintia, thanks for sharing your projects ☺️
Does Russian Join work with cotton as well as wool?
Yes it can, but depends on how the yarn is spun/twisted. I find that most cotton yarn does not have a tight twist so the join won’t hold as easily.
I can’t wait to gather enough scraps to try this scap blanket technique.
Several years ago, I broke my leg and was going crazy to do some crochet/knitting. I didn’t seem to have enough of any yarn to do anything. I found a sack of little leftover balls of yarn and combined them all in a ball as you have suggested below. I had just learned the Russian join and just sat and winded all those little balls together. Ended up making two baby blankets and used the other skeins for borders. This is a great post for those that have all those little leftovers. I think I’ll make another!!!
For the baby blankets you made, about how long was each color of yarn in the magic ball?
They varied from 30cm to several meters. No real plan, just whatever I had laying around.
I broke my leg almost a decade ago just after I had learned the Russian Join. I was so bored – asked my mother to bring me all my baby blanket scraps and I amused myself making a giant ball from the scraps. I wish I had a pic of the finished produce but it was cute and fun to put together!
I’m so glad I stumbled across you. The Russian join us ingenious. Thank you. I’m going to start winding a magic ball now.
Thank you so much for sharing.
This is so brilliant. I have so many small balls of sock yarn in my stash, I wasn’t using them because who wants to weave in a multitude of ends? Now I have IDEAS!
I love this join method! I don’t know why we don’t use it for all projects! Like you, I hate to bury the tails and worry about the join knot.
Thanks again!
I LOVE this Russian joining. wow game changer. I have tons of leftover yarn scraps and skeins. So glad to see you use this pattern, squares on the diagonal not sure the name. It is so easy and always my go to pattern. Love the textured pattern and I can make it in any size I want easily. Thank you for the “joining” tip.
I’m so excited to use this. What a wonderful idea!! Thank you for sharing!