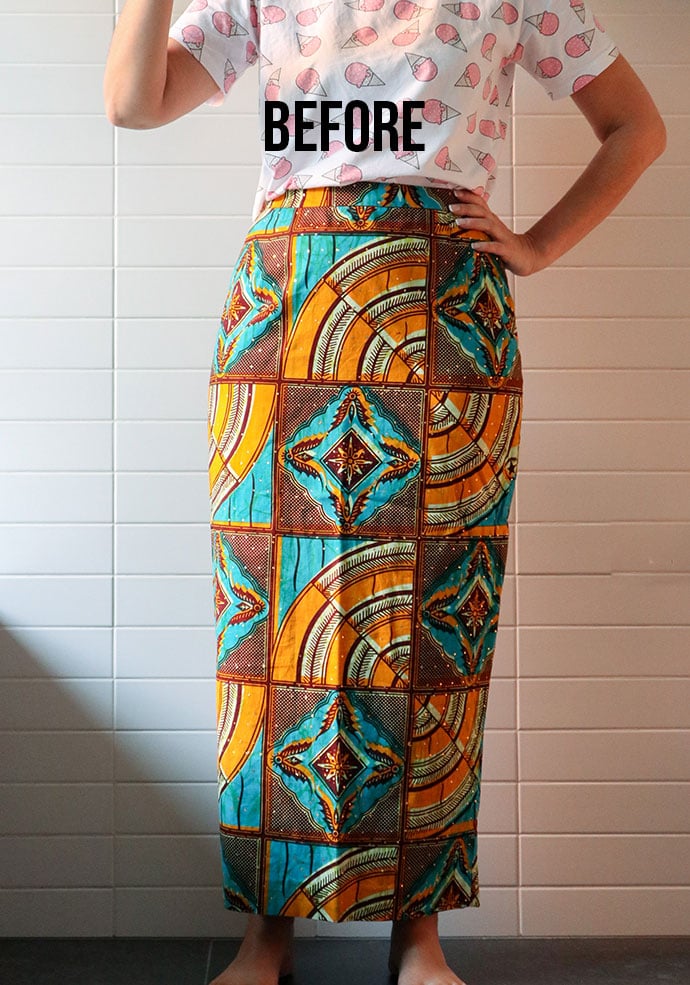
The easiest way to transform the look of a skirt is as simple as changing the length. This week I’ve tackled another alteration job on my list and refashioned this colourful African style printed skirt, from an impractical ankle length, to a wearable knee length.

This post contains affiliate links
It was such a simple change that it barely qualifies as a ‘refashion’, but the transformation is striking, and it’s now become once of my favourite pieces to wear.
I can’t even remember where I bought this skirt, it must have been from one of my many thrifting adventures. I loved the colours and print, and the fact that the fabric had little holographic foil spots printed all over it. So cheerful.
The skirt was a little bit loose on me at the time, so I put it on the alteration pile to deal with at a later date. That was ages ago and I’m annoyed to admit that I’ve put on some weight since then.
Bad news for most of the clothes I already own (that don’t fit properly any more), but good news for this skirt, which fits like a glove.
The only problem was the length. Just a little too long and frumpy.

Now that I didn’t have to do any major fit alterations, changing the length was an easy job – Time to do some hemming!
Tools required for hemming a skirt
You’ll only need some basic sewing supplies for hemming a skirt. It’s likely you have most of these tools and materials in your sewing kit already.
Depending on the length of the skirt, it may be handy to have a helper to mark the length evenly (especially towards the back). Otherwise, using a hem marker, or mannequin may be an option.
- Tailors Chalk
- Sewing Pins
- Ruler or measuring tape
- Fabric Scissors
- Iron
- Hand sewing needles
- Matching thread
- Sewing machine (handy but not essential)
- Hem Chalk marker (optional)
- Dressmaker Mannequin (optional)
How to hem a skirt
1. The first and hardest part of hemming a skirt is deciding on the new length. If you have someone to help you pin the hem it’s much easier than doing it yourself.
I wanted the hem to sit just on my knee.

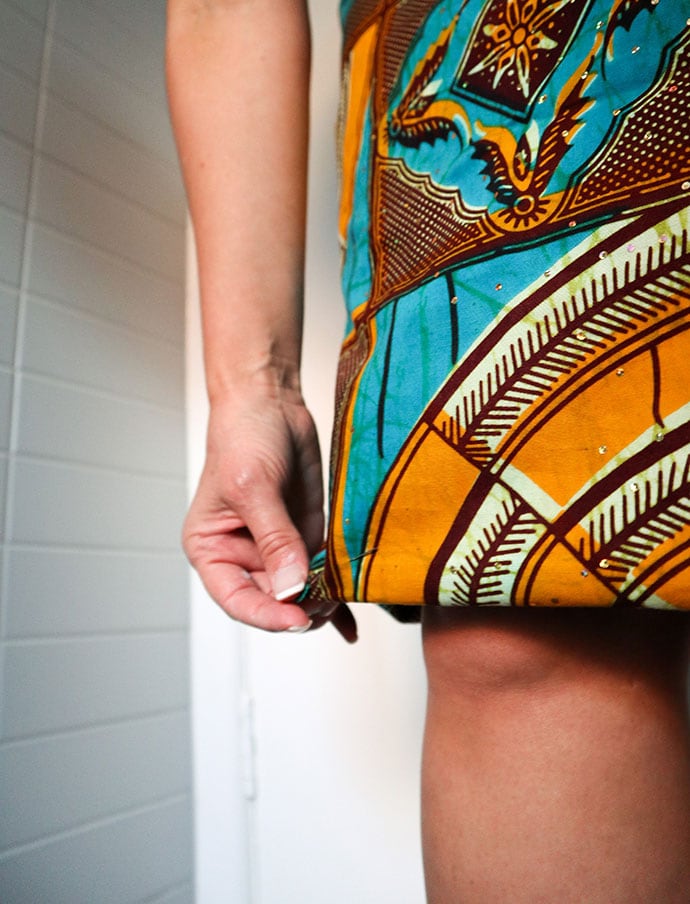
2. Fold up the hem and pin the new length. Remember if you are doing it by yourself, the length of the skirt will change as you bend over so keep checking in the mirror till you are happy the length is even all around.
This is what it looks like from above. It’s not that easy to tell if you have the length right from this angle.

If you plan on hemming lots of skirts, you may want to invest in a handy gadget that marks your skirt with chalk dust evenly all the way round. It’s especially handy for A-line and flared skirts. See link below.
3. Next take off your skirt and mark the new hem line it with tailors chalk to make it easier to see.

4. Because this skirt was super well made and already had an even hem, I double checked the length that I was taking off was consistent all the way around by measuring from the already existing bottom hem.

Don’t make the mistake of measuring from the waist as you need to allow for the curve of your rear. If you don’t allow extra length at the back, you will end up with a hem that sits higher on the back of the skirt (or dress).
See below how much extra length is needed in the back. I’ve lined up the hem and the waist band at the back sits higher.

5. Time to cut off excess fabric. I’ve allowed about 2″ of fabric for hem which gives me a little extra to work with if I need to make slight adjustments.

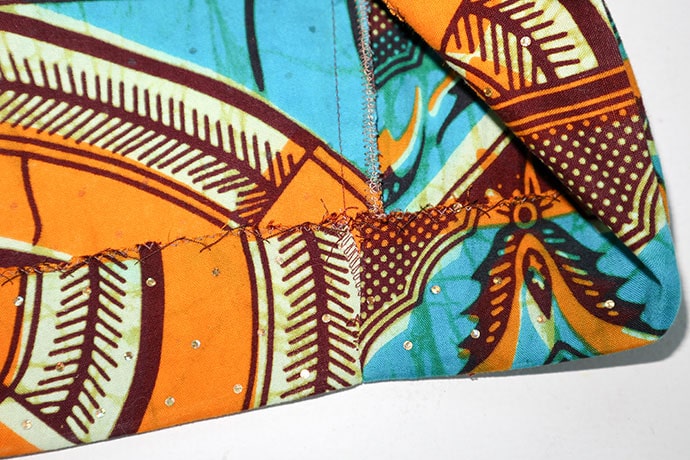
6. Zig Zag or serge any raw edges to prevent fraying.

7. Press the hem up and pin again. Try your skirt on at this stage to make sure it’s all sitting correctly. See how when the waist line is all lined up the rear hem sits a little lower. That’s to accommodate my curvy backside.


8. Hand sew the hem with a catch stitch. It’s almost invisible from the front side (depending on the colour thread you use) and has a bit of elasticity to allow for movement. I’m not great at hand sewing (I usually give these fiddly jobs to my mum), but it didn’t take long at all.
See the instructions for sewing a Catch Stitch Hem here.

This is what it looks like on the front side. Barely noticeable with all the pattern.

Because the skirt tapered in, I had to release some of the side seam to allow the hem to lay flat. If you have a flared skirt, the folded up part of the hem will have extra fabric, so you may need to gather it slightly to get rid of the fullness.

All done!
Except when I went to try it on for the final time the blasted invisible zipper pull broke! Disaster.
But it was Youtube to the rescue and I found this handy video for repairing invisible zippers. I used the zipper pull from another zip I had in my stash to replace it.
Here’s the video for your (and my) future reference
The new look skirt

Now I have a brand new skirt to wear. If looks great with my refashioned denim ruffle shirt.
Here are a few photos where I channeled my inner fashion blogger and awkwardly took shots with my tripod on the street. I’m using my phone as a remote.
They turned out much better than expected. I got a few weird looks from passers by though. Lol.


What a truly lovely skirt! The squares in vivid bright colors look so chic and “in” after you shortened it. This length makes it versatile and more practical than when it was much longer! Thanks for sharing. Sarah in Minneapolis
Thanks Sarah. Yes I think I’ll be getting lots of wear out of this one.
It really does make such a difference changing the length! I’ve found the same for skirts of mine, too. And kudos for your street shots! You look fantastic! 🙂 Lisa
Nice job on the hem! I use another tool for marking the hem: my sweet husband with a long ruler.:-) Your street shots look good, both you and the background!
My husband is useless at both crafty stuff and helping take photos. I’ve just had to manage on my own with those. He washes the dishes and does the laundry, so can’t really complain too much.
you are a clever patient girl Cintia. Well done the skirt is a keeper!!! what are you going to make from the leftovers Huh? from Betty in Port Macquarie NSW
There is quite a bit of fabric left over. I’ll find a good use for it, don’t you worry.
A great dress, perfect for the summer, I love such colorful patterns. I am waiting for more inspiring entries, best regards 🙂