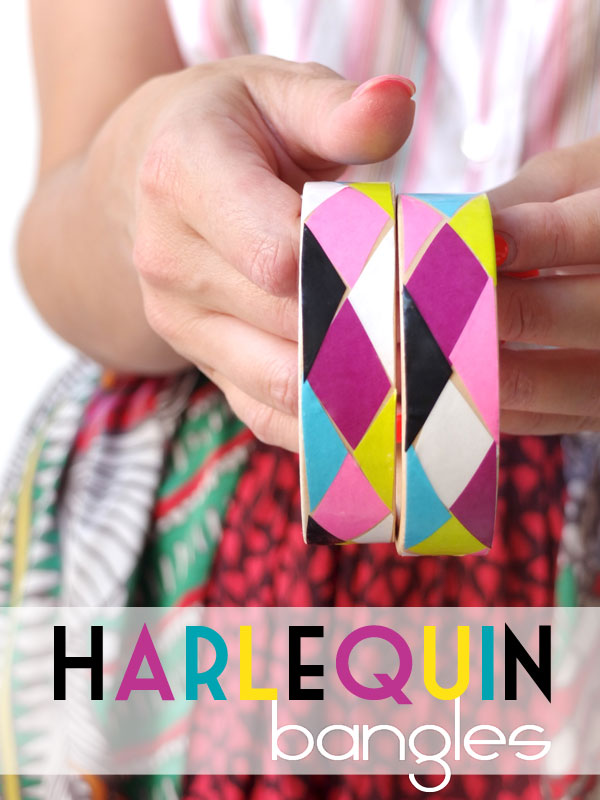
Statement Jewellery is a fabulous way to bring an old outfit bang up to date, but designer pieces can be a little expensive. Instead try making these decoupage Harlequin Bangles yourself with some inexpensive supplies. No special skills required.
This post contains affiliate links
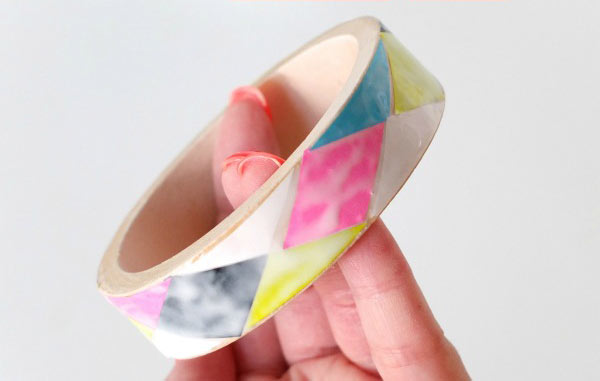
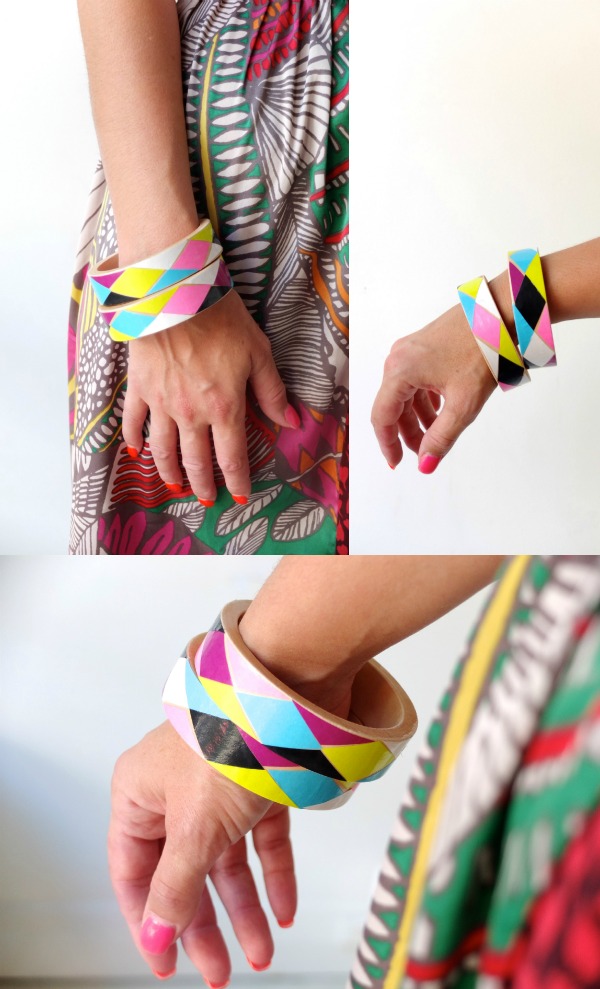
The diamond harlequin pattern is super playful, and these bangles really cheer me up whenever I wear them. When you make your own, feel free to choose colours that suit your style.
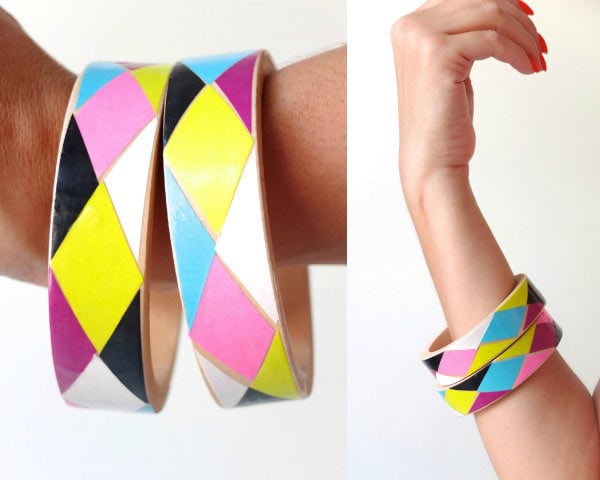
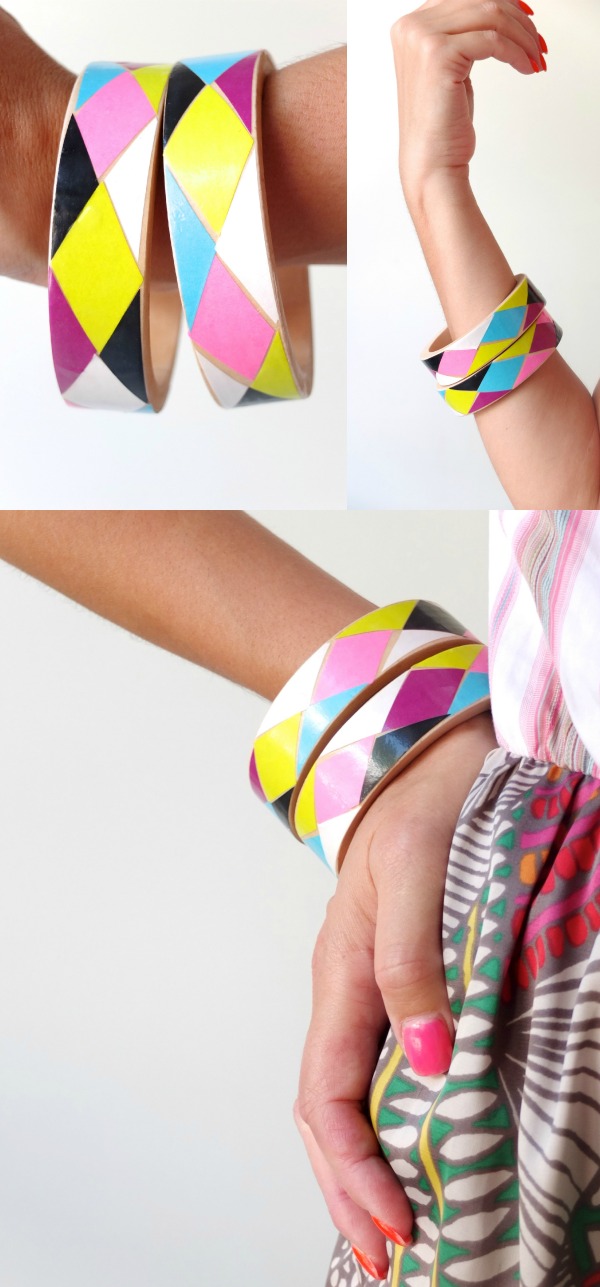
Wear several wooden bangles stacked together, or mix and match them with other plain jewellery pieces.
I’ve used flat sided wooden bangle blanks to make these Harlequin Bangles.
If you can’t get hold of any blank bangles, (not all craft stores stock them), or you just fancy doing a bit of upcycling, an old thrift store bangle will work just as well.
Let’s make some Wooden Decoupage Bangles!
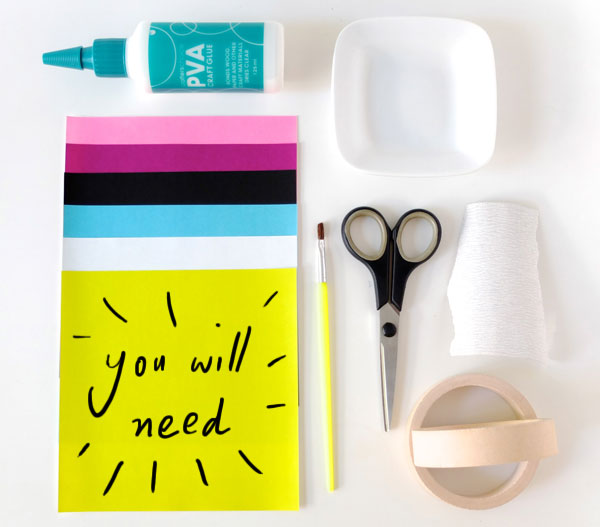
You will need:
- Wooden Bangle blank
- Origami Paper, assorted colours
- PVA (wood) Glue or Mod Podge
- Small Dish
- Medium/Fine Sandpaper
- Scissors
- Paintbrush
- Pencil
- Ruler
- Wooden Skewer
- 2 x tins (tomato soup is my preference)
- A protected work surface
How to:
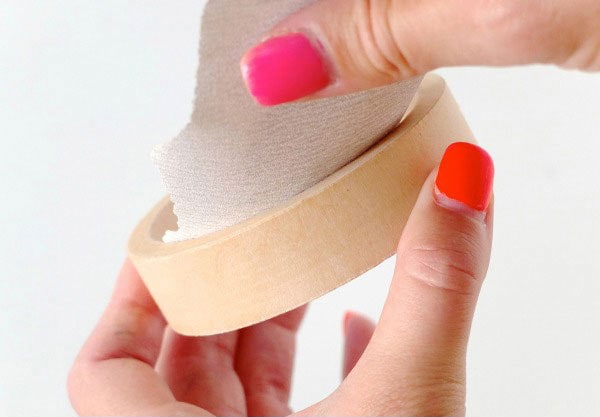
1. Lightly sand any rough edges of wooden bangle with sandpaper.
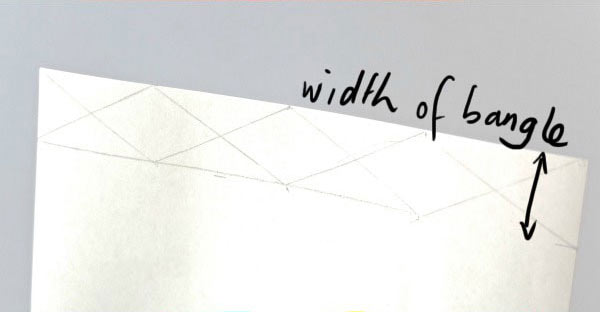
2. Measure width of bangle and mark up diamond shapes onto the back of origami paper.
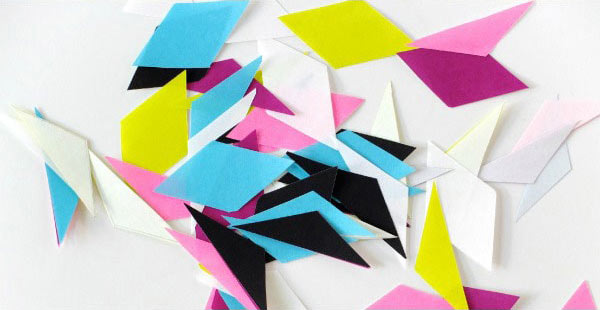
3. Cut out diamond and triangle shapes from origami paper.
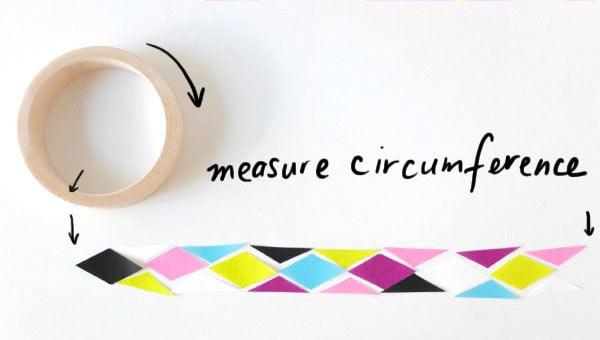
4. Measure the circumference of bangle and lay out your desired design ensuring it will fit around the bangle. If the shapes are too long, trim them slightly till they fit together nicely.
5. Pour a small amount of glue or Mod Podge into your container.
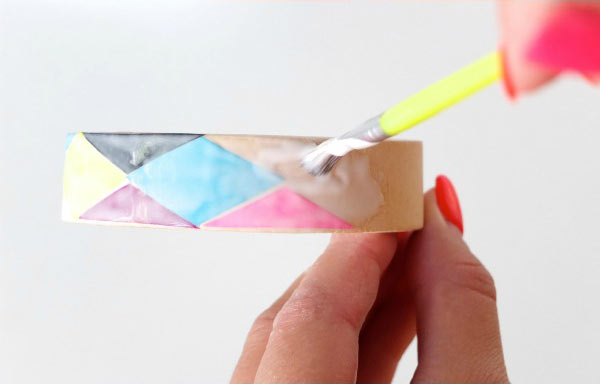
6. Brush glue onto the outside of the bangle and start sticking on your paper shapes.
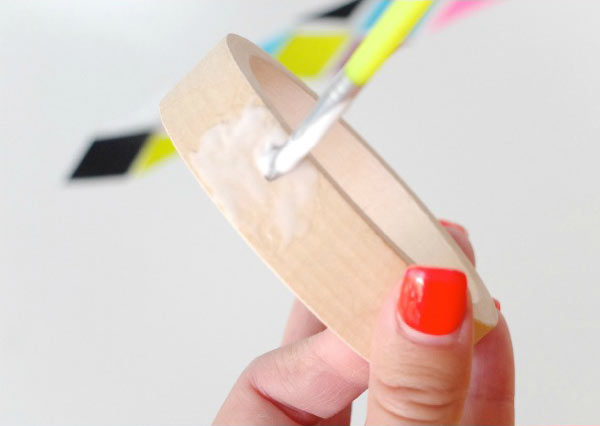
7. As you stick your shapes onto the wooden bangle, brush glue over the top of the paper pieces. Don’t worry about the white layer of glue, it will dry clear and shiny.
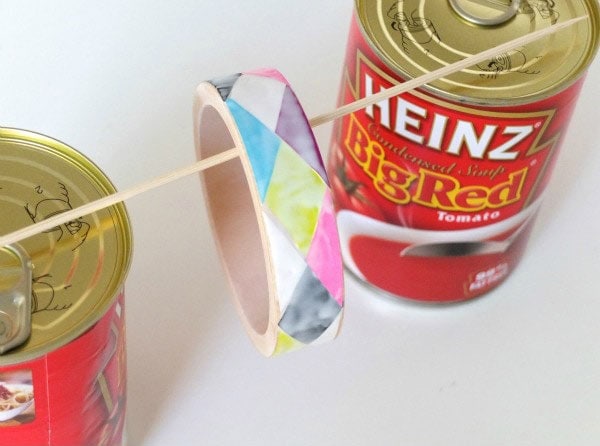
9. Hang to dry using a wooden skewer balanced between two tins. Allow to fully dry until glue is clear.
10. Give the edges and inside of bracelet a coating of diluted glue mixture. You can make this by watering down PVA glue with a table spoon of water to thin it out slightly. If you are using Mod Podge, no thinning is required. Allow to dry and repeat with another coating or two all over (inside and out).
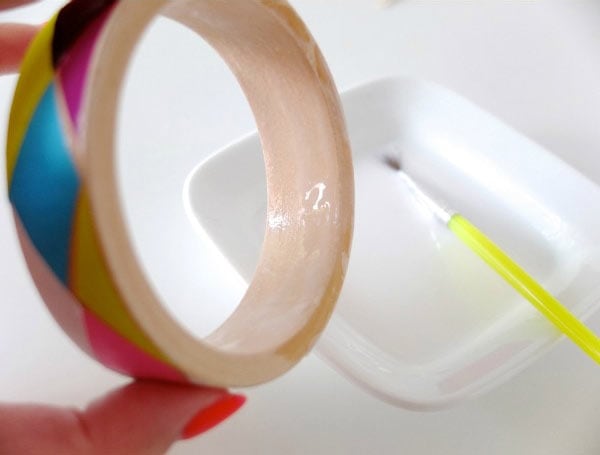
Note: PVA glue will create a shiny finish when dry.

Enjoy wearing your bangles and fielding lots of lovely compliments about how pretty they are!
Remember you can use any colour combination you like so get creative. It’s a great way to use up scraps of pretty paper saved from gift wrap leftovers or scrapbooking projects.
This project was originally published in Feb 2013, Updated and republished Nov 2019.

LOVE IT!! Can’t wait to make one on the weekend!
This is absolutely genius. I saw your post on craftgawker and couldn’t begin to guess how you came about the results you did. Thanks for an excellent idea and tutorial!
Great way to let it dry! Beautiful bracelets!
Hi, Cintia! Those are absolutely cool and gorgeous!
Love these! Very trendy!
So pretty and springlike – thanks for the tut! Just shared on Sulia and Pinterest.
Thanks for sharing with your followers. Spread the love I say !
Thanks for sharing 🙂
very pretty and gorgeous, i like this harleguin pattern on the bangles. It’s making me smile
thank you for the sharing and great tute;-D
Thanks Jet, glad to cheer up your day.