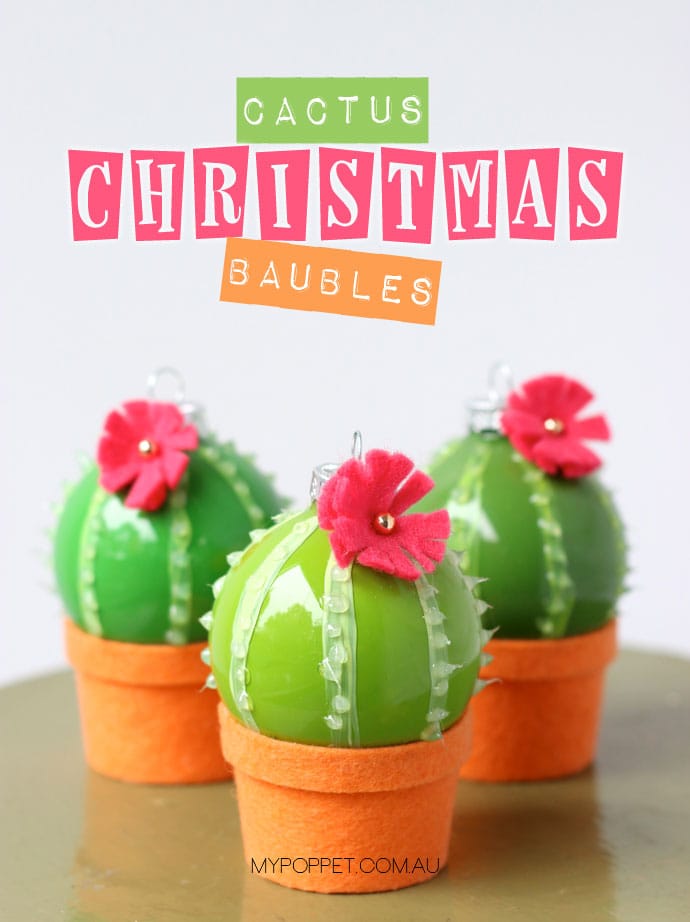
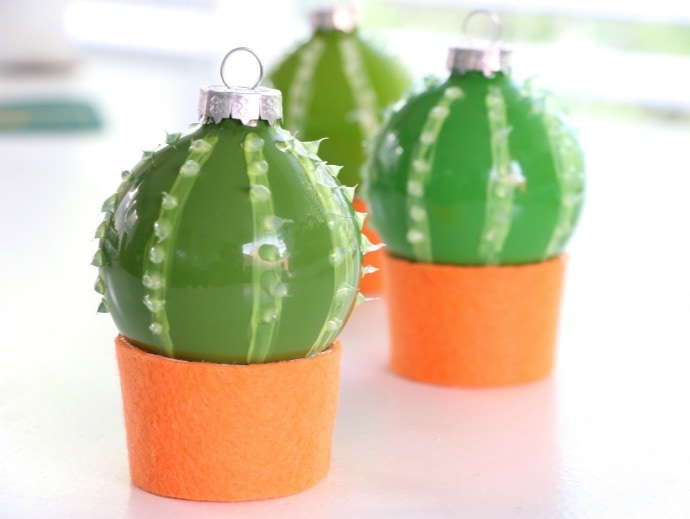
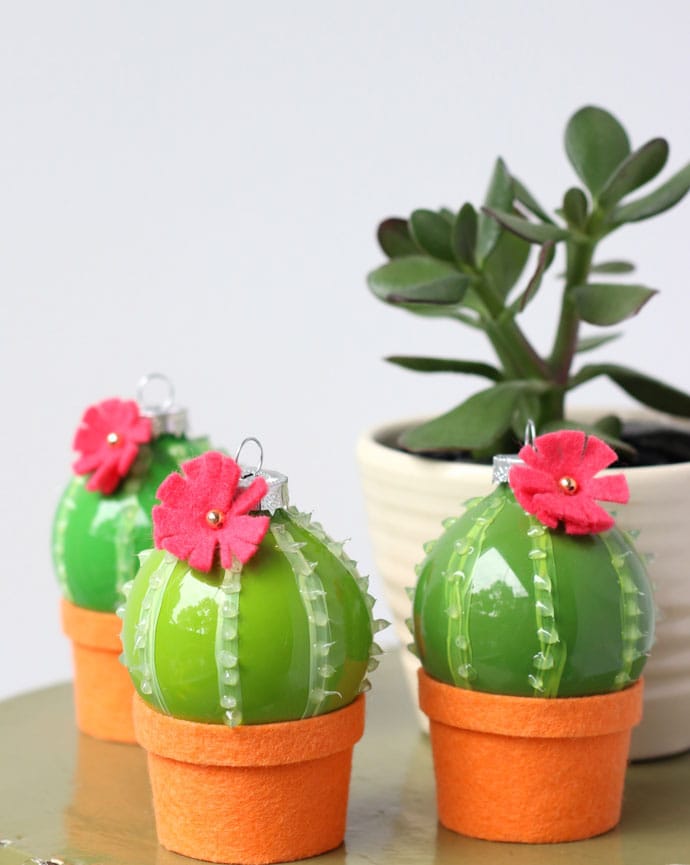
After making some Cactus Christmas Stockings last week, I thought it was only fitting to make some mini cactus tree decorations too. These Cactus Christmas Ornaments have a vintage vibe and were retro inspired with a nod to the Mid Century Modern era’s love of Cacti.
Although this cactus ornament project isn’t a quick one to make, they are certainly worth the effort as I think these decorations are really special and will become a cherished part of any Christmas decoration collection. You’ll never guess how I made the spikes look like blown glass, it was a stroke of genius. Still patting myself on the back for thinking of it.
You will need:
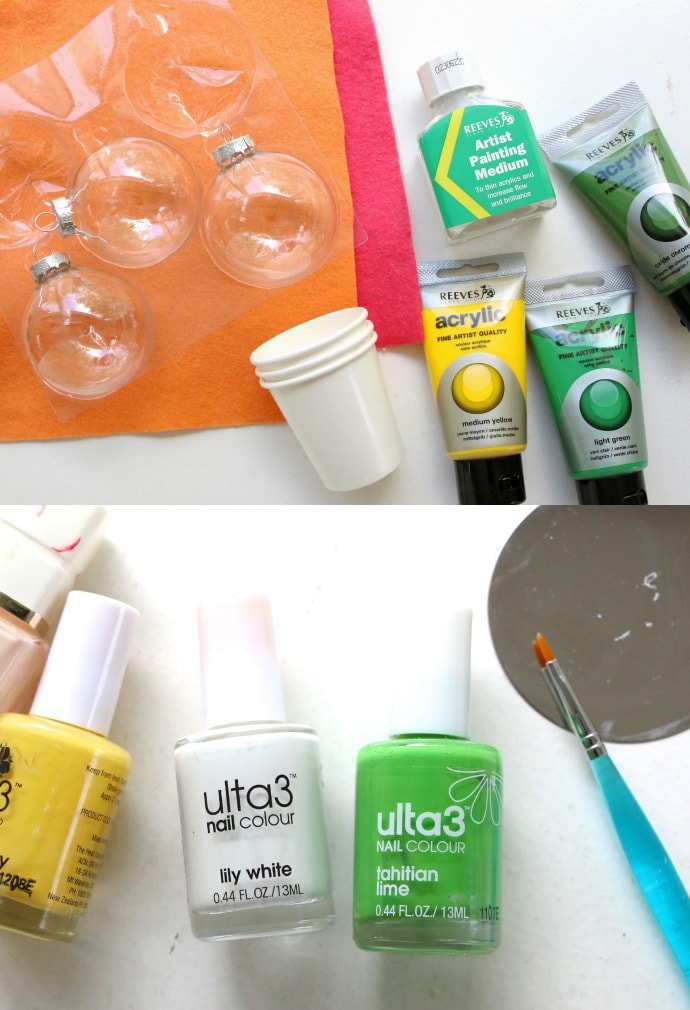
– Clear glass ball ornament with removable top
– Acrylic paint in green tones
– Acrylic paint medium (a note about this later)
– Felt squares, pink and orange
– Small gold seed bead (optional)
– Paper Espresso sized cup
– Hot glue gun and glue sticks
– Clear quick dry craft glue
– Scissors
– Craft blade and cutting mat
– Plastic container and spoon
– Nail polish in yellow. green, white,
– Fine nail art brush
– Nail polish remover
– Empty toilet roll or spare small cup
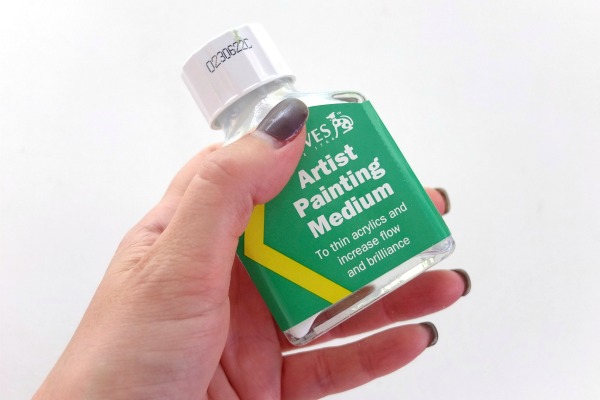
What is Acrylic Painting Medium?
Acrylic paints are made to be thinned with water, but adding too much water can dilute the binder in the paint to the extent that it won’t to stick properly to the canvas or paper – or in this case glass. Acrylic mediums intended for thinning paint basically consist of the binder used in acrylic paint (“colorless paint”) and ensure the paint will stick.
I tried a variety of paints for the inside of the baubles and found that acrylic paint mixed with medium gave the best result. Paint on it’s own was too thick and thinned with just water didn’t stick properly on the glass. I also tried nail polish but it gave a streaky result and the fumes were awful.
How to:
Painting the Baubles
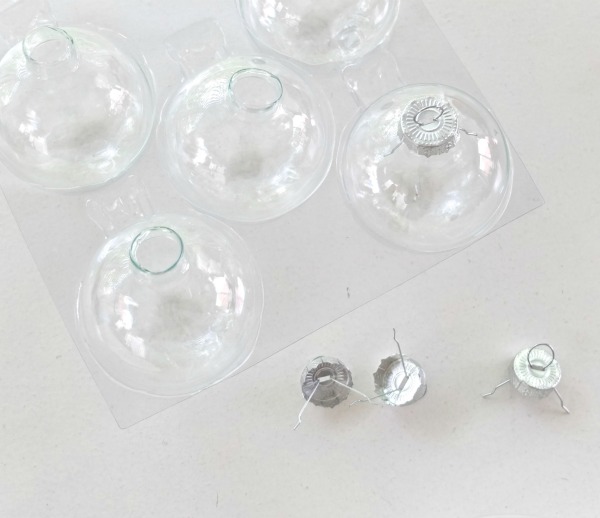
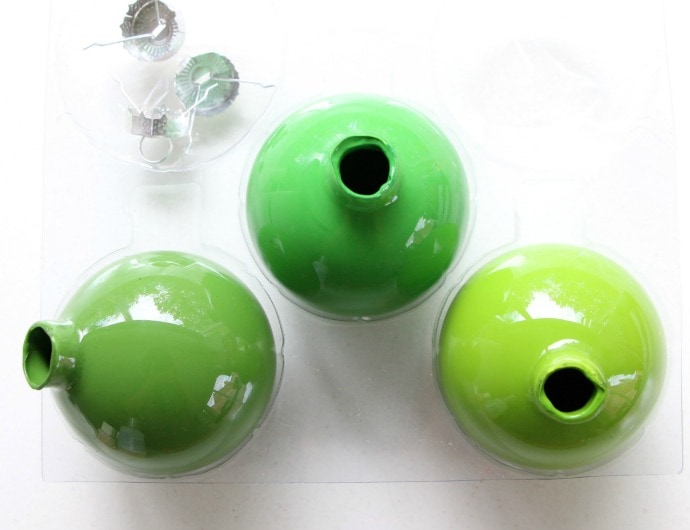
– Carefully remove the metal tops from the glass baubles.
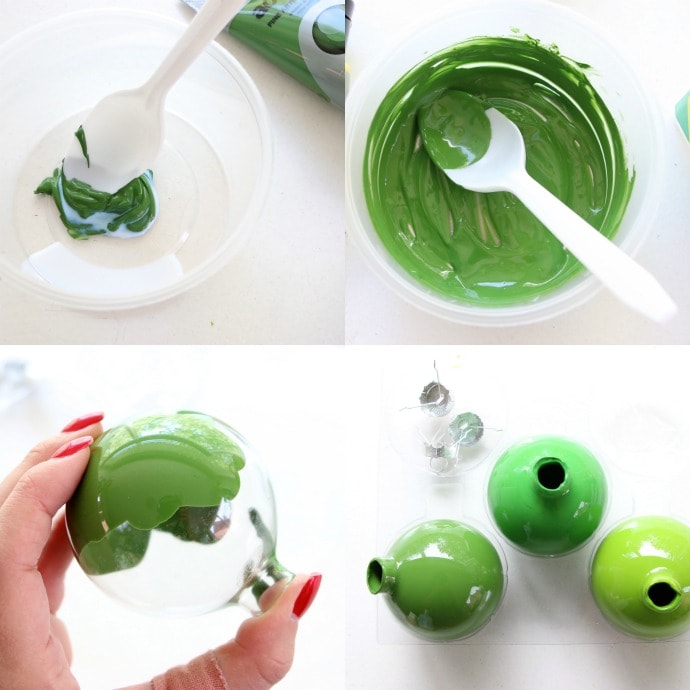
– In a plastic container mix a small amount of paint with equal parts paint medium
– Mix well, it should have a runny custard consistency
– Spoon some paint into the bauble. Don’t add too much, you can always top it up if you need a bit more.
– Cover the opening with your finger and shake, shake, shake.
– Pour out any excess paint and allow to dry.
If you can’t find the perfect colour in the tube you can do a bit of custom mixing to get the colours just right.
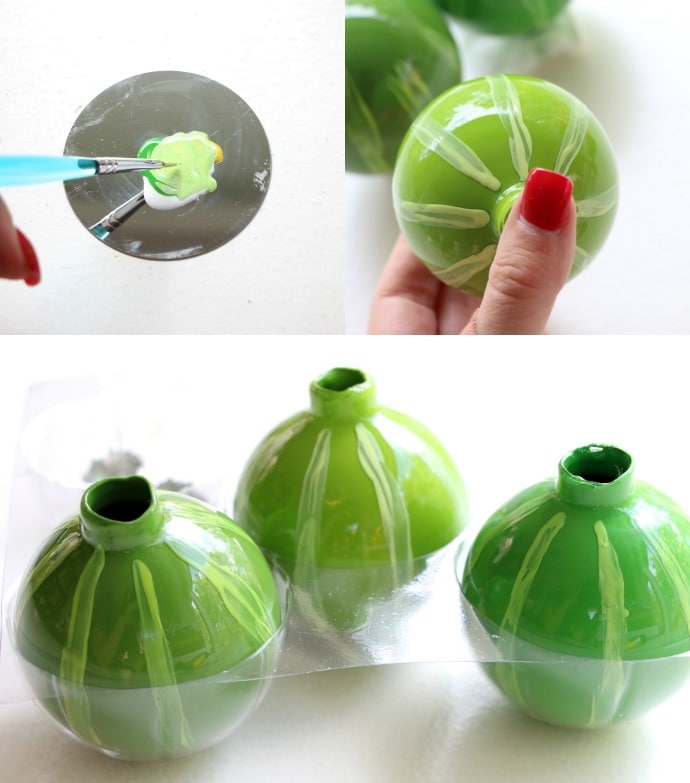
– With a nail art brush or fine paint brush, mix a little yellow, green and white nail polish together till you have a nice pastel green (or use some light green nail polish).
– Paint 8 evenly spaced some stripes down the sides and allow to dry.
It took me a few tries to get the striping design just right, so nail polish remover came in handy to clean up any mistakes and start again.
Adding the Cactus Spikes
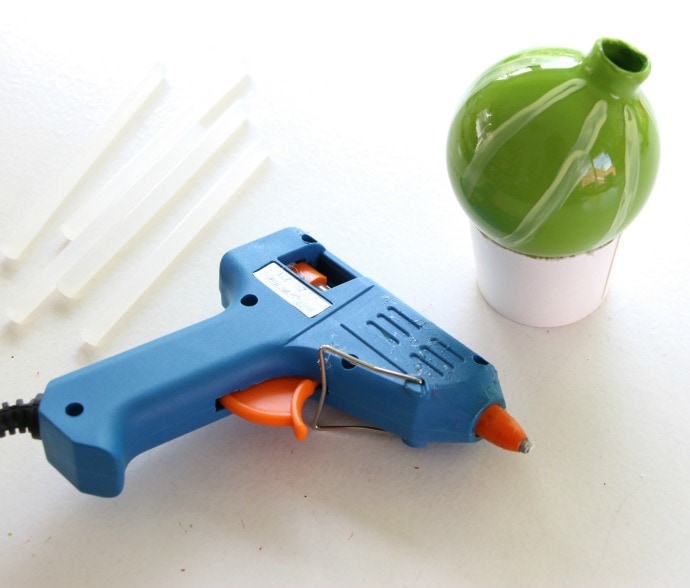
Fire up the hot glue gun, the next part is going to be fun.
Use a cut down toilet roll tube or small cup as a stand.
If you haven’t replace the tops yet, do that now.
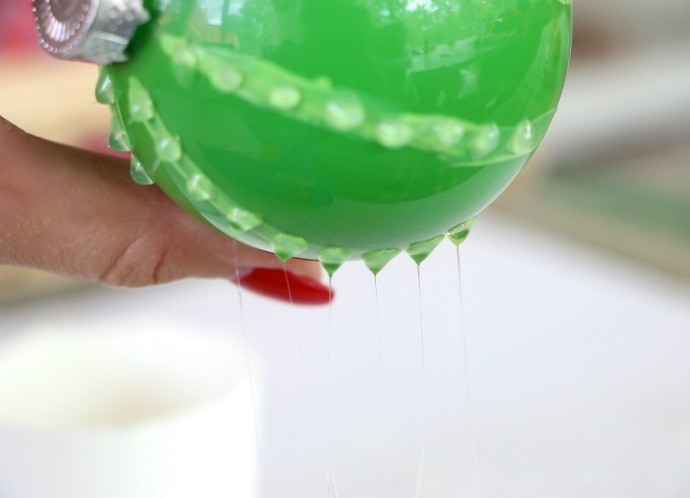
– Working in small sections at a time, apply small dabs of glue over the painted stripes allowing the glue to drip down and create spikes. Allow to set before moving on to next section.
This may take some practice to get right, you may want to try on a practice bauble first. If the glue is too cold it won’t stick, if it’s too hot it will be runny and not form spikes. Just be persistent and it will turn out awesome, oh and try not to burn yourself.
Making the mini plant pots
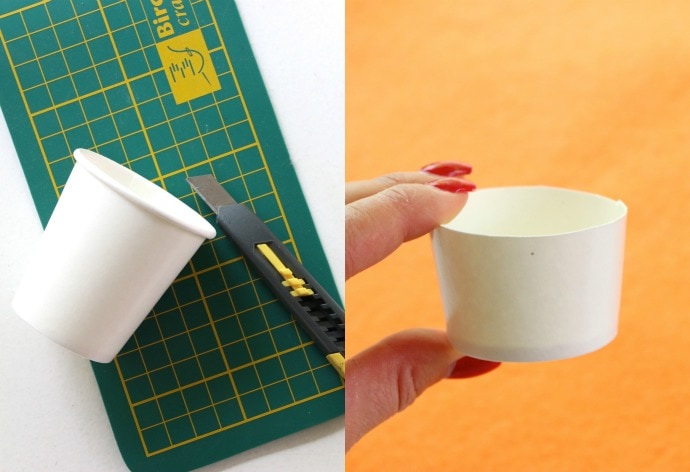
– Cut the top off the small paper cut so the final height is about 1.5″ tall.
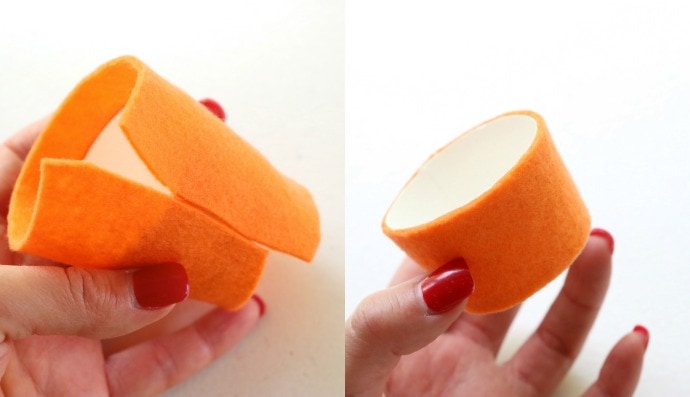
– Cover the cup with orange felt and stick down securely with quick dry glue.
– Trim excess felt from top and bottom.
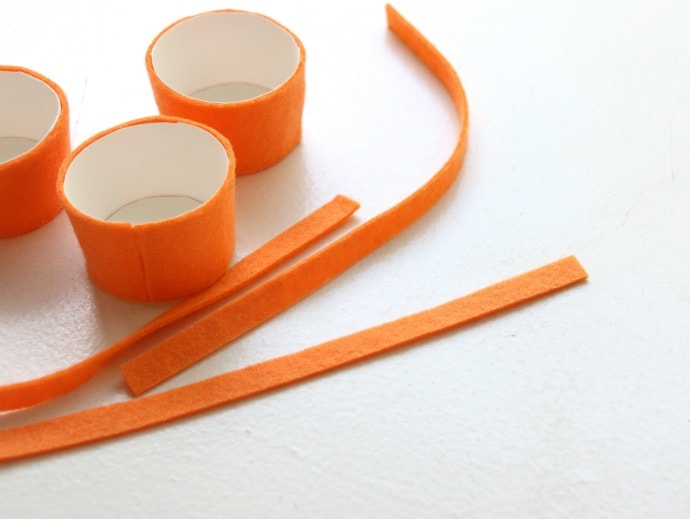
– Cut one long 1cm wide (1/2″) strip for each ornament.
– Hot glue cactus bauble onto mini felt pot.
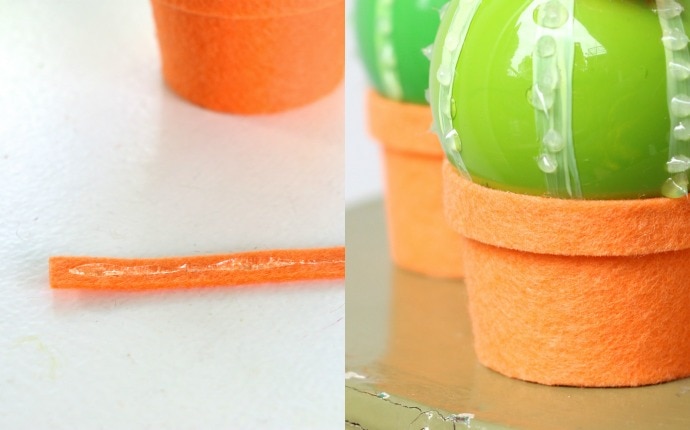
– With quick dry glue, glue on felt strip where the bauble and pot meet to mimic the lip of a terracotta pot.
– Trim any excess felt strip.
Making the Cactus Flower
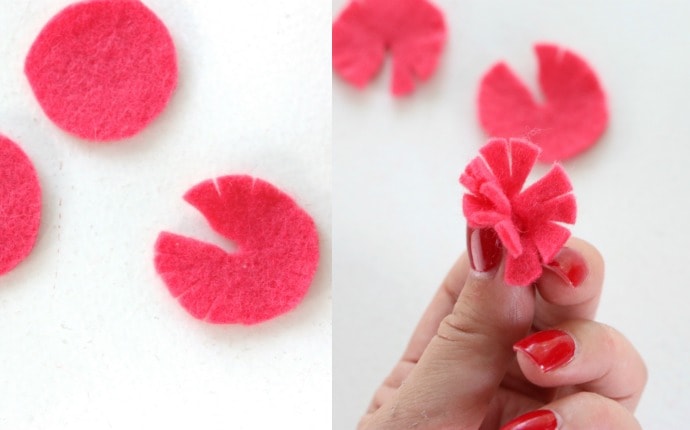
– Cut a small circle (about the size of a 20c piece) from pink felt, or your colour of choice.
– Cut out a small wedge and clip around the edges to create petals.
– Pinch into a little cone shape and glue onto top of bauble
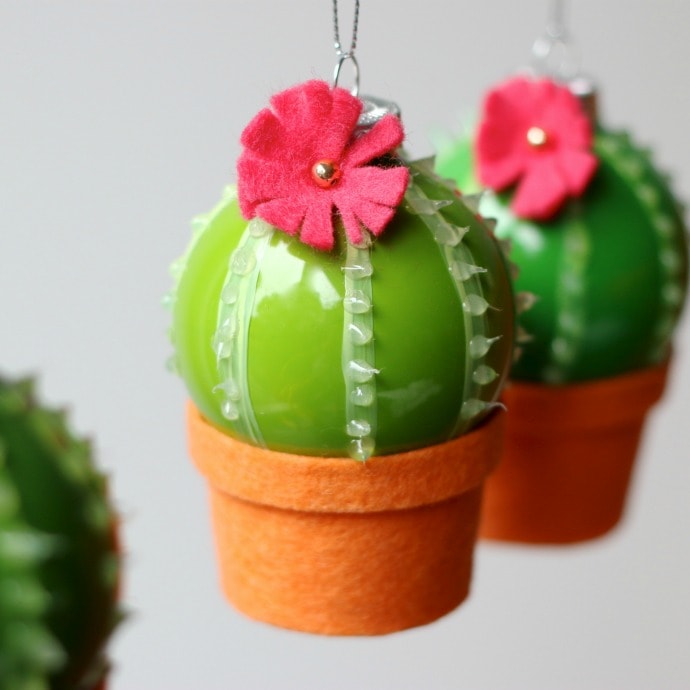
– Glue in small gold seed bead to middle of flower.
– Tie on hanging loops if desired.
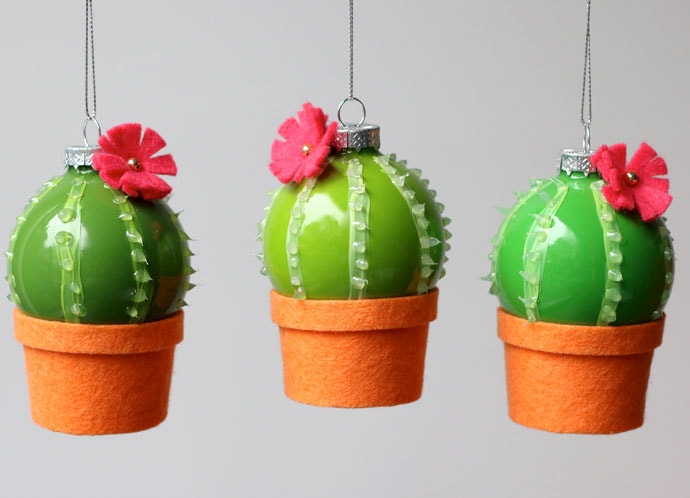
All done! Don’t they look awesome! I love how they turned out, they are sitting on my mantel and I think I’m going to enjoy these well past Christmas.

You may also like:
Retro Fruit Christmas Baubles
Cactus Christmas Stocking


These are gorgeous. Another thing to try and make before Christmas on my ever growing list.
Love these so much. I think they’re well worth all the effort 🙂 Gorgeous!
Thanks Emma!
This is total genius! They look just perfect and I love the details like the rim of the pot and the dabs of glue! I definitely want to try these when Christmas comes around next, though I will probably try to find ornaments that are already green and I’ll wash out and reuse plastic yogurt cups for the pots. Thanks for the great tutorial! 🙂 Lisa
What size are the glass baubles you used? Have you tried shatterproof plastic baubles? I’m excited to make these! Thanks!
The balls I’ve used are 7cm (2.75″) in diameter. Yes I’ve also successfully used plastic baubles for this similar project https://mypoppet.com.au/makes/diy-ice-cream-christmas-bauble-ornaments/
Great! Thank you so much!