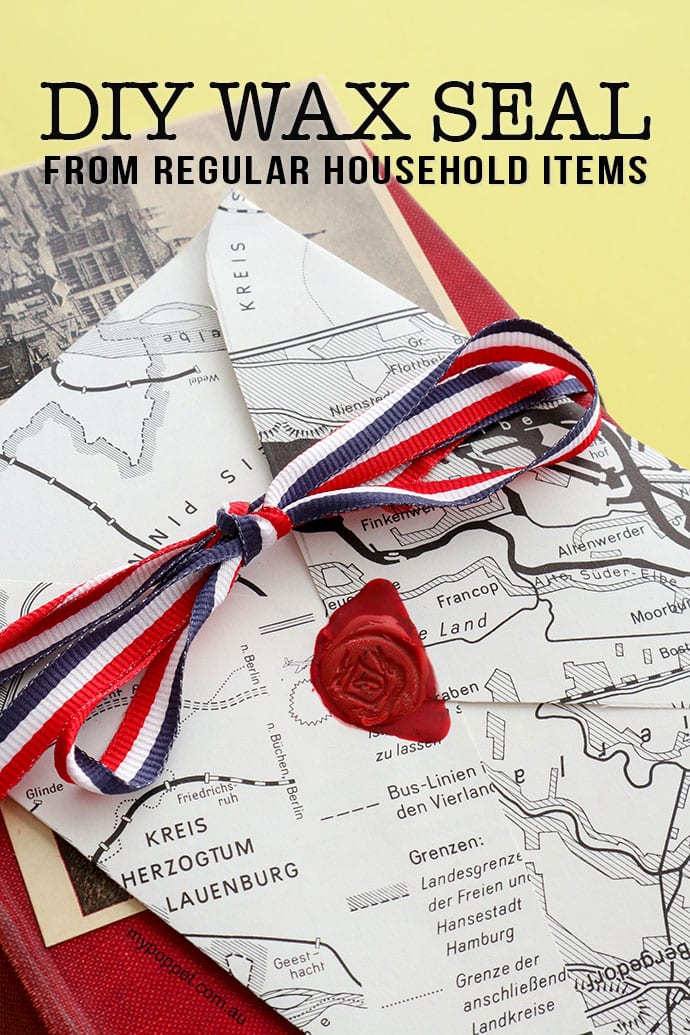
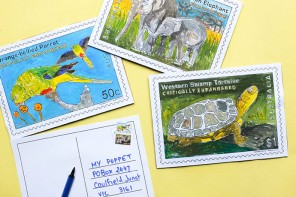
Looking to add an extra special touch to a letter or wedding invitation? Adding a wax seal to your envelope or papers certainly adds a touch of class.
I’ve just finished some fun, old-fashioned looking invitations for Emma’s upcoming Harry Potter party and thought it would be fun to seal them with melted wax, just like Harry’s Hogwart’s acceptance letter in the movies.
The only hitch was that I didn’t have any proper sealing wax or a stamp.
Because I’m full of ideas, and pretty thrifty as well, I thought I’d try using some items I had on hand to see if I could create a similar wax seal effect.
Instead of proper sealing wax I’ve substituted a red crayon. You could also try a candle, but a crayon has more pigment to give you a deeper colour.
For my DIY Wax Seal Stamp solution, I dug around in my vintage button jar until I found a couple of buttons with suitable designs.
One even has a crest on it with the letter C, how fitting, (although it’s reversed in the impression).
It took a little bit of experimenting, and I must admit I have a small burn from handling the lighter a little too carelessly.
But all in all, I’m pretty pleased with the result. Next time I’ll try using a stove lighter with the button safely away from the fame, like these – Butane stove lighters.
Considering I used items just laying around the house to create a fairly nice looking DIY wax seal, this is a pretty successful project in my books.
I’m quite keen to try this button trick with some real sealing wax as I think the results would be quite fetching.
If you’ve got some proper sealing wax laying around, give some old buttons a go and report back with your results.
How to make a Wax Envelope Seal with a Crayon
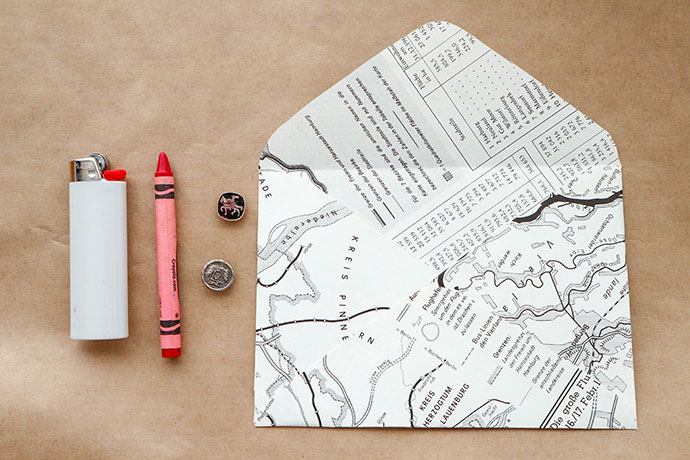
You will need:
- Red crayon
- Lighter or other heat source
- Button with raised pattern like a coat of arms
- An envelope to seal
- Paper to protect your work surface and practice on
How to:
It’s a good idea to have a little practice on some scrap paper before you attempt to seal your final project. Be careful not to burn yourself both with the lighter or with hot dripping wax.
1. Peel the paper off the crayon.
2. Use the lighter to melt the crayon and drip it onto the paper or envelope.
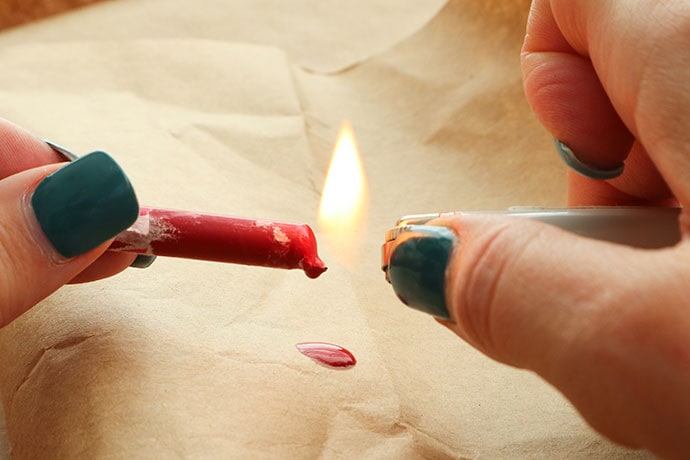
3. Make a little wax puddle about the size of a 10c coin or just a bit larger than your button. Blow on it to spread out the wax and cool it down slightly.
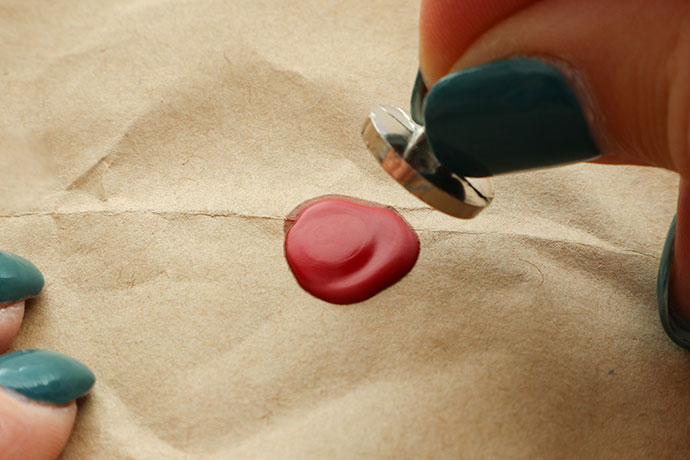
4. Wait a few seconds and then press you button into the wax. Leave it there till the wax has cooled.
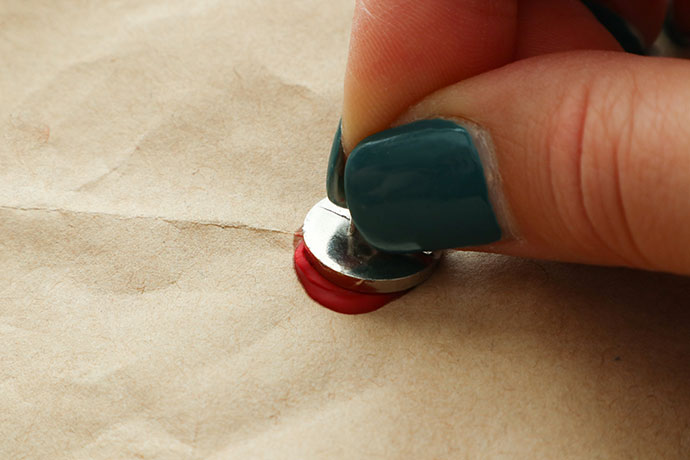
5. Carefully remove the button.
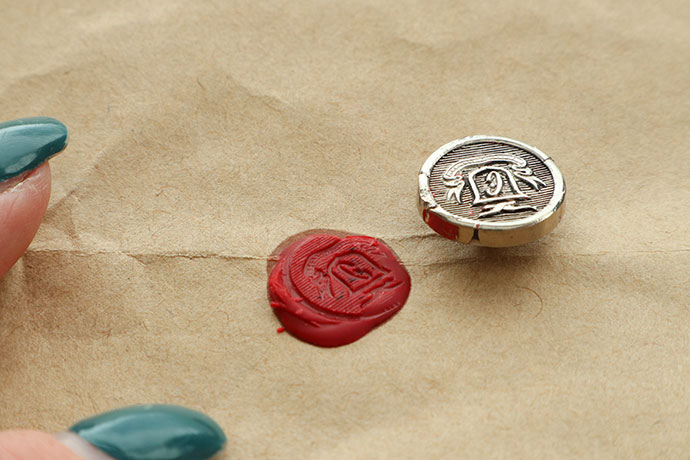
6. Hopefully you’ll have a nice clear impression in the wax.
TIPS: Real sealing wax contains resin which helps it stick to the paper and makes it supple and flexible. Crayon wax is quite brittle when it cools and doesn’t stick very well to paper you you may find that it lifts off with the button, or even breaks.
I had quite a few fails before I found the knack.
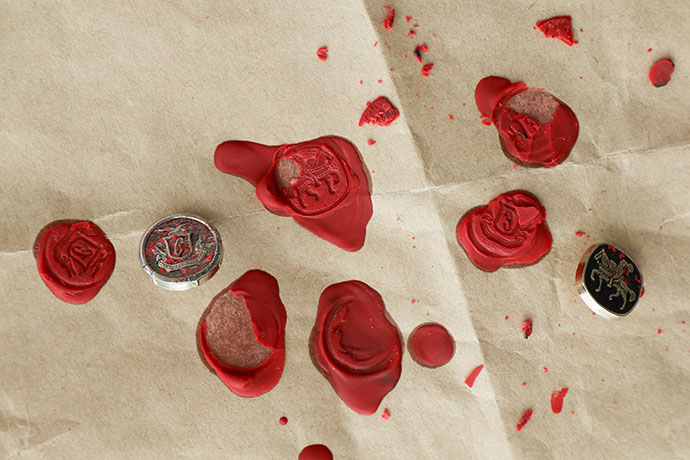
The hardest part was determining just how long to allow the wax to cool before pressing in the button.
Too soon and the wax would stick to the button and then lift right off the paper.
Too long and the wax became to hard to make a good impression and would crack.
I read somewhere that the stamp should have a film of moisture to prevent the wax from sticking. Maybe try slightly dampening the button with a moist sponge or your breath to prevent the wax from sticking to it.
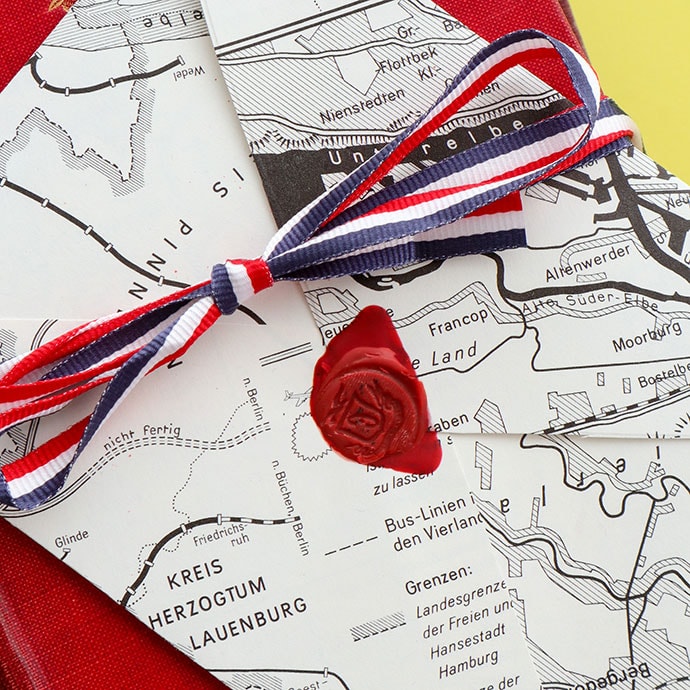
Have fun playing with this idea to embellish snail mail. I think it looks quite smart on this envelope made from a vintage map. Get a template to make your own envelopes.
I probably wouldn’t expect that this crayon seal would stay intact if posted, so best to use on hand delivered items. If you are posting a letter with a wax seal, it’s best to request your stamp to be “hand canceled” at the counter.
Posting it via a letter box means it goes though a few extra sorting machines, therefore more chances to damage the seal.
If you get hooked on the idea of sealing all of your letters with a personalised wax seal, you may want to invest in the good stuff.
Here are some of my suggestions:
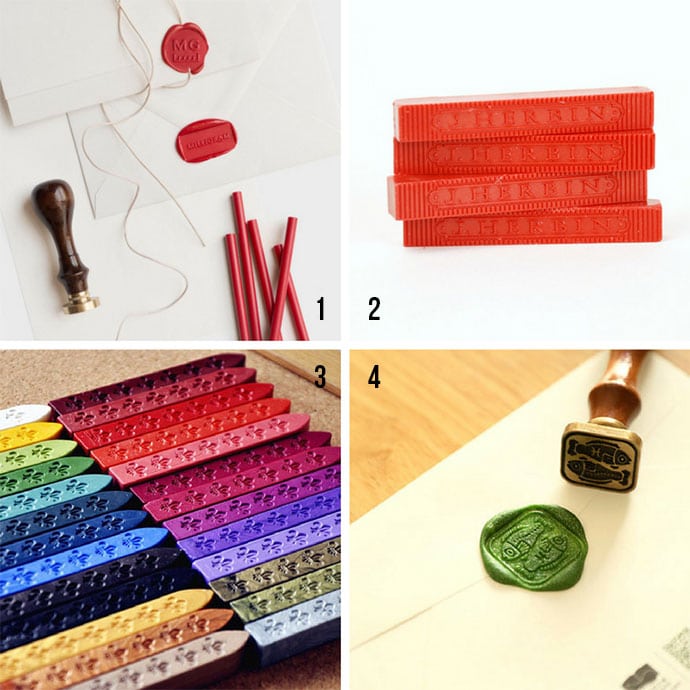
The following are affiliate links
- Custom Wax Seal Etsy
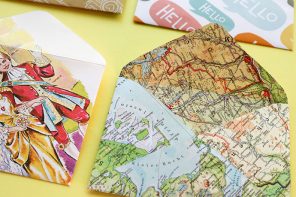
- J. Herbin Wax Sticks Amazon (US)
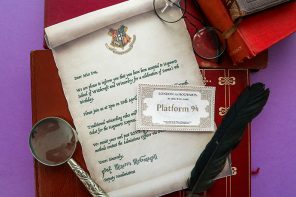
- Sealing wax in 30 colours Etsy
- Customised Wax seal stamp Etsy

Looking for more fun snail mail projects? You may also enjoy:
This is genius! I have some old crayons. I don’t have a lighter, but I do have those long fireplace matches which may be even better. I’m going to try it!
What a fun project!
Such an interesting experiment with the crayon wax. Absolutely love how they turned out.