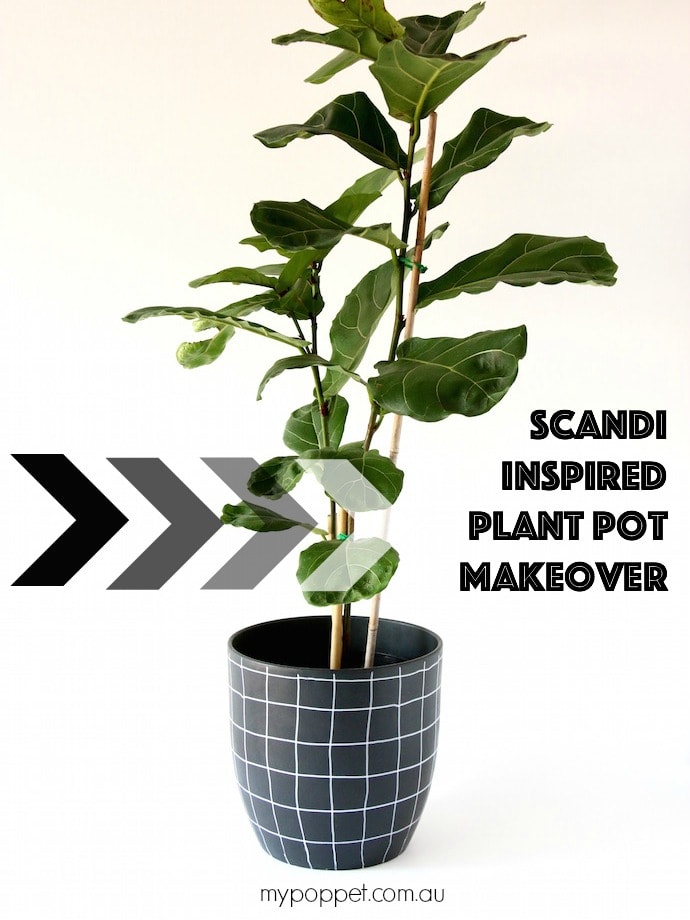
Don’t spend your money buying trendy pots for your plant babies, I’ve got a great idea to transform any old pot into a stylish home for your favourite house plant. This Plant Pot Makeover is super easy and only required a little bit of chalk paint.
Until recently I wasn’t a fan of indoor plants, I think it all stemmed from my father once telling me you shouldn’t have plants in your bedroom because at night they will use up all the oxygen as they respire. Well it’s sort of true, but the oxygen they consume is minimal so there is no need for alarm. Phew!
I’ve slowly started to embrace having plants in my home, they do cheer up a room and dressed with the right pot, they can really make quite a decor statement.
As you know by now, I’m not one to go out an buy new decor on a whim, I’d rather spend my money on travel adventures, delicious food or even more plants. But this project cost me zero dollars, I had everything I needed already! With just some chalk paint and a little creativity, I’ve transformed a dated thrifted planter into a trendy Scandi Design inspired Plant Pot.
The beauty of using chalk paint is that it can stick to virtually any surface without any special preparation. You just need to make sure the surface you are painting is clean and oil-free, and then you can dive in head first with the paint!
I’ve used Annie Sloan Chalk Paint, but any brand that is accessible to you will work just fine.
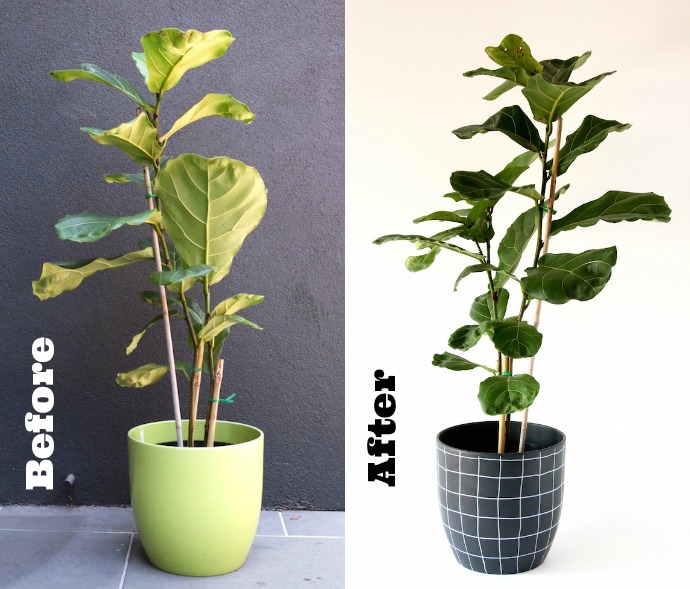
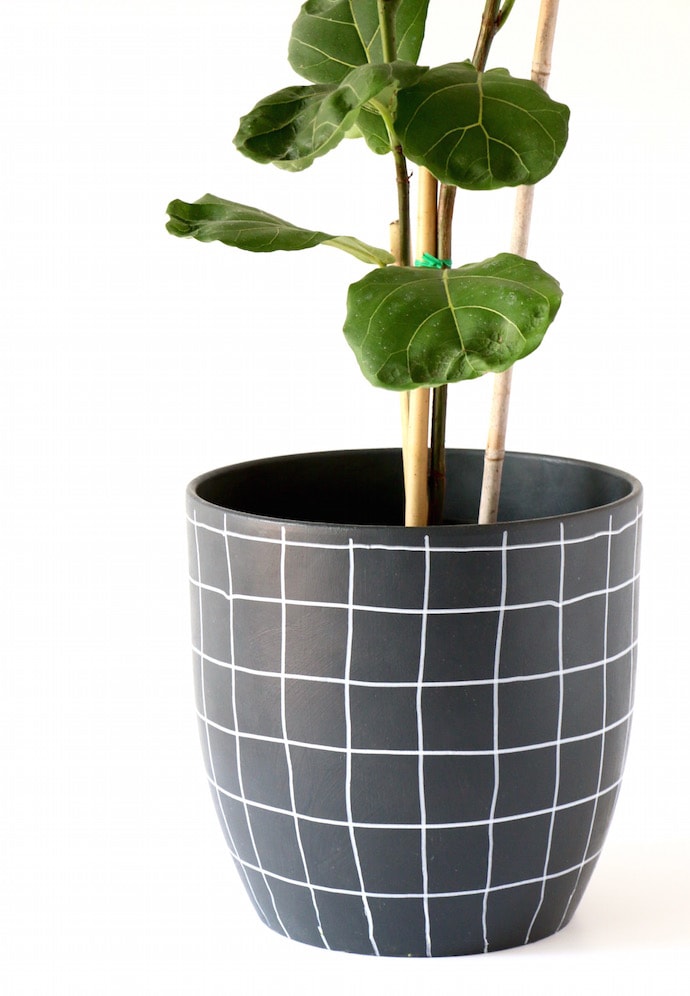
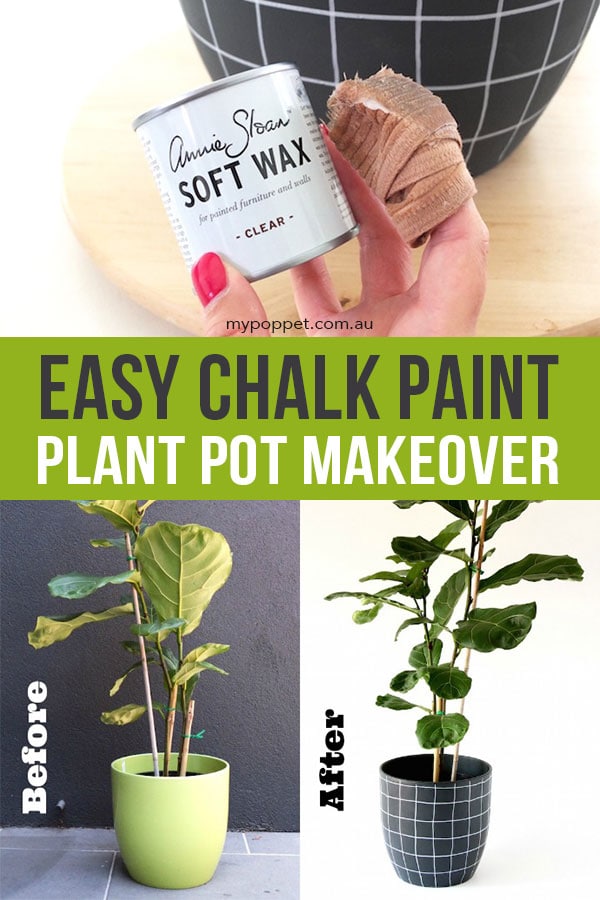
As you can see from the before and after photos, the new paint job looks so much better, and I think it shows off the plant (which is my first fiddle leaf fig), quite elegantly too.
Chalk Paint Plant Pot Makeover
You will need:
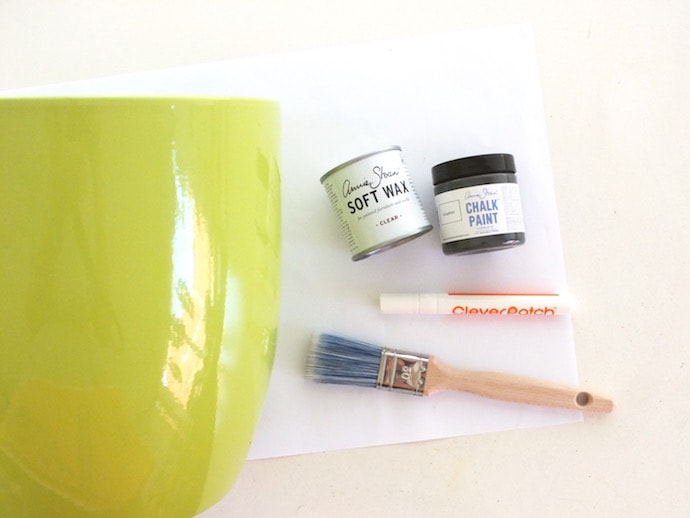
- Ceramic or plastic plant pot
- Black or dark grey Chalk Paint
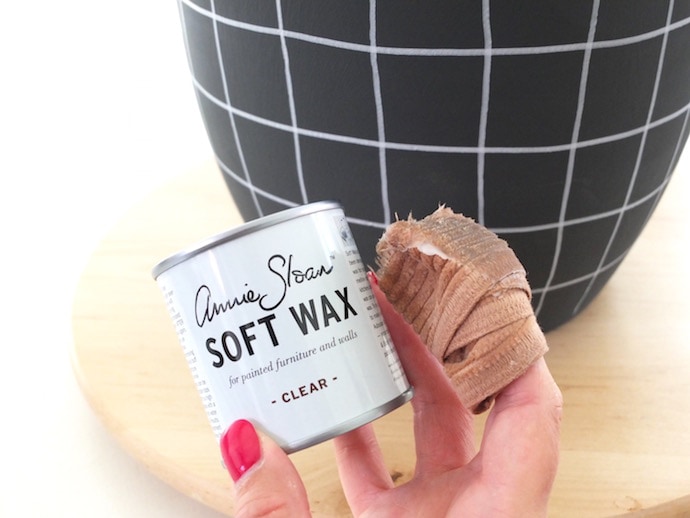
- Annie Sloan clear soft wax
- Old rag
- White Ceramic & Terracotta marker (or paint pen)
- Paint Brush
- Protective paper for surfaces
- Lazy Susan (optional)
How to:
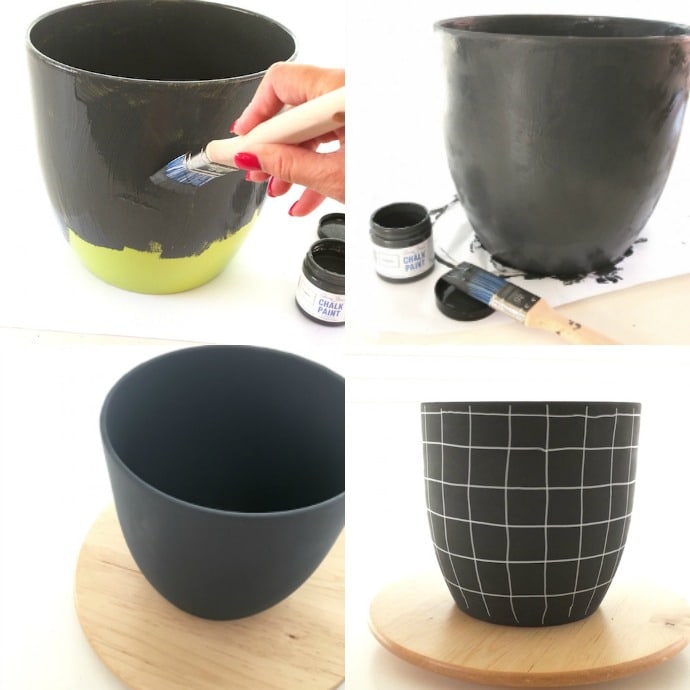
1. Clean planter pot thoroughly and allow to dry.
2. Brush on 2 coats of chalk paint, allow 2-3 hours drying time between coats. If you are pressed for time, 30 min of drying time will suffice. Use a hairdryer to speed up the drying time.
3. When second coat is thoroughly dry, place planter pot on a lazy susan and draw on lines with paint marker. I’ve shown this process in the video below.
4. Draw horizontal lines first starting from top and working down, then draw vertical lines to make grid pattern. Try to keep them evenly spaces but don’t worry if they are a little wonky.
5. Allow paint marker lines to dry thoroughly and then add a coat of clear wax with a soft cloth to protect surface. Rub on liberally and buff gently. The wax will protect the paint for a durable finish.
All done! Enjoy your new look plant pot.
So now in my growing indoor plant collection I have managed to keep alive some ferns, a palm, a couple of orchids, and lots of hardy succulents, but you definitely wont find a Venus Fly trap, I’ve seen Little Shop of Horrors!
Looking for more plant pot and planting ideas?
- DIY Mid Century Planter
- 11 Clever Succulent Planting Ideas – No Pots Required
- Recycled Fabric Twine Planter
PIN FOR LATER!


This is such a fabulous DIY and I actually have all these materials at home. I’ll definitely be making one during this crazy iso period!