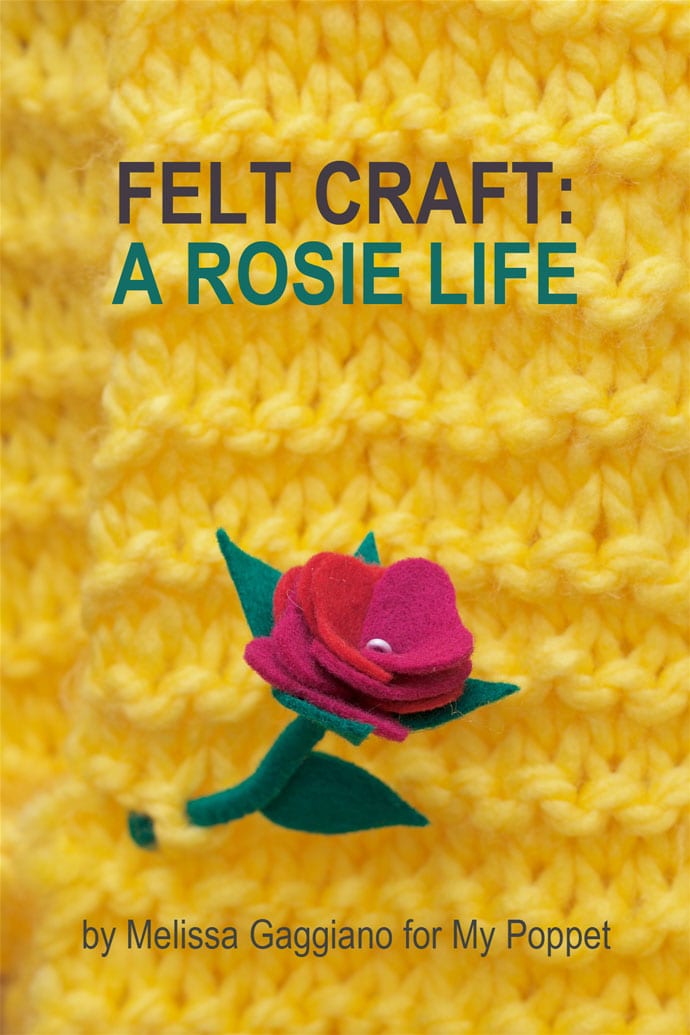
Late last year I sent my daughter on a reconnaissance mission to find out which storybook character her teacher loved when she was a little girl. The intel came back: it was Belle from Beauty and the Beast.
So I set to work making an end of year thank you gift for the teacher. It was one of my signature-customised cloth doll designs, loosely inspired by Belle, with a rockabilly twist. Quite coincidentally at this particular time the world was hyping up for the next Disney installment of this beloved fairy tale classic.
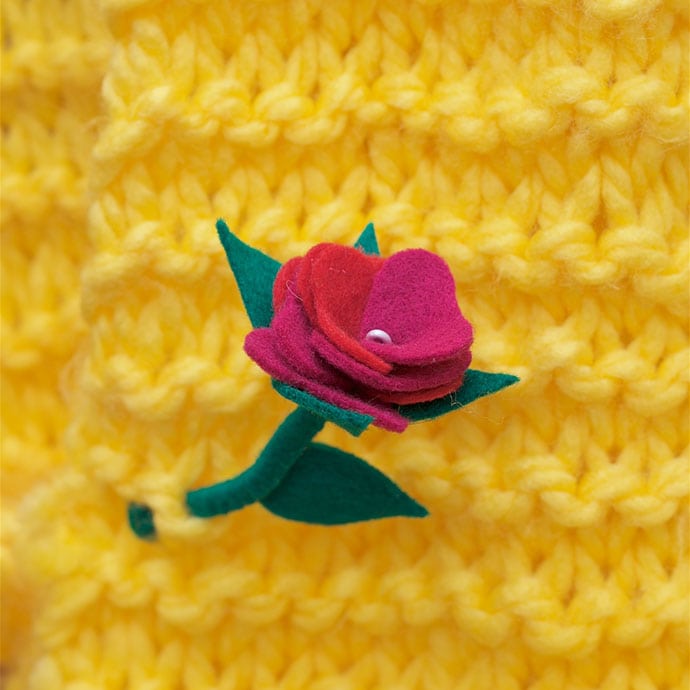
Now, when I make dolls I like to accessories them, not wanting to send them out into the world empty handed. In the case of Rockabilly Belle she came with a handmade book titled “Embrace Your Inner Beast” and a single stem rose. Today’s tutorial is all about that felt and wire crafted flower. So let’s begin.
Felt Craft: How to make a Stitched Felt Flower
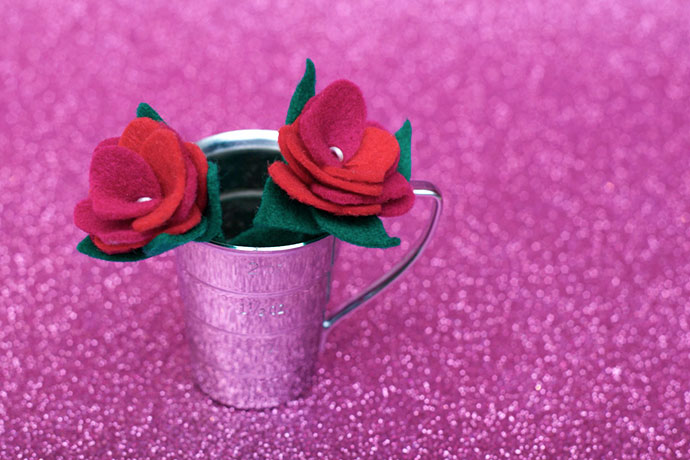
You will need:
- Wire – 9cm
- Thread – 1x green, 1x red
- Felt squares – 1x green, 1x red, 1x pink
- Sewing needle
- Fabric scissors
- Fabric marker [air drying]
- Pliers
How to:
1/ Print template at 100% and cut out the pattern pieces.
2/ Using a fabric marker, draw an outline of pattern pieces onto felt [1 green stem, 5x green leaves, 4x red petals, 4x pink petals].
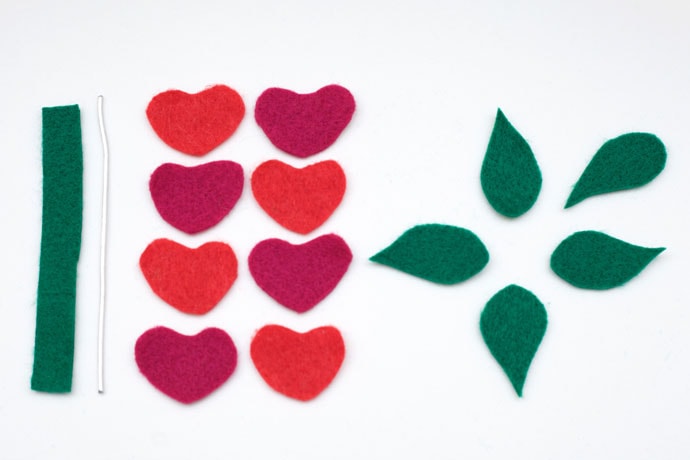
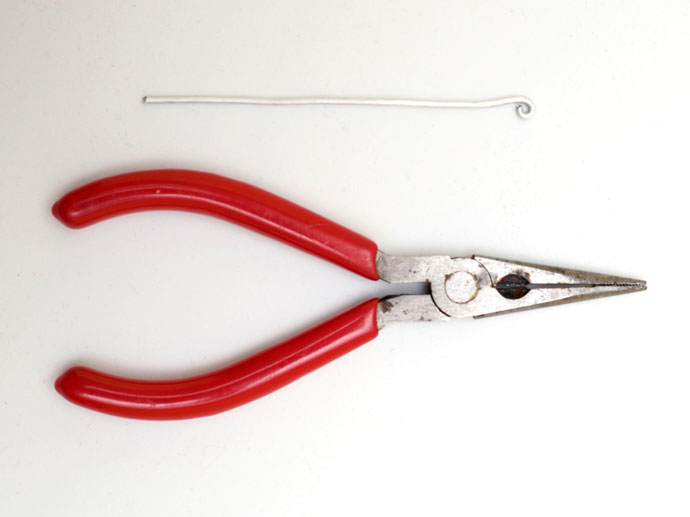
3/ Using pliers bend one end of the 9cm wire piece, creating a small loop [as pictured].
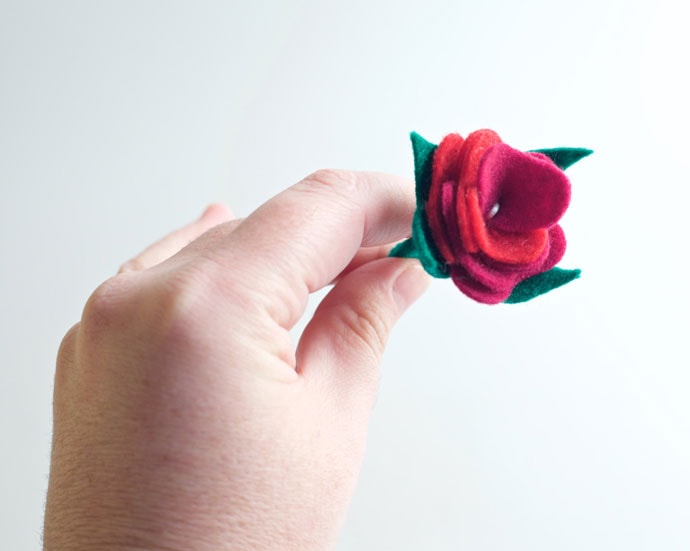
4/ Wrap a pink petal piece around the wire loop. Using red thread stitch closed the bottom point of the folded petal into the loop.
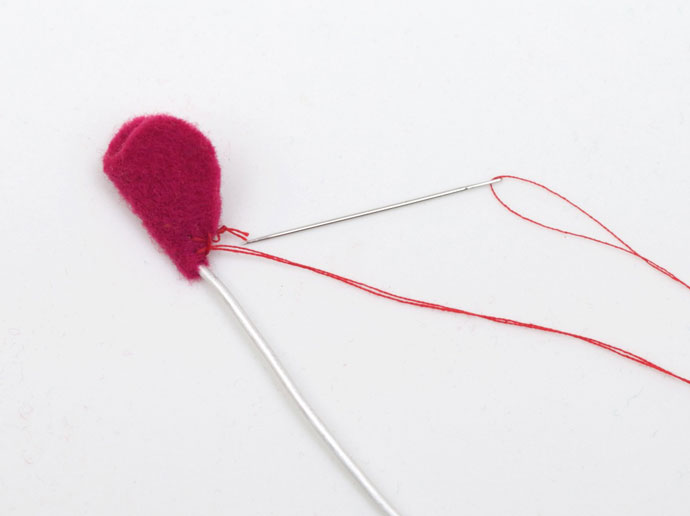
5/ Wrap a red petal piece around the first pink petal, mirroring it. Stitch the red petal piece closed at the bottom point, into the wire loop [just like we did in step 4]. The flower is beginning to take shape and now looks a 2-colour way love heart.
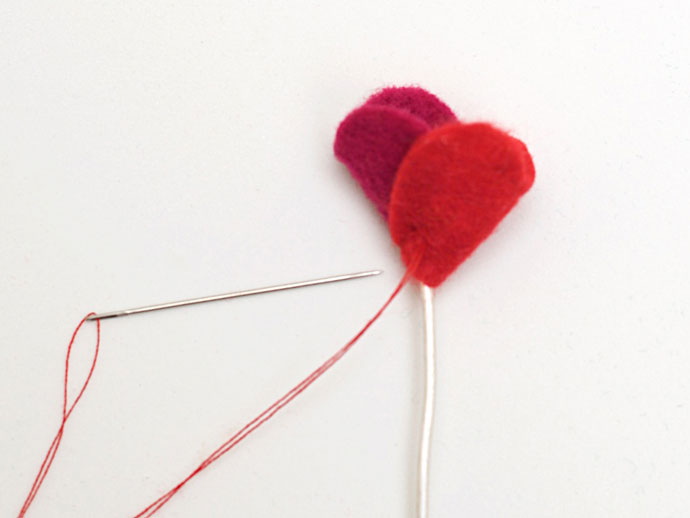
6/ Wrap a red petal piece half around the pink petal and half around the red petal piece. Stitch the red petal into the other petal pieces near the base.
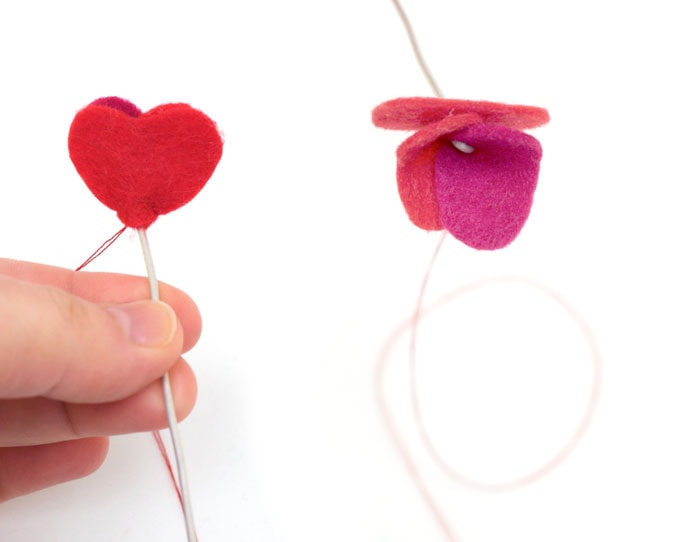
7/ Wrap a pink petal piece half around the red petal and half around the pink petal piece. Stitch the pink petal into the other petal pieces near the base.
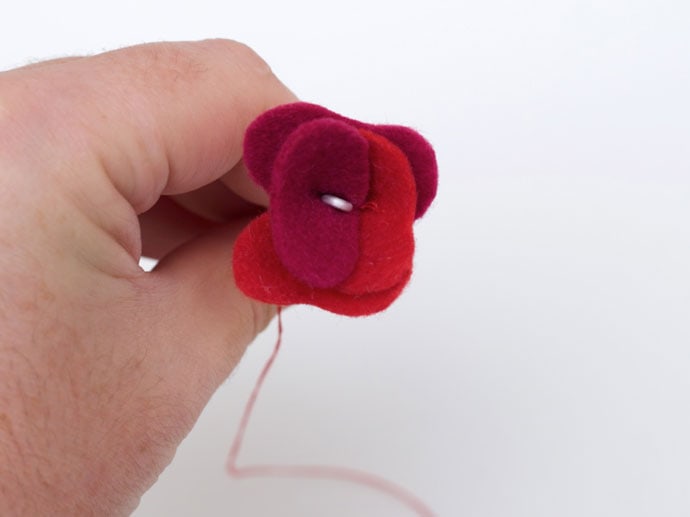
8/ Repeat steps 6 and 7 until all petal pieces are sewn into the flower base.
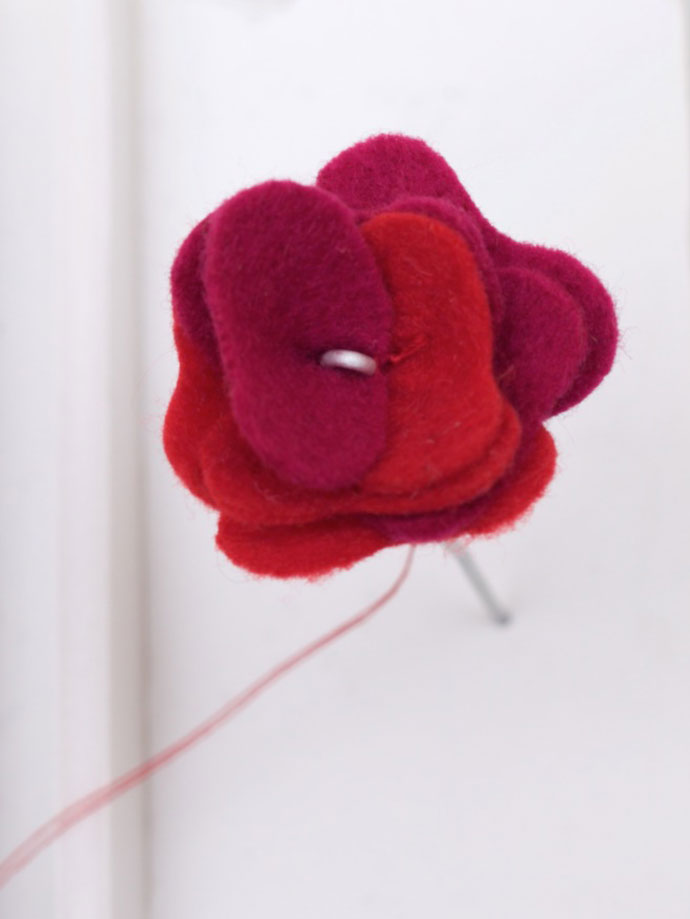
9/ Knot off the red thread in the flower and cut thread.
10/ Using pliers bend the bottom end of the wire stem.
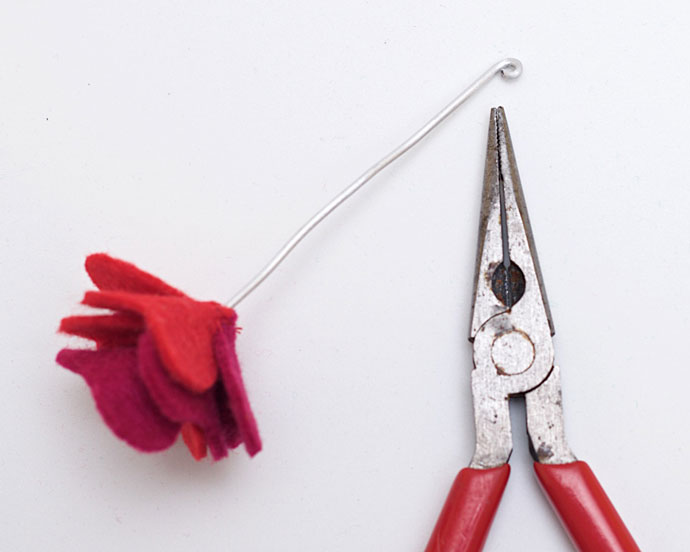
11/ Thread needle with green thread. Wrap green stem piece around wire stem and stitch the edge closed using a blanket stitch. Stitch the end closed, tie a knot and cut thread.
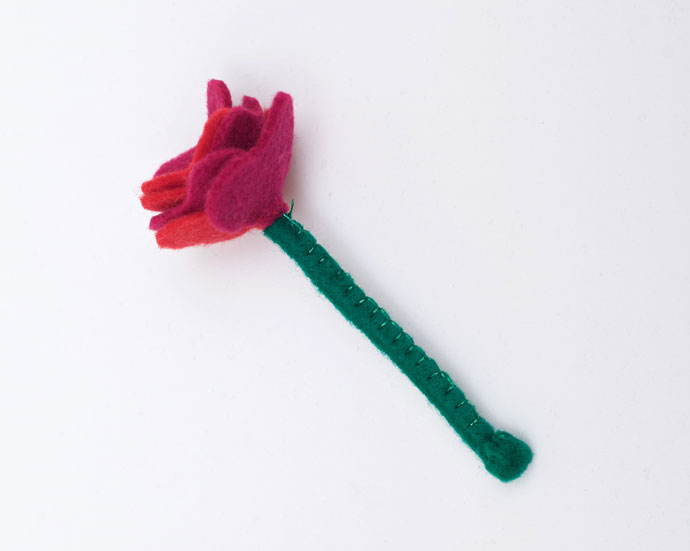
12/ Position a green leaf piece to the base of the flower. Stitch the leaf into the stem and flower with a few basic stitches.
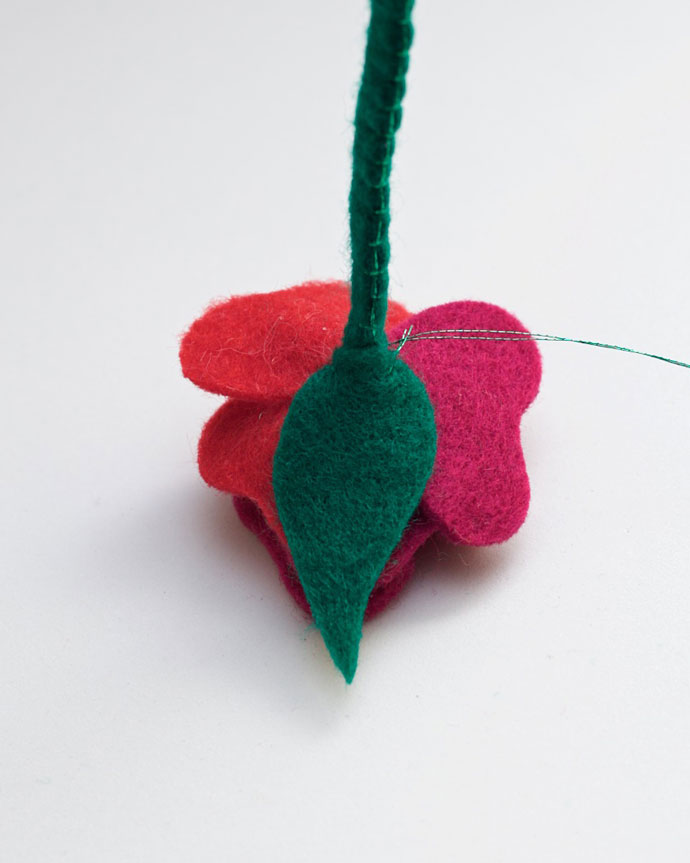
13/ Repeat step 12 placing another three leaf pieces in a quad formation.
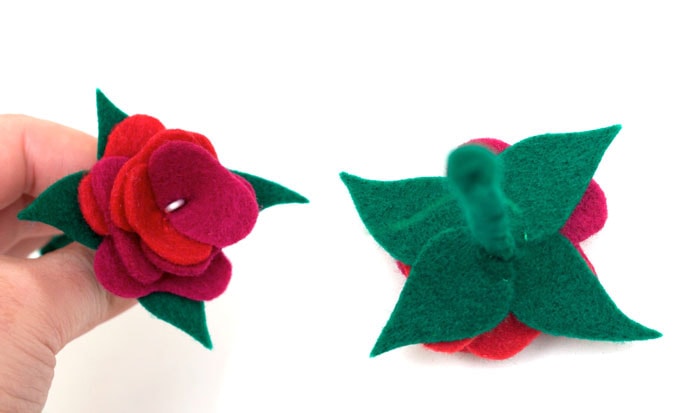
14/ Position the last leaf piece midway on the stem and vertical edge stitch together.
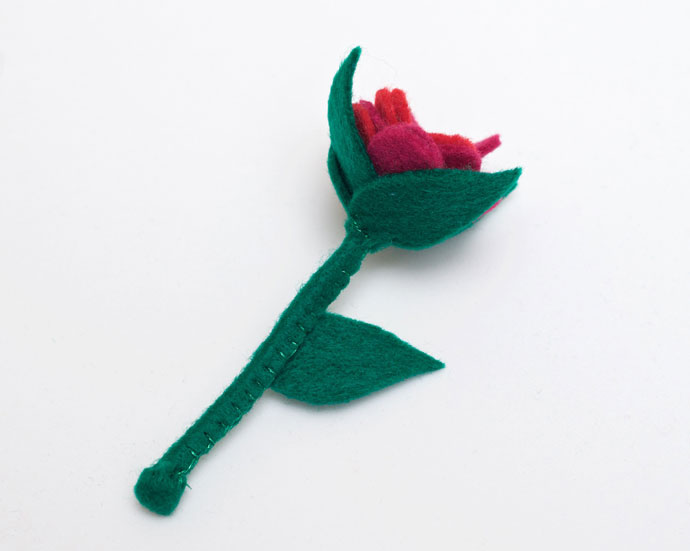
15/ Gently bend the stem to give it a natural shape. Most things in nature do not follow sharp, straight lines.
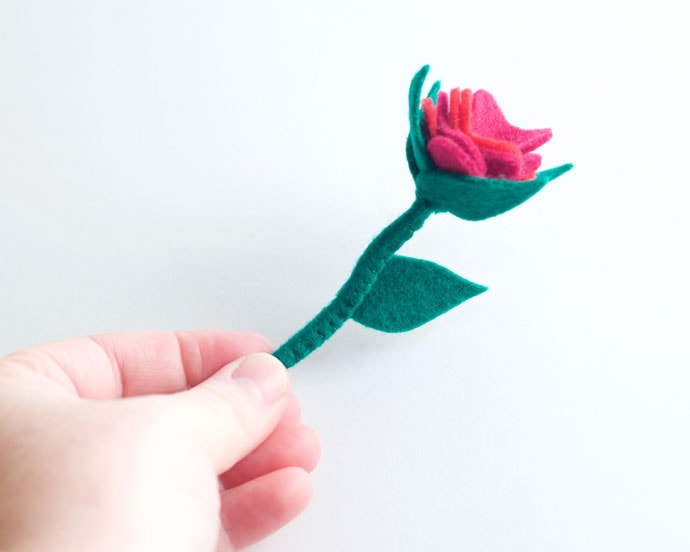
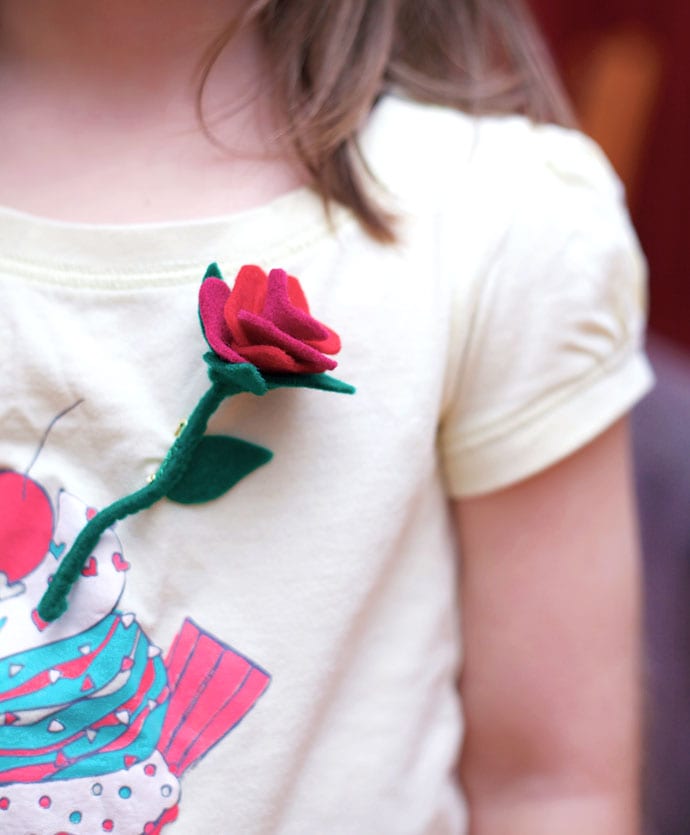
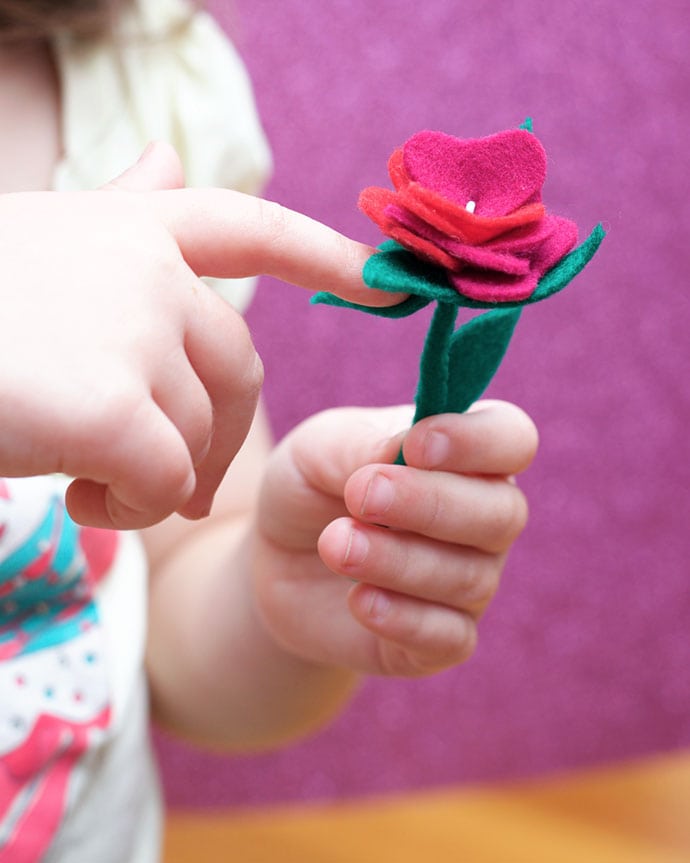
16/ The flower is lovely on it’s own, and would look amazing in a bouquet. It would also make an elegant brooch, or even a hair decoration. In this instance you can stitch a pin to the stem just behind the stem leaf, or even hot glue the stem to a hair clip. You can even try mixing up the flower petal colours.


Melissa is a hyper creative artist, and content creator.
To see more of Melissa’s work, follow these links –

My Internet connection died just as I hit “Post Comment,” so I don’t know if it went through or not. Well, I’ll try again.
I have made felt flowers before, but never with a stem. I wouldn’t have thought to cover a wire and cover the pokey end so it doesn’t scratch anyone. Thanks for the tutorial.:-)
You’re welcome Priscilla! Thank you for reading.
Great article. It is so helpful information. Thanks for sharing it.