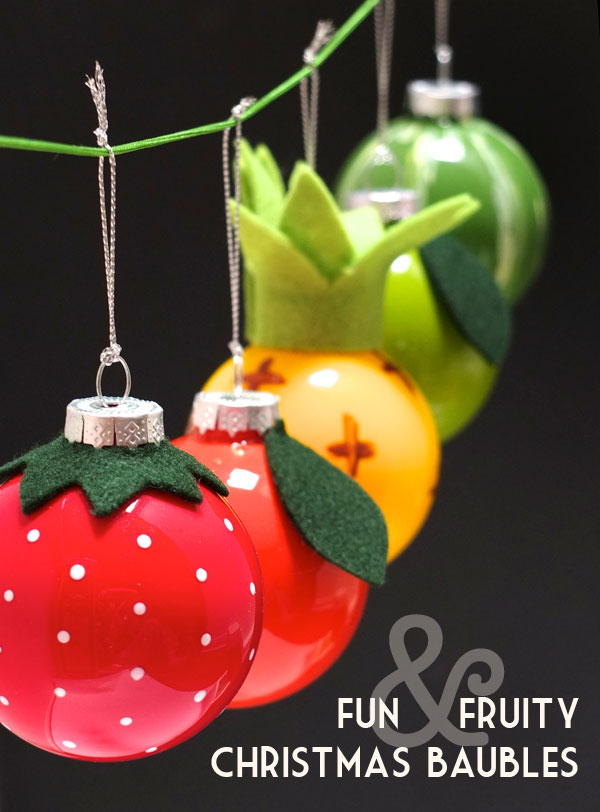
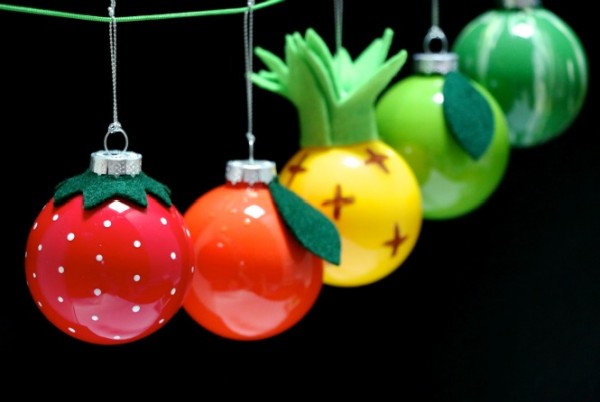
After making some Fruity Christmas Stockings last week to celebrate a summery Christmas, I thought it was only fitting to make some fruit themed decorations for our Christmas tree. These Fruity Christmas Ornaments have a vintage vibe and were inspired by the simple graphic shapes of vintage advertising posters and illustrations. I can’t wait to put up and decorate our tree to show off these delicious looking baubles.
These fruit ornaments aren’t a quick project to make but are certainly worth the effort as I think these decorations are really special and will become a cherished part of any Christmas decoration collection.
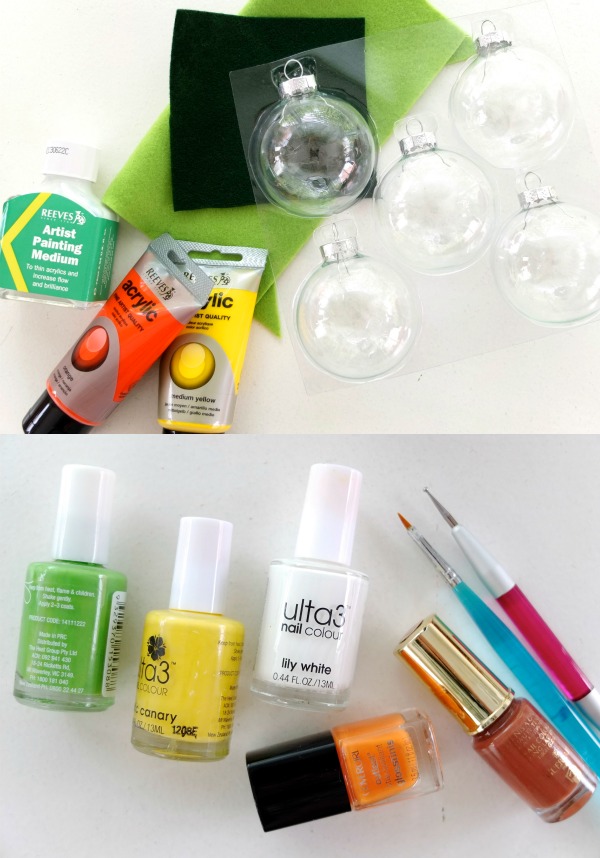
You will need:
- Clear glass ball ornament with removable top
- Acrylic paint in red, orange, yellow, bright green & dark green
- Acrylic paint medium (a note about this later)
- light green & dark green felt
- Clear quick dry craft glue
- Scissors
- White fabric pencil or chalk
- Plastic container and spoon
- Nail polish in yellow. green, white, orange & brown
- Nail art dotting tool
- Fine nail art brush
- Nail polish remover
- Empty toilet roll
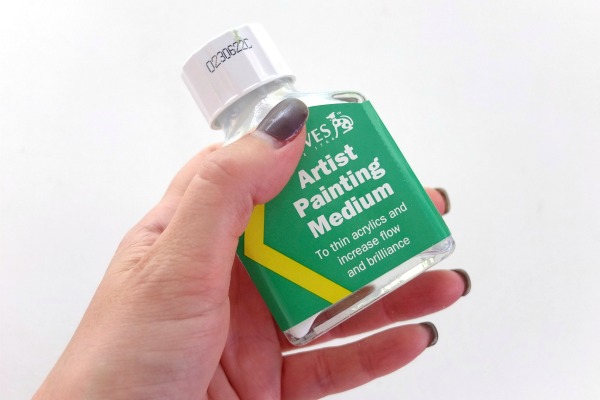
What is Acrylic Painting Medium?
Acrylic paints are made to be thinned with water, but adding too much water can dilute the binder in the paint to the extent that it won’t to stick properly to the canvas or paper – or in this case glass. Acrylic mediums intended for thinning paint basically consist of the binder used in acrylic paint (“colorless paint”) and ensure the paint will stick.
I tried a variety of paints for the inside of the baubles and found that acrylic paint mixed with medium gave the best result. Paint on it’s own was too thick and thinned with just water didn’t stick properly on the glass. I also tried nail polish but it gave a streaky result and the fumes were awful.
How to:
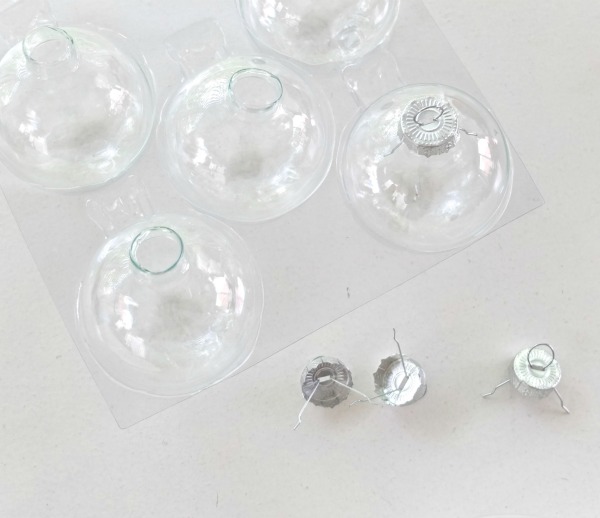
– Carefully remove the metal tops from the glass baubles
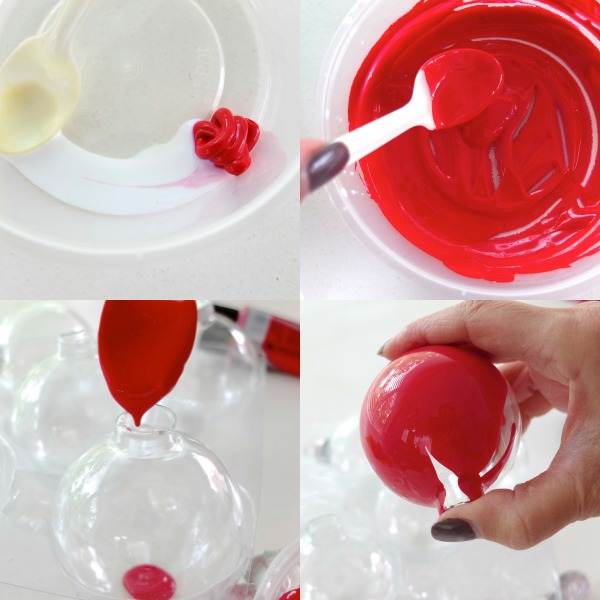
– In a plastic container mix a small amount of paint with equal parts paint medium
– Mix well, it should have a runny custard consistency
– Spoon some paint into the bauble. Don’t add too much, you can always top it up if you need a bit more.
– Cover the opening with your finger and shake, shake, shake.
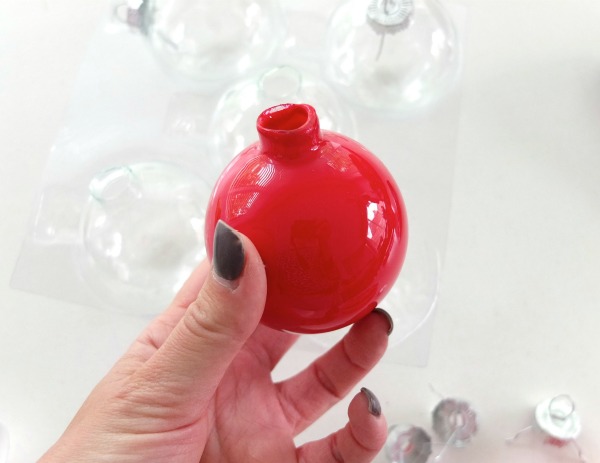
– Pour out any excess paint and allow to dry.
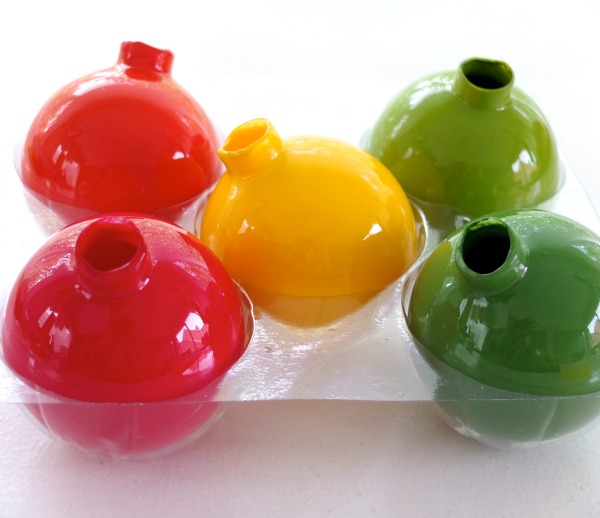
– Go ahead and paint the other baubles in the following colours.
Red = strawberry
Orange = Orange
Yellow = Pineapple
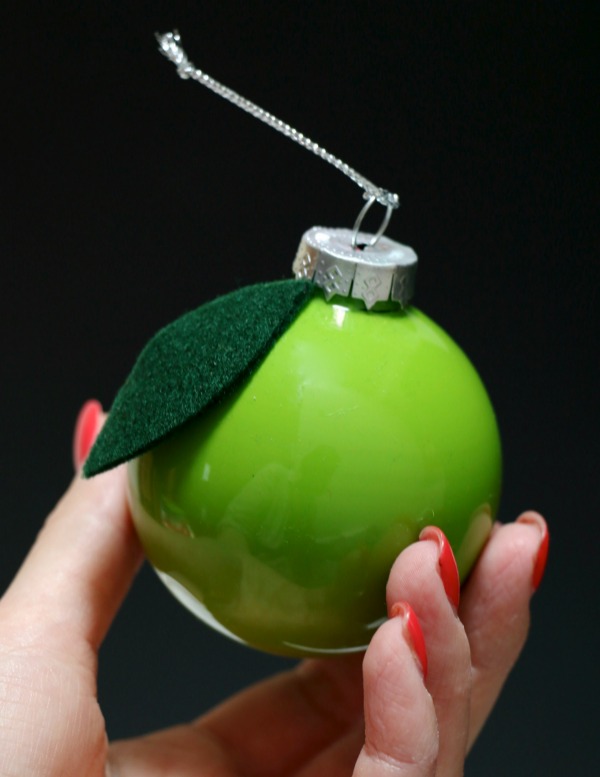
Bright Green = Apple
Dark Green = Melon
If you can’t find the perfect colour in the tube you can do a bit of custom mixing to get the colours just right.
Let’s make a Strawberry Christmas Ornament
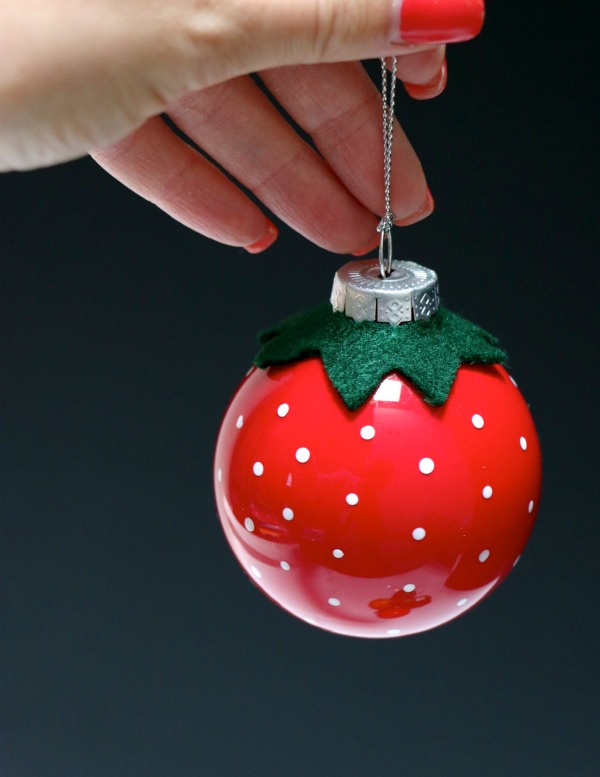
This strawberry turned out super cute and the red, white and green work well if you are decorating with traditional Christmas colours. They would look awesome en mass on a lovely green tree.
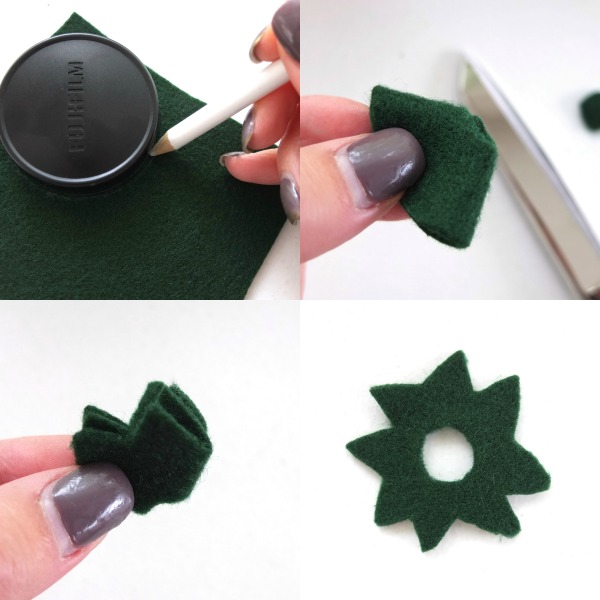
– Mark a circle in the dark green felt by tracing around something round, I’ve used my lens cap.
– Fold circle in quarters and snip a small bit to make a hole in the center.
– Cut some pointy leaf shapes around the outside
– This is how the top should look when you open it up.
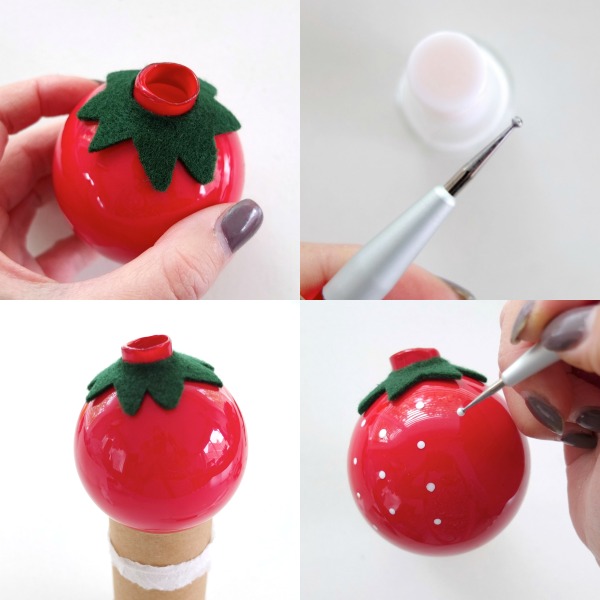
– Glue the felt strawberry leaves onto the bauble slipping the neck of the bauble through the hole in the felt. It should fit nice and snugly.
– With the nail art dotting tool, make little polka dots all over the bauble with white nail polish.
– Use an empty toilet roll to keep your glass ball from rolling away. Let the dots on one half dry before you turn the ball around to work on the other side.
– Replace the top and tie on the hanging loop.
Let’s make an Apple and Orange Christmas Ornament
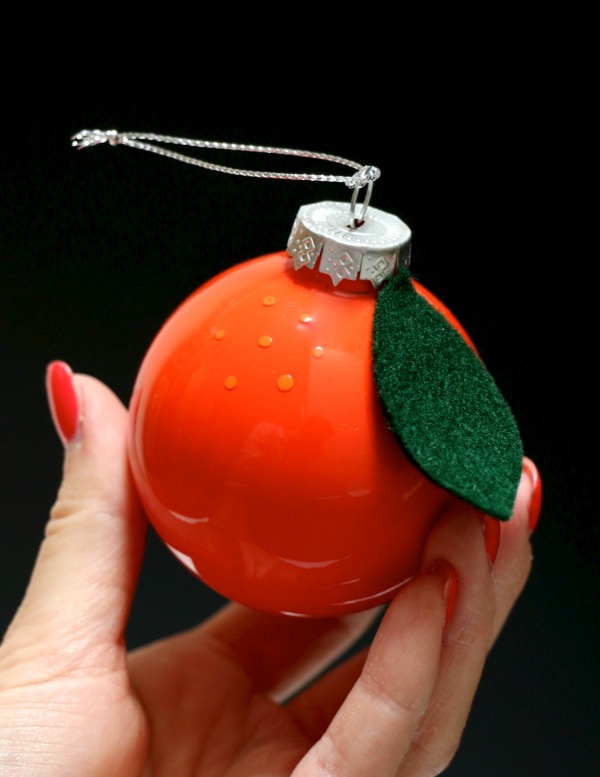
I love the contrast of these bright orange and green fruits, and the simple graphic shapes reminds me of mid century style vintage fruit illustrations.
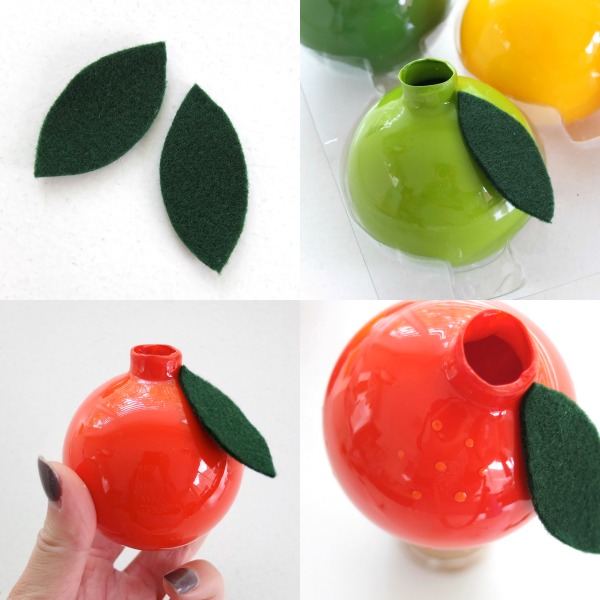
– Cut one dark green felt leaf for each fruit.
– Glue onto the baubles
– Optional: Paint small clusters of orange dots with orange nail polish onto the orange bauble. It’s hard to see in the photo but it adds an extra dimension to the ornament.
– Replace the tops and tie on the hanging loops.
Let’s make a Melon Christmas Ornament
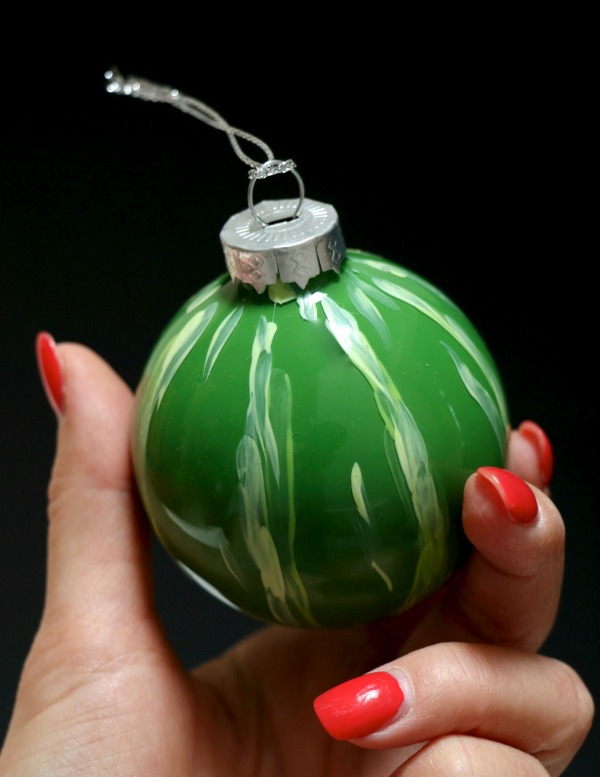
I’ve got to admit, this little melon is my favourite of the lot. I suppose it reminds me of Japan where melons are prized and given as very special gifts. It took me a few tries to get the striping design just right, so nail polish remover came in handy to clean up any mistakes and start again.
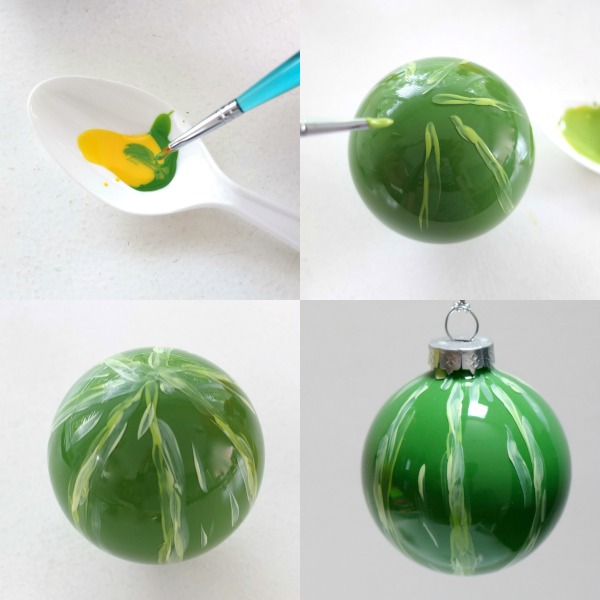
– With a nail art brush or fine paint brush, mix a little yellow and green nail polish together.
– Paint some irregular stripes down the sides and allow to dry.
– Mix up a paler batch of green nail polish by mixing some white in and add some extra highlights to the stripes.
– Replace the tops and tie on the hanging loops.
Let’s make a Pineapple Christmas Ornament
No fruity selection is complete without a pineapple! Pineapples are a hot decor trend right now and would fit right in on any modern tree.
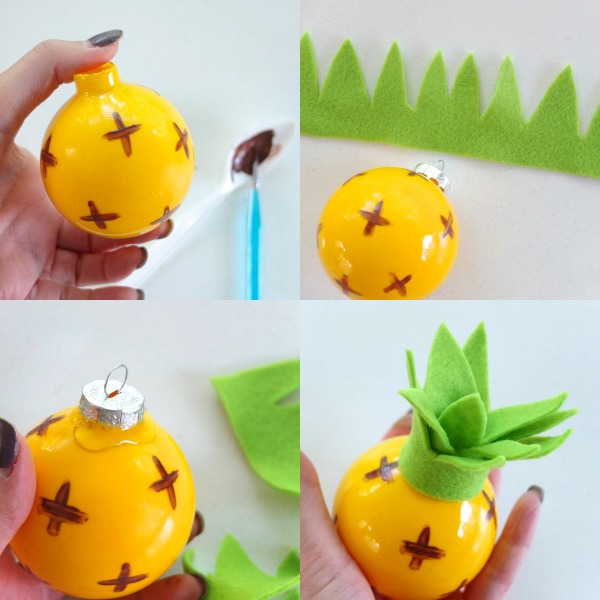
– With brown nail polish, paint small crossed over the bauble and allow to dry.
– Replace top on bauble and cut a long rectangular piece of light green felt that will wrap around the top several times. Cut pointy zig zag shapes from the top of the felt to form the leaves.
– Working quickly, apply a small bead of glue around the top of the bauble at the base of the metal cap.
– Wrap the felt leaves around the top of the bauble and attach hanging loop.
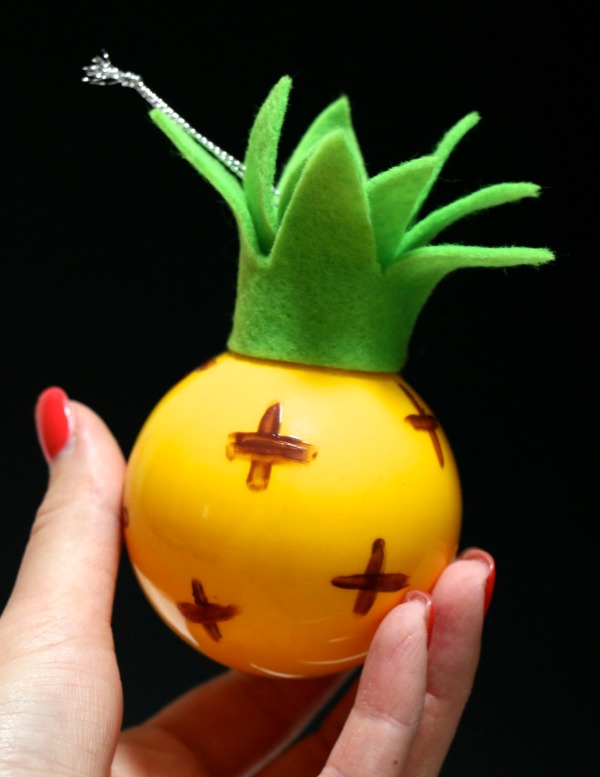
What do you think? I’m so pleased at how they turned out. I’ve been visualizing how they would look in my mind for weeks, so it’s always a happy day for me when a craft project turns out just like I imagined.
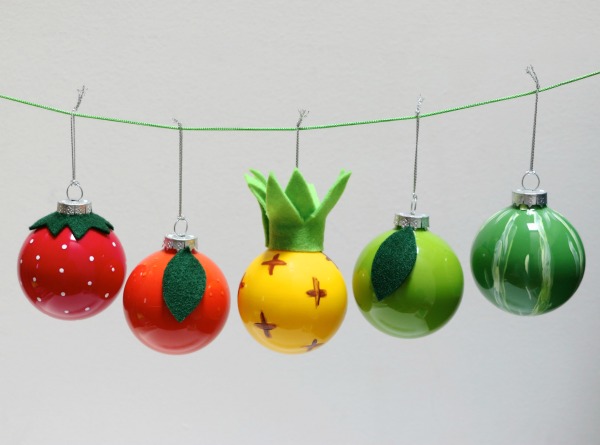
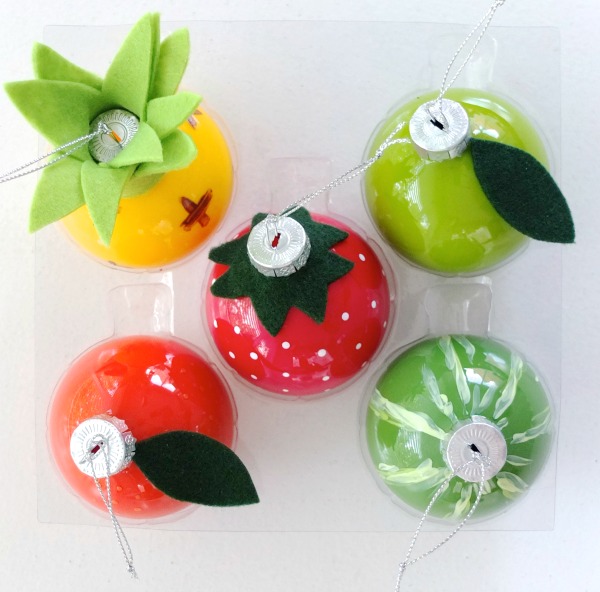
Some more pretty photos because they were super difficult to photograph, I really need to invest in a decent light box.
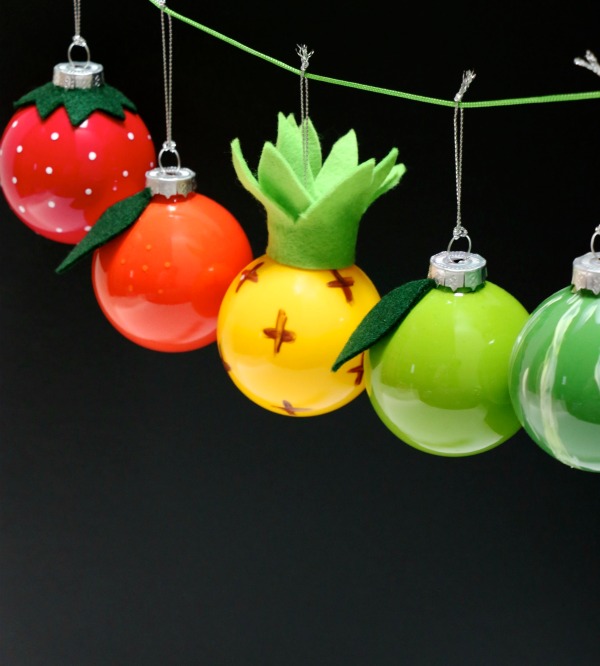
You may also like to make a set of Fruity Christmas Stockings
For more non-traditional Christmas decorating and gift ideas, check out my Handmade Christmas Inspiration Guide

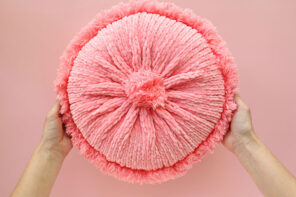
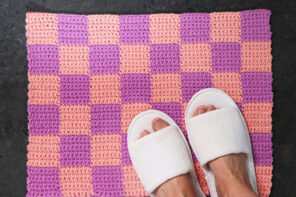
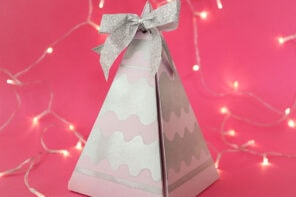
I LOVE these!!!!!!!!!!!! Adorable!!!!!!!!!!!!
Thanks Sara
the glass baubble creates such lovely vibrancy to the colours – the are so beautiful. thank you for sharing. cheers rebecca, beecroft, sydney
Love these! Can you suggest where to buy the clear glass baubles? Thanks!
I bought mine at a craft store called Lincraft (in Australia) I’m sure you can find them online. search for glass ball christmas ornament
aaaaw these are almost cutter then the stockings,
well done!