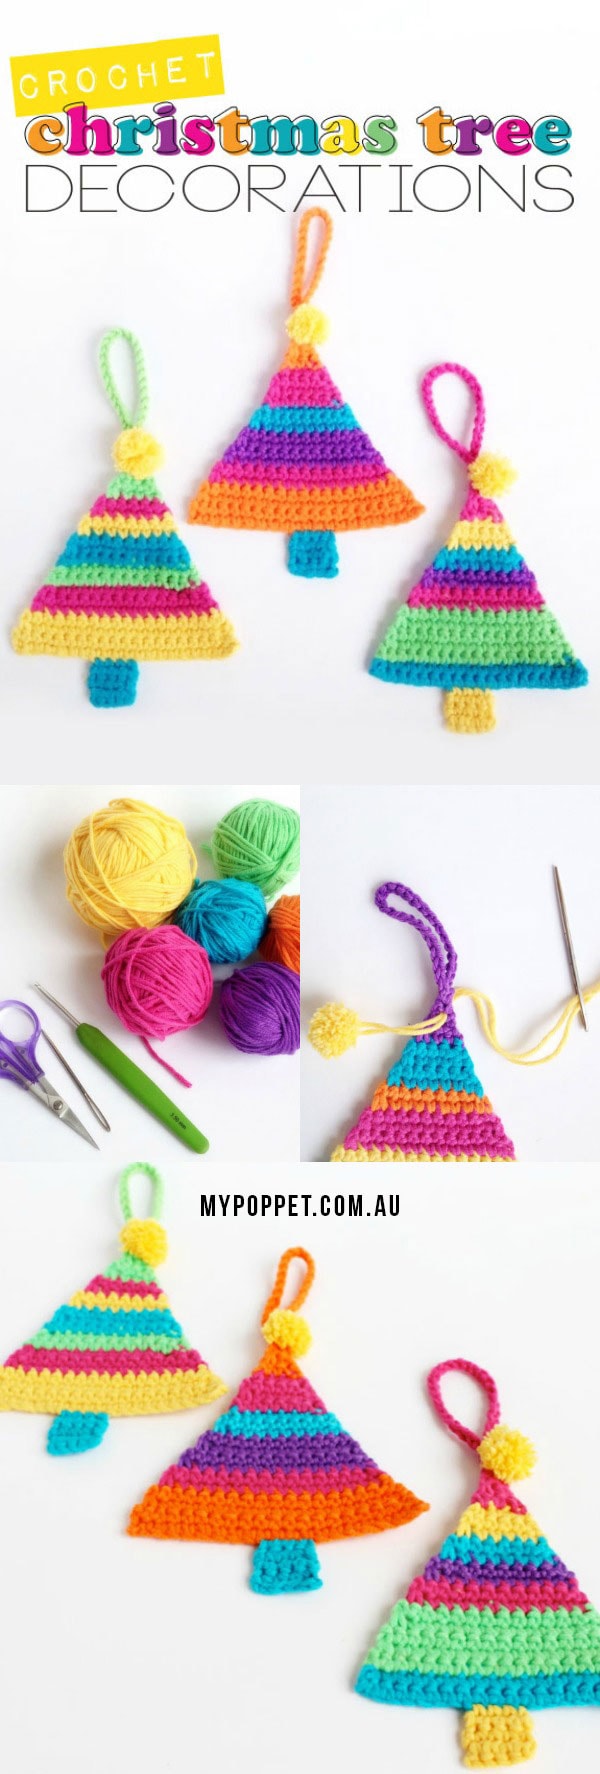
You can make these little Crochet Christmas Tree Decorations as single ornaments to hang from your tree or attach to a gift. If you feel like making a few, join them to a long chain to create a festive garland.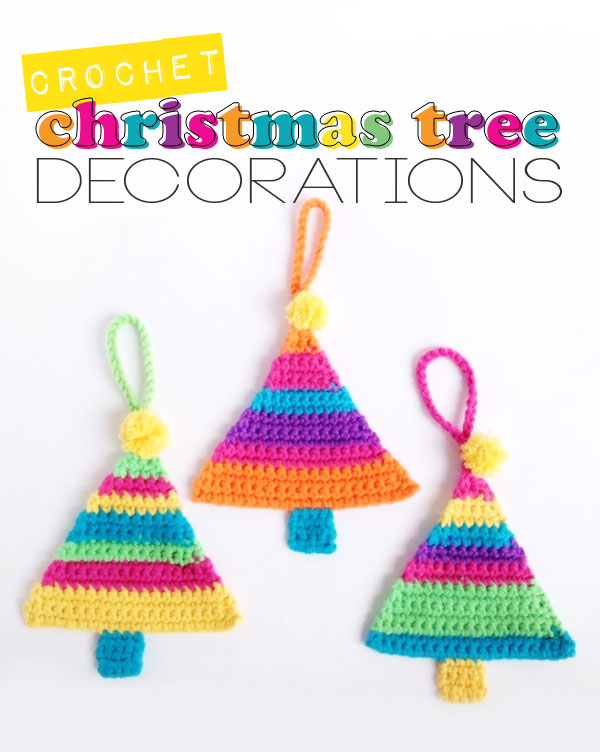
I’ve also included instructions to make the mini pom poms to embellish your little Christmas trees.
Enjoy!
You may also like these Free Christmas Crochet Patterns:
- Giant Crochet Snowflakes
- Crochet Hexagon Christmas Stocking
- Modern Crochet Advent Calendar
- Crochet Gift Card Holder Christmas Ornament
- Crochet Paper Chain Garland
Crochet Christmas Tree Ornament Pattern
These cute Christmas ornaments can be made with just a few yarn scraps in assorted colours. Traditional red, green and white is always a classic choice. But for a modern twist why not use a range of bright colours like we have here. This free crochet ornament pattern is easy to make, even for beginners.
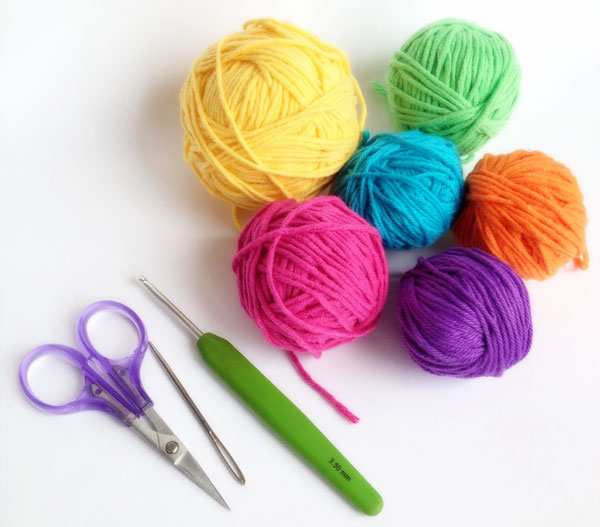
You will need:
• 3.5mm hook
• 8 ply cotton – in colours of your choice
• Wool needle
• sharp scissors
How to:
US TERMS USED
Abbreviations:
Ch – Chain
sc – single crochet (dc UK terms)
Sl St – Slip Stitch
St/s – Stitch/es
Techniques Used:
Decrease (dec) – Sc 2 together
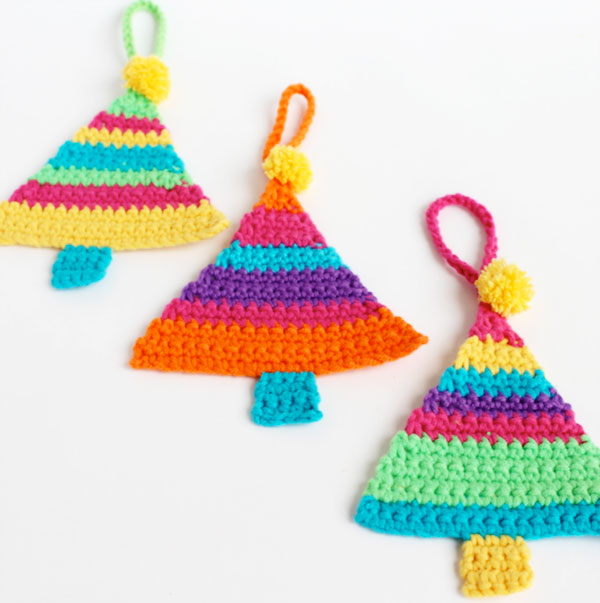
You can make your stripes consistent or random widths as I have, but try to keep the last 4 rows one colour (it’s a pain changing colours here).
Have a look at this nifty Random Stripe Generator for some stripey inspiration.
Tree:
o Ch 21
o Row 1: Sc into 2nd ch from hook, sc 19. Ch 1, turn
o Rows 2 – 20: Sc into every stitch, decreasing at end of every row until 1 st remains
o Don’t break off yarn yet.
Hanging loop:
o Ch 25 and sl st back into first ch.
o Break off yarn and weave in ends.
Base:
o Using a contrast colour, join in yarn on the 8th st from corner
o Rows 1-5: Sc4
o Break off yarn and weave in ends.
How to make a Mini Pom Pom
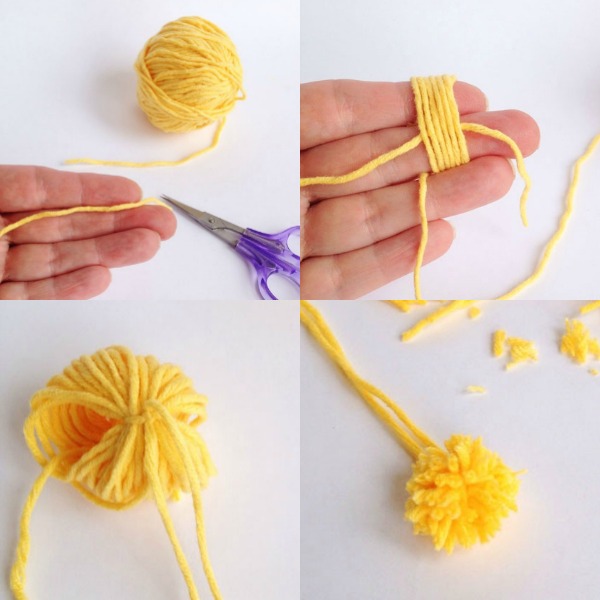
1. Cut a 20 cm length of yarn and lay it across your open hand and over your first two fingers.
2. From your ball of yarn start wrapping over the yarn laying over your fingers aprox 6 wraps wide, keep wrapping yarn around
about 40 times.
3. Holding end in place, cut yarn. Grab the yarn that’s laying over your fingers and holding everything together, carefully slide off your fingers. Tie a double knot as tight as you can.
4. Now it’s about to get messy! Holding the long thread out of the way and using sharp scissors cut about 1 cm down from the top.
Keep trimming and fluffing until you have a cute little tiny pom pom.
Finishing:
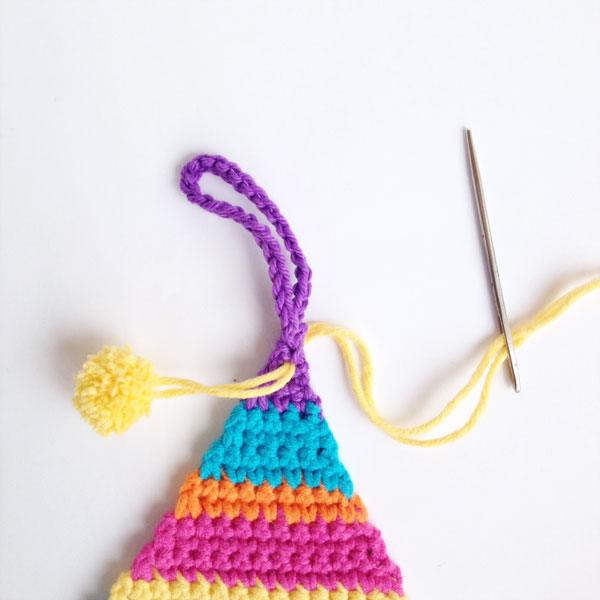
Thread your yarn needle with both strands of the long yarn and thread through the top of your tree.
Secure with a double knot and cut off as close as possible.
LOVE IT? PIN IT!
 About Michelle Robinson
Michelle is the face behind Poppy & Bliss. Her passion is crochet and her style is modern, vibrant and fun.
She teaches workshops in various styles of crochet, designs modern crochet patterns, occasionally remembers she has a blog at Poppy & Bliss


Thanks for the tutorial, its really helpful one and I find myself enjoying it.
It is also very cute and looks fun to make . Well done !! 🙂
If you sew three tree triangles together…OH
Great Idea!