Is there anything hexagons can’t do? They are really very magical shapes. It never ceases to amaze, how many clever ways there are for combining hexagons to create interesting patterns.

Brought to you by American Yarns
I mean, who knew you could jigsaw just 17 crochet hexagons together to make a Crochet Christmas Stocking! Mind Blown!
Inspired by a vintage hexagon crochet stocking pattern, I thought I’d give it my own My Poppet twist by changing up the hexagon motif and adding some COLOUR!
Rather than buying 5-6 different coloured balls of yarn I deconstructed some yarn cakes to make this colourful Christmas stocking.
Doesn’t this colourful stocking look great hung up on our fireplace mantel? It’s extra-large so Santa can fit in plenty of prezzies on Christmas morning.
The stocking colours unintentionally match perfectly to my favourite artwork. Add a crochet paper chain garland and some little Christmas trees on the mantel, festive decor sorted!

This crochet Christmas stocking is really fun to make. Even if you are a slow crocheter, there is still plenty of time to finish this project before Christmas if you get started now. It only took me a couple of evenings to make mine.
I’ve added pom poms, because pom poms make everything better. But you can keep it simple if you like a simpler look.
You may also like these Free Christmas Crochet Patterns:
- Giant Crochet Snowflakes
- Crochet tree ornament
- Modern Crochet Advent Calendar
- Crochet Gift Card Holder Christmas Ornament
- Crochet Paper Chain Garland
Now let’s talk yarn!
As I mentioned earlier, rather than buying several different coloured balls of yarn to make this crochet stocking, I deconstructed a couple of yarn cakes.
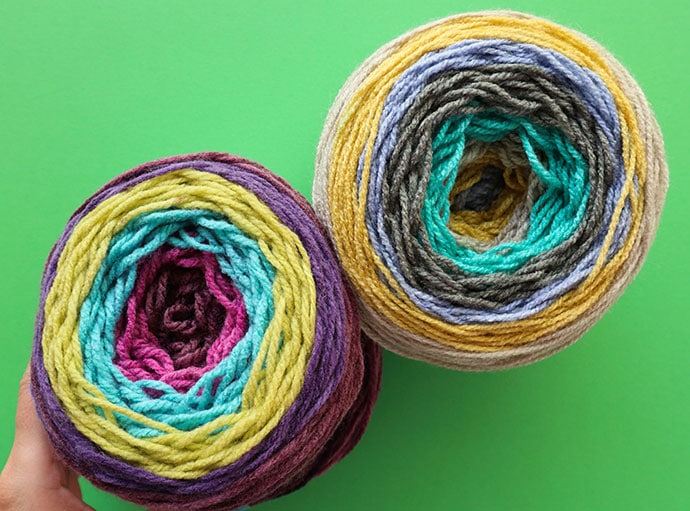
Left – Bernat Pop, Right Caron Cakes
You may remember these from an earlier post – Self Striping Yarn Cakes, which brand do I choose?
Yarn cakes usually have really nice colour combinations, so why not take the hard work out of colour matching and let the yarn do all the work.
For this project I’ve used 4 colours from Bernat Pop (Paisley Pop), and the lilac and cream colours from Caron Cakes (Banana Bread). This pattern could easily be made from just one ball of Bernat Pop, which is my recommended yarn for this project as it’s nice and thick.
When choosing a cake yarn ball for this project, go for colour combinations with lots of contrast for best results.
It’s easy to split a ball. I’ll show you how.
All yarns featured are available from www.americanyarns.com.au
How to Deconstruct a Yarn Cake

1. Starting with the center colour, gently pull out each coloured section.

2. Cut the yarn where the colour changes.

3. Rewind each colour into its own ball – this step is optional but it keeps the yarn nice and tidy. If you don’t have a yarn winding machine, just wind your balls by hand.
Now that you’ve split your yarn cakes you can use the separate colours in any way you like.
Hexagon Crochet Christmas Stocking Pattern

This crochet Christmas stocking is assembled from 17 hexagons 5″ (12.5cm) hexagons. You can use this basic construction method with any size or patterned hexagon shaped motif. Smaller hexagons will make a smaller stocking.
The design of this hexagon motif with a flower in the center was adapted from a pattern in this Japanese Craft book – Small and Easy Crochet by Kazuko Ryokai.

The book has a very nice clear diagram of the pattern, but I’ve tweaked it slightly and have written out the instructions below.

Finished size: length 63cm (25″)
You will need:
- 1 ball Bernat Pop or equivalent amount 10ply (worsted yarn)
- 5mm crochet hook
- Yarn needle
- Scissors
- Pom pom maker (optional)
Stitches used US terminology:
- Magic ring
- Chain Stitch (ch)
- Single Crochet (sc)
- Double Crochet (dc) US = Treble stitch (tr) UK
- Slip Stitch (sl)
Hexagon Motif Crochet Pattern Instructions
Make 17 hexagons in assorted colour combinations. Weave-in/crochet over yarn ends as you go.
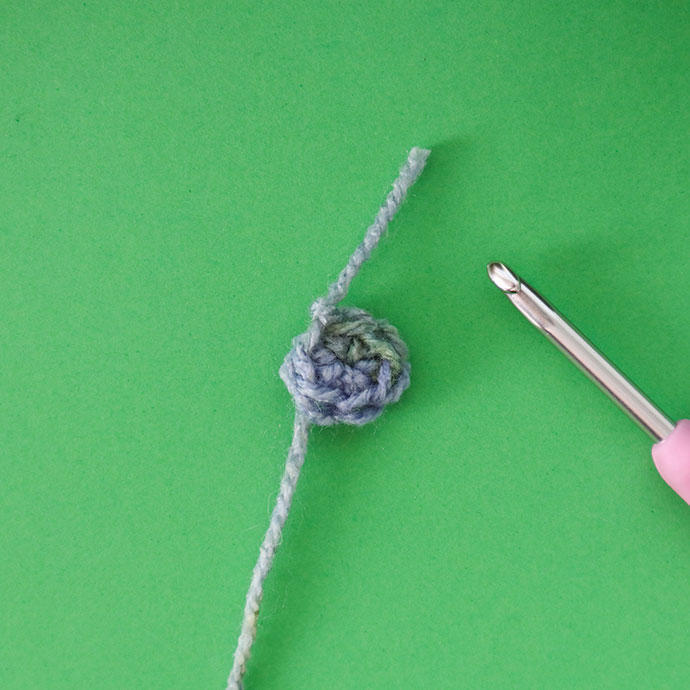
R1 – Make a magic ring, ch1, 6sc into the ring, sl to close round into 1st sc. Break yarn and change colour.
R2 – Into each sc – [sl, ch3, 1 dc into base sc, ch3, sl into same base sc = one petal]. Repeat [petal] 5 more times into consecutive sc. Break yarn, change colour
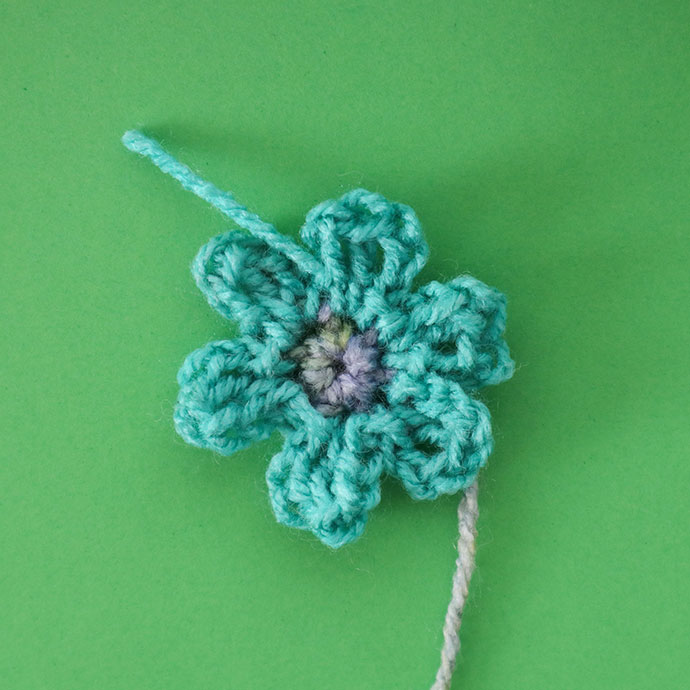
R3 – Starting in the middle dc of one of the petals, ch1 and sc into the same stitch. Ch3, sc into the middle dc of next petal. Continue on all petals, sl to close. DO NOT BREAK YARN.
(Note: original pattern diagram in book calls for 4 ch between each petal but the gap was too big so I reduced it 3 ch. This round may cup a little but will flatten in the next round.)
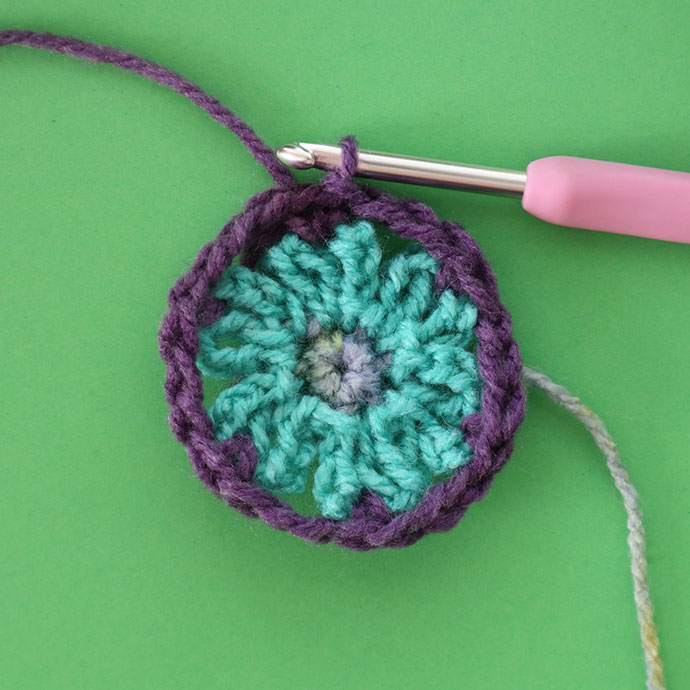
R4 – ch3 (counts as a dc), 2 dc into open chain space, ch2, 3dc into same space. Continue [3dc, 2ch, 3dc into next space between petals]. Repeat [ ] 4 more times, sl to close. DO NOT BREAK YARN.
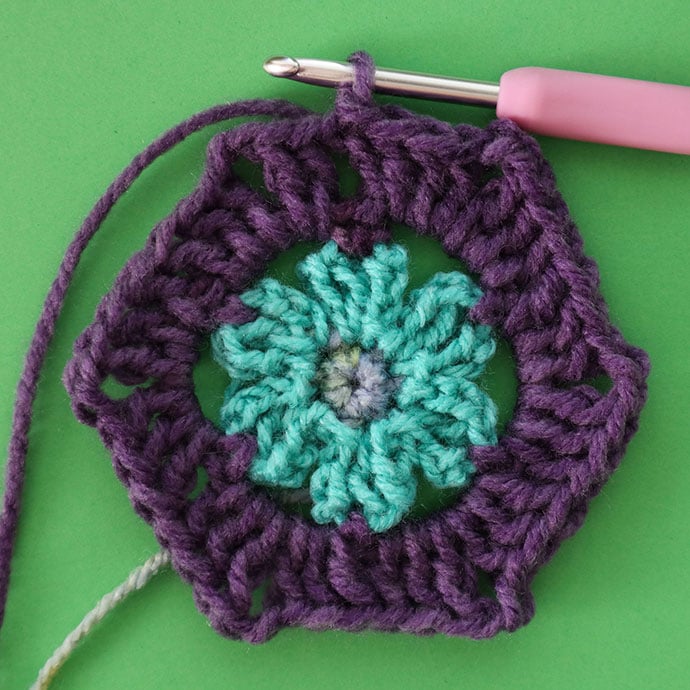
R5 – ch3 (counts as a dc), 2dc into dc stitches below, 1dc into chain space, ch2, [1dc into chain space, 6dc into stitches below, 1dc into chain space, ch2]. Repeat [ ] 4 more times, 1dc into chain space, 3dc into stitches below, sl to close. Break yarn.

Now make another 16 hexagons. Make sure you mix and match the colour orders of the rounds to ensure you have enough of each colour to make a whole stocking.
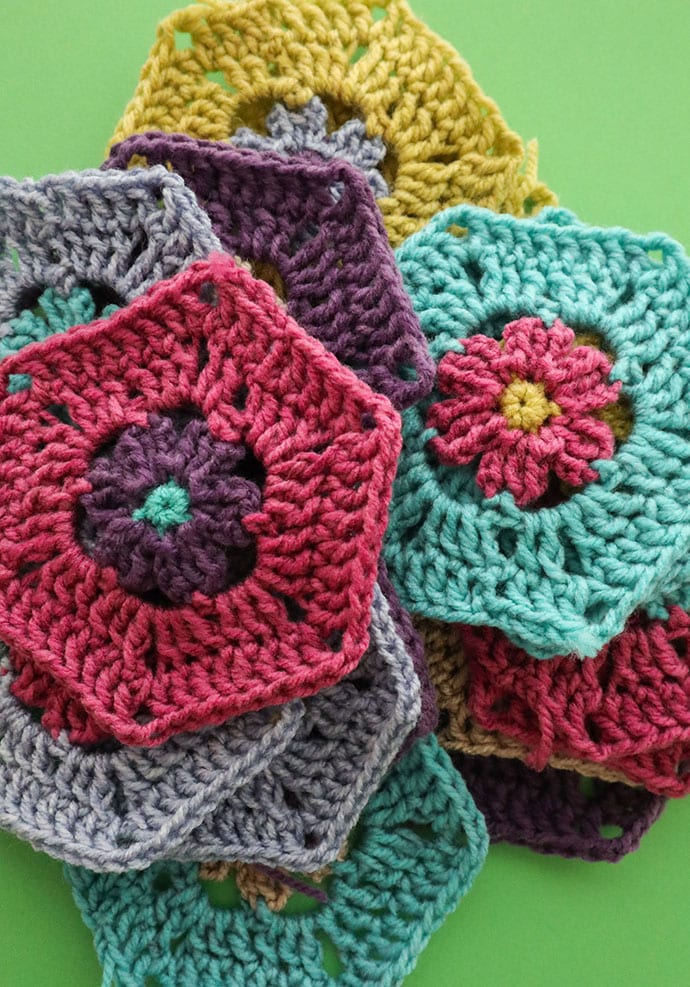
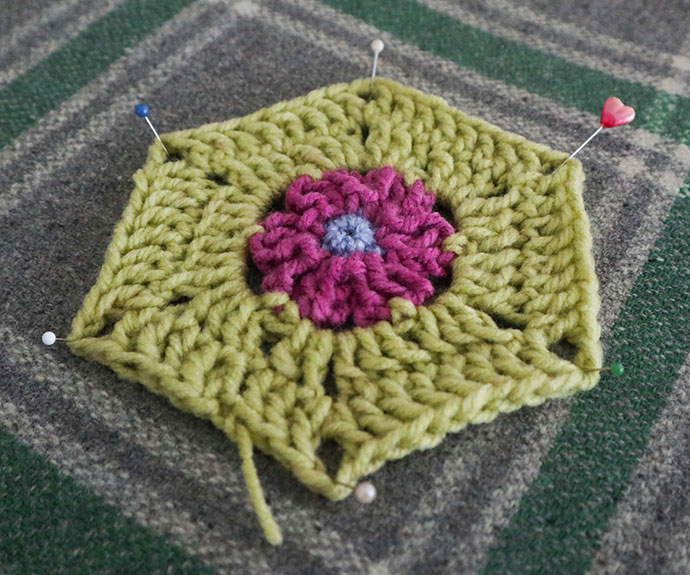
I’d recommend either wet blocking or lightly steaming all the hexagons to a nice uniform size.
I pinned the hexies onto my ironing board and gave them a light steam with my iron. Take care not to touch the yarn with the iron, it may melt being acrylic. Too much hot steam will stretch it out of shape so go easy.

Crochet Christmas Stocking Assembly
Now here is where the fun starts. This diagram layout can look a bit confusing but once you start stitching and folding the shapes it all comes together quite logically.

1. Lay out your hexagons as per the diagram. The section within the black stocking shape out line will be the front, anything outside of the outline will be on the back.
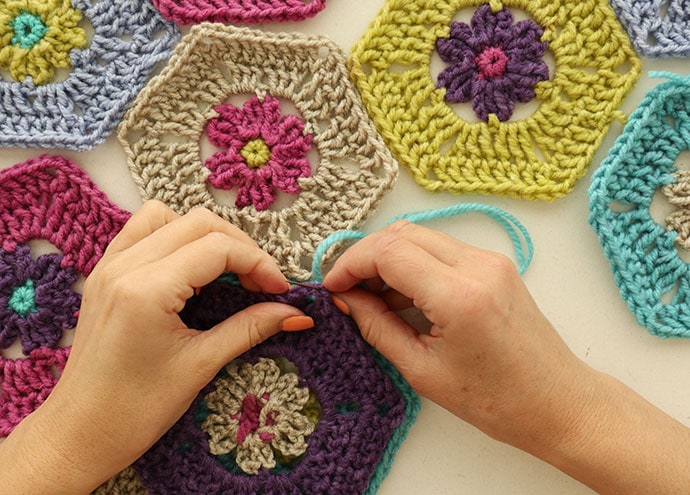
2. With right sides of each motif facing, sew all the edges that touch together with a ladder stitch into the back loops only. EXCEPT for the one marked with the RED ASTERISK.

3. Match up edges with corresponding colours. ie. Green to green, red to red, blue to blue, etc… Leave the toe section open.

4. Attach the toe piece to all six free edges of stocking toe.

5. Turn inside out and you are nearly done.

6. Add a hanging loop, you can either crochet a chain loop or create an embellished cord with pom poms, as I have, and tie it to the top of the stocking.

Here’s the back of the crochet Christmas stocking, just in case you were wondering what the other side looked like.
Get your pom pom on!

Use up the remaining yarn scraps to make pom poms or tassels to embellish your crochet Christmas stocking.

It’s fun to mix up the different coloured yarn scrap to make multi-coloured pom poms.

Tie them to the end of your cord attach to your stocking.


Hang up your stocking and enjoy! I hope Santa brings you everything on your Christmas list, why not pop some yarn on there while you’re at it.
Feel free to leave any questions or queries in the comment section below and I’ll answer as soon as practicable.
All yarns featured are available from www.americanyarns.com.au


It’s a BEAUTIFUL stocking and a great way to deconstruct and use multi-coloured yarn.
This is a darling retro style stocking! I appreciate how you laid it out flat to show the construction. I can usually envision it on my own but this time is nice to see how somebody else does it! Side comment: I absolutely LOVE the fireplace vignette!!!! So simple and yet so effective! Do you have a post for how you put it together?