
Emma came home from school yesterday and asked if we could make some Christmas decorations. Of course the answer was yes! I wasn’t really very prepared but I always like to make things with what’s laying around. I dug around in our craft drawer and gathered some empty cereal boxes from the recycling bin, we ended up making some simple Christmas tree decorations which I’ve titled Cereal Box Christmas Trees.
The final result turned out pretty cute, and this project can be adapted for kids of all ages. Small children will enjoy painting and pasting pom poms, while older kids can trace, cut and add lots of glitter. I’ve included a template to make this project easy for parents too.
Make a whole forest to adorn your mantel piece or use as table decorations for your Christmas meal.
You will need:
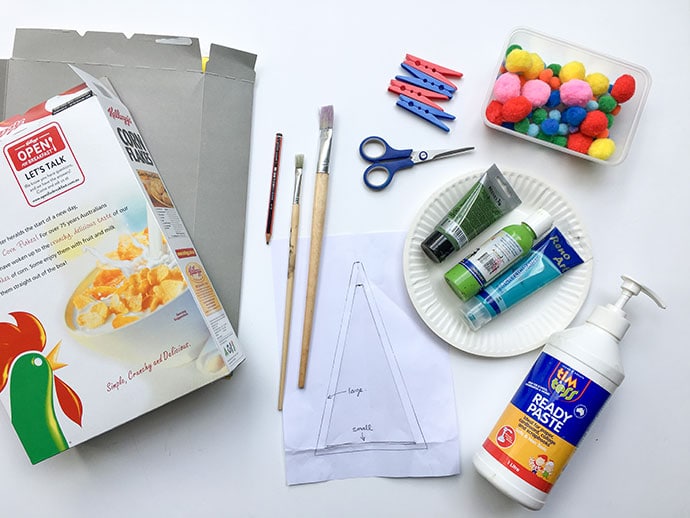
- Large cereal box (one box per tree)
- Tree Template – download here
- Acrylic Paint colour of choice
- Paintbrushes
- Pencil
- Scissors
- Paste/Glue
- Glitter (optional)
- Pom poms or other decorations like sequins
- clothes pegs
- paper plate or container for paint
How to make Cereal Box Christmas Tree Decorations
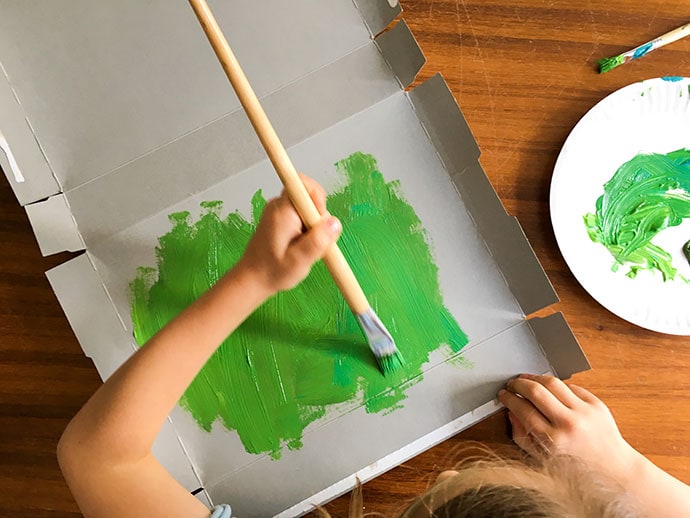
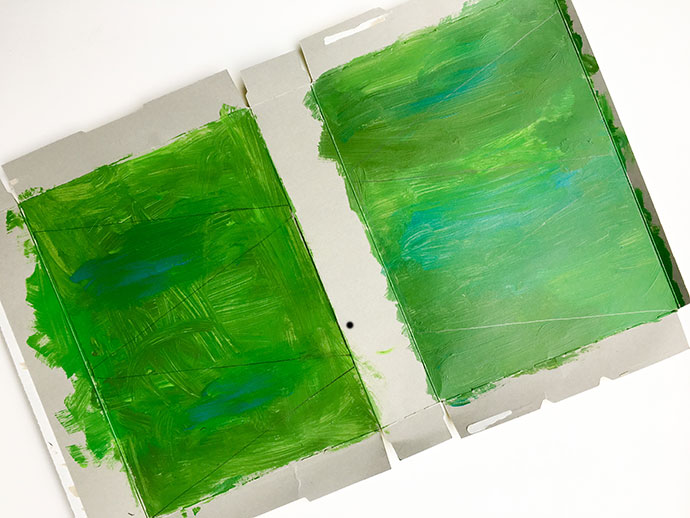
Open up the cereal boxes and paint the inside (large) panels the colour of your choice. We went with classic green.
Leave to dry thoroughly – overnight is ideal
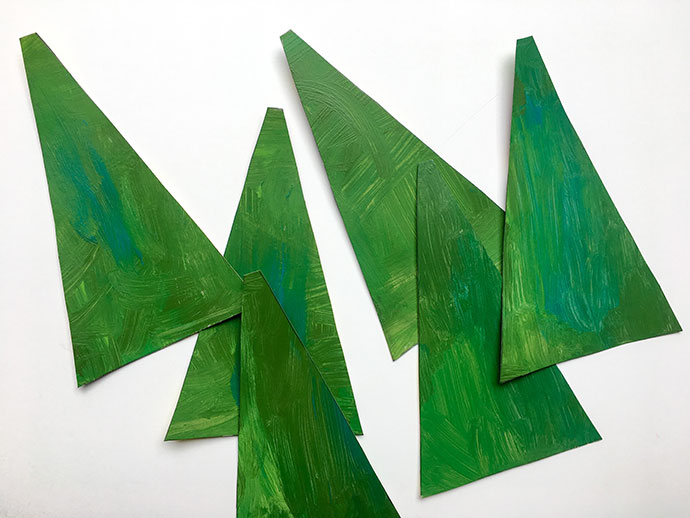
Print the template at 100%, feel free to enlarge or reduce if you want to make different sized trees. Cut out the large tree first to trace, then trim down to trace small tree.
Trace 3 triangle shapes on each panel. You will need 6 triangles per tree.
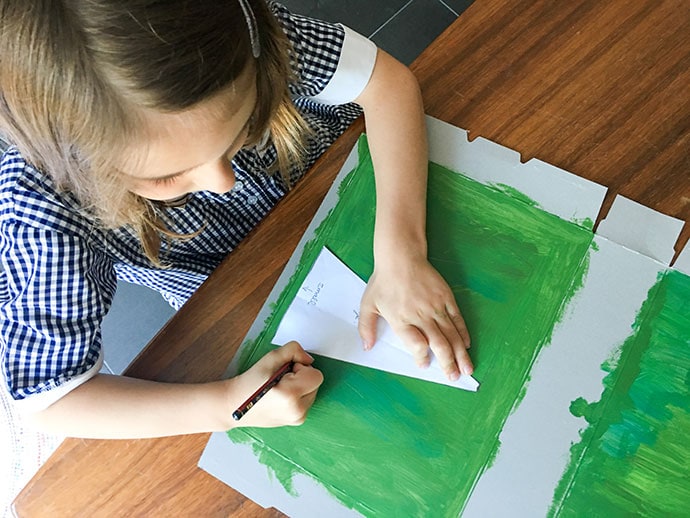
Cut out tree shapes. Small children may require some assistance.
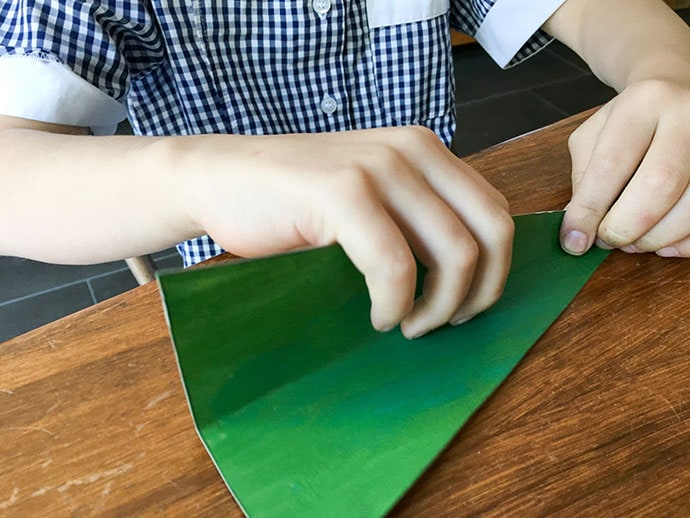
On the backside of the triangle shapes (panels), score a line down the center (as marked on template), and then fold, painted sides towards each other.
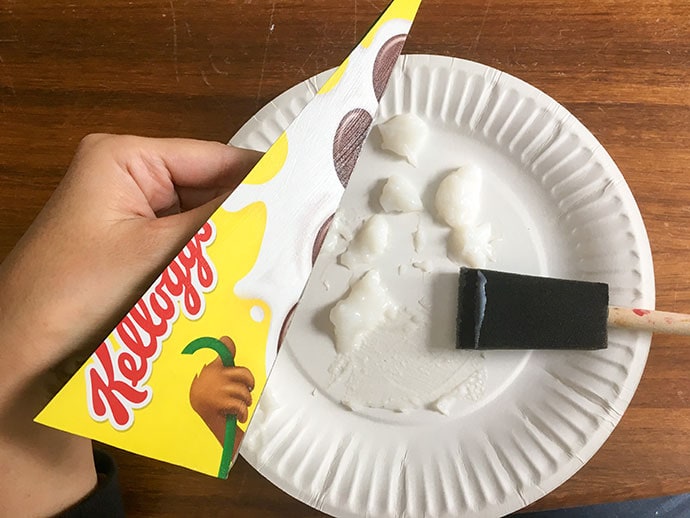
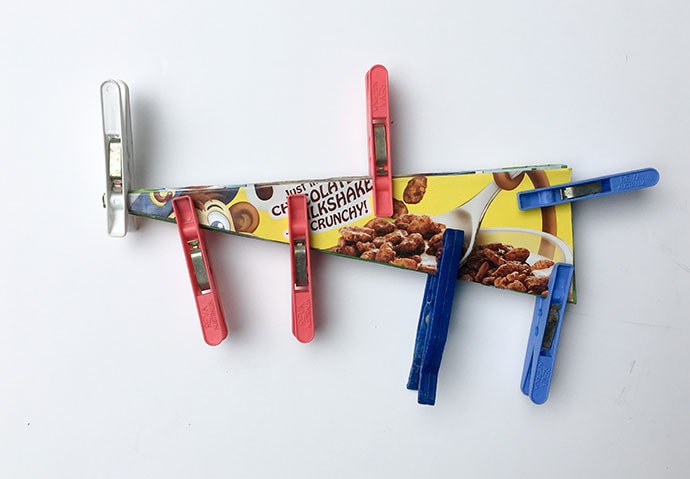
With six panels folded and ready, paste the outer of only one half of the first panel, lay another folded panel on top matching edges and repeat until all 6 panels are glued together.
It should look like this, when you’ve stuck them together. Make sure you don’t paste the panels on the outermost sides.
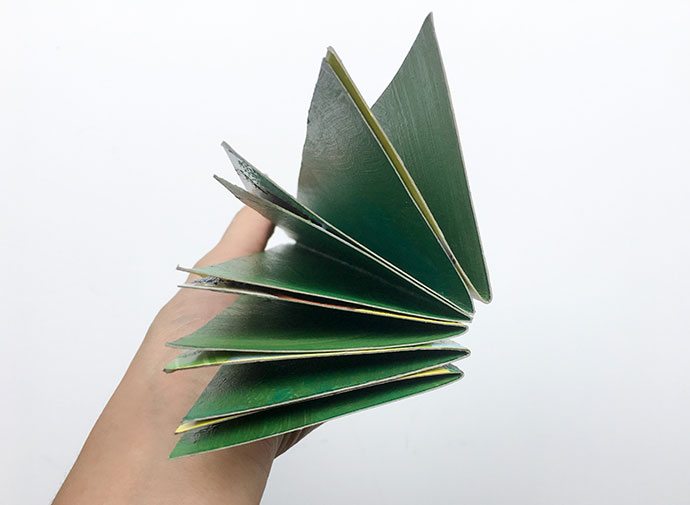
Squash it all together and add pegs to make sure the layers bond firmly when drying.
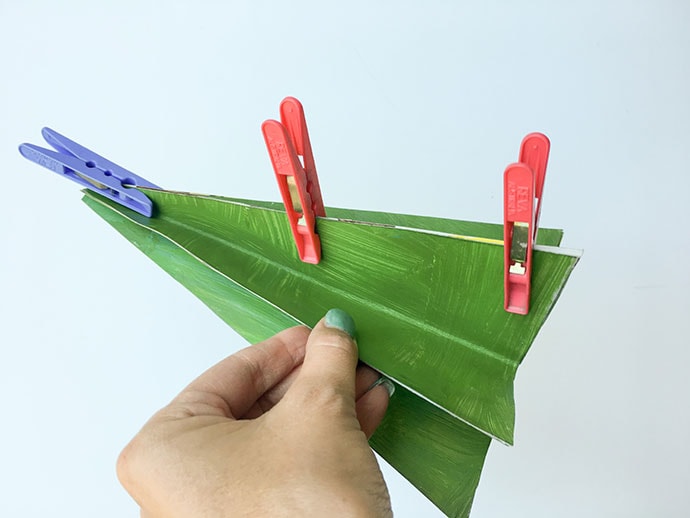
Once dry, you need to glue the last two panels together to make the cone shape.
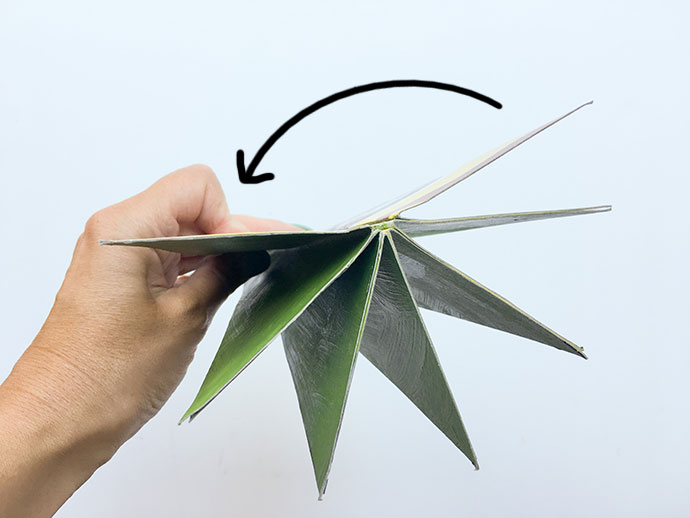
Peg and allow to dry thoroughly.
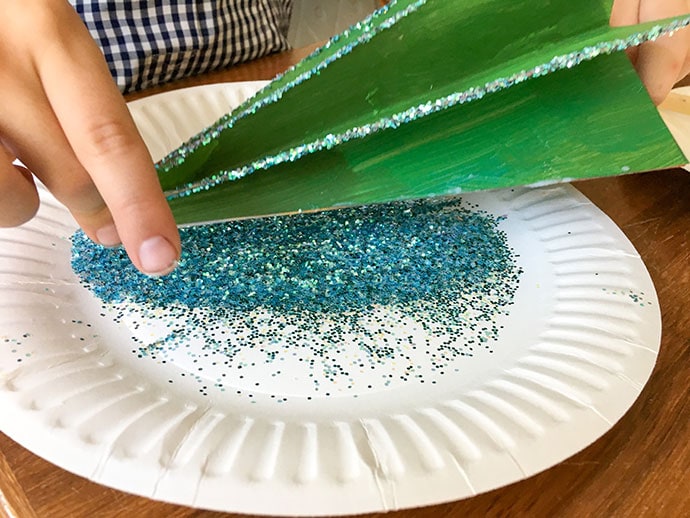
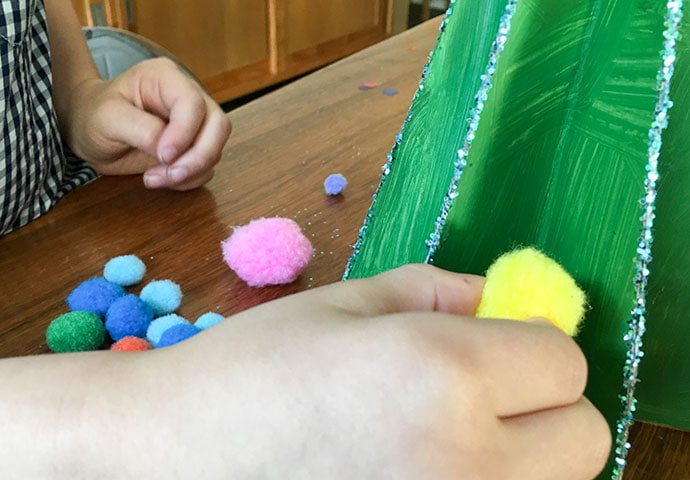
Once dry, you can get to the fun part, decorating your tree!
Add a little paste to the edges and dip in glitter for extra sparkle. Other options can include painting the edges with gold paint or splattering white paint to mimic snow.
Glue on pom poms, sequins or add stickers. You are limited only by your imagination (and what you have in your craft supply stash!)
All done!
I really loved how cute these little trees turned out. Emma’s interest came and went, but apart from the assembly, she actually managed quite well overall. I haven’t started decorating the house yet, but seeing these cheery little trees has motivated me to start this weekend.

The best thing about this project is that it requires no special supplies or tools. You could probably make some trees too with items you have at home right now.


If you liked this kid friendly Christmas craft project you will enjoy-


Those are so adorable and so easy! And I love that they’re made with my absolute favorite crafting material: cereal boxes! 🙂 Lisa
Super cute and easy!
Neat idea!
Love them!!