This yarn review and free Beanie Knitting Pattern is a collaboration with American Yarns.
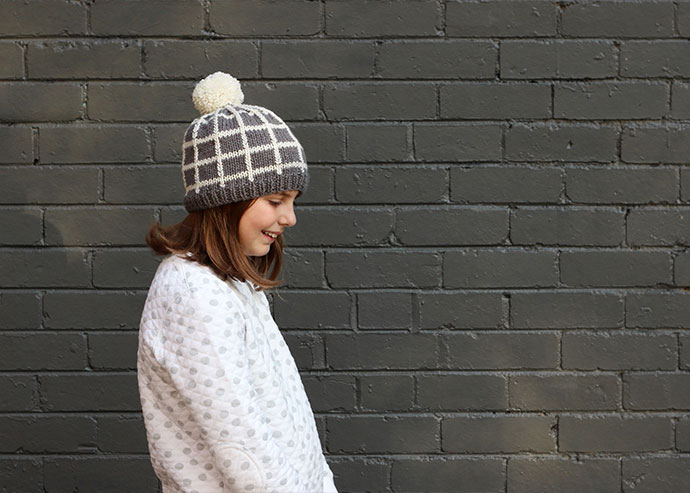
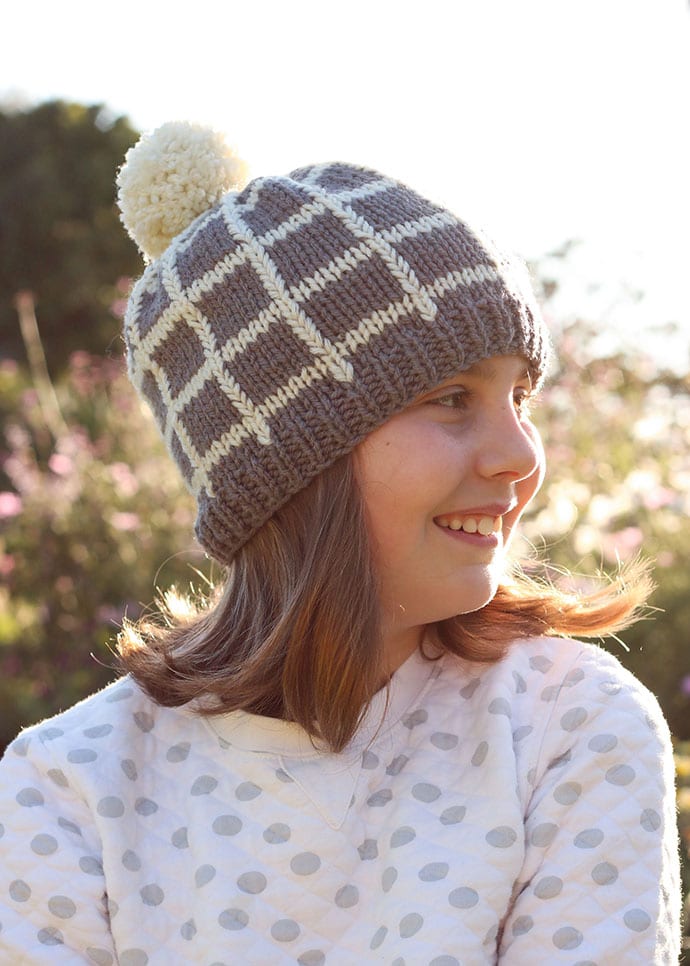
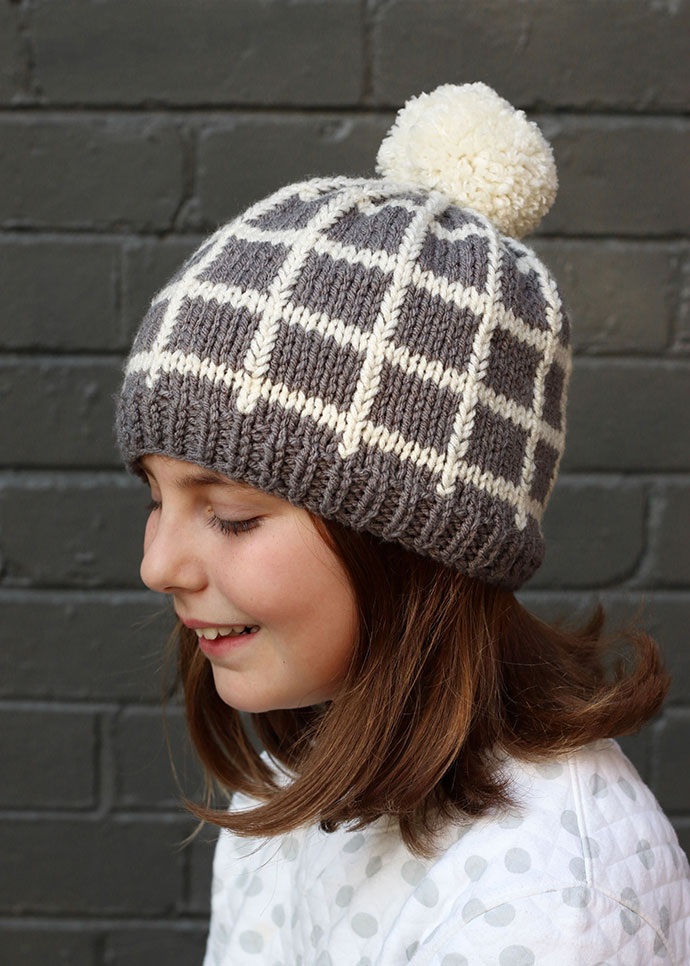
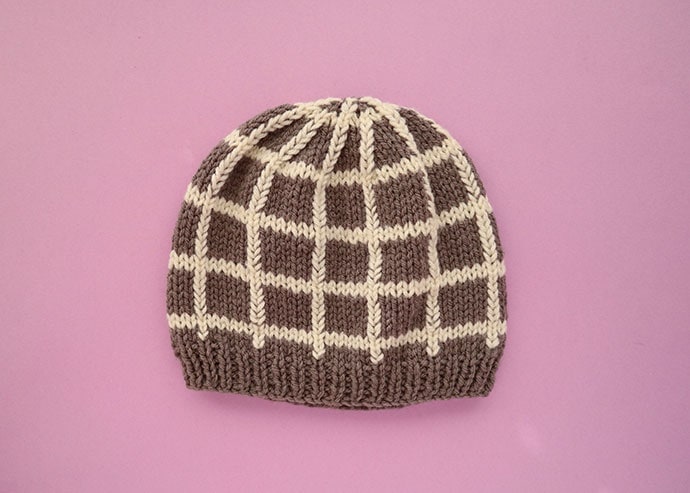
Brrr! Are you feeling the chill in the air? Well my Grid Beanie will certainly keep you warm, and in style too!
Graphic patterns in knitwear are so trendy right now, and this simple grid design works with practically any outfit.
Don’t be deceived by the vertical knitted stripes. You don’t have to do any stranded colour work, I’ve used an ingenious hack to get the same effect without the fuss.
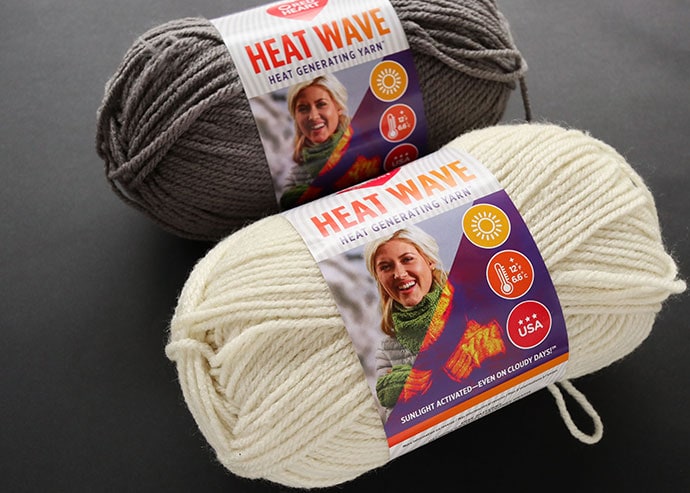
To make this knitted hat even warmer I’ve used a brand new yarn from American Yarns that generates its own heat in sunlight.
Red Heart Heat Wave contains a patented acrylic fibre that adsorbs energy from the sun and claims to generate an extra 12F/6.6C degrees of warmth. The brand claims it works even on cloudy days, but as soon as you go indoors the yarn is no longer activated so you won’t overheat.
If it truly works as claimed, I can see it being fantastic for outdoor activities where it’s really quite cold, like hanging out at kids sports games, skiing, walking the dog etc…
The yarn itself is a 10ply (Aran/Medium) weight acrylic. It was pleasant to knit with and made a nice dense pom pom that didn’t shed much loose fibre.
There are 13 solid colours in the range, most of which are quite bright.
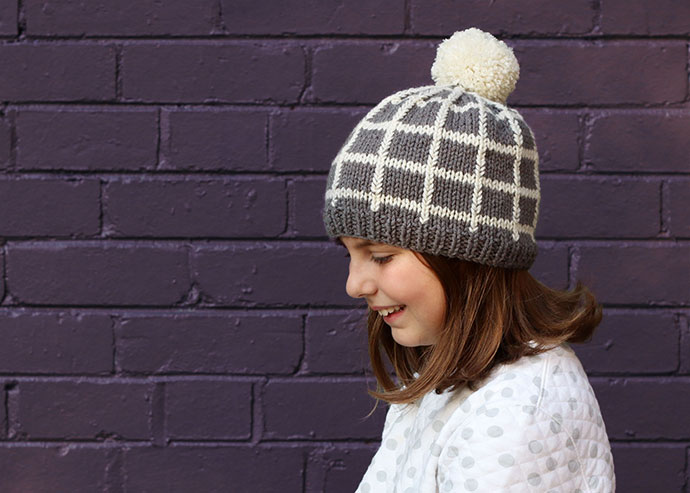
I didn’t know what I was going to make with the yarn when I ordered it, so opted for a neutral warm grey (Radio) and off-white (Sandy Shores). But now that I’ve designed the Grid Beanie pattern, I would love to make it in some brighter colour combos.
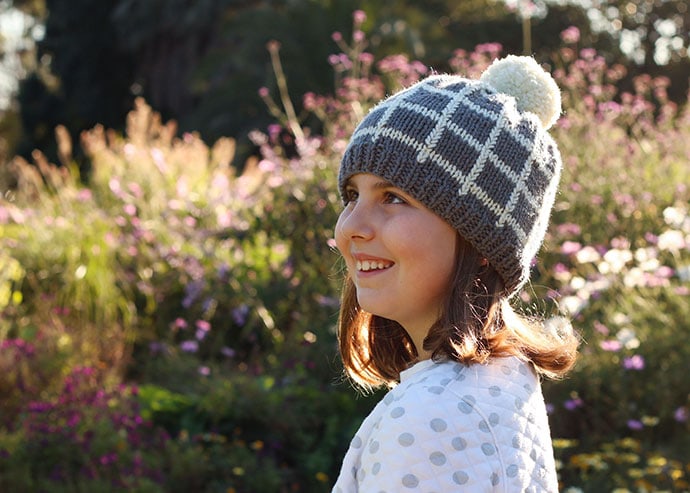
As far as the warming claim goes, Emma and I wore the beanie on a sunny afternoon and didn’t notice any more warming than a normal knitted hat. But I’ve yet to try it on a really cold overcast day to see if it makes a difference. Either way, it’s a nice acrylic yarn that feels soft to the touch and on the skin.
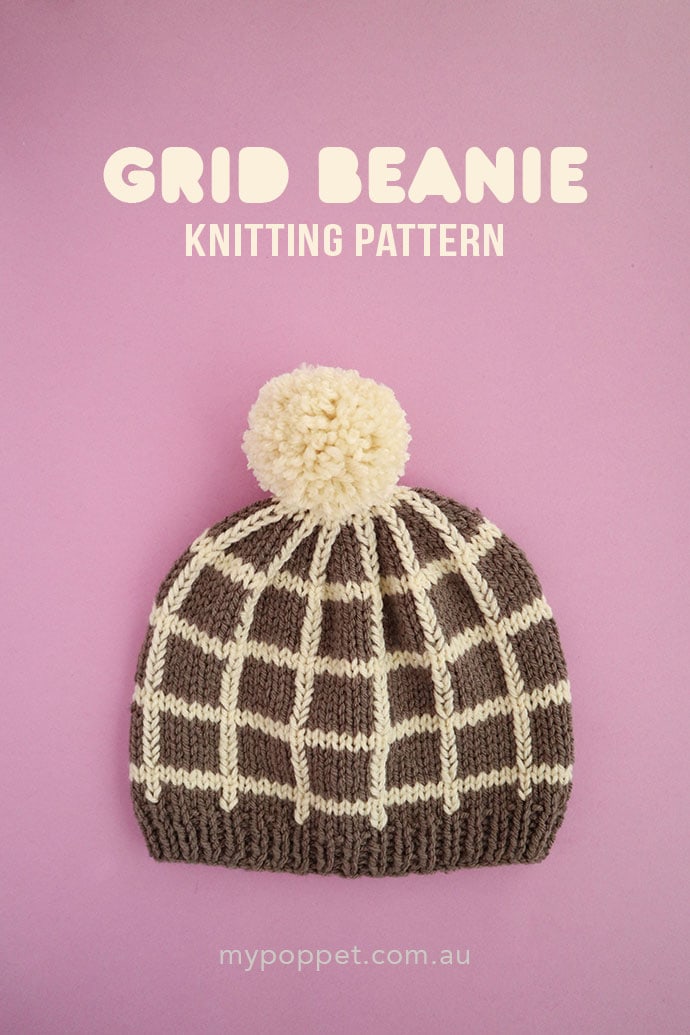
I’m quite pleased at how the hat pattern turned out. The grid design is truly unisex and this beanie would look great on both men and women. The pom pom can be omitted for boys/men if you want to keep the design simple.
Even though I’ve written the pattern to suit an average ladies size head, I’ve included instructions for knitting a larger or smaller hat.
Normally, I like to knit my hats in the round to save time on seaming, but after a bit of reader feedback, this pattern is worked flat. I’ve also added instructions for knitting in the round, so it’s really a hat pattern that is accessible to everyone.
You may also enjoy:
- Speckled Beanie Knitting Pattern
- Mini Stripes Scarf Knitting Pattern
- Classic Legwarmers Knitting Pattern
How to make the Grid Beanie
The graphic grid pattern on this beanie is easy to achieve without having to worry about fussy stranded colour work.
I’ve cheated and knitted basic horizontal stripes, then added the vertical stripes with duplicate stitch. It saves having lots of loose strands of yarn on the inside of your beanie, and also saves on yarn as well.
Working the duplicate stitches takes a little time but the results are worth it in the end.
I’ve written instructions for knitting flat (with 2 needles) and also for knitting in the round. Pick the style of knitting that you are most comfortable with.
Step-by-step instructions for adding duplicate stitch are also included below.
You will need:
- Yarn A (main colour/grey) – Red Heart Heat Wave Yarn in Radio – 1/2 a ball (about 90m/99yds)
- Yarn B (grid & pom pom/cream) – Red Heart Heat Wave Yarn in Sandy Shores – 1/5 of a ball (about 36m/40yds) plus extra for pom pom
- 5mm straight needles (or cable if preferred)
- Yarn Needle
- Pom Pom maker of choice
Grid Beanie Knitting Pattern:
Stitches used:
K Knit
P Purl
CO cast on
K2tog Knit 2 together
Gauge: 15st and 20 rows in 10cm/4″
Finished size: Size S/M will fit Pre-teen up to Ladies, Diameter 50cm (19.5″), crown height 21cm (8.25″) (measured flat un-stretched)
Pattern note: To increase or decrease sizing, add or reduce cast on stitches in multiples of 6. Add or remove extra rows (in main section) as required. Crown decreases stay the same except for adding or removing an extra pattern repeat.
Grid Beanie Pattern for knitting flat
Knit flat, then seamed. First and last stitch in every row used for seaming. Knit from bottom up. Colours of rows are indicated by A or B
With Yarn A using a long tail cast on method (for extra stretch) CO 74 stitches onto 5mm needle.
For ribbed section
Colour A – K1P1 ribbing for 6 rows or 3cm/1.25″
For main section – stocking stitch – knit stripes in this pattern start with 2 rows colour A, *2 rows colour B, 6 rows colour A*. Repeat ** x3, 2 rows colour B
Row 1: A – K all
Row 2: A – P all
Row 3: B – K all
Row 4: B – P all
Row 5-10: A – K all odd rows, P all even rows
Repeat rows 3-10 three times
Row 27: B – K all
Row 28: B – P all
Crown Decreases
Row 29: A – K1, *K4, K2tog* rpt x12 , K1. (62)
Row 30 A – P all
Row 31: A – K1, *K3, K2tog* rpt x12 , K1. (50)
Row 32 A – P all
Row 33: A – K1, *K2, K2tog* rpt x12 , K1. (38)
Row 34 A – P all
Row 35: B – K1, *K1, K2tog* rpt x12 , K1. (26)
Row 36 B – P all
Row 37: A – K1, *K2tog* rpt x12 , K1. (14)
Row 38: A – P all
Row 39: A – K1, *K2tog* rpt x6 , K1. (8)
Break yarn and pull through 8 live stitches leaving enough yarn to seam edges together.
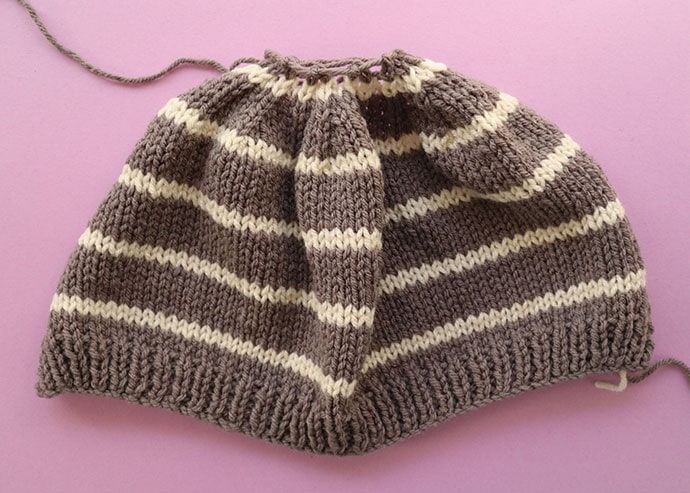
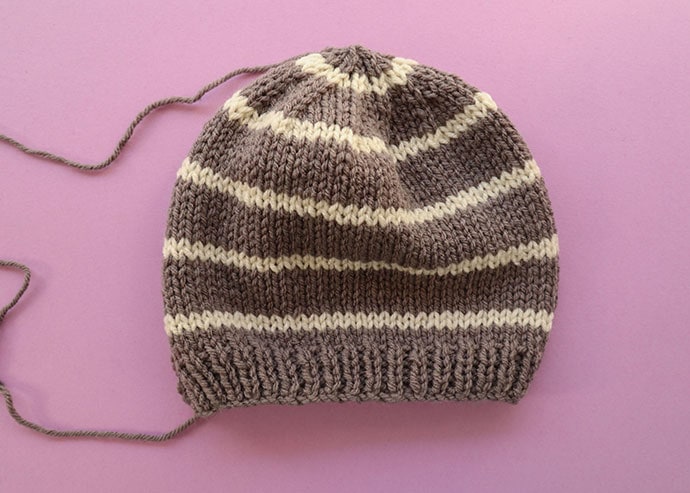
Beanie off the needles before seaming. Knitted flat.
Pull the yarn firmly closing up the top stitches before seaming up sides.
Seam with invisible ladder stitch, matching up stripes. Use first and last stitch in each row for seaming.
Weave in yarn ends.
Grid Beanie Pattern for knitting in round
If you prefer knitting in the round to avoid seaming, I’ve included quick pattern instructions below.
Use 5mm circular needles long cable for magic loop method or DPNS
With Yarn A CO 73 stitches onto 5mm needle/s. Join for working in the round by slipping the last stitch from the right needle to your left and K2tog (72 stitches).
Place stitch marker to mark the beginning of the round.
For ribbed section – K1P1 ribbing for 6 rounds or 3cm/1.25″
For main section – knit all rounds in the following stripe pattern. 2 rounds yarn A, *2 rounds yarn B, 6 rounds yarn A*, repeat ** pattern 3 times, 2 rounds yarn B.
Decrease as follows continuing stripe pattern.
Round 29: A – *K4, K2tog* rpt x12 (60)
Round 30 A – K all
Round 31: A – *K3, K2tog* rpt x12 (48)
Round32 A – K all
Round 33: A – *K2, K2tog* rpt x12 (36)
Round 34 A – K all
Round 35: B – *K1, K2tog* rpt x12 (24)
Round 36 B – K all
Round 37: A – *K2tog* rpt x12 (12)
Round 38: A – K all
Round 39: A – *K2tog* rpt x6 (6)
Break yarn and pull through 8 live stitches.
Weave in yarn ends.
Adding vertical stripes
The vertical stripes are added with duplicate stitch in the same contrasting yarn of the horizontal stripes.
Scroll down for step-by-step instructions for making duplicate stitch.
The stripes are spaced every six stitches with a total of 12 vertical stripes all the way around the beanie.
Use the decrease ridge as a guide for placement of your vertical stripe stitches.
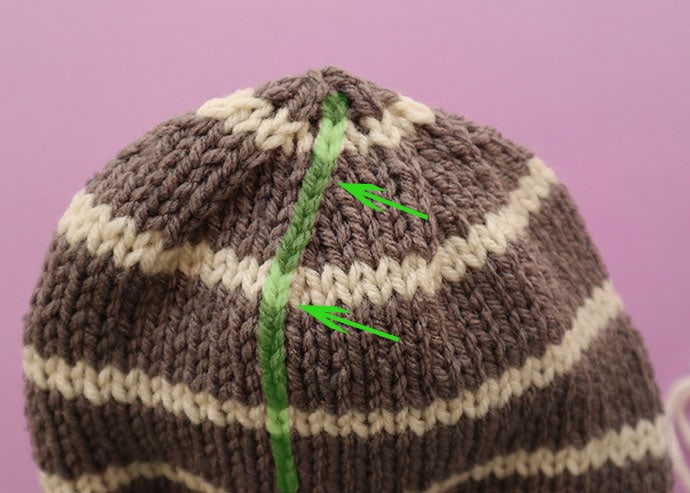
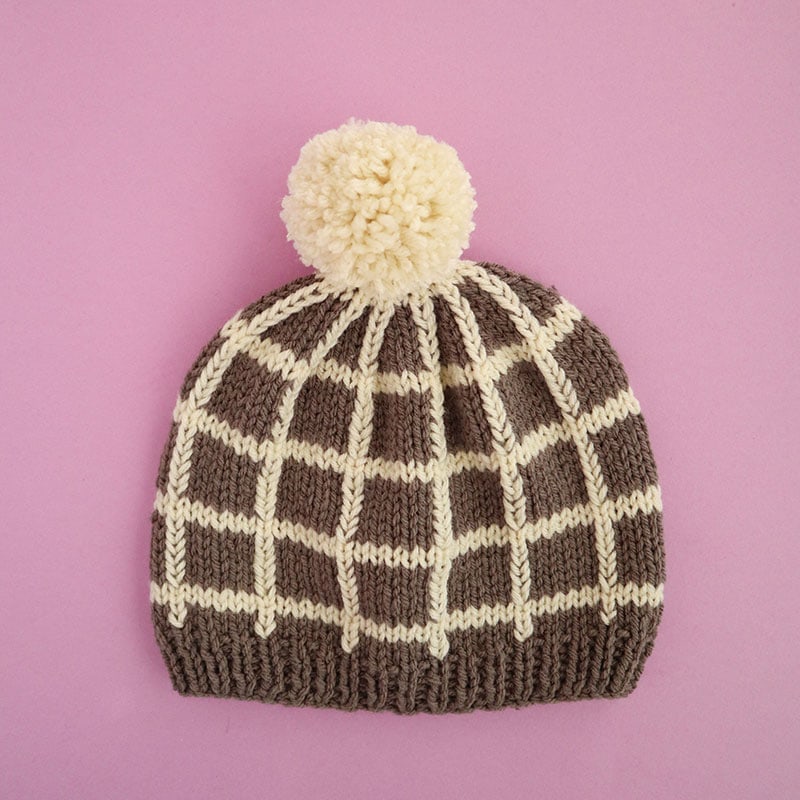
Notice the 12 ridges on the crown of the hat made from k2tog.
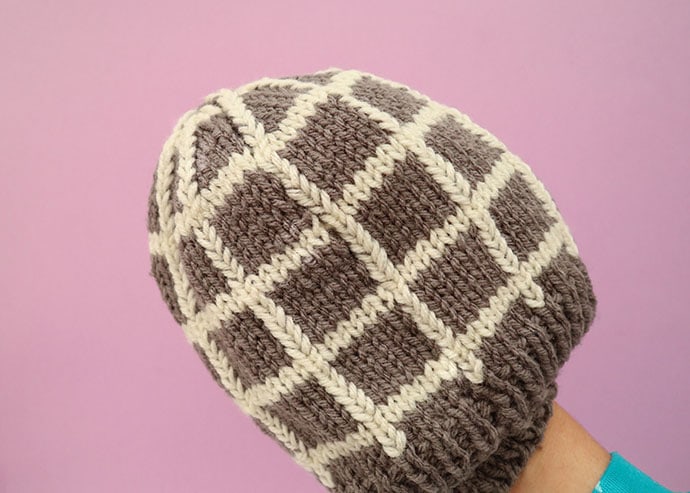
Work the vertical stripes down from the top of the crown to where the ribbing starts, you can skip the stitches in the horizontal stripes.

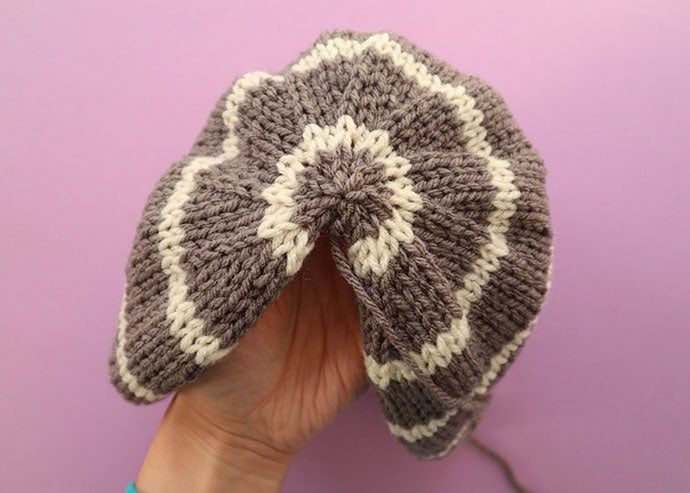
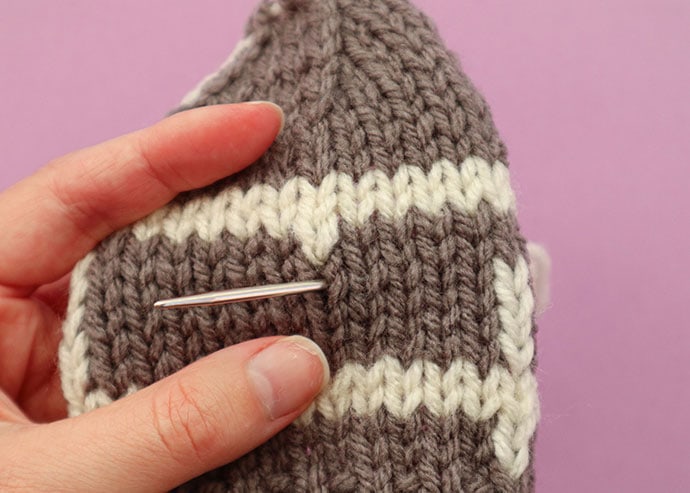
Working the vertical stripes in duplicate stitch.
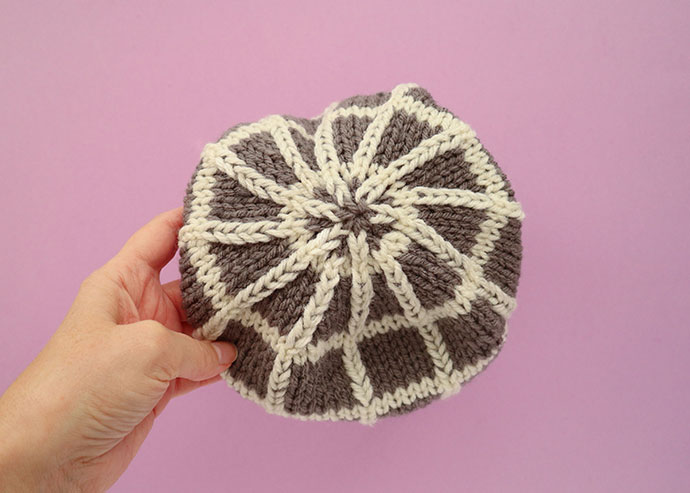
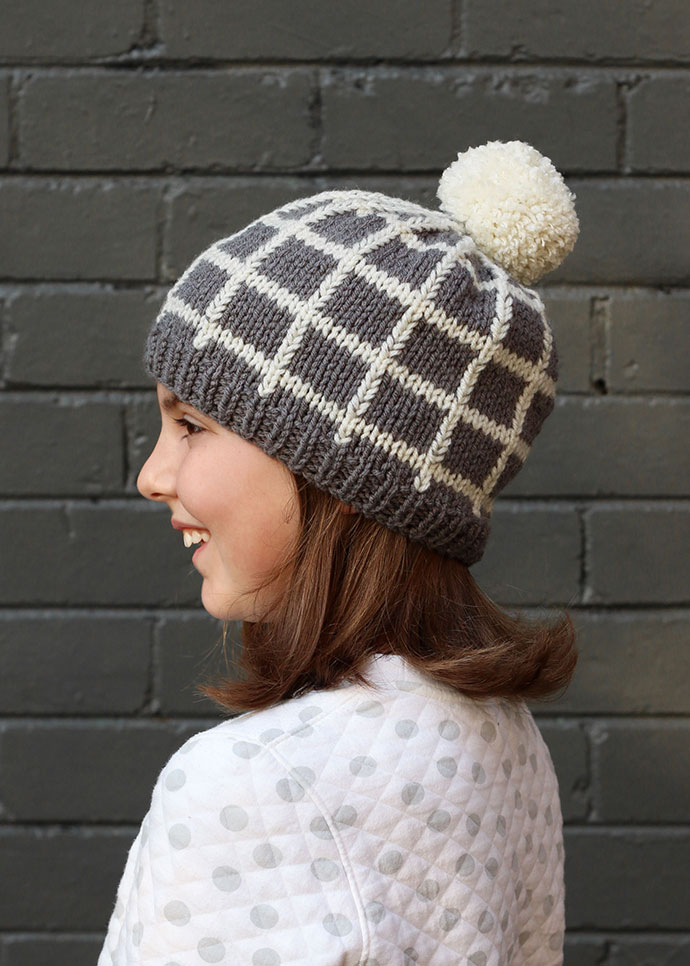
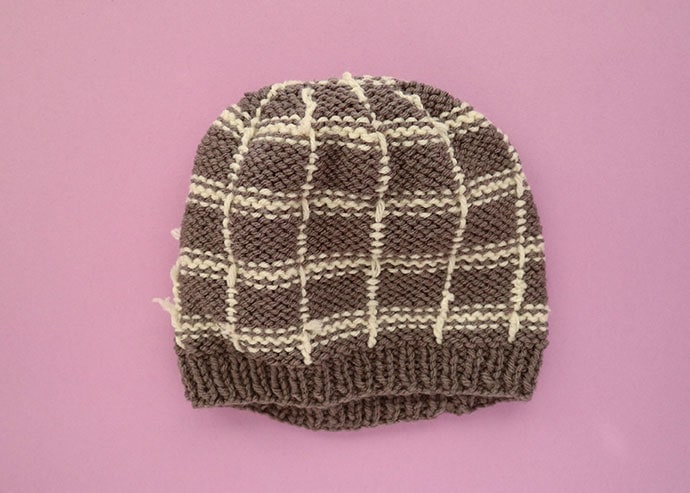
The pattern looks quite attractive creating a web effect when viewed from the top.
You can barely see the seam as it is disguised by the duplicate stitch running along side it.
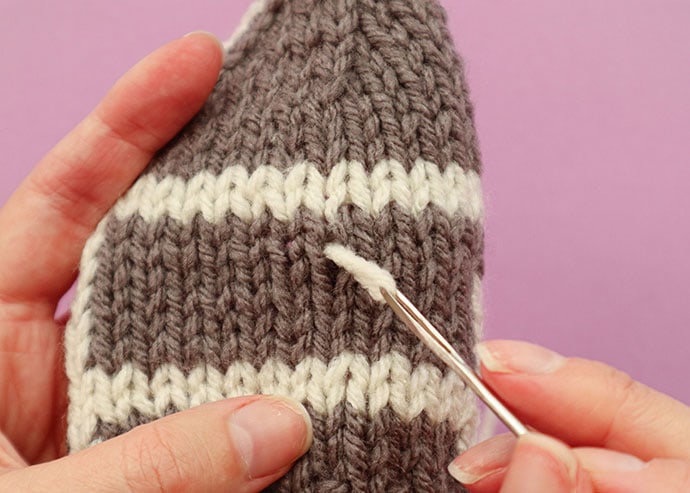
How to Duplicate Stitch
Duplicate stitch is an easy way to create a Fair Isle or Intarsia color work effect without having to run yarn behind the knitting. It’s embroidered over the knitted stitches in the same V pattern to duplicate the shape of the knitted stitch, giving the appearance of being knitted into the design.
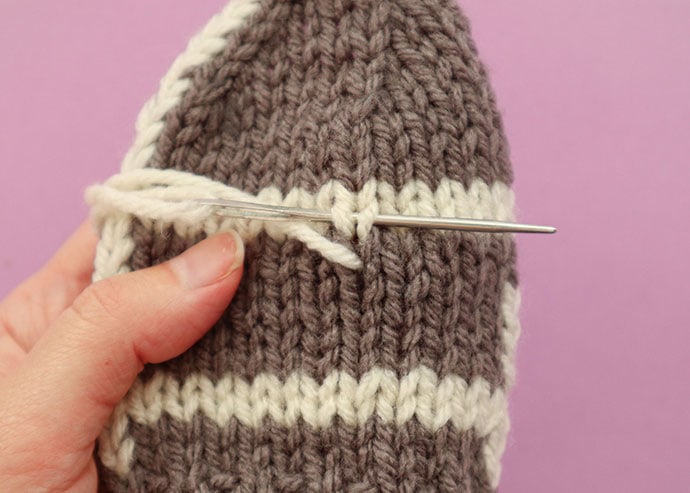
1. Bring your needle from the back of the work to the front through the bottom point of the V stitch shape.
2. Cross the needle under and behind the stitch ABOVE the one you are duplicating.
3. To finish that stitch, insert the needle back into the bottom of the V in the same place where you began.
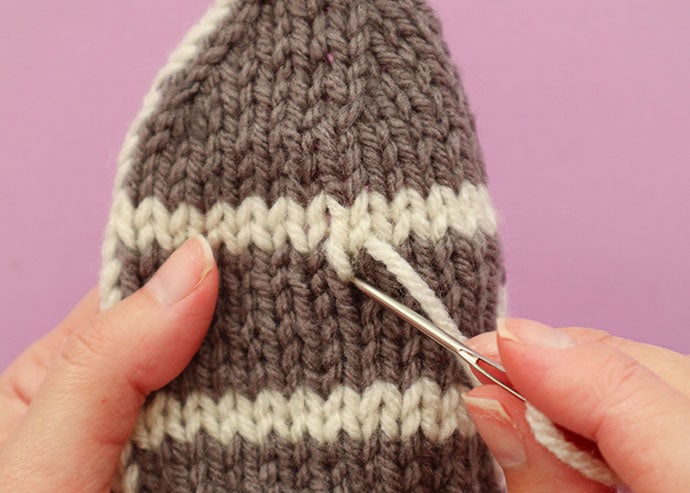
4. To make the next stitch repeat from step 1 and bring your needle from the back of the work to the front through the bottom point of the V stitch shape in the stitch below.
Once you are finished stitching, weave in all your ends. This is how the duplicate stitch looks inside the beanie.
Top it with a pom pom
A pom pom is the perfect way to top off this graphic beanie. Make a large pom pom (using your preferred method – here’s mine) and attach securely to top of hat.
This beanie pattern is so adaptable and is a real all-rounder. I do hope you enjoy making and wearing your own.
You can purchase the yarns featured from www.americanyarns.com.au