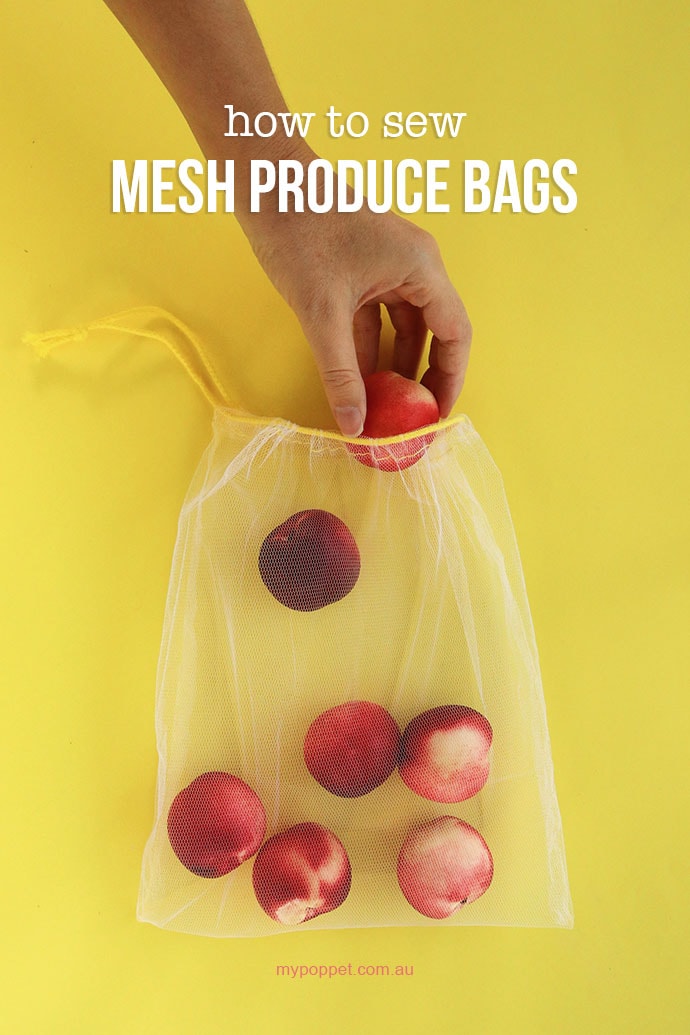
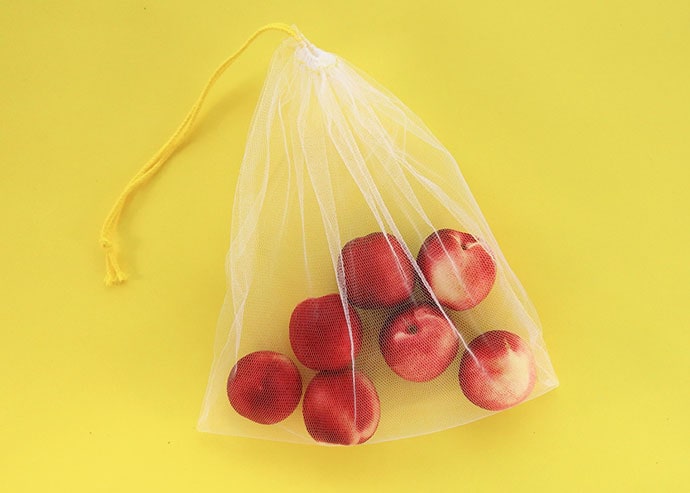
Ditch the plastic bags and replace them with these easy to sew, reusable produce bags. These drawstring mesh produce bags are perfect for your next supermarket shop, and can be used over and over again.
This post contains affiliate links
After releasing my hugely popular crochet produce bag pattern, I thought it was time to sew up some fine mesh bags to rid myself of the need to use plastic bags once and for all.
My crochet produce bags are great for larger fruits and veggies, and because they are stretchy and strong, you can really fit a lot of items in them. Perfect for heavy produce like oranges and onions.
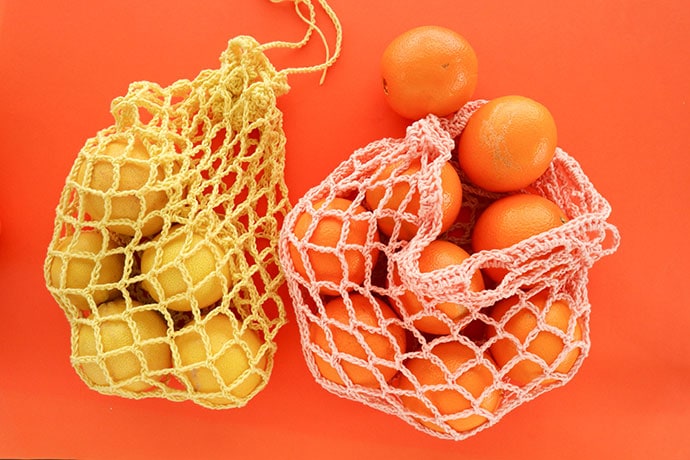
The only downside is that small and narrow produce like string beans and carrots fall right through the holes!
It was time to fire up the sewing machine and start a small production line of mesh drawstring produce bags.
You can use any lightweight fabric to make zero-waste produce bags. Ideally any fabric you already have at home would be perfect.
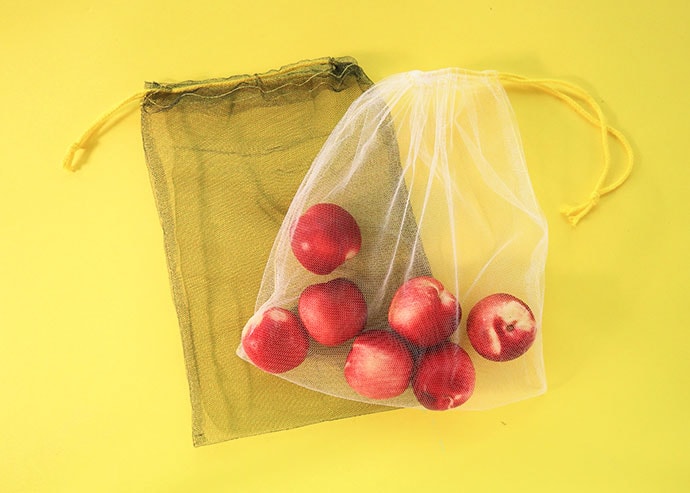
The bonus of using a mesh fabric is that it speeds up time at the checkout because the cashier can see what produce you have in your bag without having to open it.
It also weighs next to nothing so won’t add much cost to your produce when it’s weighed.
I lucked out and found some bridal tulle (which is a bit softer than regular tulle), in a remnant bin. The pieces were too small for garment sewing, but perfect to make several bags.
In fact I have a ton of tulle left over and intend on making several more of these zero-waste veggie bags to give as gifts.
Not just for fruit, these little mesh drawstring bags are great for holding all sorts of things.
Great for keeping balls of yarn tidy, packing socks and underwear together when traveling, or storing small toys like LEGO or dolls clothing.
Other Zero-Waste Reusable Products you can make yourself:
- DIY Beeswax Reusable Food Wraps
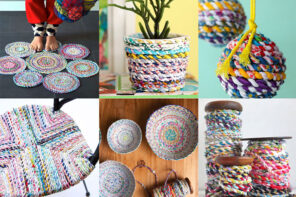
- Crochet Produce bags
- Market Bag Crochet Pattern
- Crochet Dish Scrubbie
How to sew Mesh Produce Bags
You only need the most basic of sewing skills to sew up a batch of reusable produce bags from mesh fabric. Each bag takes only a few minutes to make, and you may be able to use materials that you have on hand at home already.
Why not make a few bags in assorted sizes? Use small ones for herbs, berries and garlic. Large ones a great for most veggies.
I’ve picked up some bridal tulle pieces, in the remnants bin at my local fabric store for only a couple of dollars to make these bags, but any light weight, fairly sheer fabric would be suitable.
Check your local thrift store for pieces of curtain netting or lace. Any fabric that has a net like weave and doesn’t fray easily is perfect for making these mesh fruit and vegetable bags.
Similarly you can use whatever ribbon or cord you have in your craft stash for the drawstring. Even an old shoelace will do the job nicely.
If you decide to use a cotton gauze or other fabric that tends to fray on the edges, go over the raw edges with a zig-zag stitch (or serger) to prevent fraying.
If you don’t have a sewing machine, these drawstring bags can be sewn by hand. They won’t look as tidy, and will take a lot more patience, but it’s doable.
Because I’ve used fabric remnants, I haven’t really measured precisely when cutting the mesh. Instead I just eyeballed a rectangle shape to use up the fabric most effectively with zero waste remaining.
You will need:
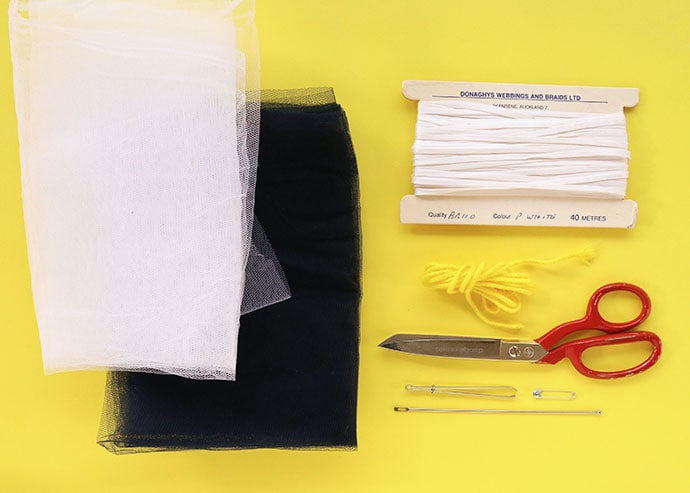
- Light weight mesh fabric – options include: tulle, gauze, curtain netting, cotton voile
- Thin Cord or ribbon
- Threading tool – Safety pins or bodkin threader
- Scissors
- Sewing machine
- Thread
- General sewing supplies – Pins, measuring tape etc…
- Wooden bead or spring toggle (optional)
Make threading cords, elastic and ribbons easier
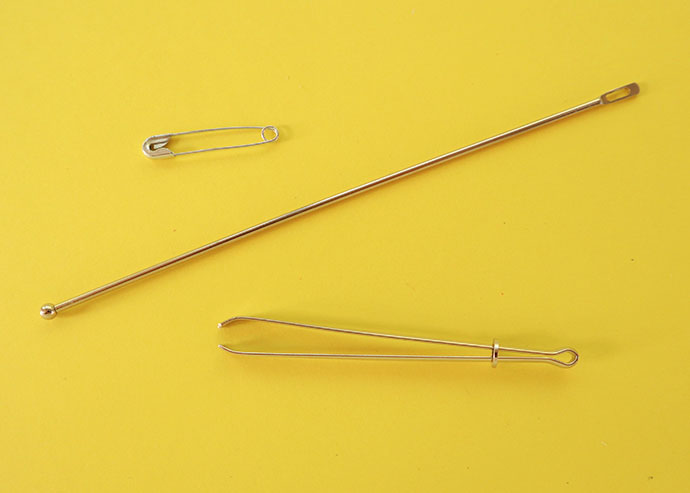
Cord threading tools (top to bottom) – Safety pin, Ball Point Bodkin, Easy Pull Bodkin.
If you’ve ever tried to thread elastic or ribbon through a narrow channel, you know it can be a tricky task.
In the past I always just used a safety pin, it’s a cheap and accessible option that does the job adequately. The only issue with using a safety pin is that it’s quite small and can be fiddly to thread through long channels (especially with thicker fabric).
Now I’ve discovered two inexpensive sewing tools that make my life so much easier. You’ll find them at most craft supply stores with a decent sewing section, or purchase them online. Check the prices for bodkin threaders on Amazon.
I use two styles regularly.
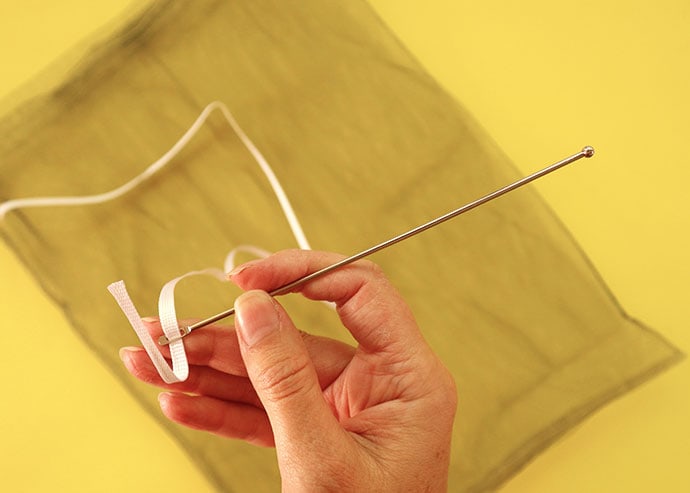
Ball Point Bodkin (needle style) – This tool is great for threading ribbon, thin elastic or thin cord through long narrow channels and casings. It’s also great for turning bias tubes and weaving ribbon.
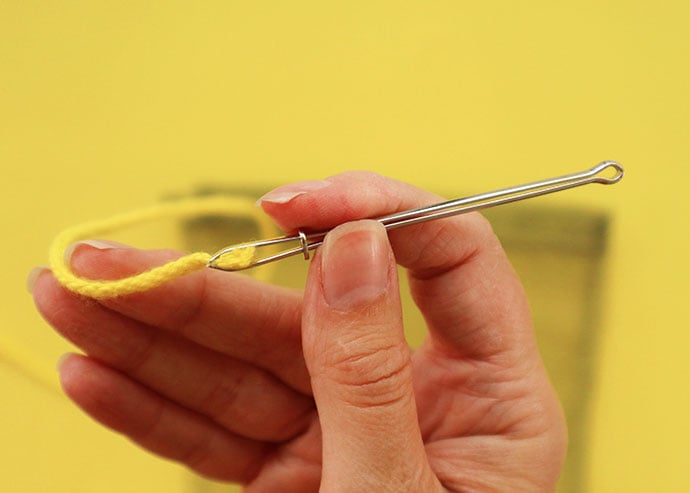
Easy Pull Bodkin (tweezer style) – The tool I use most often for threading wider elastic into waistbands, and chunkier cords. The tweezers have little teeth, which in combination with a ring that slides down to hold the cord in place, helps ensure the cord won’t slip.
Both (as well as a safety pin) will work effectively in this project.
How to:
As a general rule, cut a rectangle of fabric double the size of your finished bag with a little bit extra for seam allowance.
I’ve made my drawstring bags in 2 styles – The smaller ones have 2 side seams with a fold on the bottom, and the larger bag has an L-shaped seam with a fold on the side.
Bottom fold drawstring bag instructions:
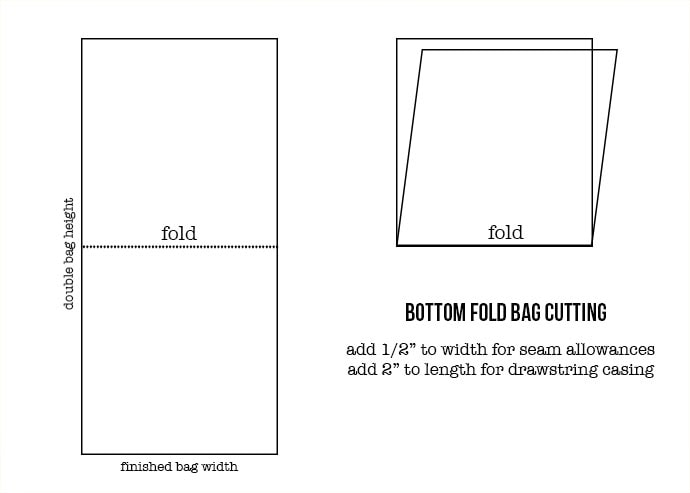
1. Cut mesh fabric to size
For example: To make a bag 10″ wide x 12″ tall, cut a long rectangle 10.5″ wide by 26″ tall.
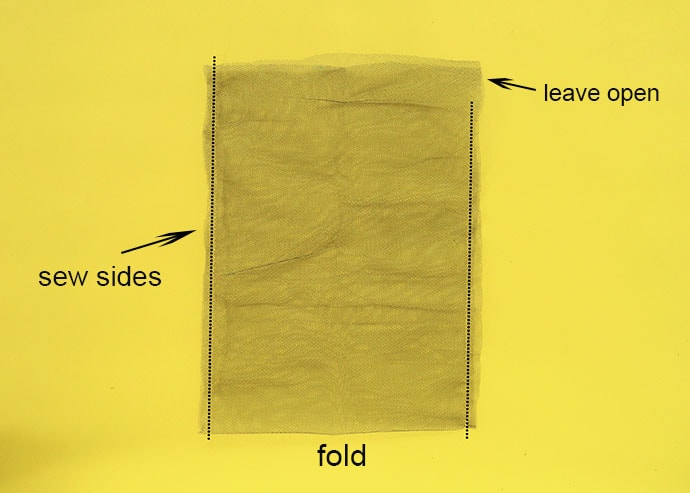
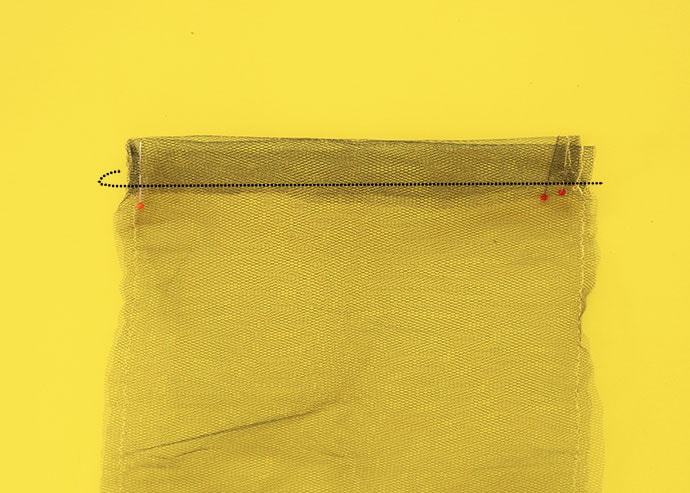
2. Fold long rectangle in half (with fold on the bottom) and sew a seam up both sides with about a 1/4″ seam allowance, leaving a 1.5″ gap in one of the sides seams at the top where the bag opening will be. This is to allow for the drawstring casing.
You may need to pin your fabric together if it’s a little bit slippery. Don’t worry, these seams don’t need to be prefect.
Side fold drawstring bag instructions:
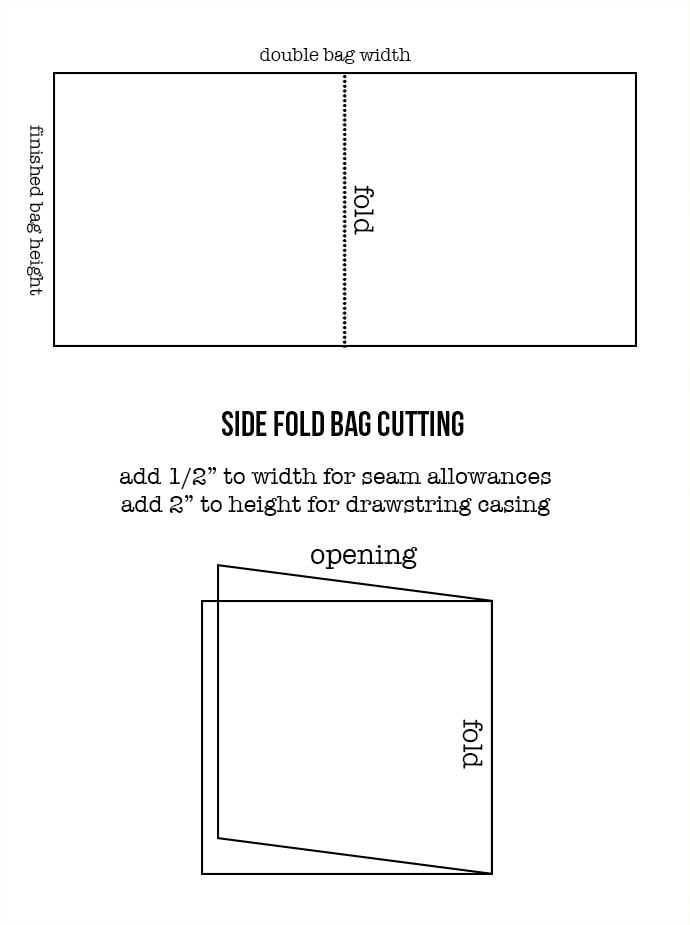
1. Cut mesh fabric to size
For example: To make a bag 10″ wide x 12″ tall, cut a long rectangle 20.5″ wide by 14″ tall.

2. Fold long rectangle in half (like a book) and sew an L-shaped seam up on the bottom and up open side with about a 1/4″ seam allowance, leaving a 1.5″ gap top where the bag opening will be. This is to allow for the drawstring casing.
Continue for both styles of drawstring bag
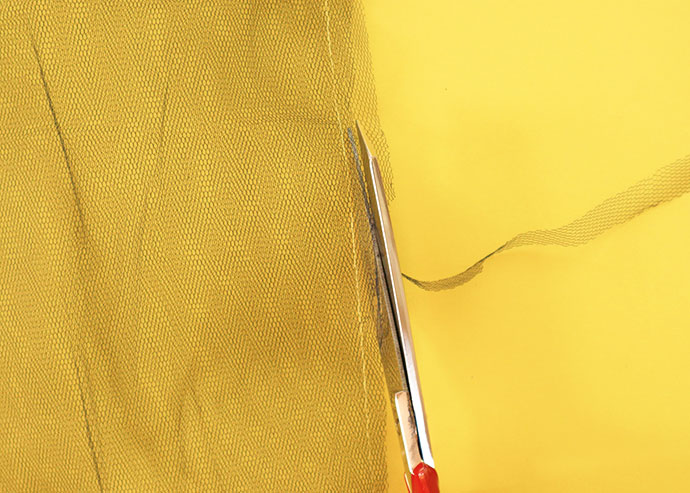
3. Trim any excess fabric off seams to neaten. If you are using fabric that has a tendency to fray, run a zig zag stitch along any raw edges at this stage.
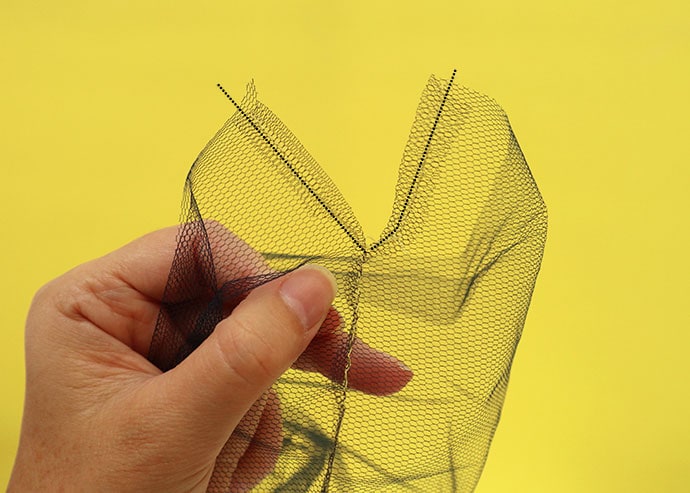
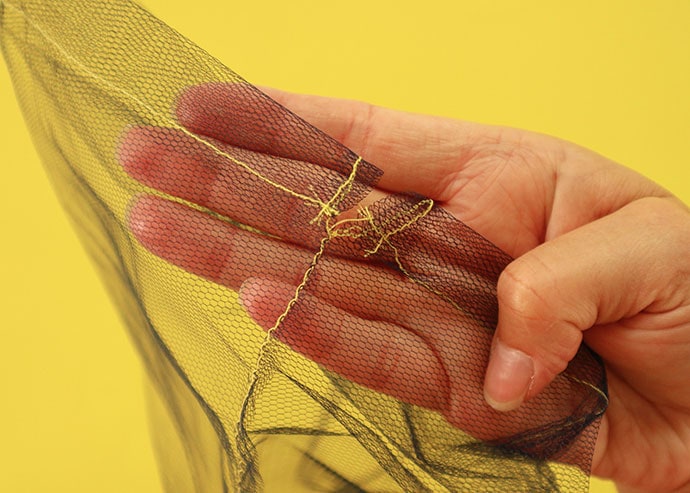
4. Where you’ve left a small gap in the seam, fold the fabric over and sew a little V-shape to secure the edges.
5. To make the casing for the drawstring, fold over about 1″ of fabric, pin into place, and sew around with about a 3/4″ seam allowance from the top of the bag.
Make sure you don’t sew the top of the bag shut, but rather around the whole bag opening.
6. Turn bag inside out.
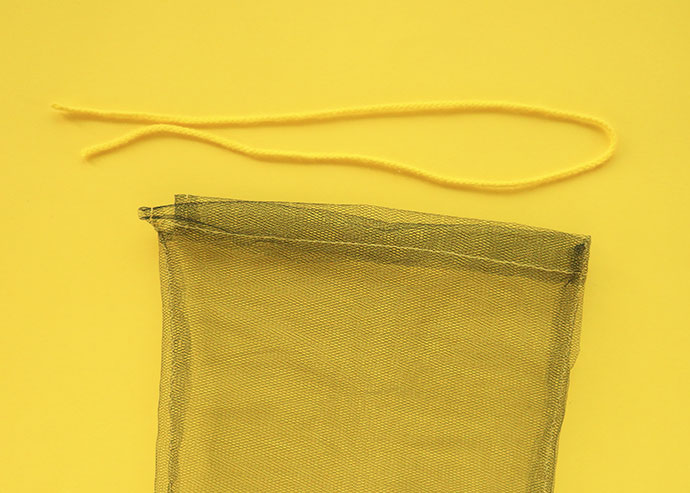
7. Cut a length of cord or ribbon about 1-2″ longer than the length of the drawstring casing. An easy way to do this is lay a folded piece of cord near the opening of the bag as a guide.
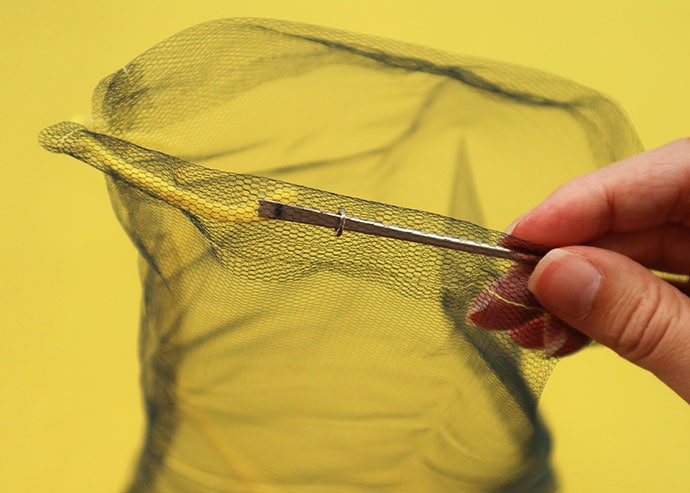
8. Thread drawstring cord or ribbon through casing with your preferred threading tool.
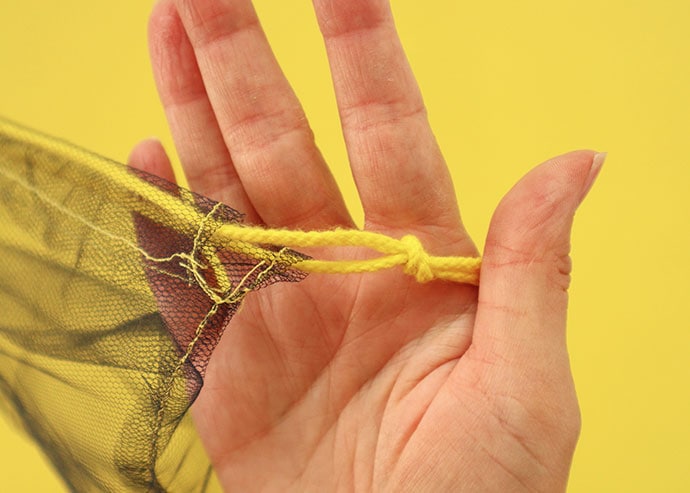
9. Tie ends of cord together with a knot to secure.
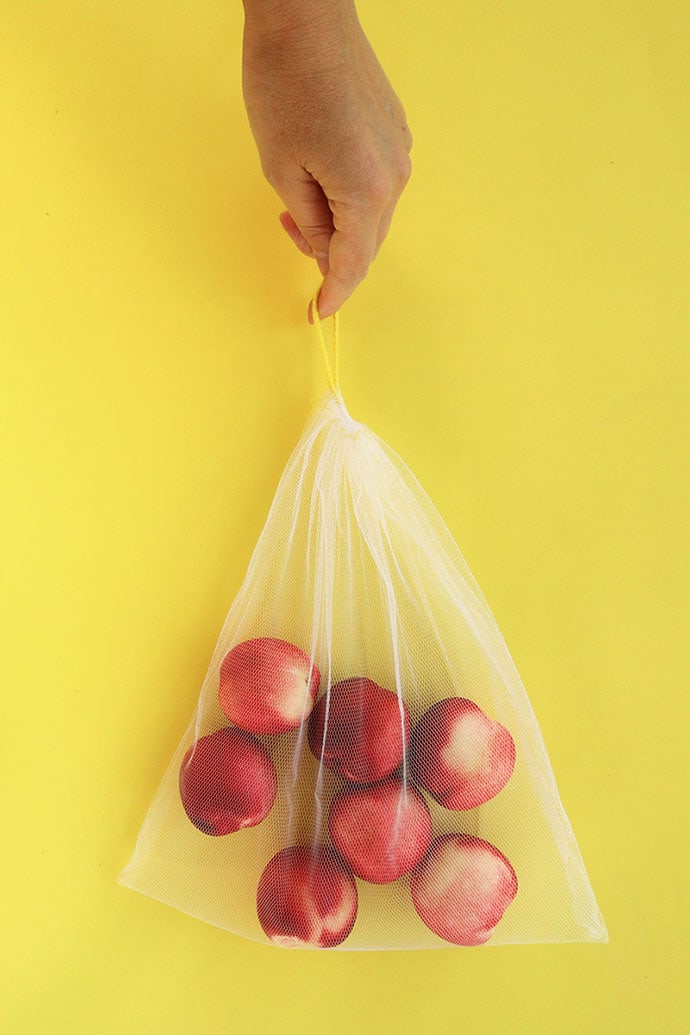
All done! You are now ready to hit the market with your new zero-waste produce bags.
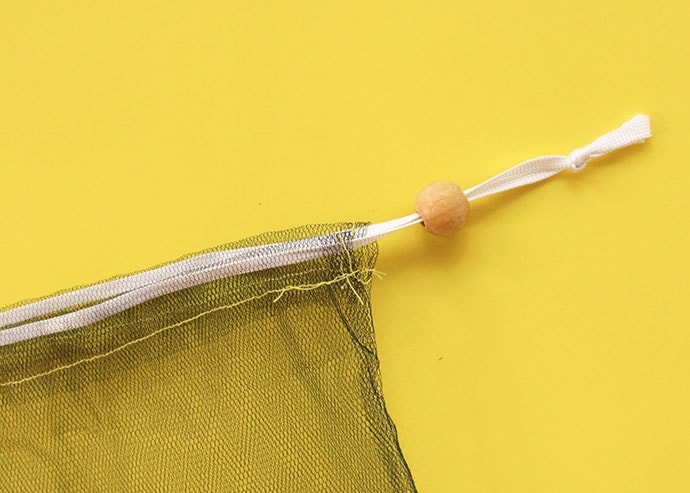
TIP – If you are using a slippery cord or ribbon, thread both ends of cord through a small wooden bead or spring toggle before you knot the cord ends to help keep your bag closed.
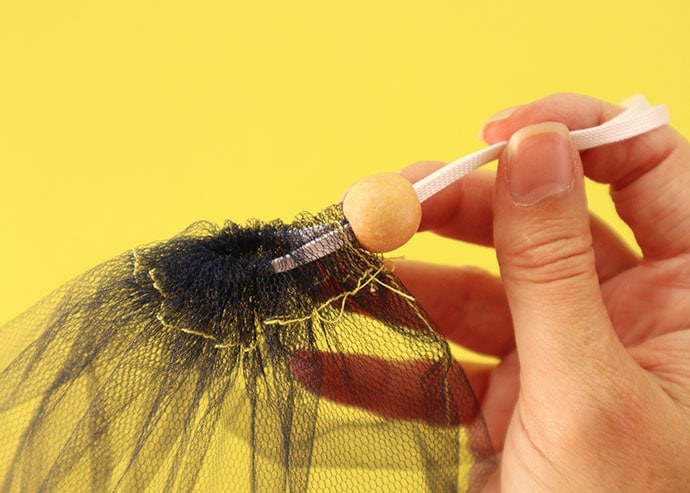
The slippery ribbon on my largest bag didn’t have enough friction to hold the bag shut when the drawstring was pulled, but adding a wooden bead solved that problem.
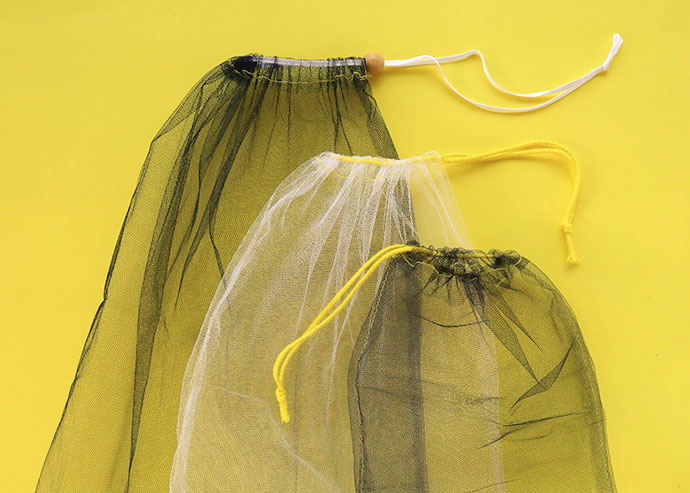
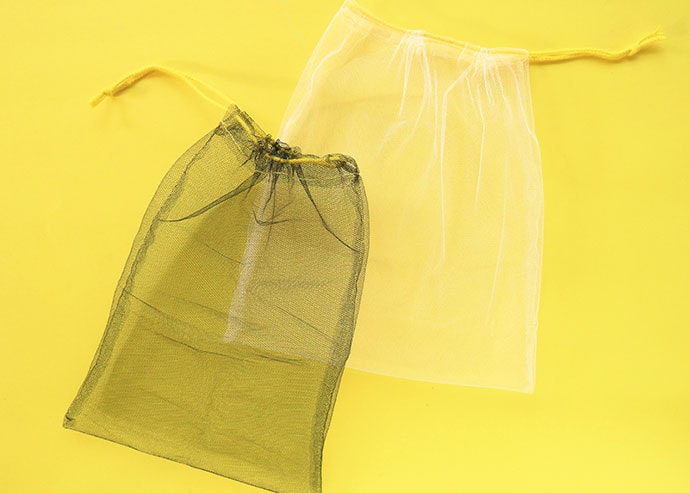
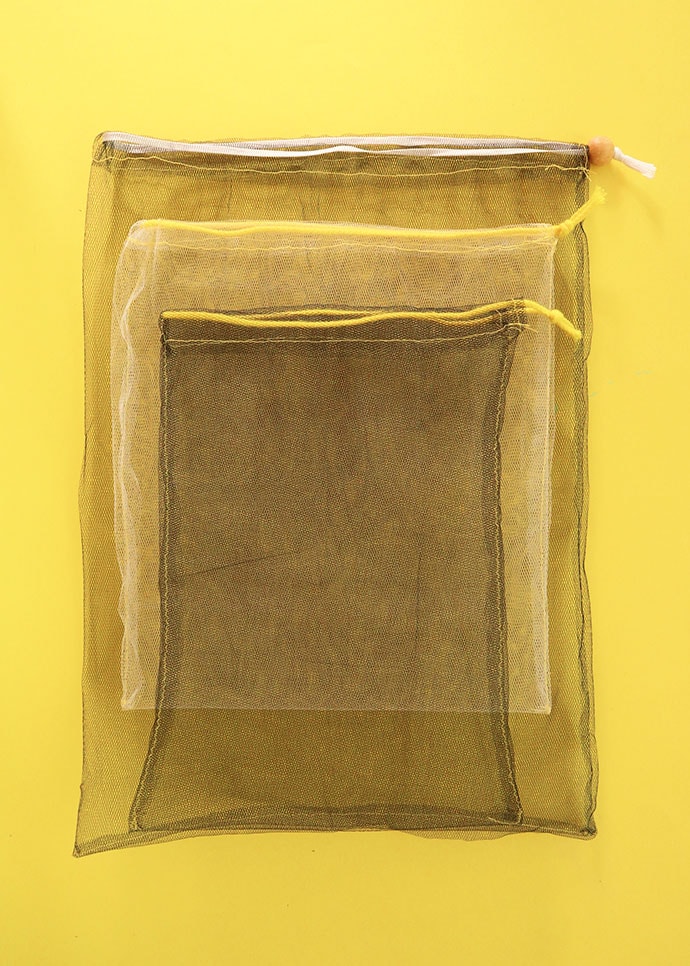
Here are my finished bags. Approximate sizes from largest to smallest:
- 11.5″x16 ” or 29x40cm
- 10″x11″ or 25x28cm
- 8″x11″ or 20x28cm
How do I take care of my reusable produce bags?
When your bags get a little bit dirty, just throw them in the washing machine with your regular load. Take care with bags made of delicate tulle as hooks or zips from other laundry items may catch and tear them. Place loose drawstring inside the bag so they don’t get tangled up.
Bags can also be hand washed in warm soapy water and hung out to dry on the clothes line.
To make storage (and machine washing) easier, stuff all the bags into one small bag to keep them all together.
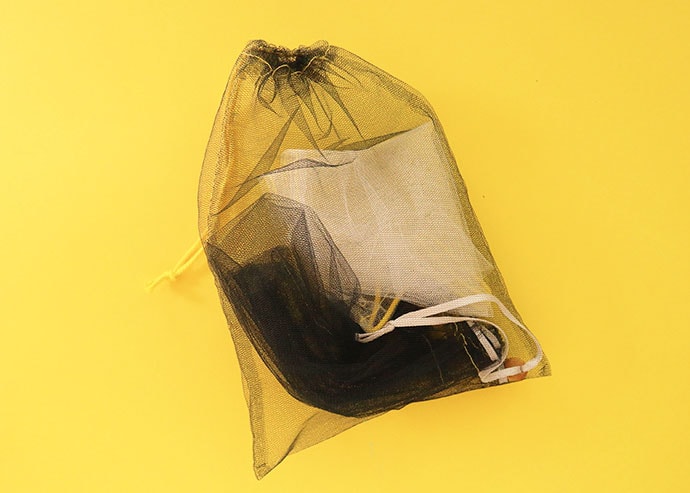
Keep them in the car with your regular reusable shopping bags, and maybe some larger crochet produce bags, so you always have them handy when out food shopping.


This is a great idea . Thank you for the info on how to make it. I kept forgetting to take my bags into the store with me soooo,I attached a ring to my purse strap so that I can attach my bags to it. I always rubber band my bags together so it is easy to take them off if I am not grocery shopping