This craft project is a collaboration with Cricut – This post contains affiliate links
In these unusual times of self-isolation, schooling from home, and what appears to be a huge resurgence of baking, I thought it would be fun to inject a little bit of levity into our days.
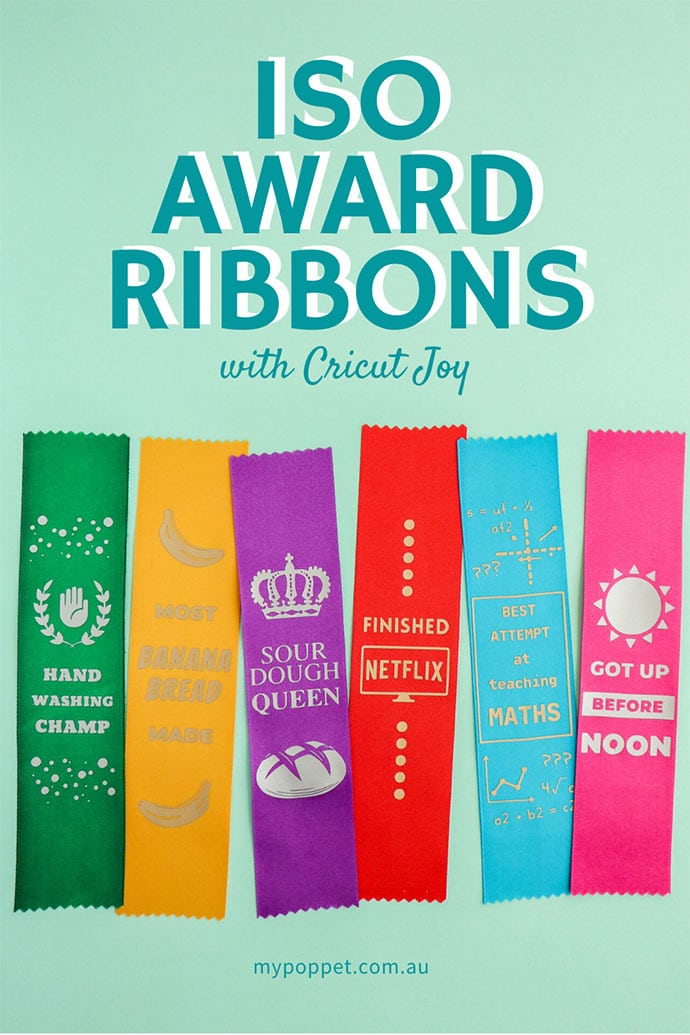
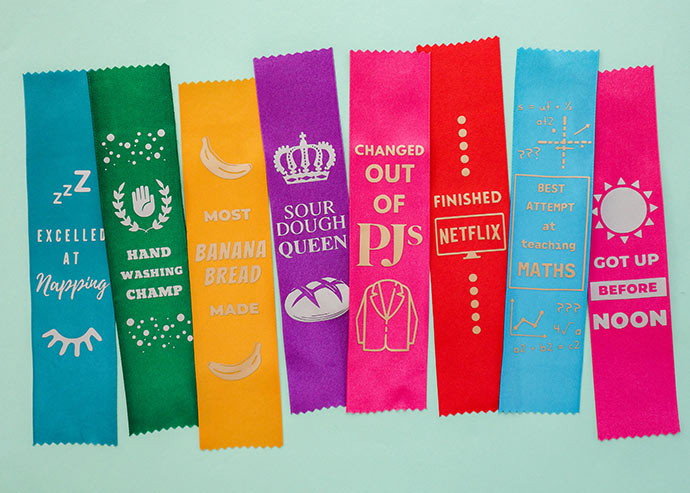
Make this set of DIY #ISO Award Ribbons to present to family and friends who deserve a little smile.
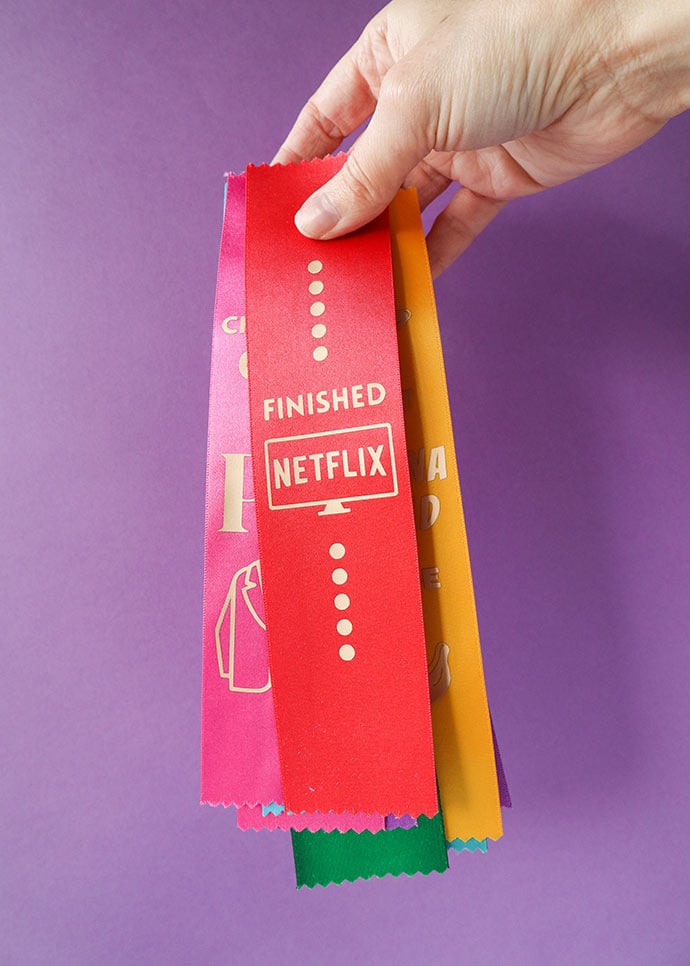
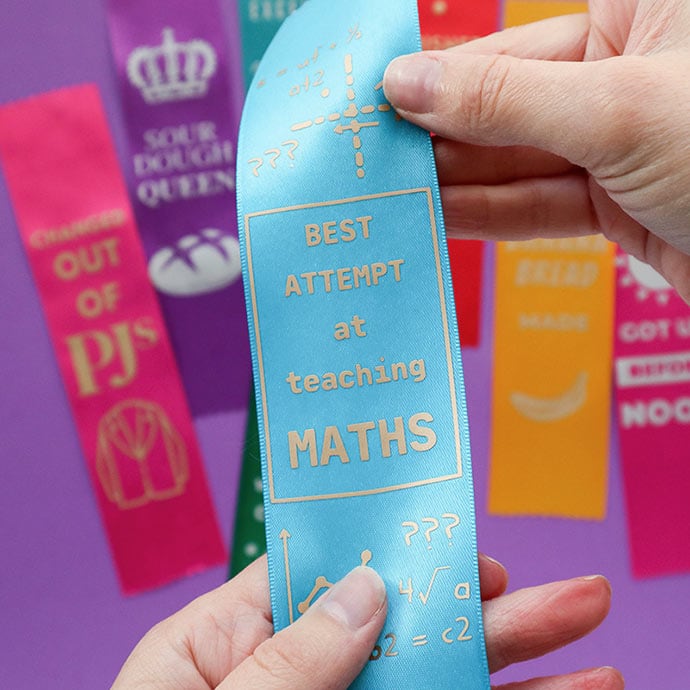
If you’ve struggled to help you kids with their math work, spent way too much time binging Netflix, or only just managed to change out of your PJs, these award ribbons are for you!
Celebrate the little wins I say.
Made with my new Cricut Joy cutting machine
Cricut sent me their latest, practically pocket sized cutting machine, the Cricut Joy to try out. It’s so handy for making small projects, and with it’s new mat free technology, it can cut lengths of vinyl up to 6m long.
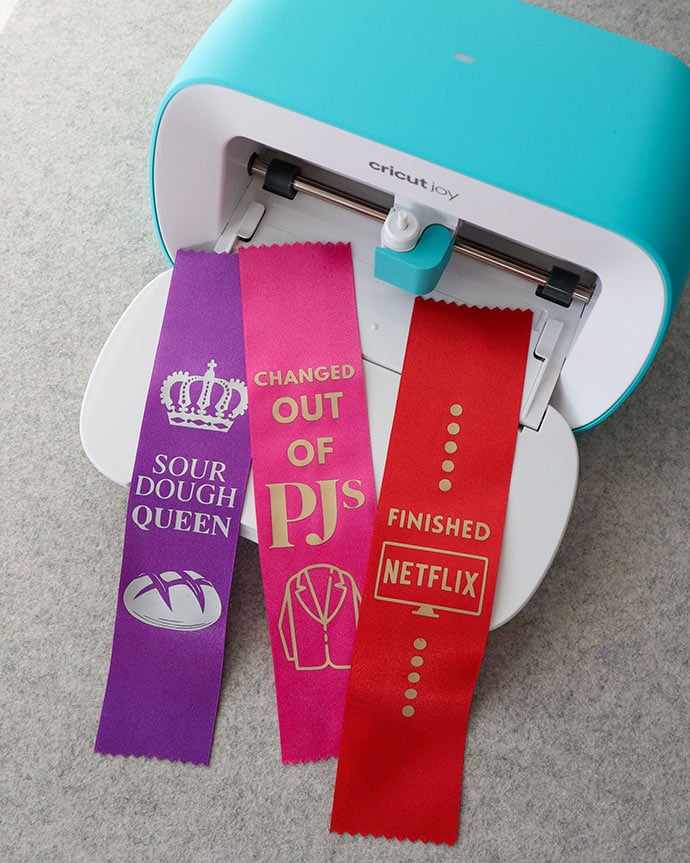
Its compact size (5” x 8”) means that you can conveniently DIY fun personalised projects almost anywhere.
The Cricut Joy is button free and uses Bluetooth to connect to your phone, tablet or laptop for easy on-the-go crafting.
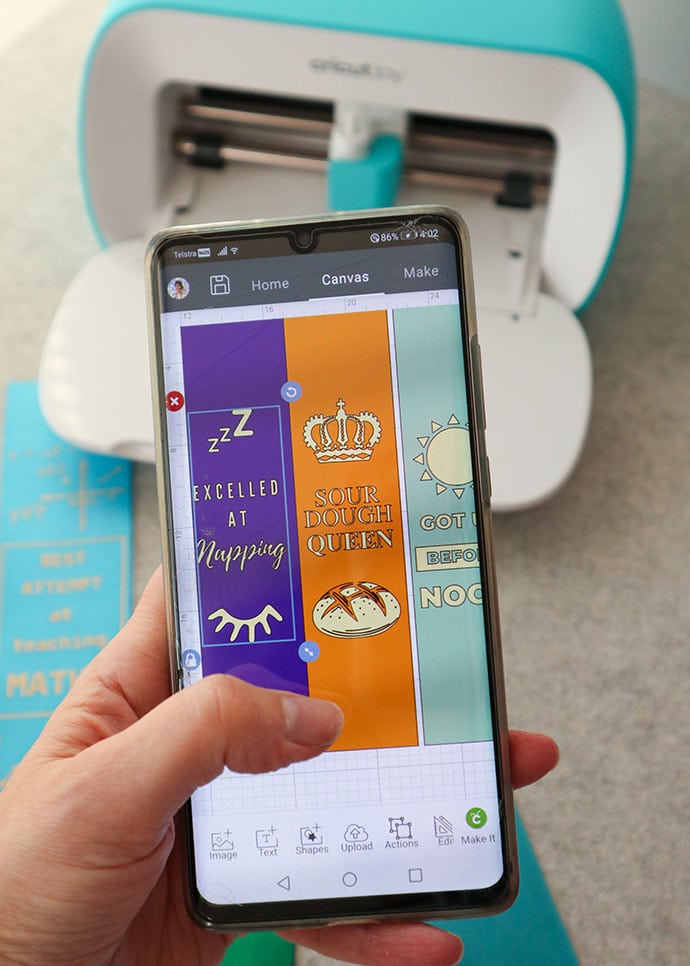
I’ve custom designed these ribbons, but have included a link to my project so you can make as many as you need.
If you don’t have a Cricut Joy, this project can be made with any style of Cricut cutting machine. I used the ‘Smart’ iron-on heat transfer vinyl, but regular iron-on vinyl with a mat can be used to make these award ribbons also.
You may also enjoy these Cricut projects:
Let’s make Funny Isolation Award Ribbons
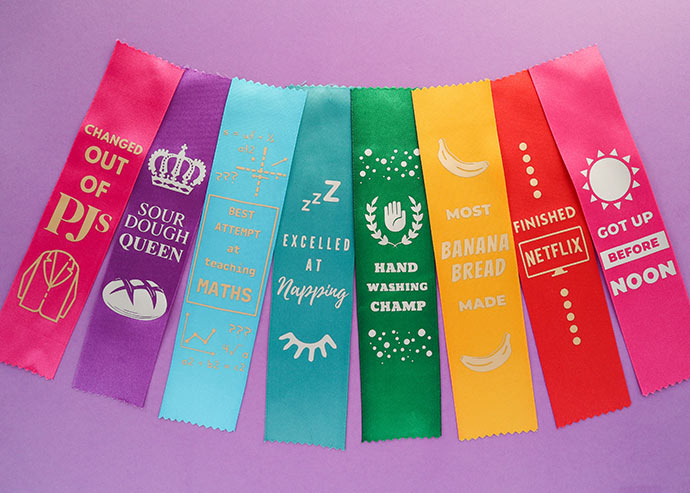
With eight designs to choose from there is something here to reward everyone.
Make just one design, or make them all!
Choose from the following (click to download PNG files):
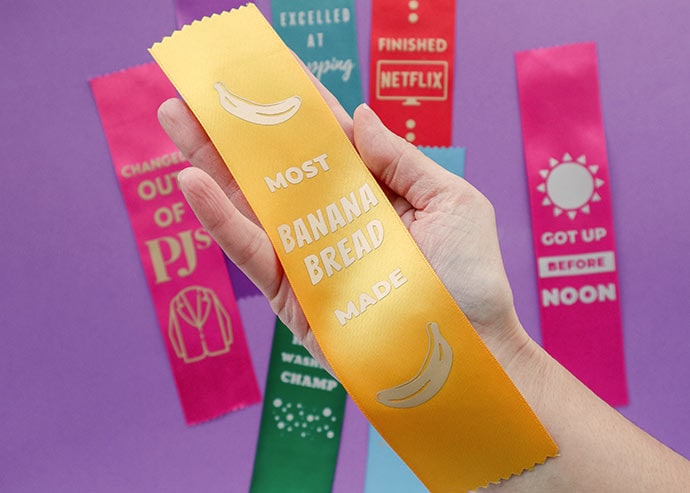
I’ve officially awarded myself the Finished Netflix ribbon, and am working towards the Most Banana Bread Made ribbon. Here’s my delicious Banana Bread recipe if you are interested.
You will need:
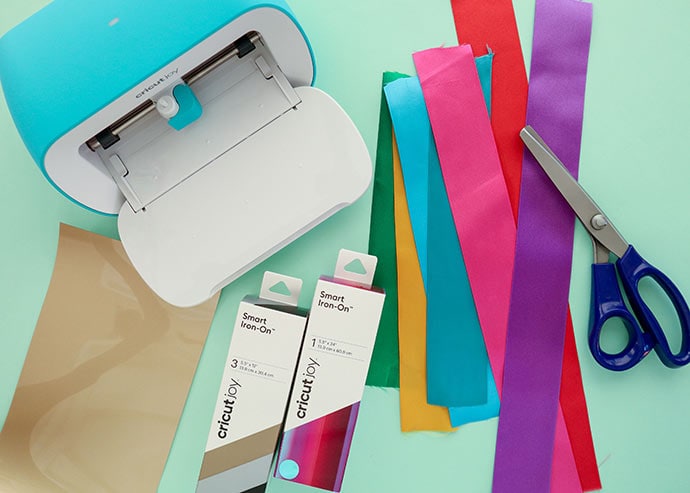
- Cricut Joy (or any other Cricut cutting machine) (Amazon US | Cricut)
- Cricut Joy Smart Iron-on in Gold, Silver or Holographic (Regular iron-on can be used with a mat)
- 5cm (2″) wide satin ribbon – 25cm (9.5″) per ribbon
- Pinking Shears
- Cricut Design Space account (free to sign up)
- Computer, ipad or smart phone
- Cricut basic tool set (Amazon US | Cricut)
- Cricut Easy Press 2 (Amazon US | Cricut) or Mini Press or regular iron
- Cricut Easy Press Mat (Amazon US | Cricut) or fabric pad/tea towel
- Non-stick Baking paper
How to:
Prepare the design for cutting iron-on vinyl
1. Download ribbon designs from list above. RIght click ‘save image as’ to save to your computer.
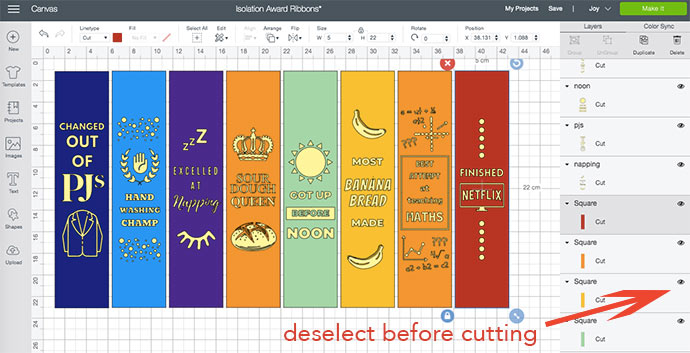
2. Upload the PNG files into design space and remove white background. In canvas create rectangles the size and width of your ribbons to help position your design. Deselect background rectangles. If you would like to cut vinyl out of assorted colours. Select the different colours at this stage to set up multiple mats.
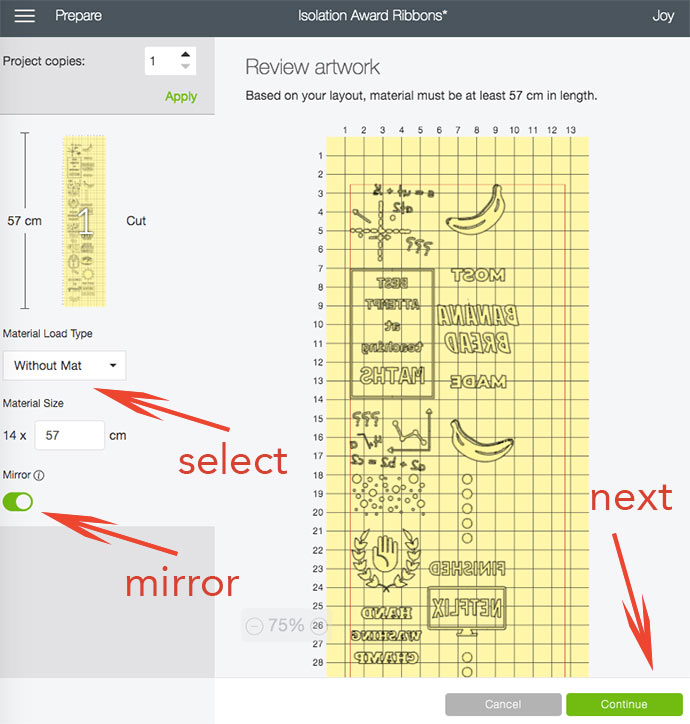
3. Click on ‘Make it’ and select material. Choose without mat if using ‘smart’ material, or with mat if using regular iron-on. Make sure you select ‘mirror’ for iron-on vinyl.
Cutting and preparing vinyl
3. Follow the Design Space instructions and feed vinyl into cutting machine (shiny side down) and start cutting function.
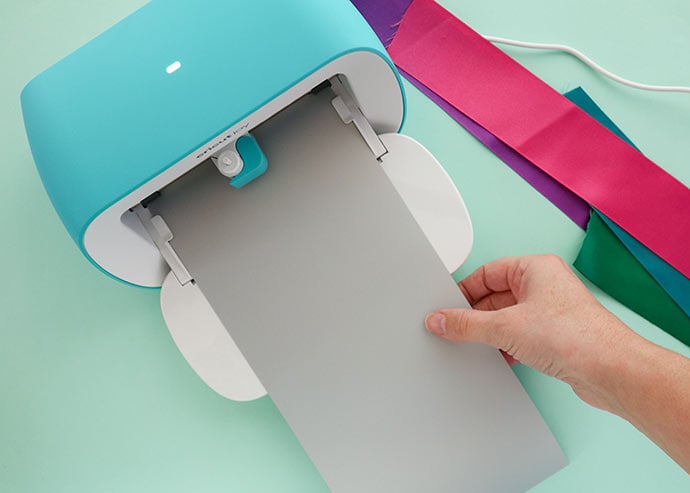
4. The Cricut Joy cuts even the finest of details. Trim into separate ribbon designs.
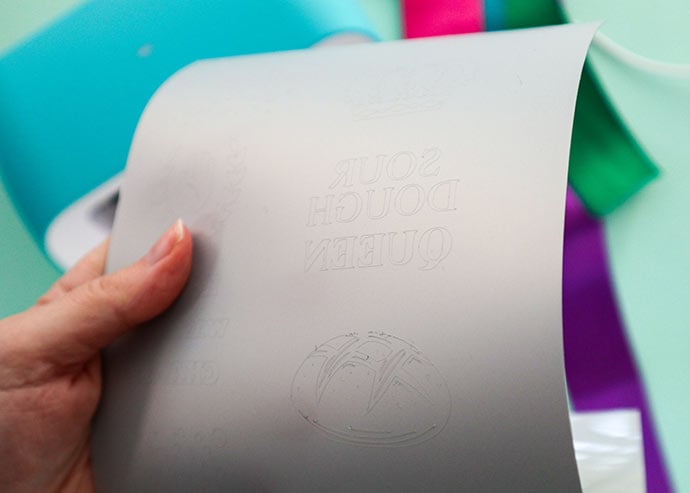
5. Remove excess vinyl, taking care not to remove any of the design.
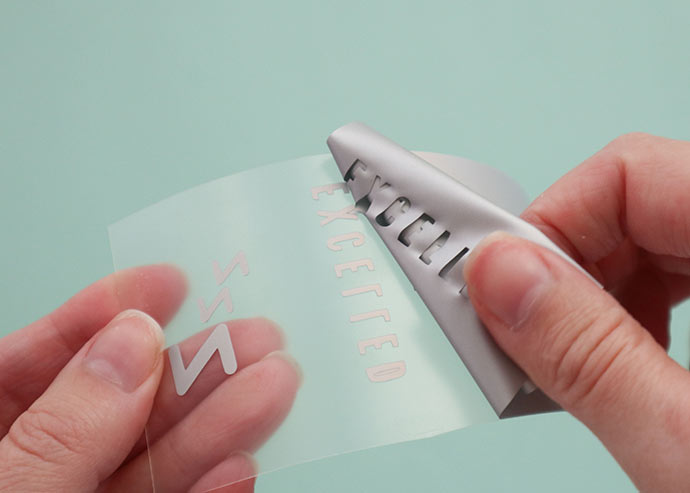
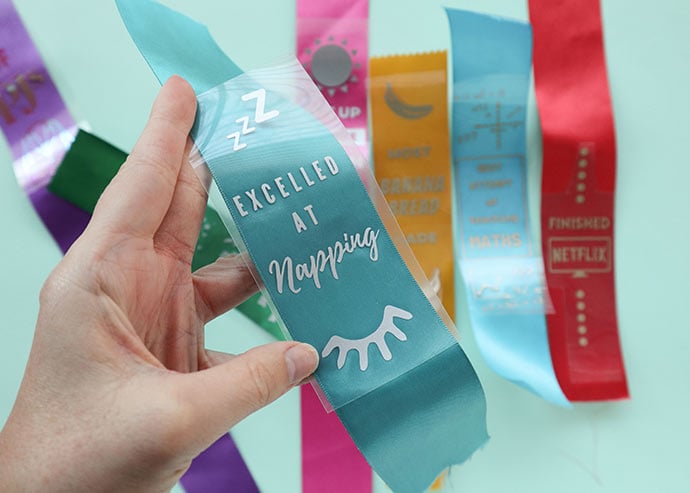
Finishing Award Ribbons
6. Using pinking shears, trim ends of ribbon, cutting to a length of about 22cm (8.5″).
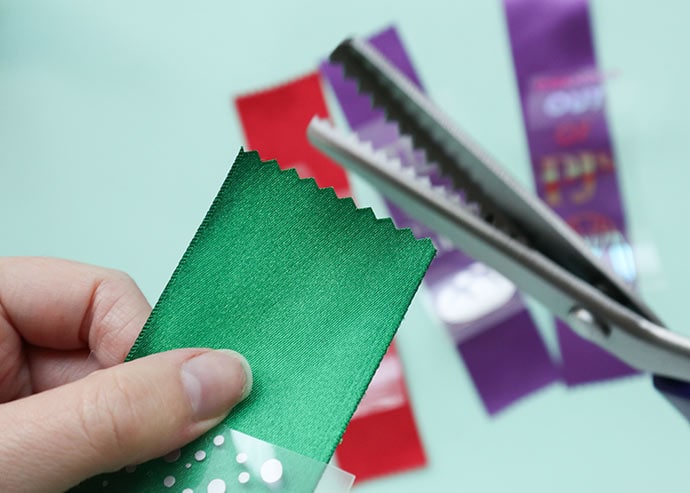
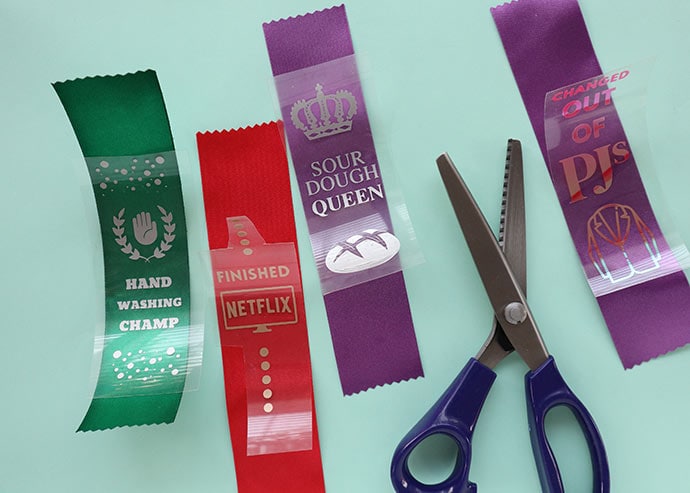
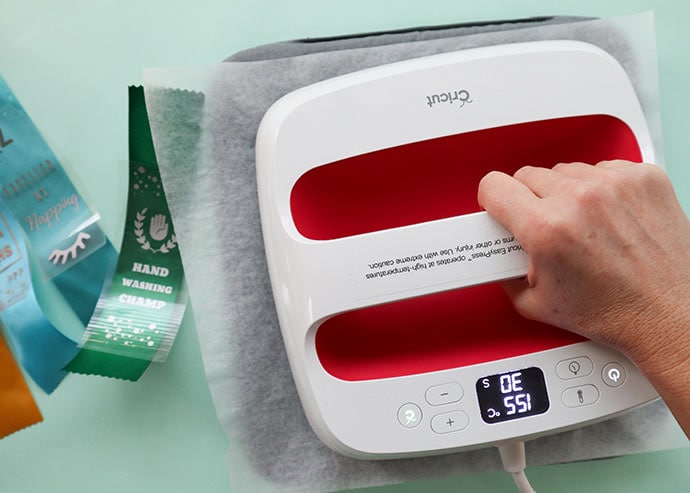
7. Plug in and warm up your Easy Press 2 and select temperature according to the instructions on the Cricut Heat Guide. I’ve selected the base material as Polyester. Recommended settings – 155C/315F, preheat fabric for 5 sec.
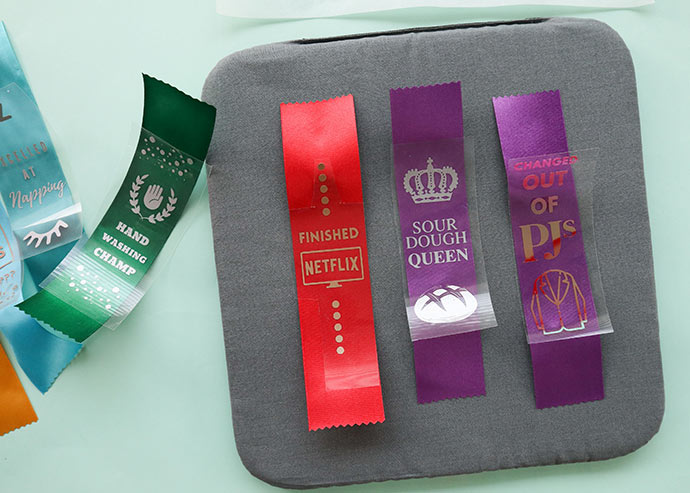
8. Position iron-on vinyl designs onto ribbons, cover with non-stick baking paper and press (with light pressure) for 30 sec. Flip and press for a further 15 sec.
9. Gently remove liner when cool enough to touch, (but still slightly warm).
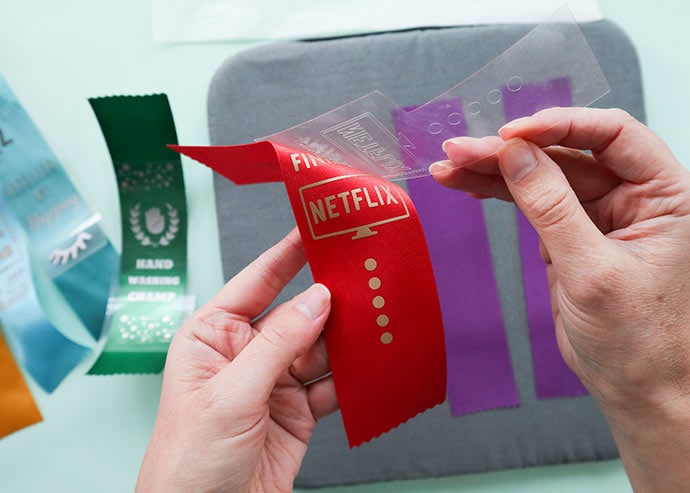
10. Repeat with remaining award ribbons.
I tried using both metallic and holographic iron-on to see how the effects differed.
The holographic vinyl was really stunning in person, but a bit trickier to photograph, so I opted for the gold and silver metallic iron-on on all the ribbons.
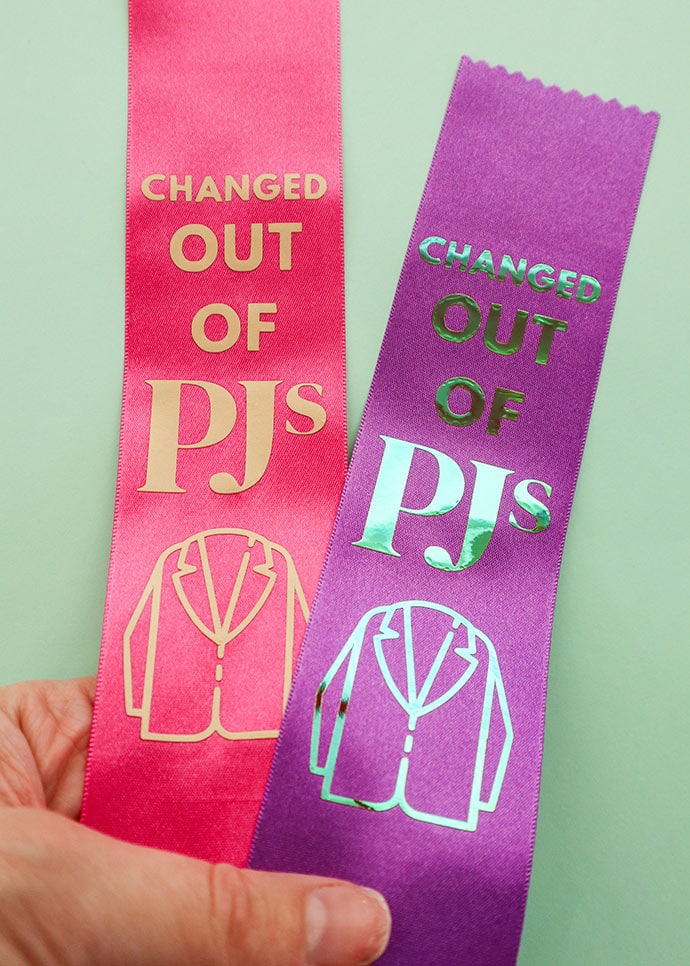
Weeding the holographic vinyl was much harder compared to the metallic vinyl. I’d recommend using the holographic vinyl on simple designs only.
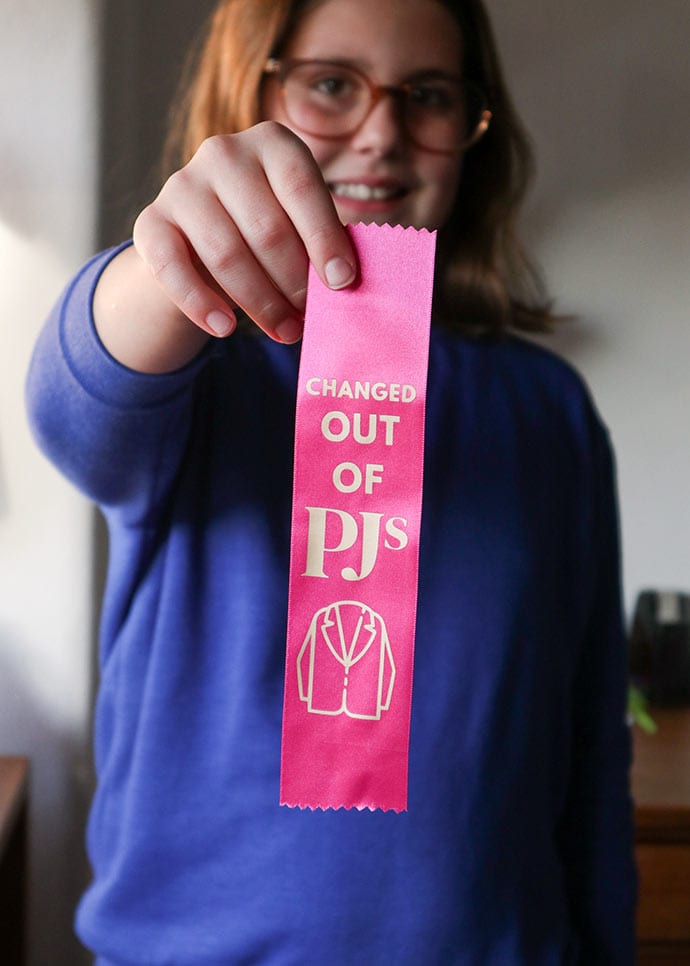
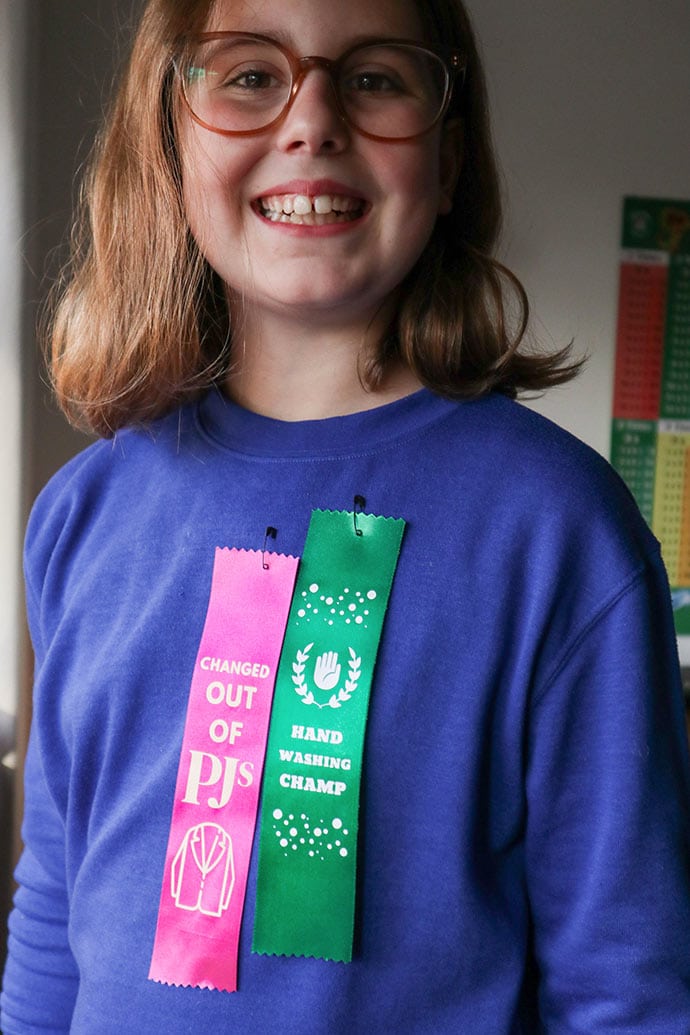
Emma insisted on an award presentation ceremony since school assemblies are no longer on the cards.





What a great idea. Pity its a circut file and not a svg file I have a Scan N Cut but kinda wish I had of got the Circut
I’d love to be able to design SVG files. I’m yet to master that particular skill. This may be a workaround if you can then upload to your other software https://youtu.be/lknSfOn65WY
I’ve just uploaded the PNG image files for each ribbon so you should be able to upload them into your other machines software.
Would love to try to make this, but when I click on the link and open it in Design Space, there is no option to customise and the “make it” option is greyed out.
Oh, how odd. It must be a design space issue. I’ll try to follow up with them to see if they can fix that.
Ok, so apparently uploaded designs can’t be shared in design space for IP protection reasons (which I wasn’t aware of), so I’ve uploaded the PNG images in the post so you can download to your computer then upload them to your own design space account.
You should be able to create these now. Sorry about the mix-up.
Did you find your ribbon frayed at all? The one I attempted previously frayed really badly.
Yes, satin ribbon is notorious for fraying. You could try heat treating the ends with a flame (be careful), or using a Heated Ribbon Cutter like this one https://amzn.to/3mzDobG to heat treat the ends. Otherwise try a fray stopping glue https://amzn.to/3Bcnsjx or even clear nail polish, but use it very sparingly as it can seep up and stain the fabric, and also make the treated areas stiff.