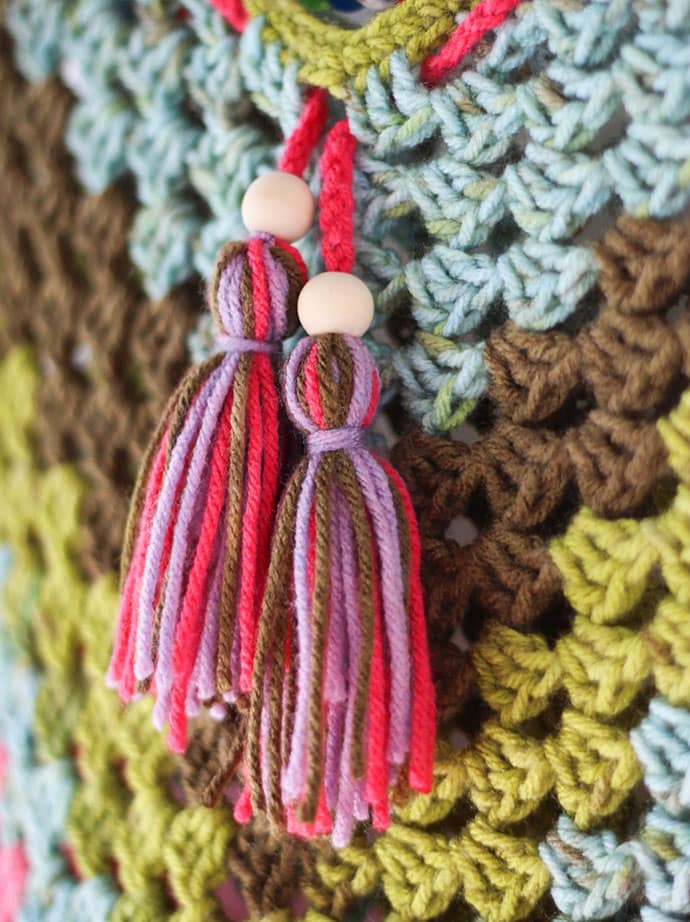
Yarn tassels are a fun and easy way to add a finishing touch to knitting and crochet projects. They are super quick to make, and look great on the corners of throws and shawls, on hats instead of a pom pom, or on the ends of belts and ties.
This post contains affiliate links.
I’ve just recently finished a crocheted poncho for Emma with a 70’s vibe (get the crochet poncho pattern here), and I thought a couple of tassels would make it look extra groovy! These only took me a couple of minutes each to make with the left over yarn scraps from the project, well worth the effort I think.
If you haven’t tried making a yarn tassel before, have a go. I’ve laid out some simple instructions below.
More ideas for crafts to make with yarn scraps.
How to make an easy Yarn Tassel
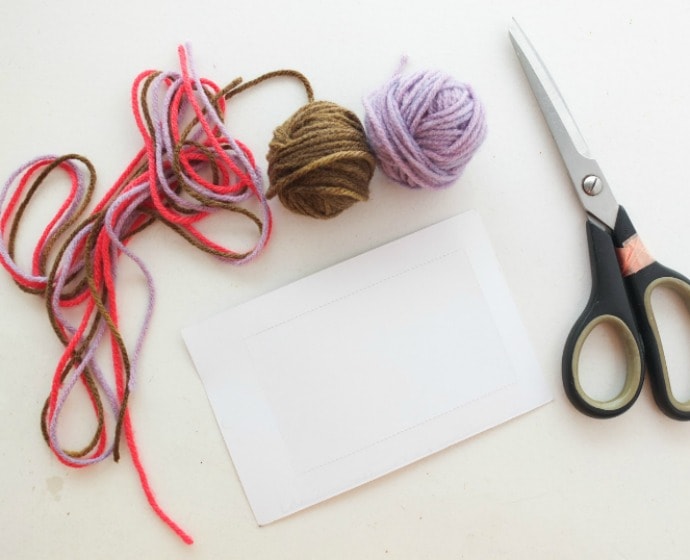
You will need:
- Yarn scraps
- Postcard or cardboard as wide as the desired length of tassel (or tassel maker)
- Scissors
- Crochet hook or tapestry needle (not pictured)
- Wooden bead (optional)
How to:
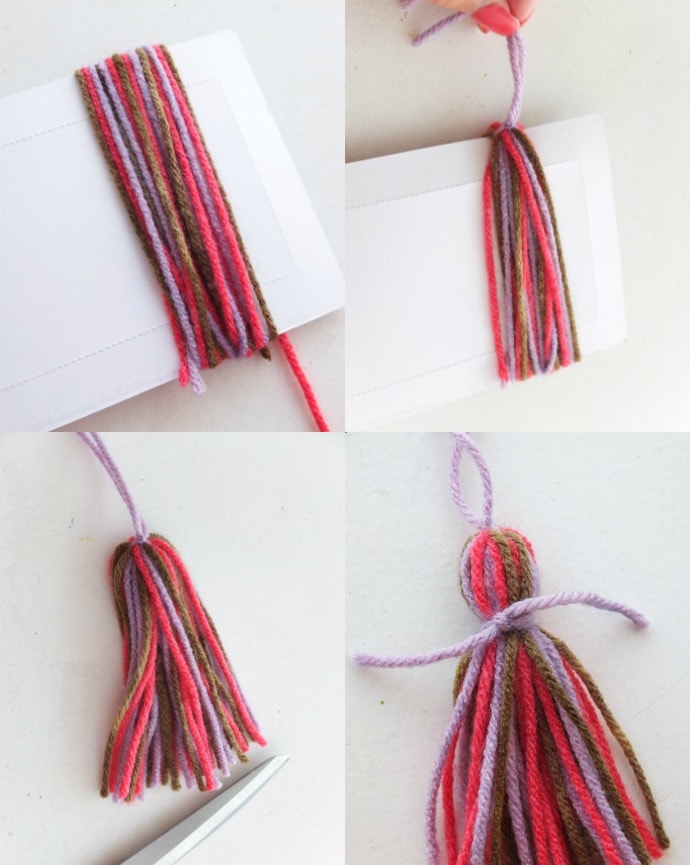
1. Wrap yarn around the width of your cardboard. The more you wrap the fuller your tassel will be. I’ve wrapped around 12 times.
2. Tie a length of yarn to the top with a knot.
3. Cut the bottom loops of the wrapped yarn and remove cardboard.
4. Tie a short length of yarn around the top third of the tassel.
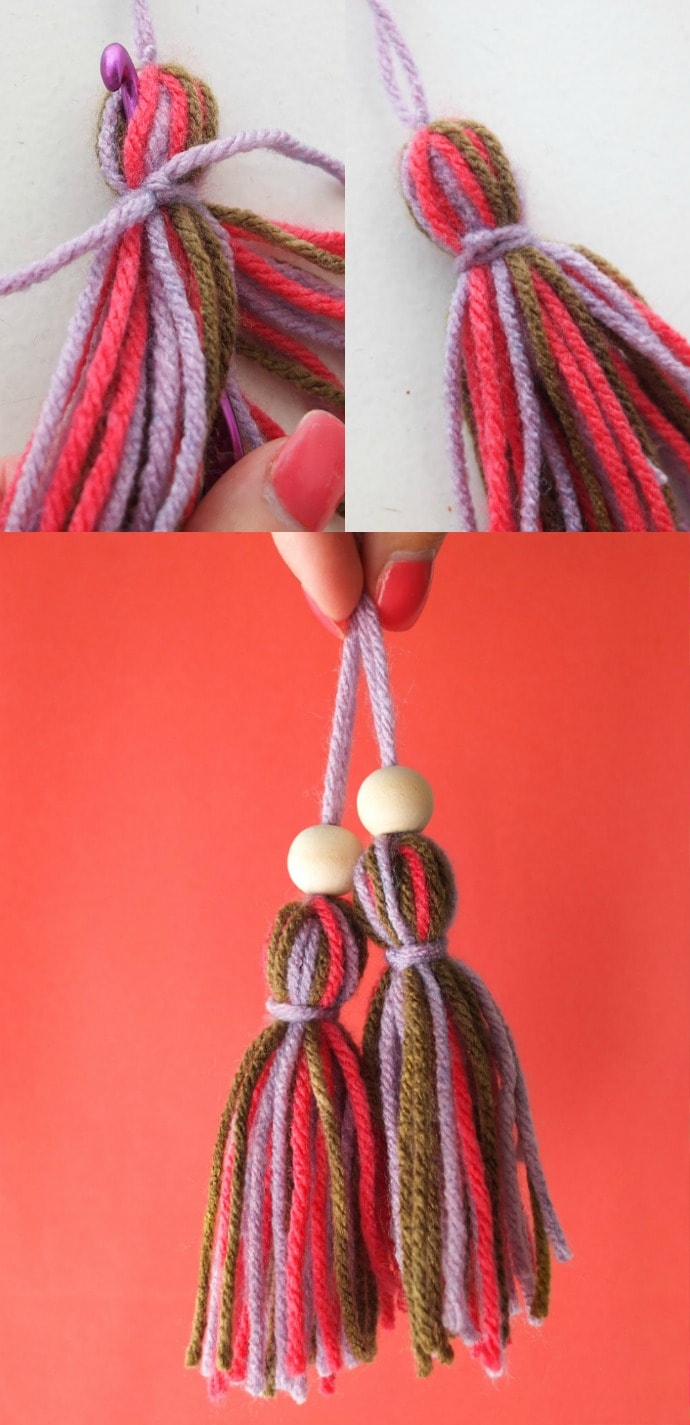
5. Now thread the loose ends from your tie yarn in step 4 into the body of the tassel by pulling it through with a crochet hook, or using a tapestry needle to weave it in.
6. Thread wooden beads through the top length of yarn if desired and attach to project. The wooden beads are handy for hiding yarn ends.

Can’t wait to share Emma’s poncho with you, we went out on the weekend and I managed to get the cutest photos of her.
Have fun making your tassels!
