Adding a pop of colour to your living room is easy with this beautifully textured Rainbow Bobble Crochet Pillow. Using chunky yarn makes it quick to crochet. I whipped this crochet cushion cover up up in a weekend!

This yarn review and free Crochet Cushion Pattern is a collaboration with American Yarns. This post contains affiliate links.
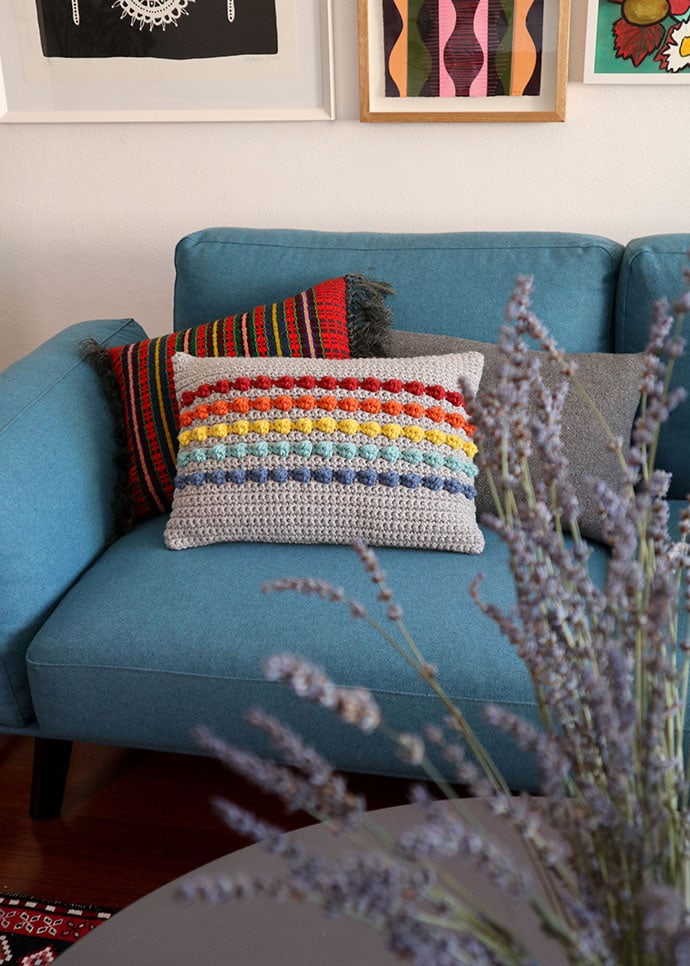
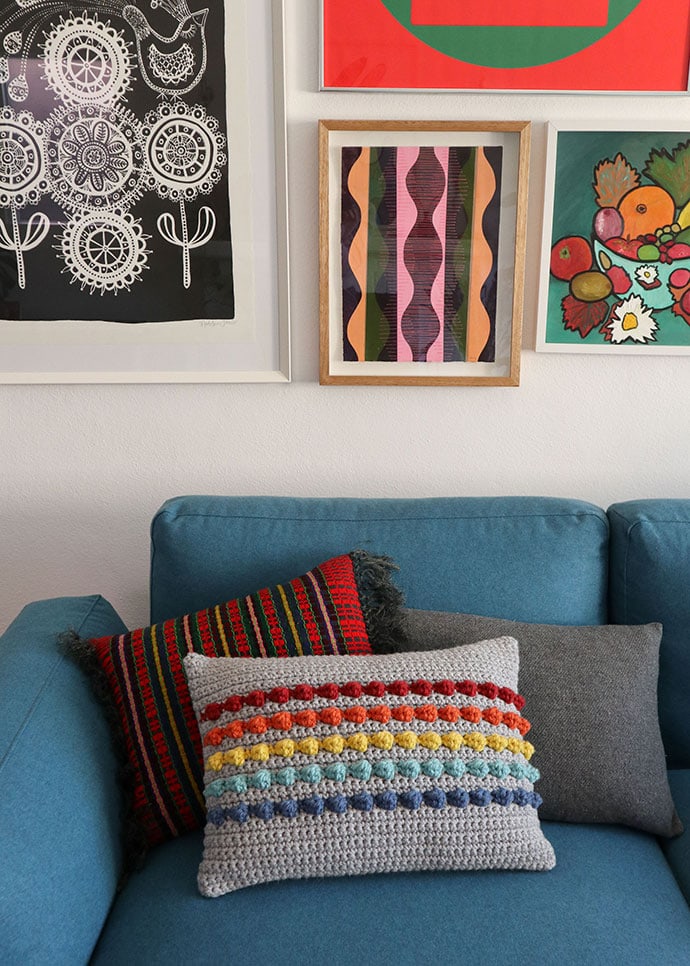
Colourful home decor is the quickest way to cheer up a room. Because I love bright colours, I couldn’t resist making a rainbow hued crochet cushion cover to cozy up my couch.
I was inspired to make this rainbow stripe crochet pillow after seeing the lovely selection of colours American Yarns had available in the Bernat Softee Chunky yarn range.
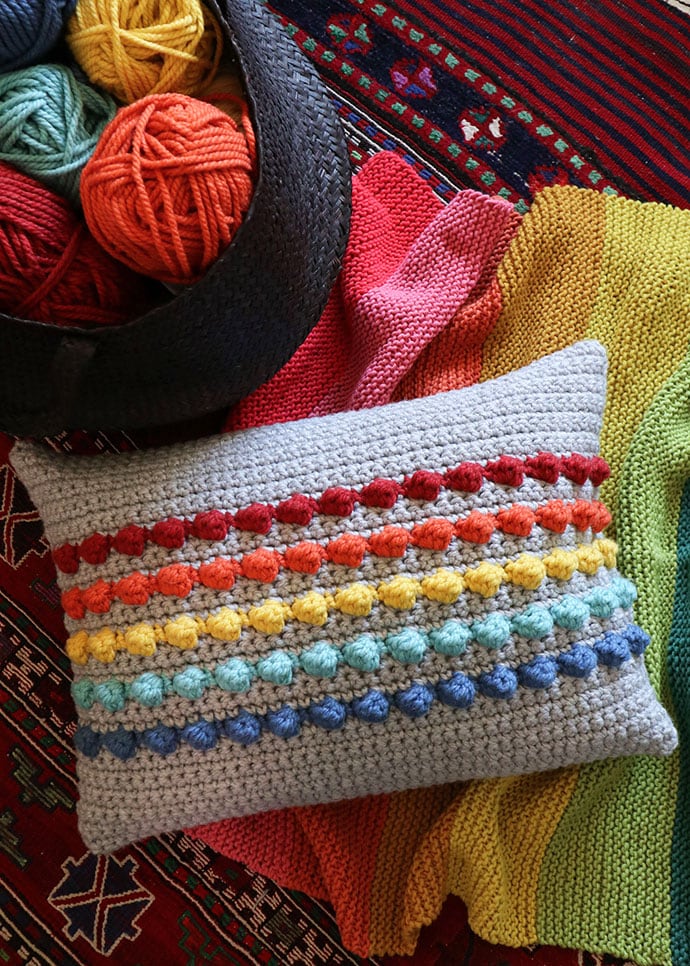
Of course if you enjoy your decor on the neutral side, you can omit the rainbow stripes and just make this crochet bobble pillow in a solid colour.
The crochet bobble stitch adds interesting texture to this cushion cover.
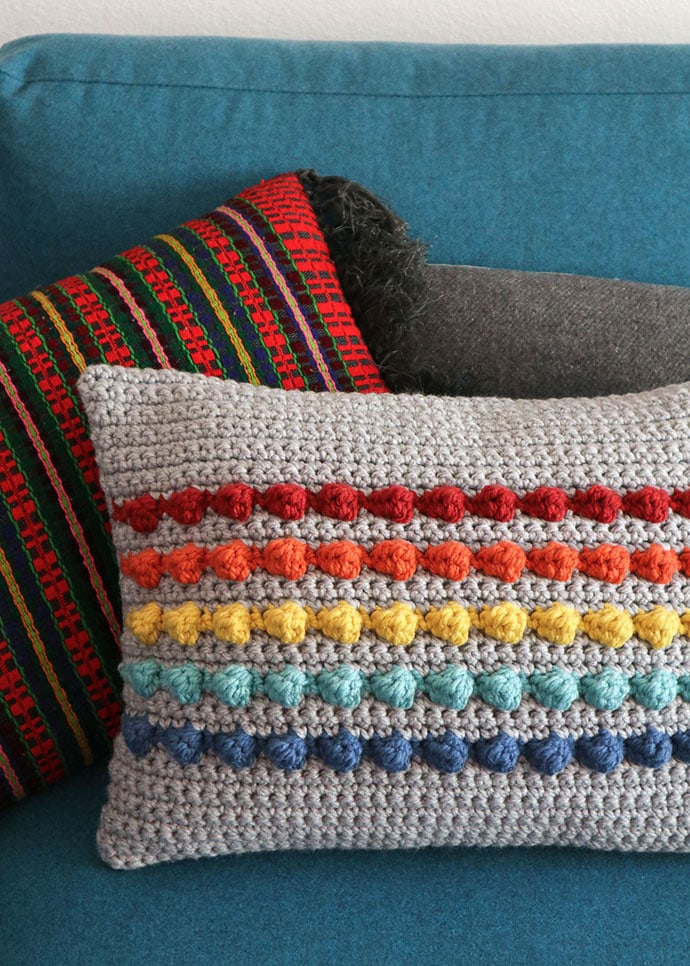
Even though bobble stitches look tricky, they are quite easy to do, and once you get the hang of them, I reckon you’ll be adding bobbles to all your crochet projects.
This crochet pattern is perfect for beginners – The majority of the crochet pillow cover is made in single crochet, so apart from counting rows, every so often, there isn’t much in this pattern to keep track of.
Start your free Creativebug Trial and Learn How to Crochet with online classes
I’ve also linked to a video which clearly explains how to make a bobble stitch for easy reference.
The yarn – Bernat Softee Chunky
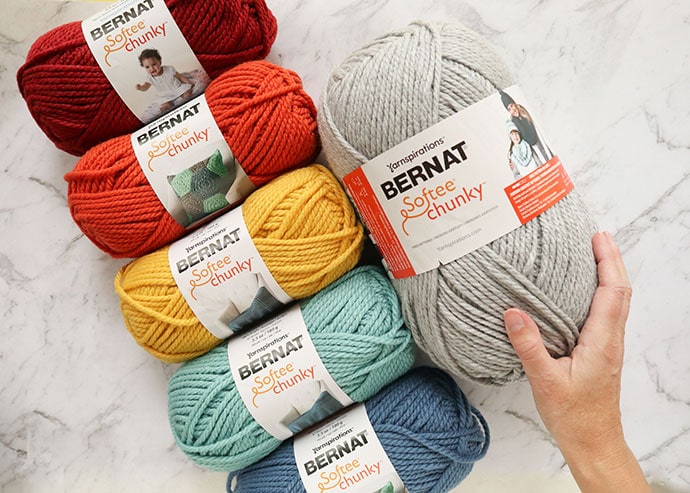
Working with Bernat Softee Chunky was lots of fun. Its texture is quite soft and fluffy, but also surprisingly robust, which lends itself well to home decor projects like pillows, chunky throws, rugs and baskets.
It’s also great for accessories like bags and slippers. Anything you need to be durable and long lasting with wear.
Because this yarn creates a heavy, non-drapey fabric when knitted or crocheted at gauge, I would not recommend this yarn for garments.
The colour range available from American Yarns is very nice, with 24 colours in the 100g balls and 6 neutral colours available in the Big 400g ball.
I love how comically large the Big Ball is, and if you are planning on making a large project like a blanket or throw, the 400g ball works out quite economical too.
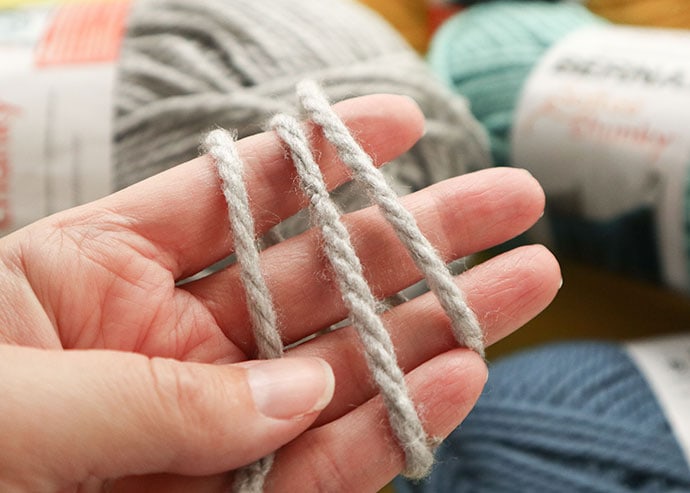
Being so chunky (Super Bulky/over 14ply), it works up really quickly with a large hook. I used an 8mm hook for this project.
It also gives great stitch definition, making it great for patterns which include textural elements.
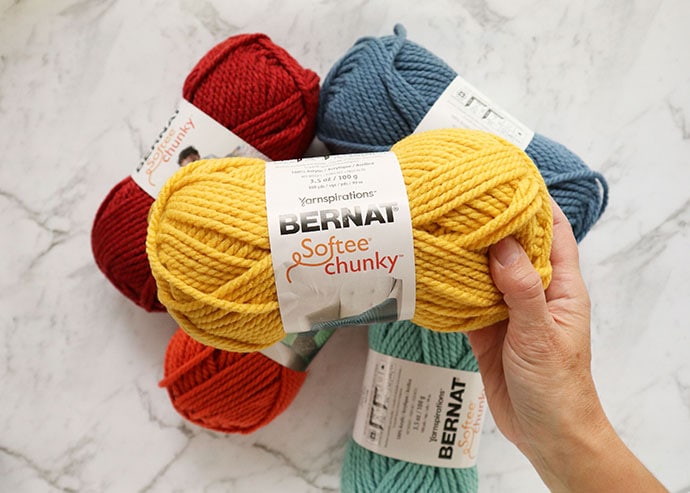
The yarn is 100% acrylic – machine washable and tumble dryer safe.
You may also enjoy:
- Rainbow Cushion Neck Pillow Crochet Pattern
- Rainbow Storage Basket Crochet Pattern
- Rainbow Baby Blanket Knitting Pattern
How to make a Rainbow Stripe Bobble Crochet Pillow Cover
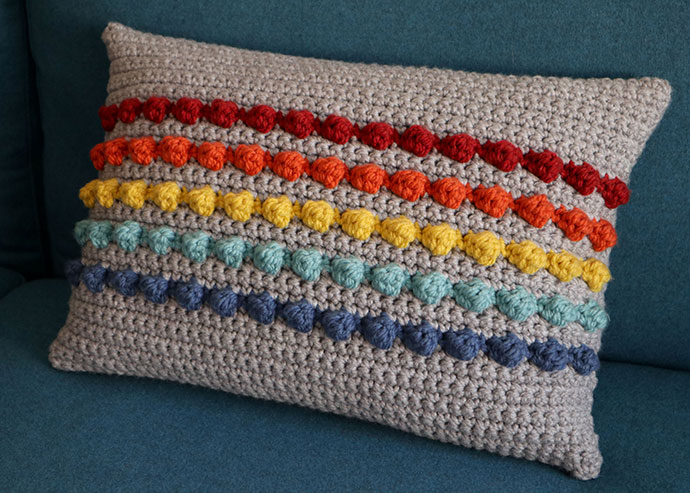
Finished Size (measured flat): Height 35cm/14″, Width 48cm/19″
You will need:
- 1 ball 400g Big Ball Bernat Softee Chunky – Grey Heather
- 1 ball 100g Bernat Softee Chunky – Redwood
- 1 ball 100g Bernat Softee Chunky – Pumpkin
- 1 ball 100g Bernat Softee Chunky – Glowing Gold
- 1 ball 100g Bernat Softee Chunky – Sea Green
- 1 ball 100g Bernat Softee Chunky – Denim Blue
- 8 mm crochet hook US size L
- 50x50cm Pillow insert (down filled preferable)
- Yarn needle
- Scissors
Note: Total yarn weight used for this crochet pillow cover pattern is 380g. If you are making this project in one solid colour you will only require 1x 400g big ball, or 4x 100g standard balls.
Crochet Stitches used (US terminology):
- ch – chain
- Sc – single crochet
- Bl – Bobble stitch (with 4dc)
How to make a 4 dc Bobble stitch
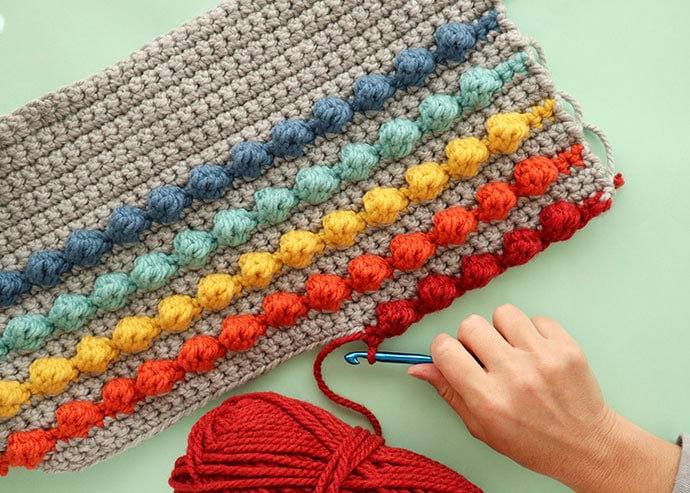
There are so many great tutorials explaining how to make a bobble stitch that I didn’t want to re-hash them here so I’ve just added some photos explaining the key steps for how to crochet a 4 dc bobble stitch.
I found this video very clearly explained how to crochet a bobble stitch – the only difference is that because the yarn for this project is so chunky, the bobble stitch in this pattern only required 4 dc loops to make a full bobble. So instead of 6 loops on the hook before the last yarn over, we will only need 5 loops on the hook.
Basic steps for how to crochet a bobble stitch
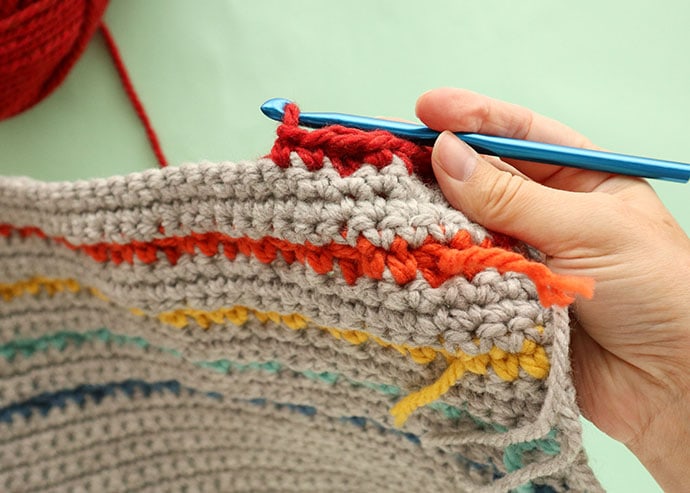
1. After a single crochet stitch, we’ll be working into the next stitch to start the bobble. The bobbles will protrude on the back side of the row.
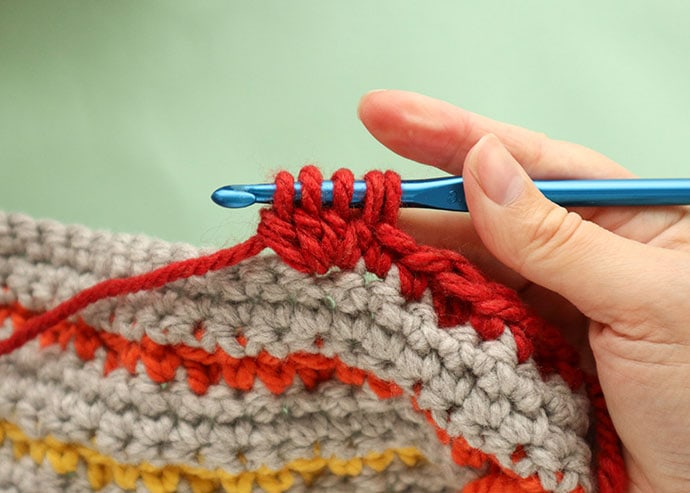
2. Yarn over, insert hook into stitch and pull up a loop. Yarn over, pull through two (essentially completing the first half of one double crochet stitch). Repeat in the same stitch/space until you have a 4 part made dc and a total of 5 loops on your hook.
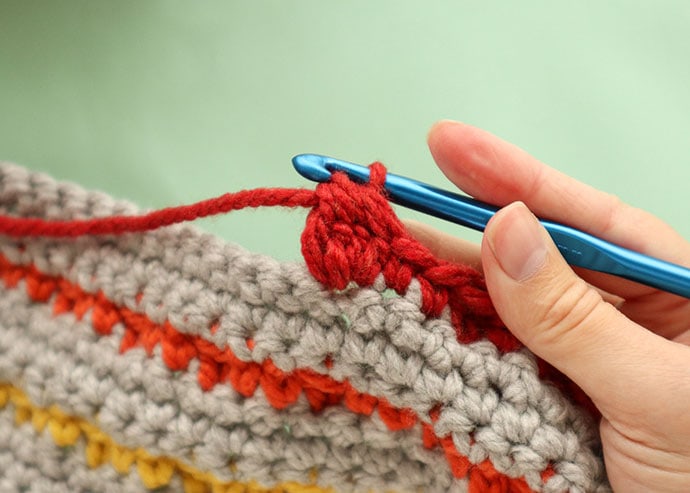
3. Yarn over, pull through all 5 loops at once.
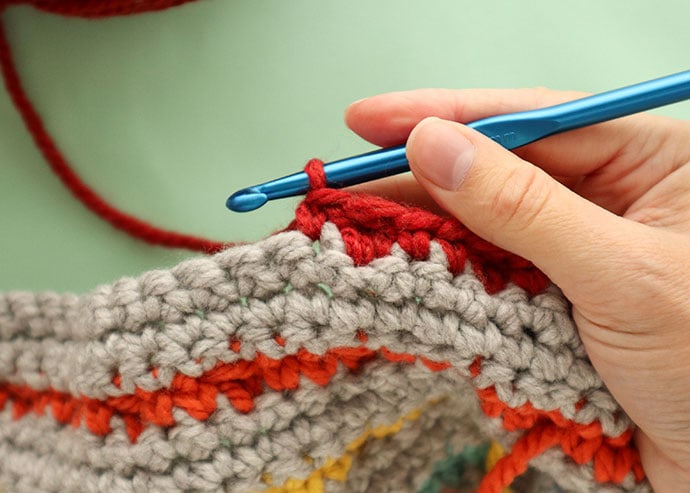
4. Single crochet in next stitch, pushing the bobble to the back of the work.
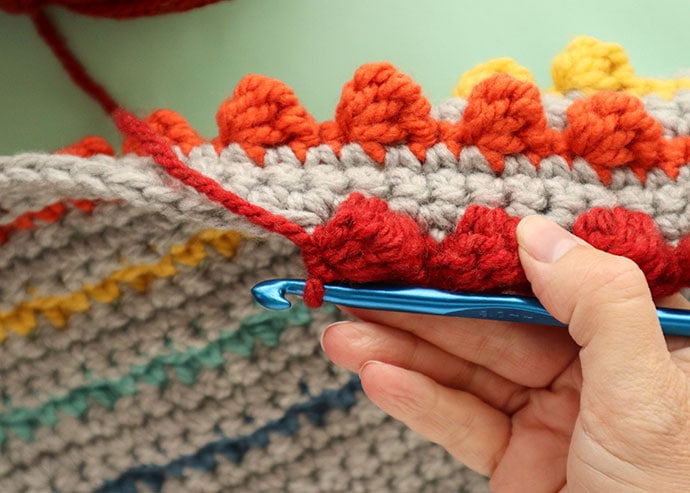
5. Stitch finished.
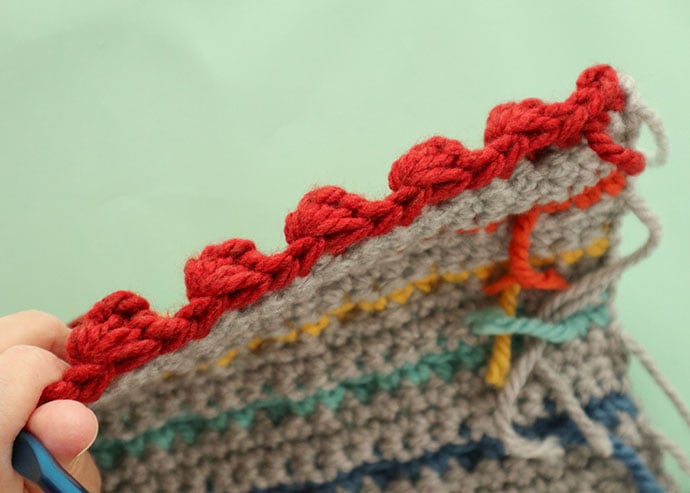
Rainbow Bobble Pillow Crochet Pattern instructions:
Gauge: 10×10cm (4″x4″) = 10st x 12 rows in sc
Pillow Back Pattern
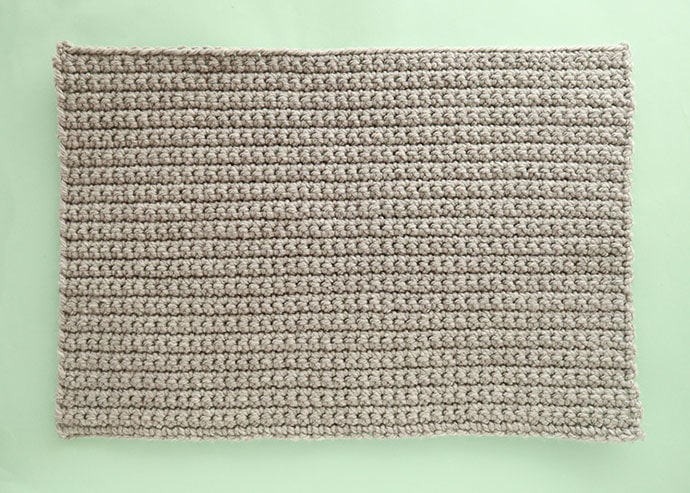
Using Grey Heather Yarn
Set up row – ch 48
R1 – work 1 sc into 2nd stitch in chain, then sc1 into each ch. (47st)
R2 – R41 – ch, turn, sc1 into each stitch. (47st) for a total of 41 rows.
Break yarn and weave in ends.
Pillow Front Pattern
Note: sample pattern pictured below is made with 48 st across width but I’ve altered the pattern to 47st for symmetry.
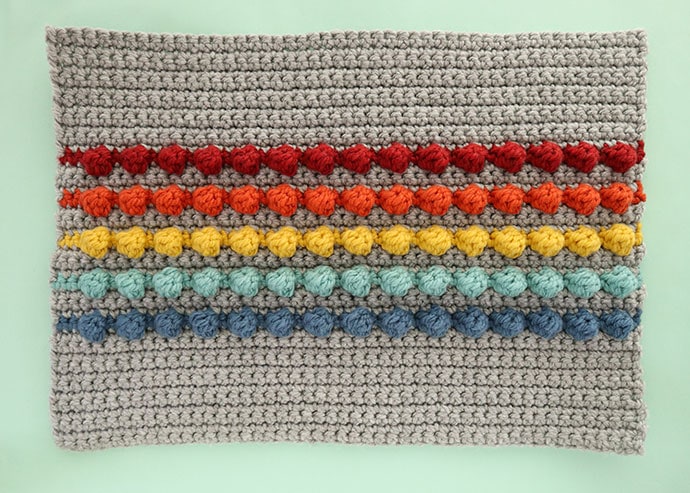
Using Grey Heather Yarn
Set up row – ch 48
R1 – work 1 sc into 2nd stitch in chain, then sc1 into each ch. (47st)
R2 – R12 – ch, turn, sc1 into each stitch. (47st)
change to blue yarn
R13 – ch, turn, (sc2, bl1)* repeat 15 times, sc2. (47st)
change to grey yarn
R14 – R16 – ch, turn, sc1 into each stitch.
change to green yarn
R17 – ch, turn, (sc2, bl1)* repeat 15 times, sc2. (47st)
change to grey yarn
R18 – R20 – ch, turn, sc1 into each stitch.
change to yellow yarn
R21 – ch, turn, (sc2, bl1)* repeat 15 times, sc2. (47st)
change to grey yarn
R22 – R24 – ch, turn, sc1 into each stitch.
change to orange yarn
R25 – ch, turn, (sc2, bl1)* repeat 15 times, sc2. (47st)
change to grey yarn
R26 – R28 – ch, turn, sc1 into each stitch.
change to red yarn
R29 – ch, turn, (sc2, bl1)* repeat 15 times, sc2. (47st)
change to grey yarn
R30 – R41 – ch, turn, sc1 into each stitch. (47st)
Break yarn and weave in ends.
Crochet Pillow Assembly Instructions
To assemble the pillow cover the back and front panels need to be sewn together.
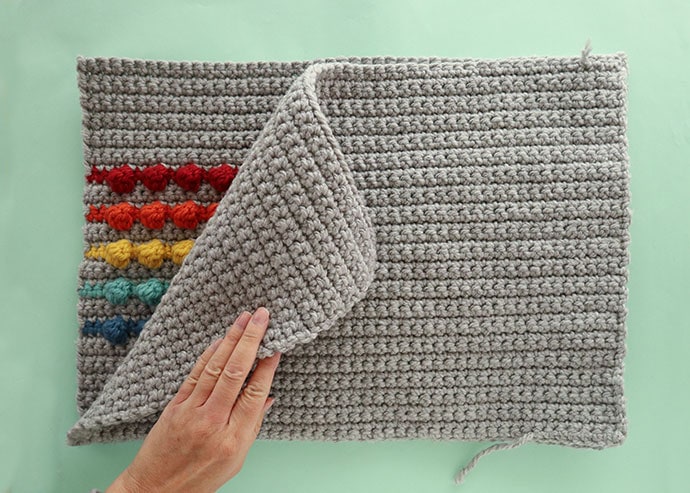
1. Lay the front and back panels together with right sides (sides that will be on the outside of the pillow) facing each other.
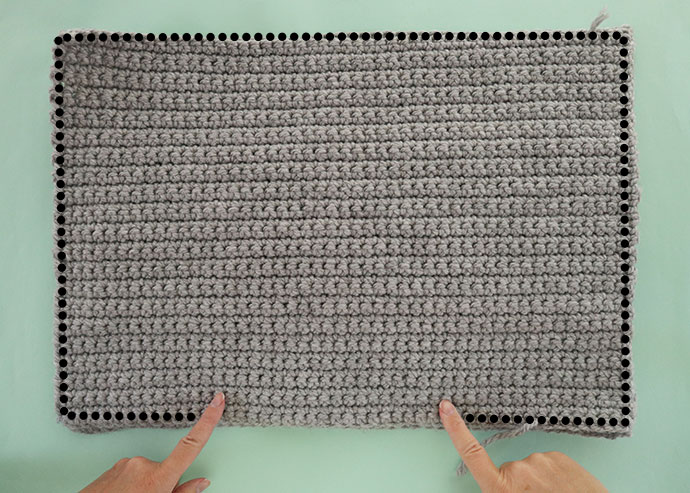
2. With matching yarn, sew using whip stitch around the edges leaving an opening large enough to fit cushion insert through.
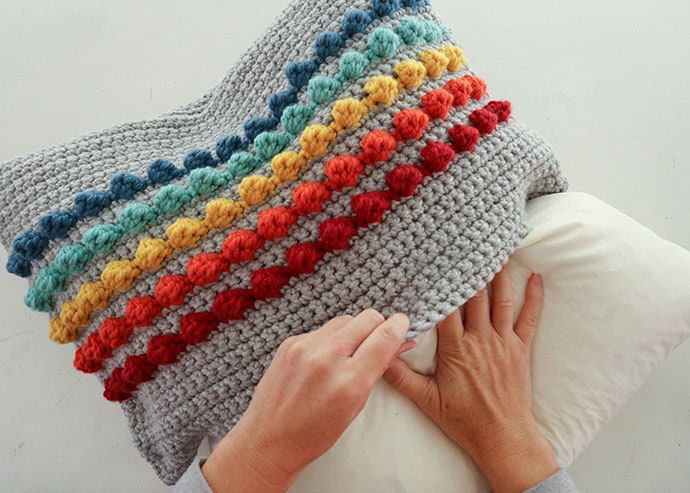
3. Stuff your cover with cushion insert. If you are using a square insert like I have, make sure you squish the filling down to make a rectangle shape and then fold over the extra fabric so you don’t have lumpy creases once the pillow is stuffed.
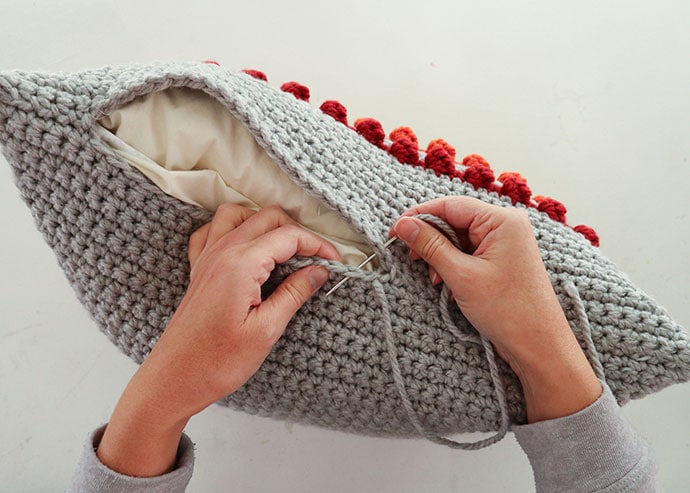
4. Sew the opening of the crochet pillow cover closed.
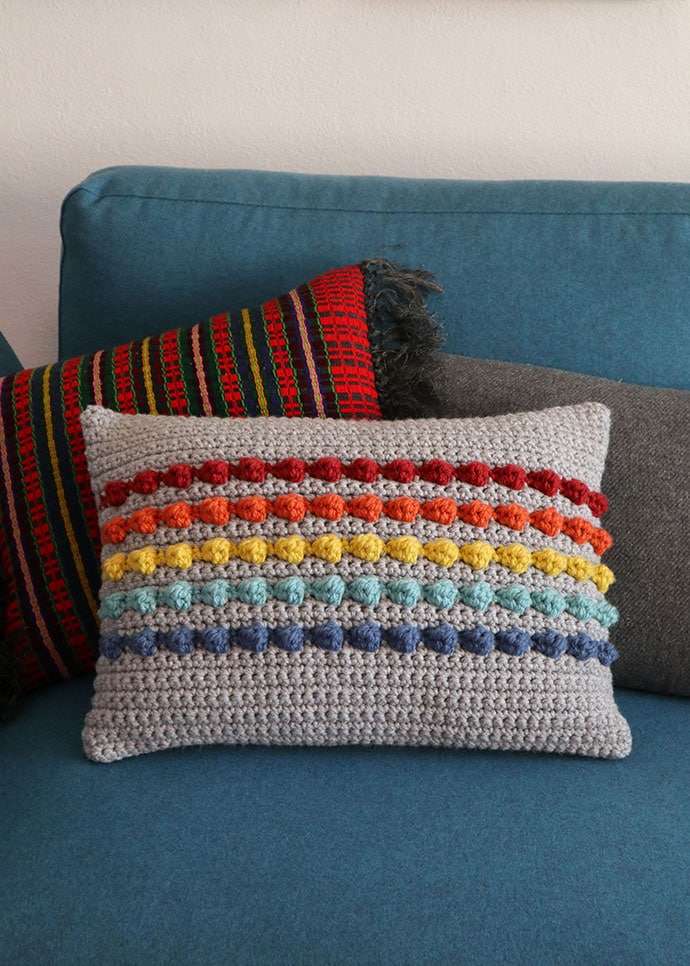
All done! I’m so pleased at how great this rainbow striped crochet cushion pattern turned out. I think it’s probably one of my most favourite crochet projects I’ve made so far.
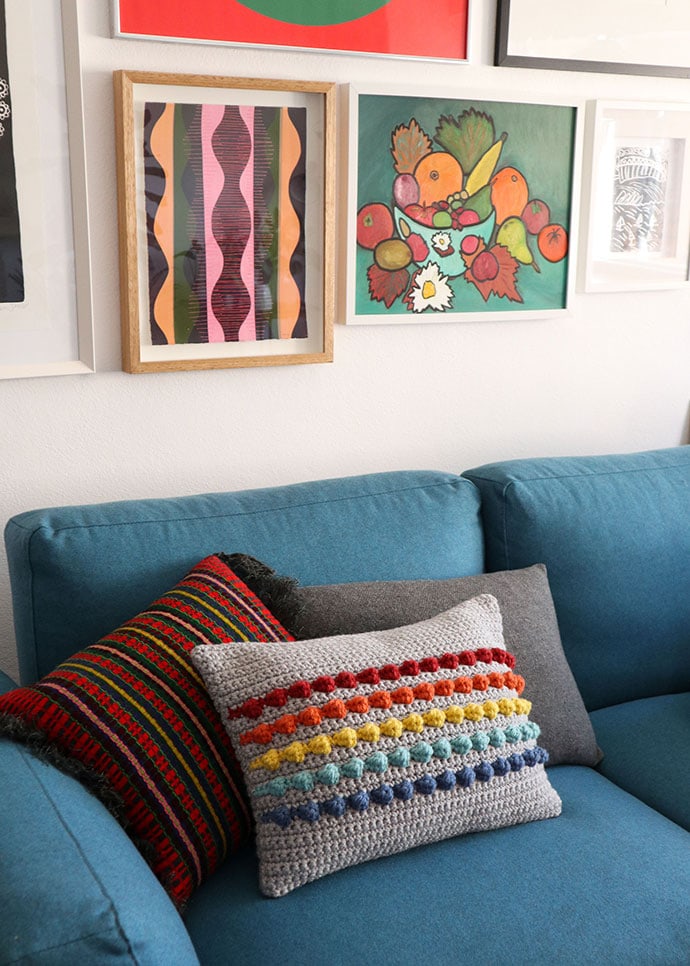
I hope you enjoy making this cushion cover crochet pattern.
Will you make yours rainbow hued or a solid colour?
Yarns featured are available from www.americanyarns.com.au


Hello! Trying to make this and I’m slightly confused on the bobble rows you single crochet 2 then bobble then single crochet 2 then bobble correct?
Thanks
Yes that’s correct.
I just ordered the pillow insert and the yarn for this pattern. I’m so pumped to make it!