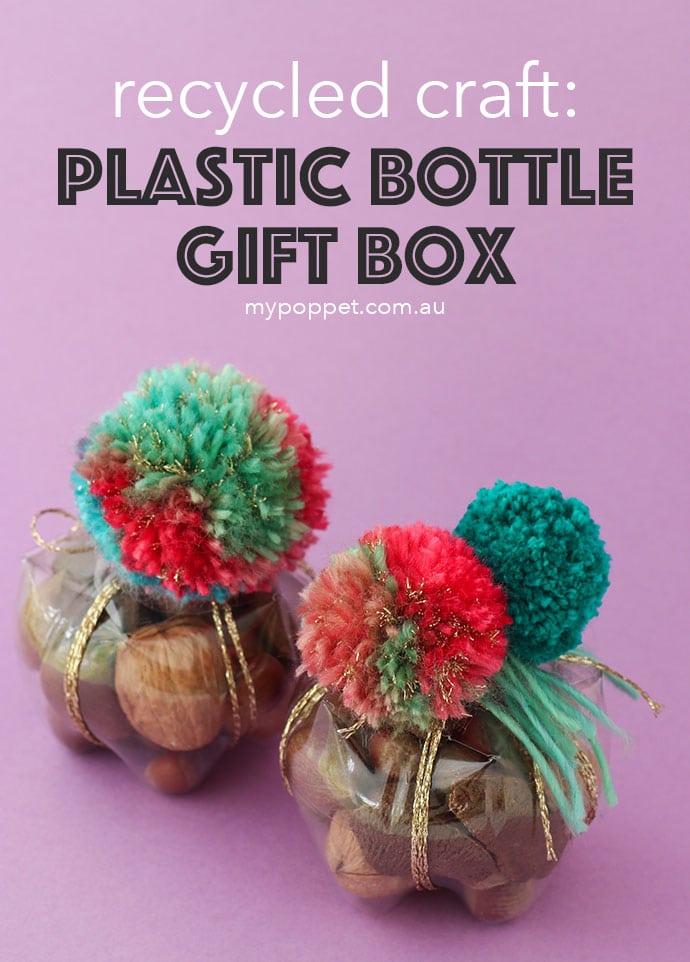
It never ceases to amaze me the useful stuff that can be made out of ‘rubbish’. Take the ubiquitous plastic bottle for example, you’ll find 1001 hacks on youtube for making all sorts of things with them, and I’ve just added another idea – a Plastic Bottle Gift Box. So useful for wrapping up small fragile gifts, food treats and corralling miscellaneous items.
In partnership with Nuts for Gifts
These little DIY containers can be used for utilitarian purposes like a mini sewing kit, keeping hair clips organised, storing craft or stationery supplies, keeping small toys like Lego tidy – really anything you can think of. They are great for travelling too.
I like the idea of using them as party favour boxes with food treats inside. They look so pretty filled with cookies, macarons, or as in my example, nuts. The bonus is they can be washed and reused over and over again.
Same idea with a Halloween twist – Pumpkin Gift Boxes
This great idea to make a little box out of a used soft drink (soda) bottle came from a lady at craft show a few years back. She was in the Decoupage Guild and had decorated the bottle boxes with paper designs. I asked if it was ok to share her idea, and she was happy for more people to get recycling.
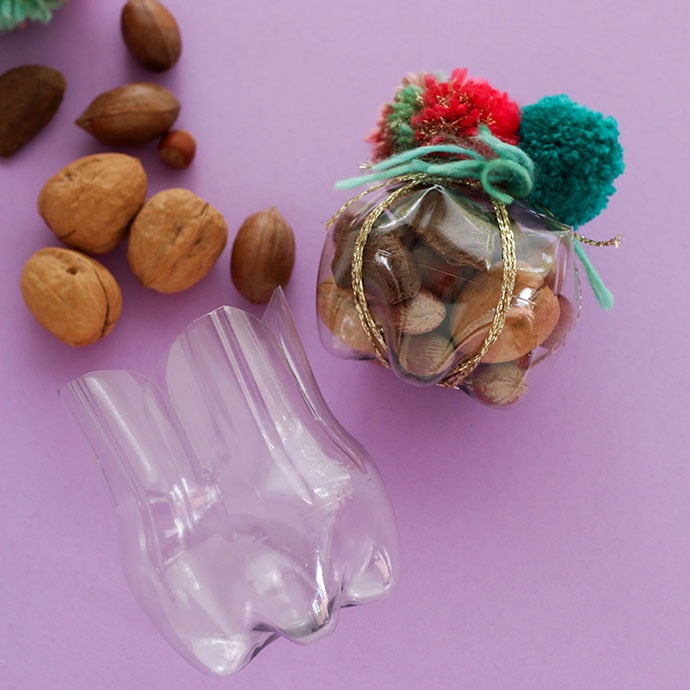
You can watch the video instructions above, but I’ve added some extra information below too.
If you don’t drink soft drinks at home (like us), ask friends and family who do to save their used bottles for you. In my experience the shape of Coca Cola brand bottles works the best.
How to make a Gift or Storage Box from a Plastic Bottle
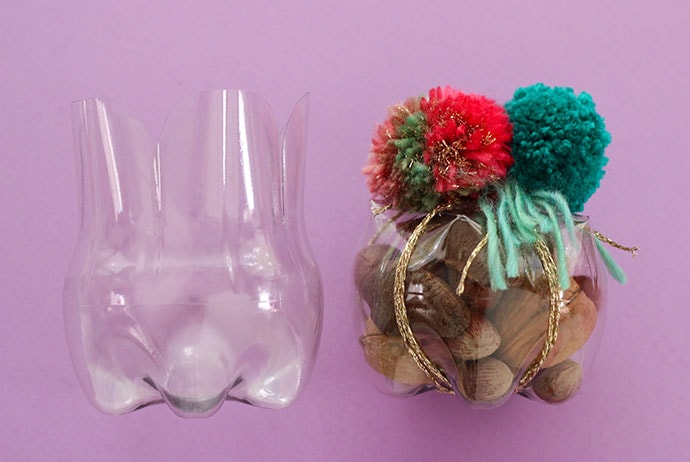
You will need:
- Plastic Soda Pop (soft drink) bottle – Coca Cola brand shape works best
- Craft knife
- Scissors
- Rubber band
- Small hole punch
- Wax pencil or marker (optional)
- Your choice of decoration eg: ribbon, yarn, pom poms
How to:
1. Wash out and dry the plastic bottle. Remove label.
2. Cut off the bottom of the bottle about 1cm from the bottom of the label section. Place a rubber band around the narrow part of the bottle base.
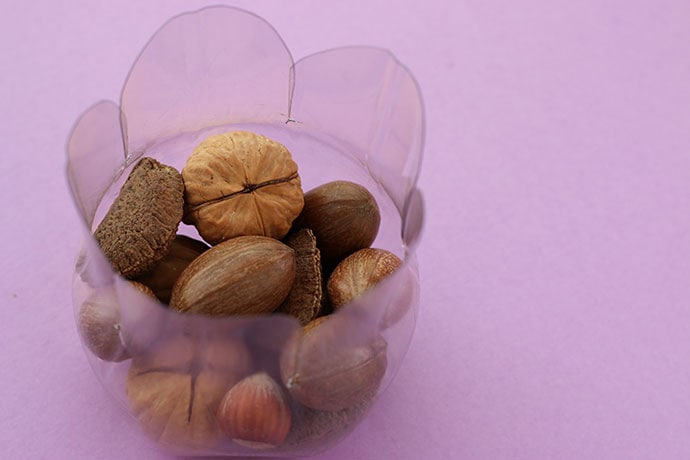
3. Coca Cola bottles have 10 ridges around the bottle. Cut every second ridge down to the rubber band, You will now have 5 little flaps.
4. Remove the rubber band and cut the corners off each flap. They should now look like little petals.
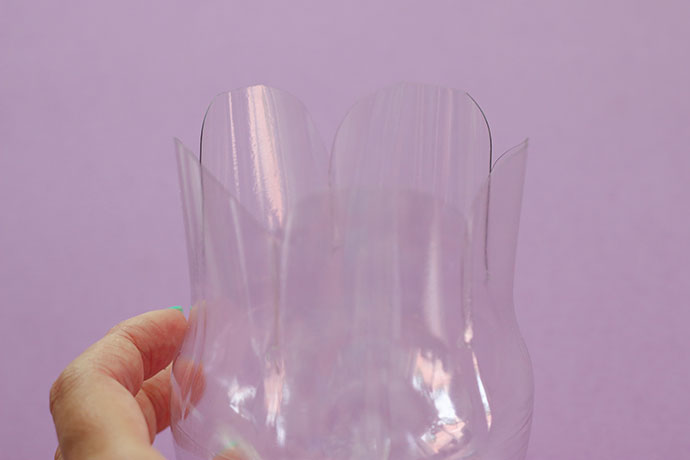
5. With your hole puncher, punch a hole in the base of each cut.
6. Now it’s ready to use. Fill with whatever you desire. It holds about a cup of stuff.
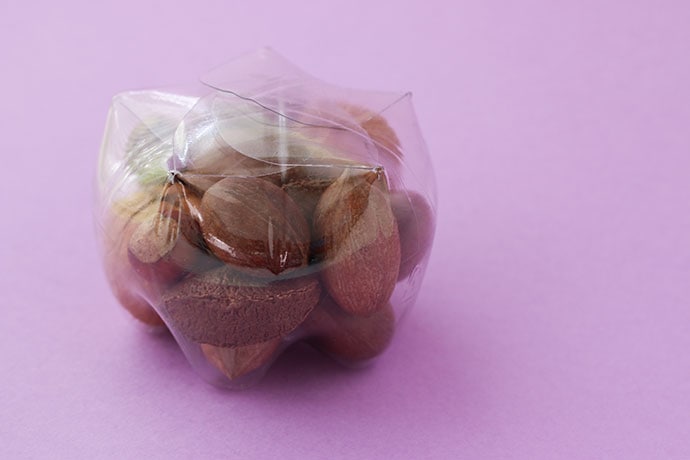
7. To close, simply fold each petal down. The shape of the bottle magically holds the petals in place and it’s surprisingly secure.
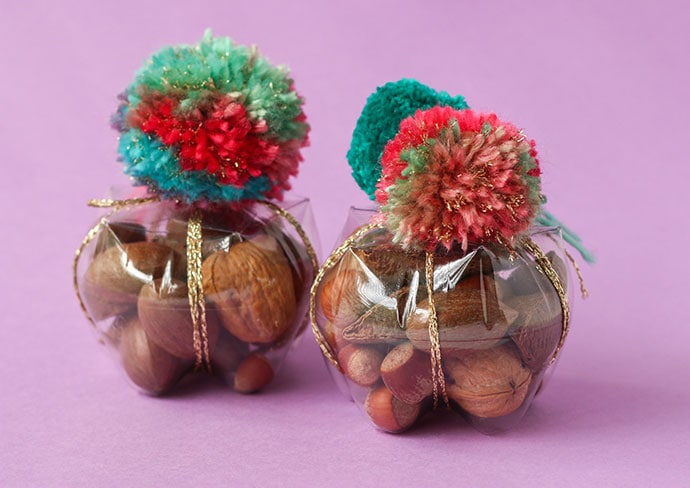
8. If you are using this little container as a gift box, go ahead and decorate it with ribbon, string, or yarn. I’ve chosen to add a metallic yarn for some extra bling, and of course some pom poms!
I’d love to hear some novel ideas about how you’d use these little recycled containers – leave me a comment with what will you put inside yours?
LOVE IT? PIN IT!

What a clever idea! I think using the rubber band is a neat trick, too. This would be a good way to package items that are too pretty to hide.
What a great idea! At first I thought that you’d shrunk the plastic with a heat gun, but I was thrilled to find out that it’s just cut and shaped, then folded! It looks fantastic! 🙂 Lisa
Hallo Cintia
du hast ganz tolle Jdeen, bin total begeitert, werde einige Sachen nachmachen, freue mich auf viele weiteren gute Jdeen von dir.
Liebe Grüsse aus der Schweiz
Claire
Translation –
Hello Cintia
you have very nice ideas, I am very enthusiastic, I will imitate some things, I look forward to many more good ideas from you.
Greetings from Switzerland
Claire
Thanks so much Claire, have fun making lots of projects.