
This post contains affiliate links
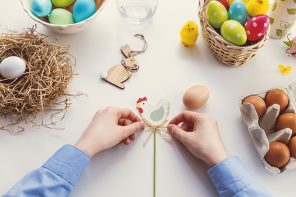
Easter falls quite early this year so it’s time to get the kids involved with some fun Easter themed crafting. This Decoupage Easter Egg project was inspired by some pretty patterned tissue paper that came wrapped around a clothing purchase a while ago, it reminded me of the lovely designs on Ukrainian Pysanka Eggs.
Pysanka eggs require an insane amount of skill to make, so these decoupaged eggs are a fun kid friendly alternative that look super pretty en masse as an Easter Decoration.
Don’t be fooled into thinking this project will only appeal to kids. I had just as much fun making them too. In fact, I only stopped because I ran out of Styrofoam egg bases!
All the materials required to make this Easter craft are very inexpensive, you may even have some laying about already.
You will need:
- Styrofoam egg shape
- Patterned tissue paper (if you don’t have patterned paper, try tissue paper in assorted colours)
- PVA craft glue or Mod Podge
- Brush
- Container or bowl for glue
- Protected surface and drying space
- Damp Cloth (to clean sticky fingers)
How to make Decoupage Easter Eggs:

1. Gather your supplies.
2. If using PVA glue, squirt a small amount in a plastic container or bowl. Add about a tablespoon of water and mix to thin slightly.
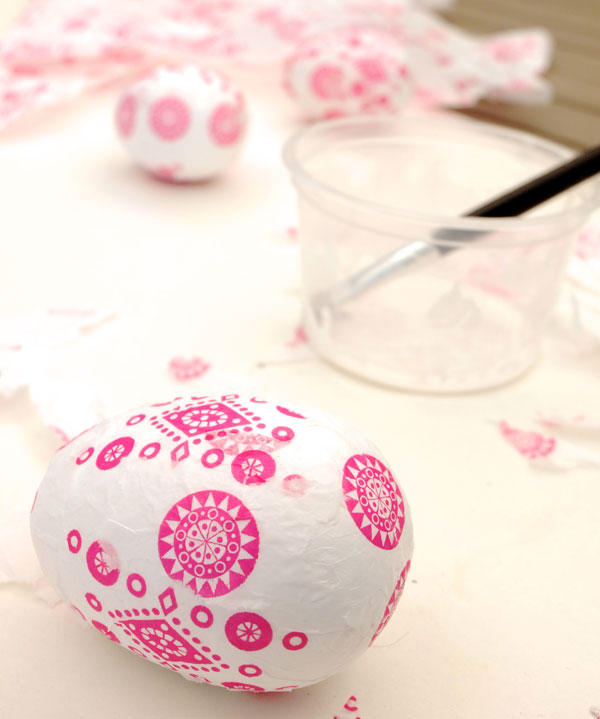
3. Tear up tissue into small pieces about the size of a large coin. If you have patterned paper, try to tear around each motif.
4. Apply a very thin layer of glue to half the egg.
5. Place the pieces of tissue onto the glued surface pressing down lightly.
6. Allow one half to dry and then repeat on other half.
Let the kids have some fun with their design, don’t be too precious. Try this project with different colours of tissue paper to make a rainbow of eggs.
Tips for best results:
- A very thin layer of glue is best. It will dry quicker and not soak through paper as much.
- Wipe glue off hands as sticky fingers can tear away tissue paper that hasn’t quite set.
- Work on small sections at a time to give you some glue free area to hold egg.
- Outside on a windy day is not ideal (learned that the hard way. Doh!)
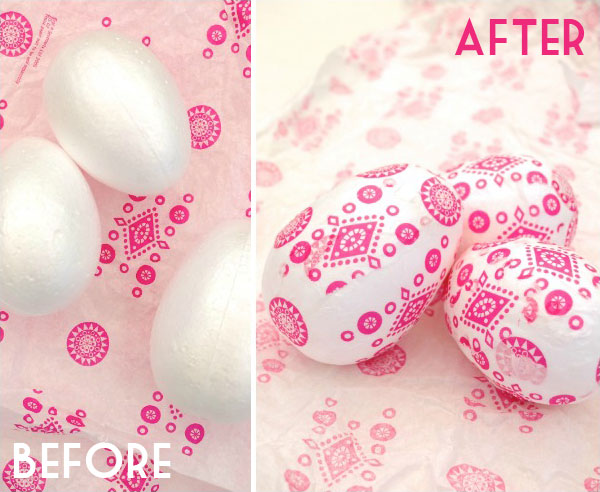
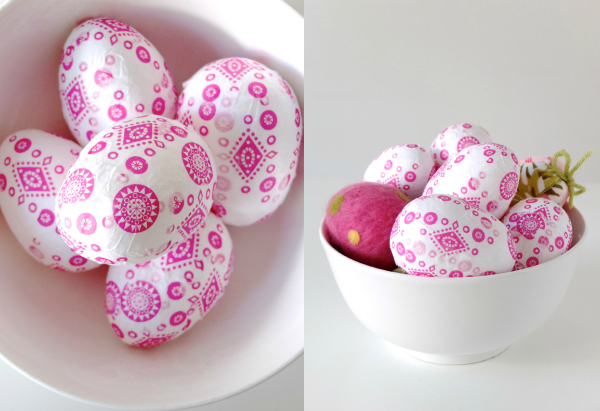
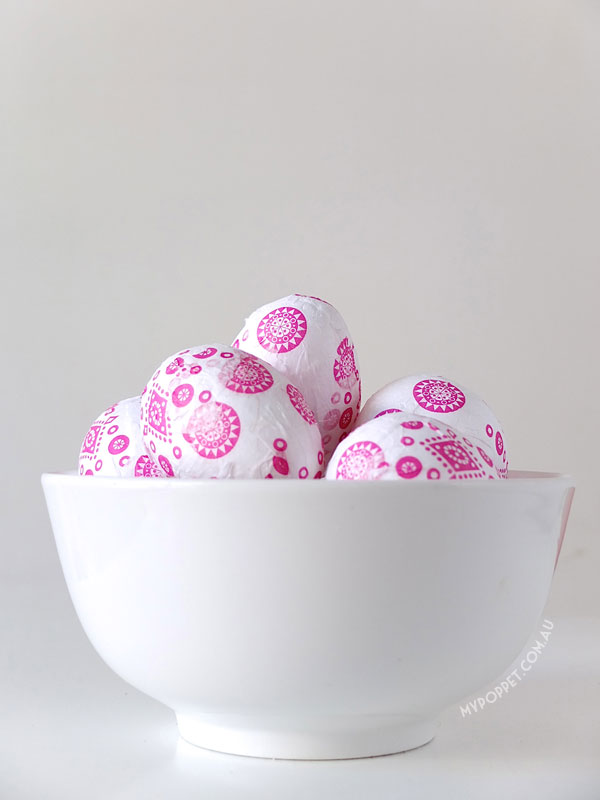
I love how they turned out. You can tell the ones I made from those that Emma made because I’ve been a little more careful with design placement.
They look lovely in a bowl and would make a pretty and unobtrusive center piece for at table at Easter. I’ve teamed them here with some past decorative Easter egg projects that use a styrofoam egg base as well – Needle Felted Easter Egg and Fabric Covered Easter Eggs.
Next time you come across some pretty tissue paper in your shopping bag or wrapped around a gift, don’t throw it away. Save it for a craft project like these Decoupage Easter eggs.
More Easter Craft Projects to try:
What a neat idea! I think I will have to try this!
oh please tell me the name of the font that you used on the main “kids craft:” heading – I LOVE it 🙂
Sure thing. It’s called Clementine Sketch 🙂
Great idea. How long did they take to dry? I’m looking to do this with a group of kids and I have about an hour with them.
If you don’t overdo the glue it should dry fairly quickly. If you use styrofoam eggs why not put them on a skewer so the kids can work on all sides at once?
aaaw this is beautiful, pretty.
Thank you for this great fun project diy and the sharing.
Wishing you a great happy easter time;-D
Hi i love ur site……i run craft workshops and ur ideas are great use Thanx….if you have any more ideas that i can use for ages 7 to 12 very inexpensive ones or even what you have pls could you mail me with pix ….i just love this site! Thanx again
Jahaan
This is a great way for kids who don’t have great art skills. This year, I will persuade my son to prepare such decorations, but made of empty eggs. It will be a little harder for him, but he is no longer small. We have some single napkins from last years. They will be perfect!