It’s time to gather up your prettiest fabric scraps, I’ve got a gorgeous Easter craft project that will make great use of them.
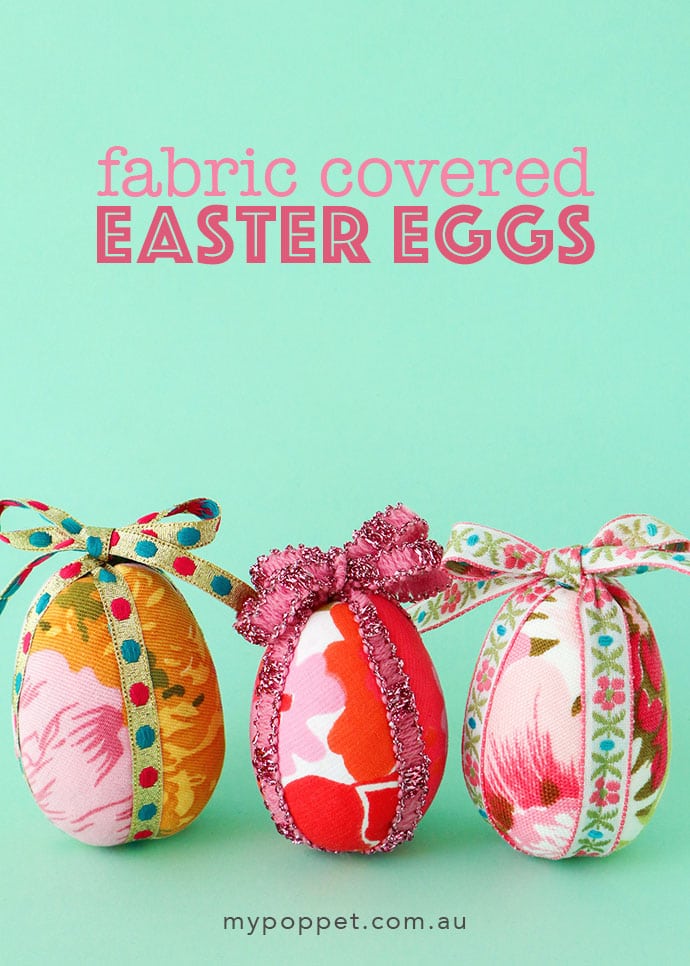
These fabric covered Easter eggs are very easy to make, and add a colourful decorative touch to your home decor at Easter time.
Fill a bowl with colourful fabric covered eggs for a stunning table centerpiece, or hang several from some dried branches to make a beautiful Easter Tree.
I can’t guarantee that the kids won’t try to unwrap them in search for chocolate though!
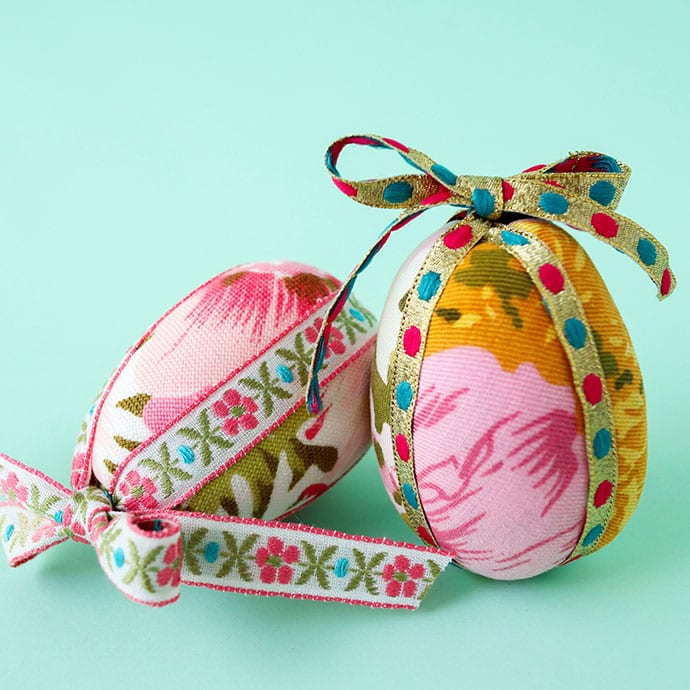
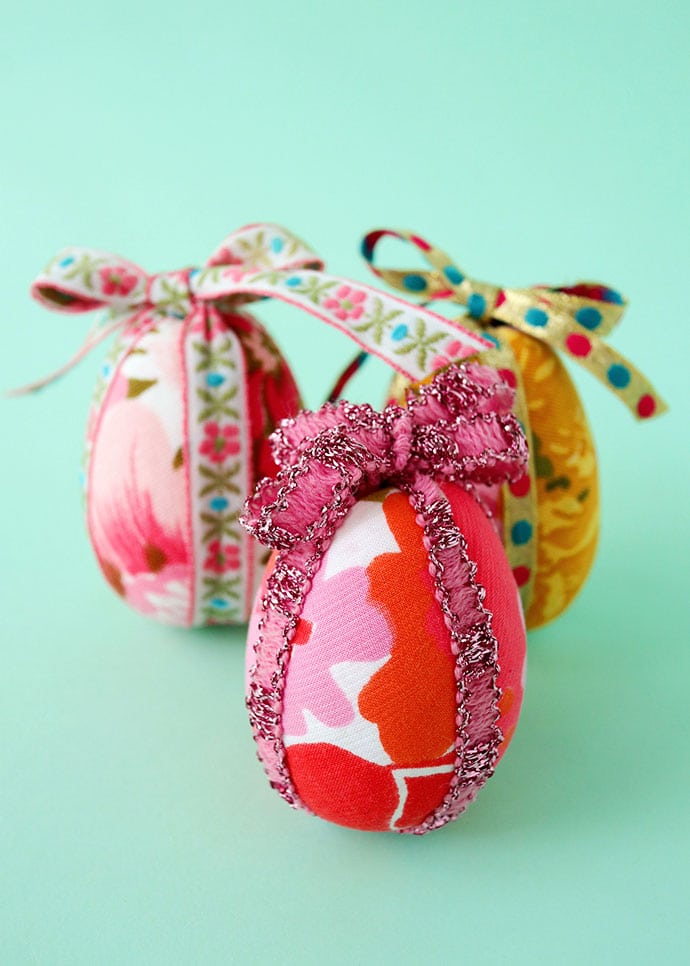
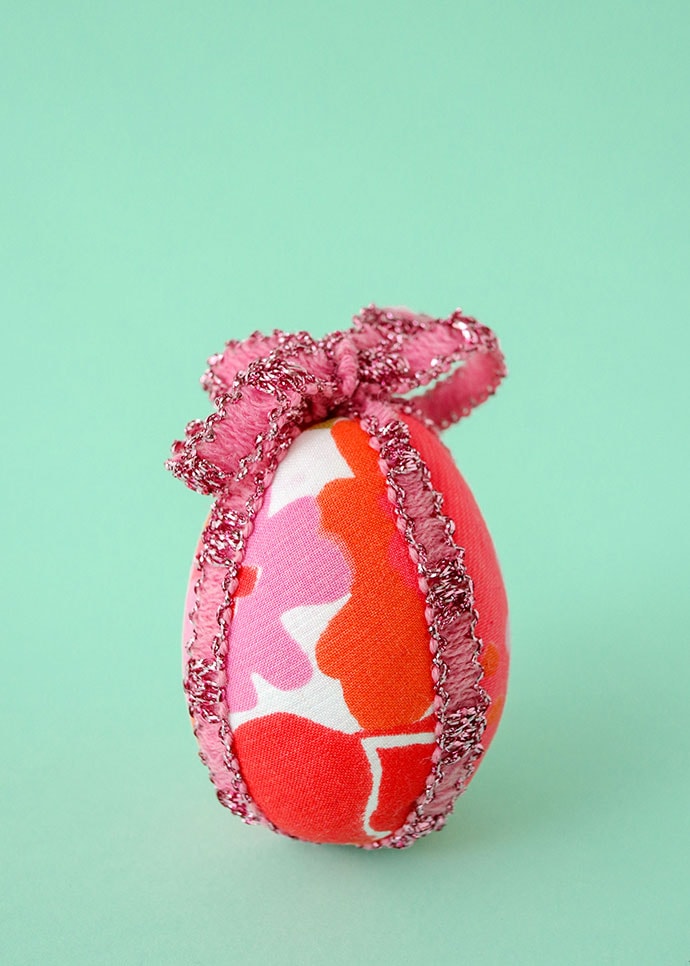
I love any excuse to showcase my vintage ribbons and trims, and had a lot of fun mixing and matching my trims and fabric scraps. If you don’t have any ribbons or decorative vintage trims, you can use some chunky yarn scraps instead.
The egg shapes are made of Styrofoam, which makes them very durable. No accidental breakages to worry about.
This is also a fun Easter craft project to make with kids, just make sure an adult is doing the cutting.
You will need:
- Medium or large Styrofoam egg shape (available at craft stores – Sometimes called Polystyrene or Decofoam)
- Fabric Scraps minimum size 8″x8″ depending on size of your egg
- Length of co-coordinating ribbon, vintage braid, or yarn
- Marker
- Craft knife
- Butter knife
- Scissors
- Craft glue (optional)
How to make a Decorative Fabric Covered Easter Eggs
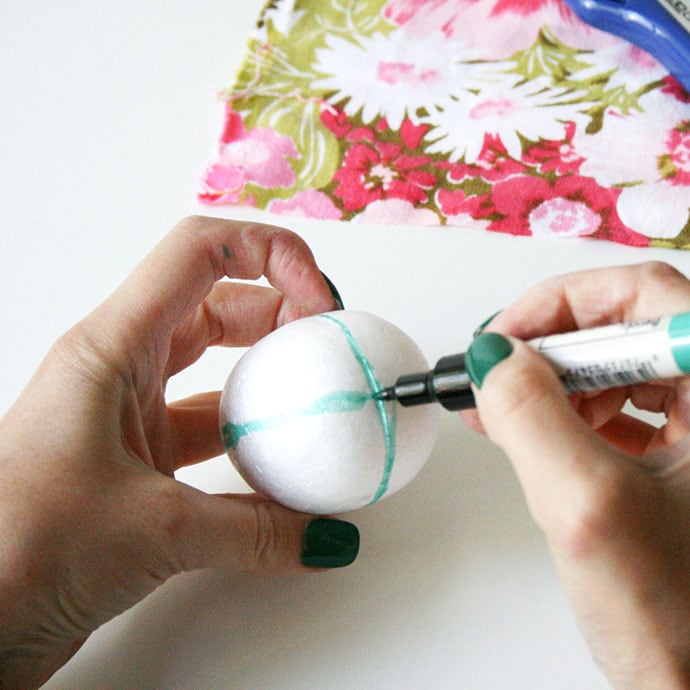
1. With a permanent marker, draw lines dividing your egg into quarters.
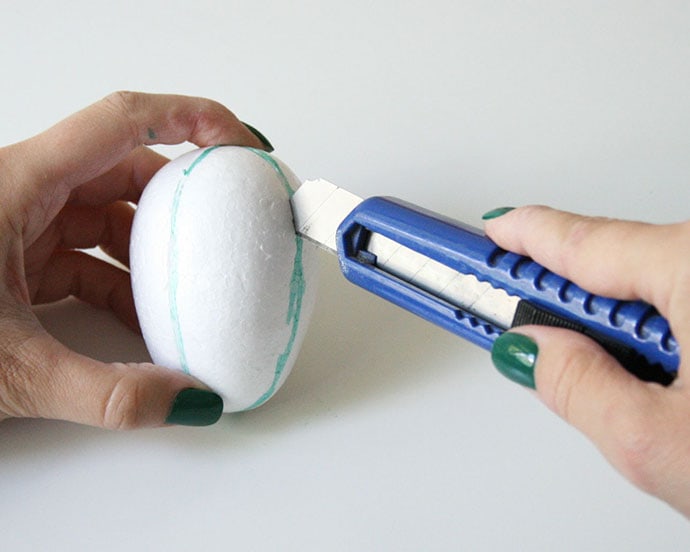
2. With your blade carefully cut into the Styrofoam egg along markings about 1cm (1/2″) deep. Too shallow and you won’t be able to push your fabric in, too deep and your egg will come apart.
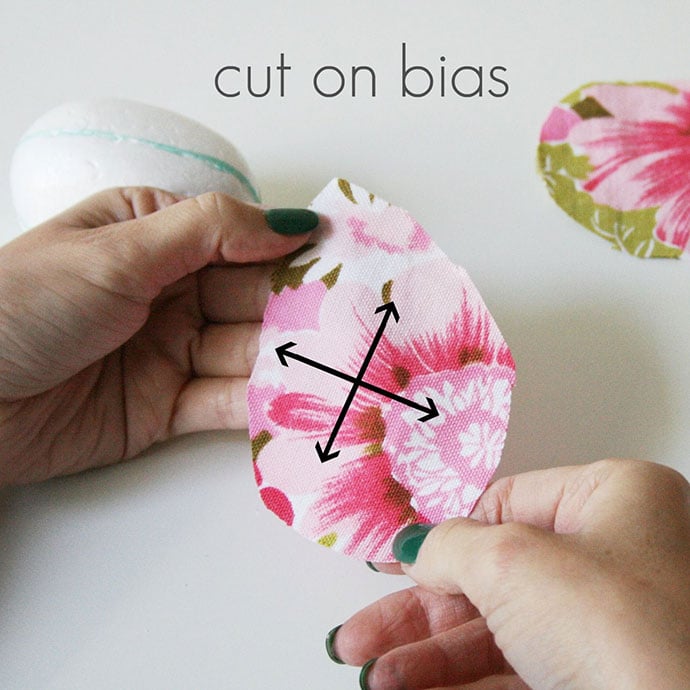
3. Cut 4 tear drop shapes from your scrap fabric large enough to cover a ¼ of the egg shape. You can use the same fabric for the whole egg, or assorted co-coordinating fabrics.
It’s best to cut the fabric on the bias so it can stretch over the curved egg shape.
The size does not have to be exact as you can always trim it down, just make sure it is large enough to cover the area with about 1 cm (1/2″) to spare.
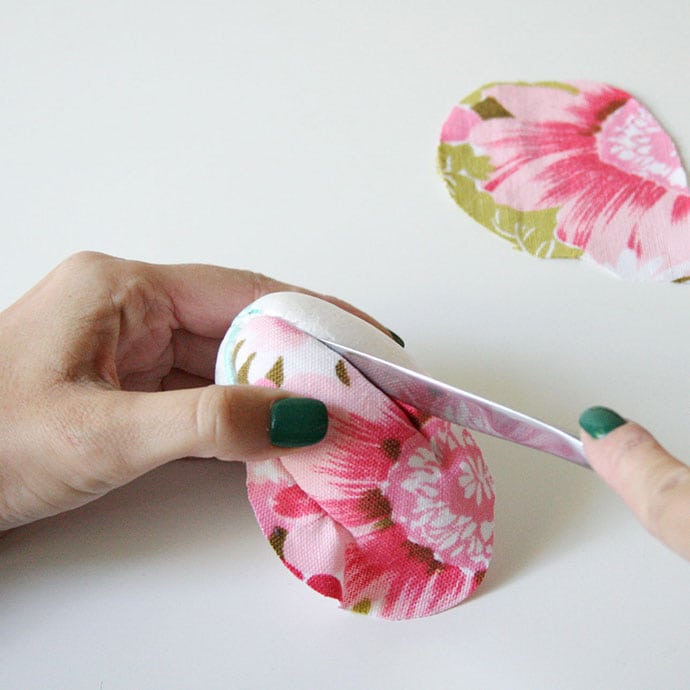
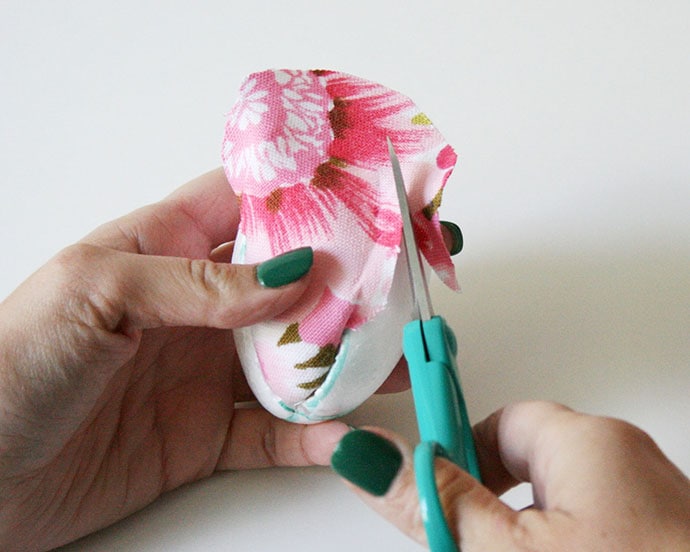
4. With a butter knife, gently push the edges of the fabric into the cuts. If there is too much fabric poking out, carefully pull it out and trim it back until all the edges tuck in neatly.
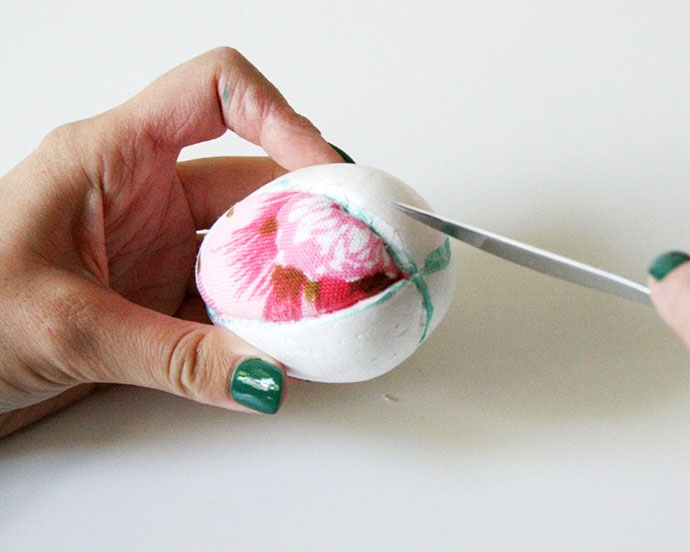
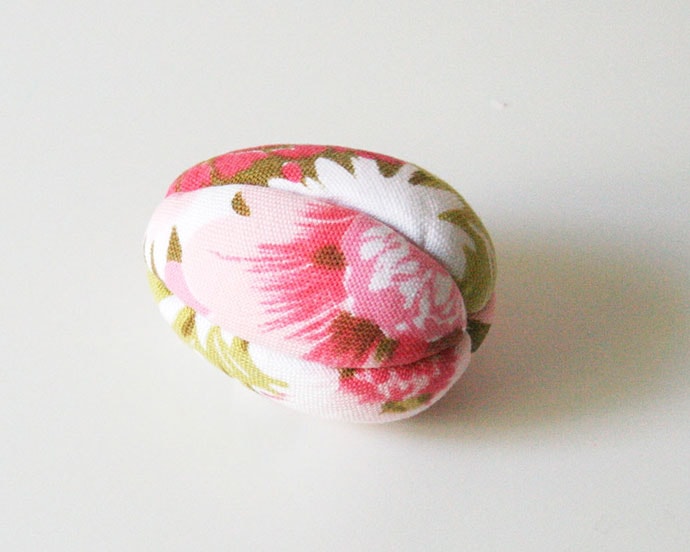
5. Repeat this process on all four quarters. It doesn’t matter if the joins aren’t perfect as they’ll be covered over by the ribbon in the next step.
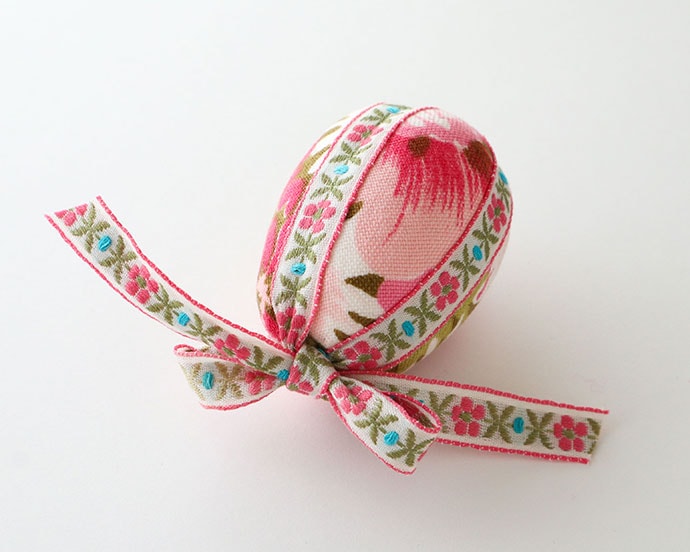
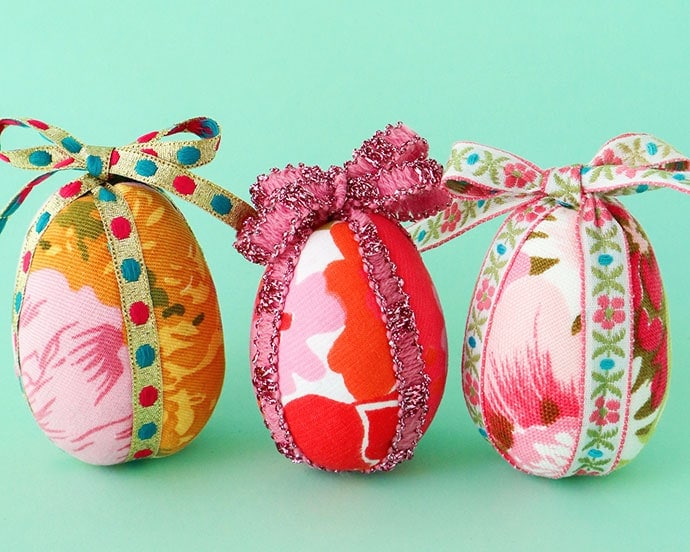
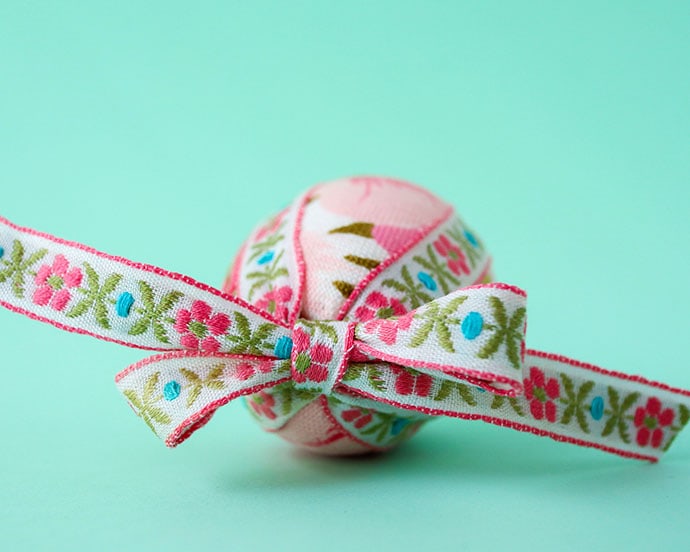
6. Wrap ribbon or trim over the joins, knotting and finishing with a bow on top. You can add a few drops of glue under the ribbon to secure if desired.
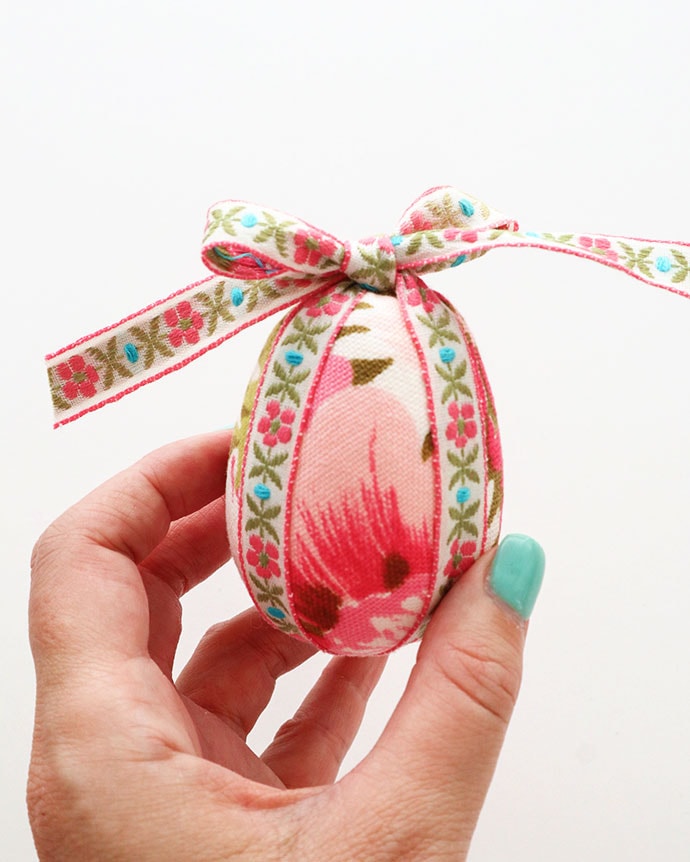
If you intend on hanging the fabric covered Easter eggs, add a small knotted hanging loop made of thread.
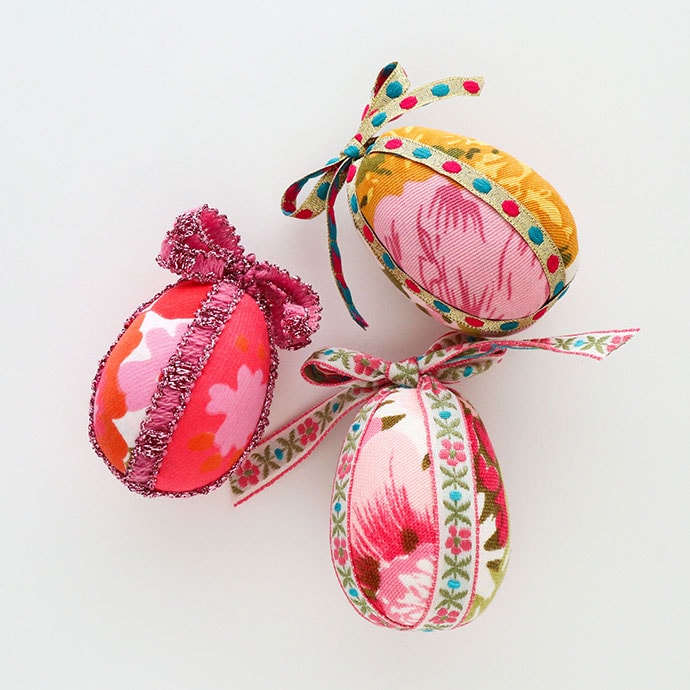
What a gorgeous way to show off your favourite fabrics and vintage trims. I couldn’t stop at just one egg.
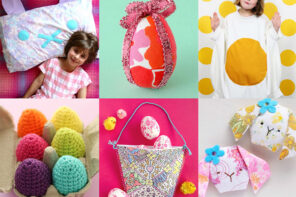
Here are some more Easter Egg Craft projects you may enjoy:
- Decoupage Easter Eggs – Kids Craft
- Crochet Easter Eggs
- Easter Egg Colouring Page
- Paper Cup Easter Basket
- Needle Felted Easter Eggs
This post was originally published April 2011 and updated March 2019

This would be a great little activity for the school holidays. Must keep my eye out for some polystyrene eggs.
I'm TOTALLY going to make those. Adorable. They seem like something that wouldn't be too overwhelming for me and my short attention span 🙂
These are perfect and very sweet. Each year I decorate eggs for our Easter egg hunt and these will go so well with our expanding collection.
OK, that is really cute. Simple, easy and really – cute!
this is the coolest! thanks for sharing.
Really cute idea! I love that you can use practically any fabric to match your decor as well. Great tutorial!
Jill of oursevendwarfs.com
Such a gorgeous idea! Thanks for this! I love Emma's rug, it's so beautiful even more so because you made it yourself from thrifted jumpers. Love it. Must get myself a sewing machine! Thanks for the inspiration!
Cute!
Thanks for sharing!
Kisses
Sue
so cute! very unique way to do easter eggs 🙂
These are so cute! Perfect way to use up some pretty ribbons I have been saving. Thanks for sharing