
How do you like your eggs? Scrambled, Sunny side up or made of felt?
How about a pocket-sized Fried Egg Coin Purse that will hold all your loose change. Made of recycled wool knitwear, this little DIY coin purse will bring a smile to your face every time you need to feed the parking meter.
Handy for storing lots of small items, not just coins. This little felty fried egg pouch will help you wrangle:
- Ear Pods or headphones
- Stitch markers
- Jewellery
- Keys
- Tampons
- Medicine, tablet strips, bandaids
- Charger cords
So many uses for this humble DIY coin purse!
This little coin purse can be fully sewn by hand, which makes it the perfect beginner project. If you don’t fancy hand stitching, you can fire up the sewing machine and whip it up in half the time.
I seem to have quite an affinity for making fried egg craft projects, especially after sewing Emma her very own Fried Egg Costume. That costume lead me to make myself a pair of Fried Egg Earrings, and now an eggy coin purse!
How to make a Fried Egg Coin Purse
You will need:
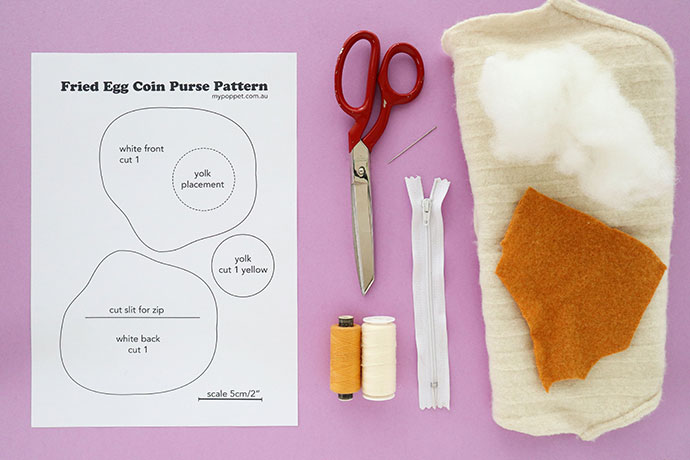
- Coin Purse Pattern Template – Download & Print Here
- Wool felt – homemade or commercially made – white & yellow
- Stuffing – wool, cotton or polyester
- Sewing thread (white & yellow)
- Small zipper
- Scissors
- Hand sewing needle (or sewing machine)
- Dressmakers Pins
Note: This project has been made in recycled wool felt made from knitwear has been washed in a warm/hot machine cycle to allow the fibres to felt so edges do not fray. Purchased wool or wool polyester felt may be substituted.
How to:
Coin Purse finished size = 12x12cm (4.5″x5″)
1. Download and print Coin Purse Pattern Template and cut out pattern pieces.
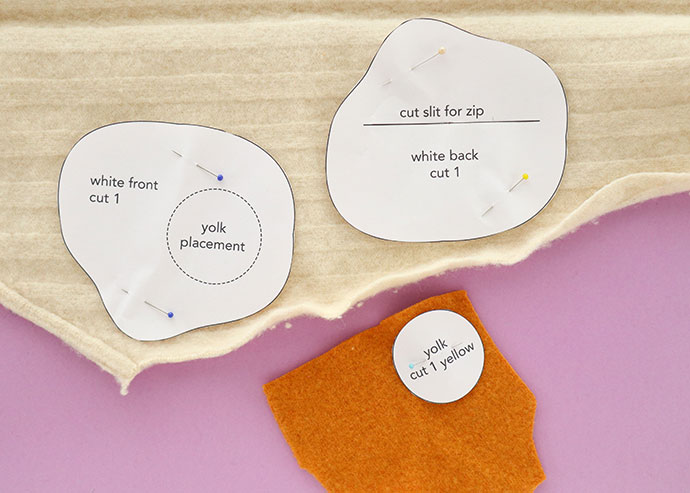
2. Pin pattern pieces onto felt. From white felt cut 1 x front, 1 x back. From Yellow felt cut 1 x yolk.
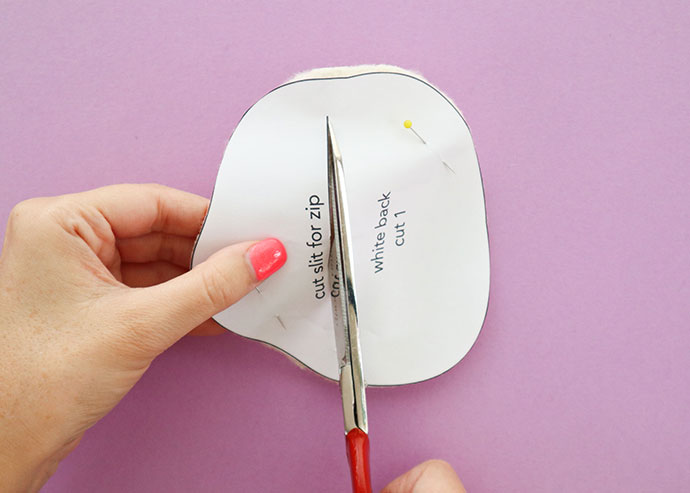
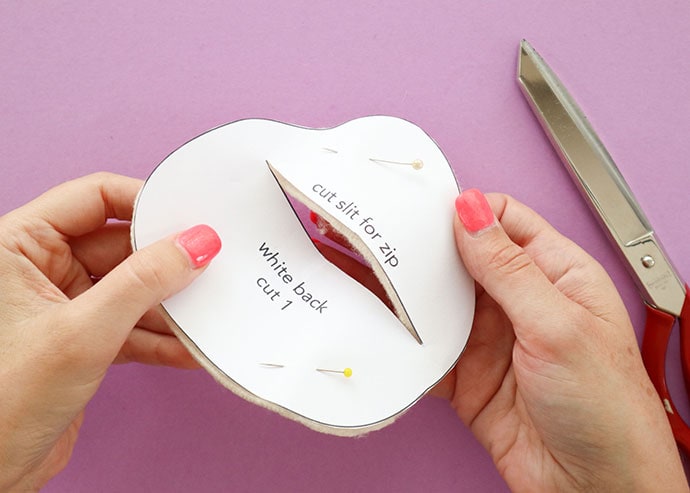
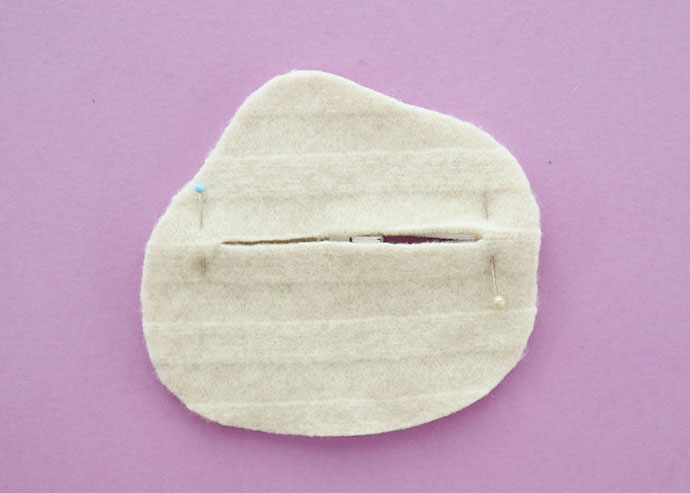
3. Cut slit for zip in back piece. Sharp scissors will make this easier. You may also use a rotary cutter and mat if desired.

Let’s make the Coin Purse Front
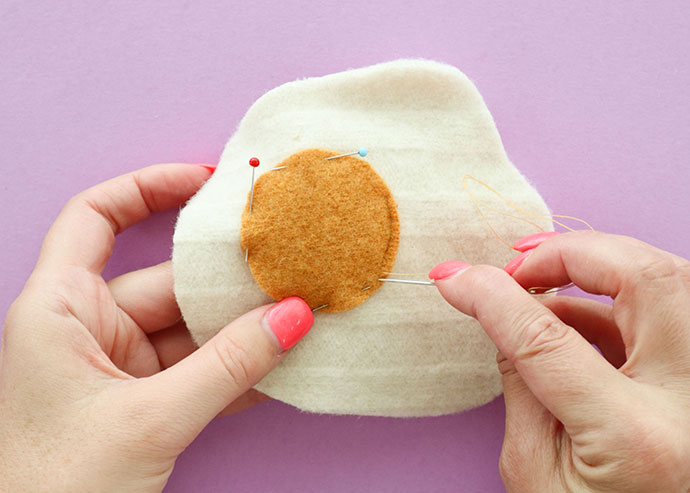
4. Pin yolk to front piece using pattern template as a placement guide. With matching yellow thread, hand stitch egg yolk piece onto front piece about ¾ of the way around. I’ve used a small back-stitch. You can also use a sewing machine if desired.
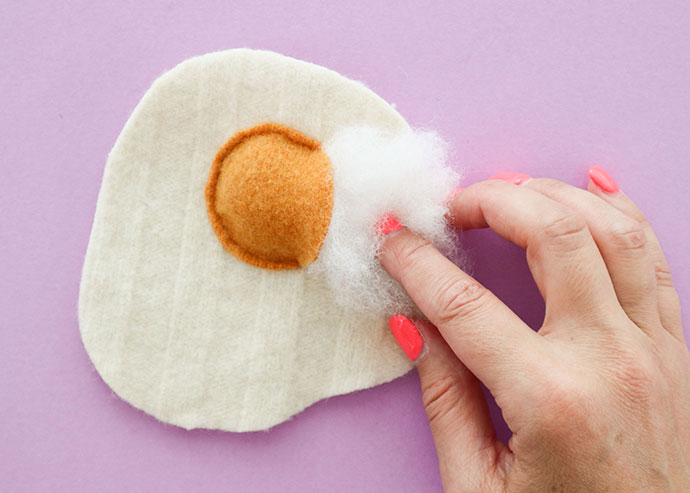
5. Stuff yolk with a little bit of stuffing to give it a gently domed shape, just like a real egg yolk.
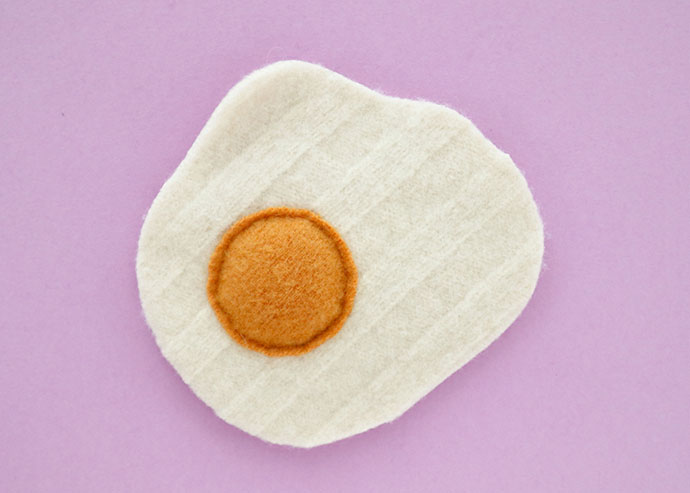
6. Finish sewing around egg yolk piece. Set this completed front piece aside.
Making the coin purse back and attaching zipper
It’s likely you will need to shorten you zipper to match the size of the opening on the back of the purse. It’s very easy to do, I’ll show you how.
Tip: Don’t get the right and wrong side of this back pattern piece muddled up or you’ll sew the zip on the wrong way. Best to mark the front of the piece with a pin so there is no confusion.

7. Line the base (bottom end) of the zip with one end of the opening and with a pencil or pin, mark where you need the zip to finish. Make sure the zipper pull is moved down below the mark.

8. Hand sew the zip end closed over the teeth and trim off excess zipper.
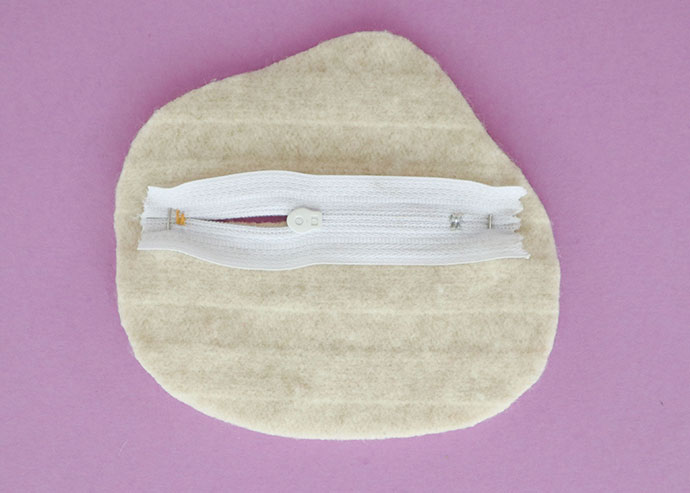
9. Pin zipper in place behind the opening.


10. With matching thread, hand stitch zipper in place. It helps to add a few extra pins around the opening to keep the zip from sliding around as you sew. A small running stitch will work fine for this job.
Final Coin Purse Assembly

11. Pin front and back of coin purse together with wrong sides matching. There’s no turning inside out so the finished sides should be on the outside at this stage.

12. Hand stitch (or machine sew) around the edges of the purse. I’ve used a small whip stitch which is strong but flexible.

All done and ready to use! How cute does it look?
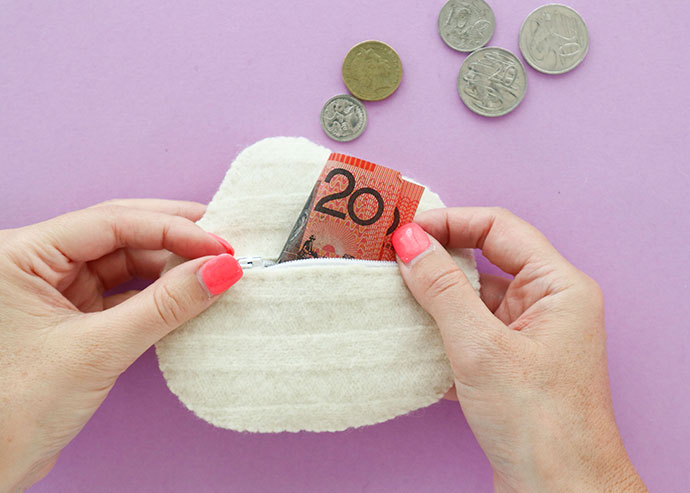
Big enough to fit plenty of money and even a card or two, but still small enough to fit in your pocket if you aren’t taking a handbag.

The zip opening is just large enough to slide a regular sized credit card in.

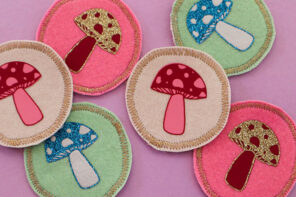
Here’s some more Fried Egg inspired craft projects to make:


I had to laugh because I read this post while eating fried eggs for breakfast.:-) Cute project!
Cintia! I love this. I’ve had fried eggs on the brain, and now I want to make this.
Super cute Cintia! (I’m so pleased too as I think that white felt might be from some offcuts of a jumper I felted and passed on to you??)
Yes, I think that came out of that big bag of sweaters you gave me.
This is eggcellent!
love love love this coin purse, super cute!
great idea! I’m making one for sure!
Omg this is one of the cutest DIYs I’ve ever seen. That egg purse is adorable and a perfect Easter gift xo