This post contains affiliate links – This is a guest post by Danie Pout
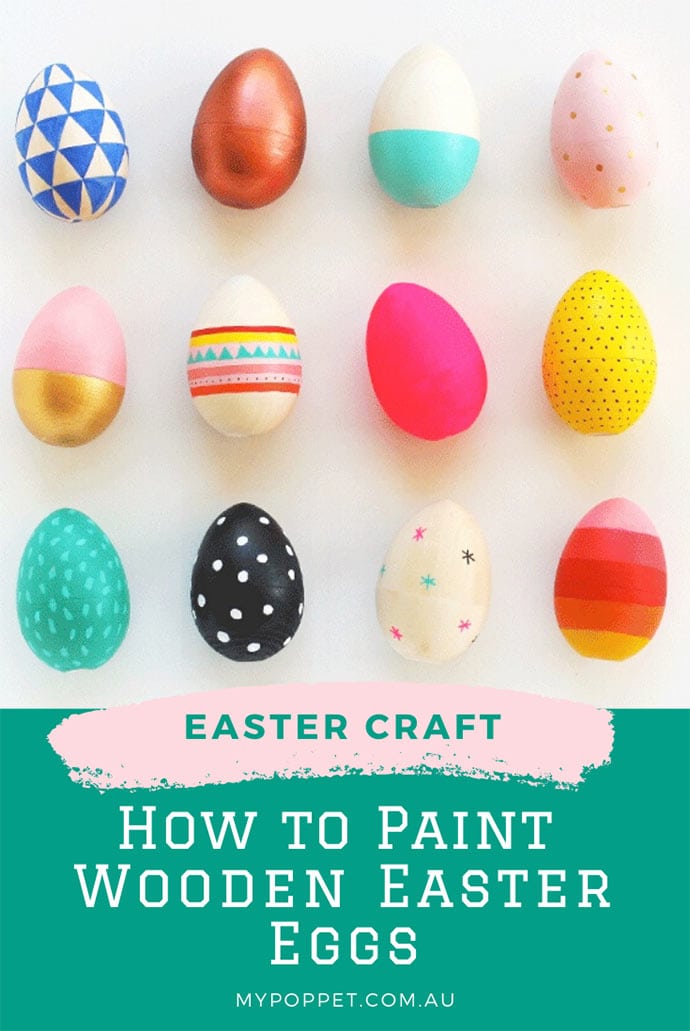
I love hollow wooden Easter eggs, they’re beautiful both in their natural state or decorated. Just imagine receiving a hand decorated egg for Easter – one that you can keep and admire! Such a wonderful personalised Easter gift idea.
The hollow wooden eggs are easy to paint. For this tutorial I have used acrylic hobby paint, but I encourage you to have a play with different materials – water colours, markers, decoupage, washi tape, ink etc.
Along with looking good, these eggs are great for hiding surprise treats inside! I have had a lot of fun shopping for these treats and putting together some inspiration for a non-chocolate Easter!
You may also enjoy these Easter Egg Crafts:
Okay. Let’s get cracking… (heehee).
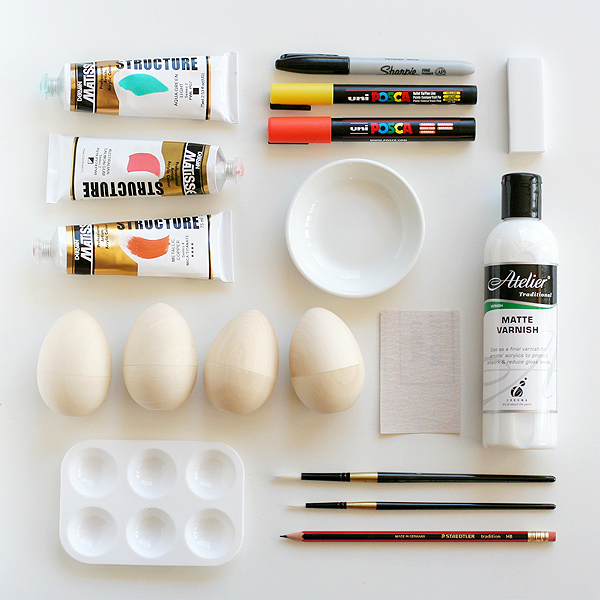
You will need:
- Hollow wooden eggs available here on amazon or etsy
- Small piece of very fine sandpaper
- Pencil
- Eraser
- Paint (we have used acrylic)
- Paint markers and Sharpie markers
- Brushes
- Matte Varnish
How to Design and Paint Wooden Easter Eggs:
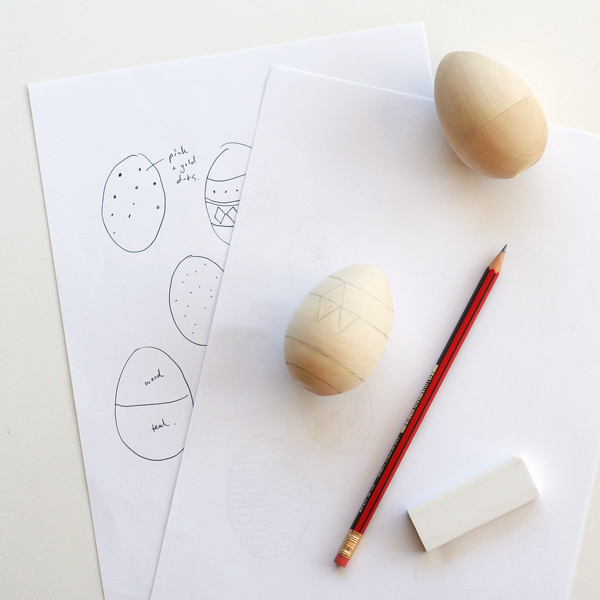
Step 1: Design your eggs!
You may find it helpful to sketch some ideas and patterns for your eggs before you start painting.
Creating colour roughs, with markers or paint, is also a good way to see how your egg designs will co-ordinate together.
Use a pencil to lightly sketch an outline of your design on the egg. It’s much easier to erase any mistakes at this stage! Keep the line work nice and light so that it will not show thorough your paint.
Step 2: Lightly sand your wooden eggs if required.

Step 3: Paint your eggs.
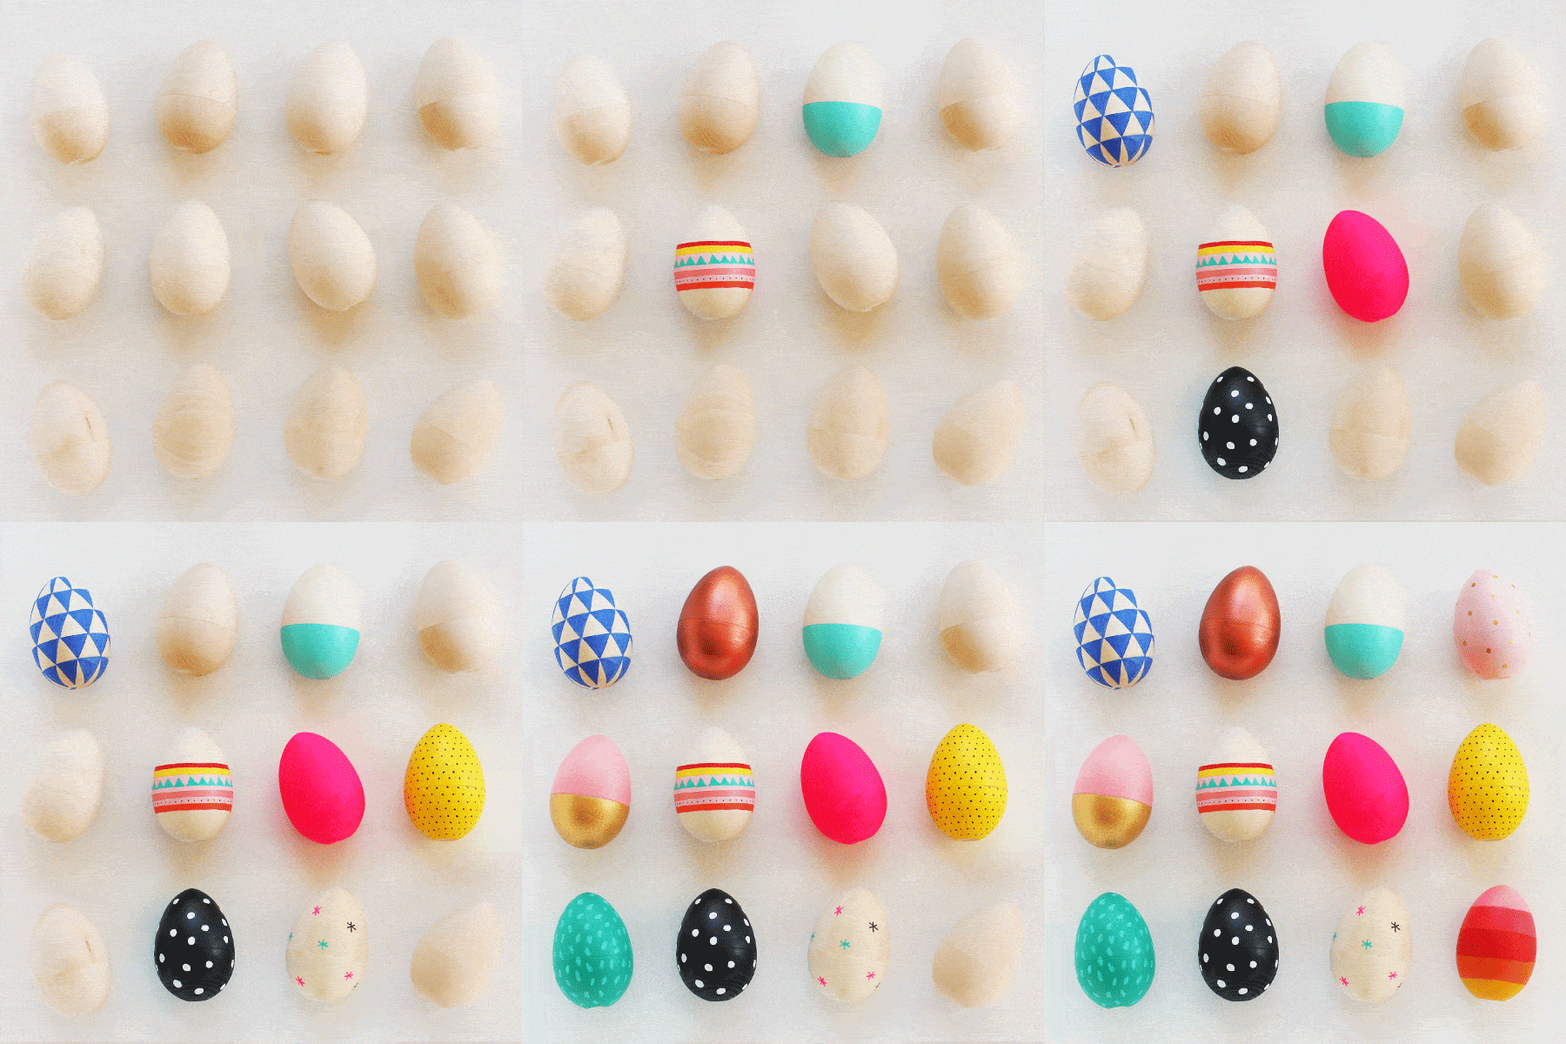
You can separate your hollow wooden eggs and paint each half individually. This is ideal when you want to paint half the egg a different colour. Also consider painting the inside of the egg too – which is a nice surprise detail.
I recommend keeping the egg whole if you want to paint it an all over solid colour. This will mean that the paint at the join of the egg will be neater.
Hint: Hold the egg using your pointer finger and thumb and paint around your fingers! You can paint the patches at the top and bottom of the egg later when the sides are dry.
Paint pens such as Posca pens and permanent Sharpie markers are also a great way to add fine details to your egg designs. Make sure you wait until the paint is dry before you draw details over painted areas.
Step 4: Seal
When you have finished painting your eggs it is a good idea to use a matte varnish to seal and protect them. I recommend you do a test area first and make sure you don’t over brush!
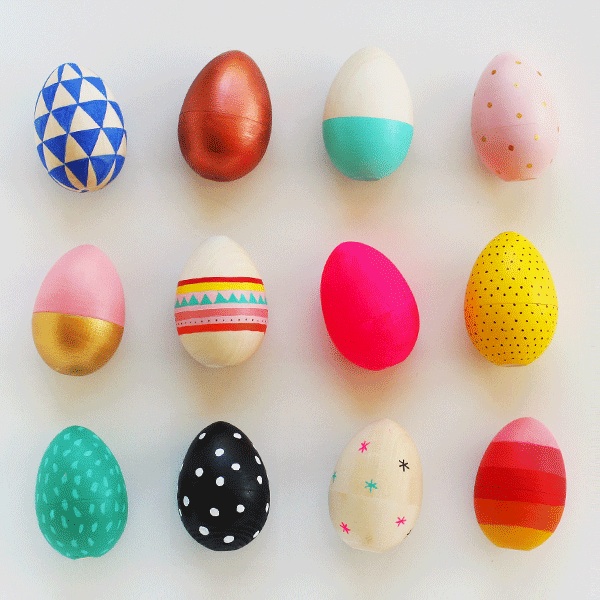
Step 5: Fill
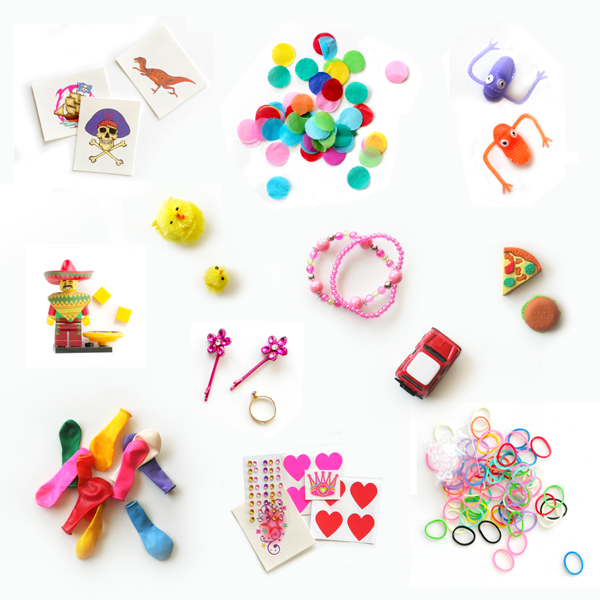
When your eggs are painted and varnished you can fill them with surprise treats! I have tried to think up non-chocolate / confectionery treats. I have tested the following to find out what fits inside our eggs! Here is my list to get you inspired:
- Tattoos
- Confetti
- Finger monsters
- Fluffy Easter chicks
- Lego mini figures
- Jewellery
- Novelty erasers
- Mini toy car
- Hair clips
- Water bomb balloons
- Stickers
- Loom bands
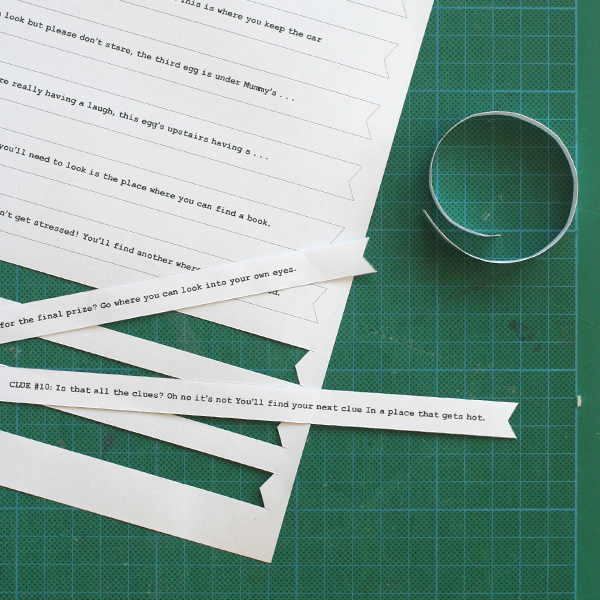
For even more fun why not create an Easter Egg hunt with clues inside the eggs! Pinterest is an excellent resource for finding scavenger-hunt-type clues. I found some great rhyming riddle clues. Just type ‘egg hunt clues in the search field’.
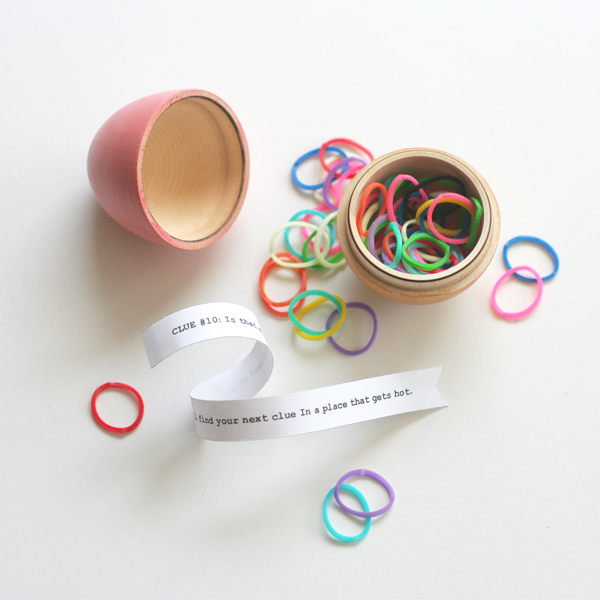
Type up your clues on the computer, print them out and cut into individual strips. Curl the paper strips (or fold up) so each clue fits nice and snug, along with the treat, inside it’s own egg.
How eggciting! Have fun!
xx Danie
This post was originally published in April 2014. Updated April 2020

These eggs look gorgeous and the idea of a treasure hunt – brilliant! I have a six year old boy who is very keen on treasure hunts at the moment – this will be perfect – thank you!
How gorgeous! I love the scavenger hunt idea – we use to always scavenger for our eggs as kids 🙂
These look just fabulous! Thanks for sharing.
How cute, I never thought of using wooden eggs instead of real ones before! I just made my own Easter egg tutorial featuring regular eggs on my blog.
They look so good!
These are gorgeous! I failed at my first attempt at real egg dying with my toddler, so I’ll be attempting these next year.
FYI these images have been used by both Momento & Adairs on Facebook today, which is a compliment too.
These are great. I love how the base is wooden- they will last forever! This tutorial is really nicely done.
Really nice blog, beautiful pictures. I love it, really good job
Thanks 🙂
Cinti,
The eggs look great! Sorry to hear that Amazon does not deliver to Australia anymore. If there’s anyway you can order and I can ship them to you I’d be willing to help if need be. 🙂
Rena
K has sighted this project. Looks like we’ll be doing this these holidays. 😀