I’m going to show you how to make a Duvet Cover from two flat bed sheets that you may already have languishing in your linen cupboard.
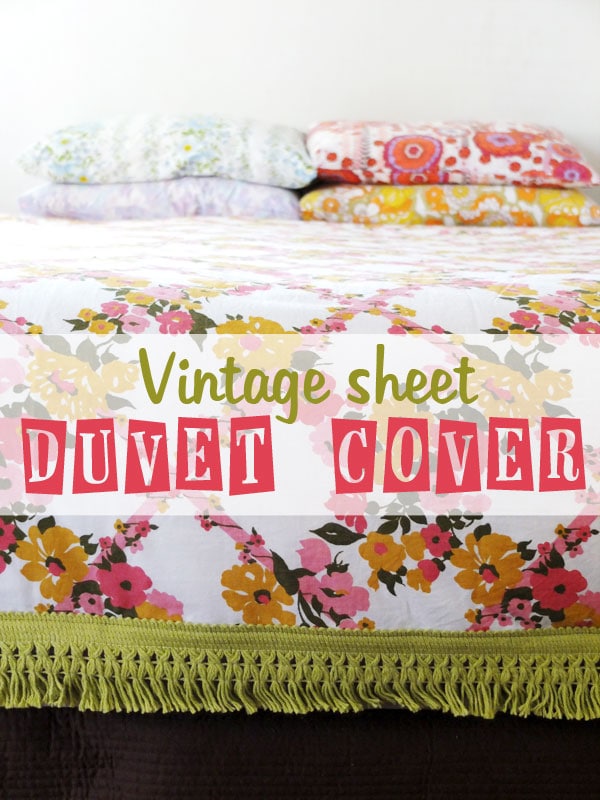
Not only will it save you a ton of money, quilt covers can be quite expensive, especially in larger sizes. But you will be able to make unique bedding to suit your own personal style.
It’s Spring here in Australia, and whilst I was photographing the spray painted lamp project a couple of weeks ago, I realized it was time to brighten up the bedroom with a new duvet cover.
I have a king size bed which is great (yes, I’m very lucky), but it can be hard to find bed linen to fit which doesn’t cost a fortune.
Even if I had the budget to spend on my favorite designer linen, many don’t go up to king size anyway.
So, as usual, I thought I’d make my own from some queen size flat sheets left over from my old queen size bed.
It’s not complicated to make a duvet cover, the difficulty comes in dealing with the masses of fabric involved.
I’ve outlined the basic way to make a duvet cover in any size, and a handy link to help you out with your measurements.
If you’ve ever wondered how to make a duvet cover for any sized quilt or comforter, read on.
This guide to bedding sizes is really handy, and as you can see, you can use a flat sheet from the bed size down to the cover you’d like to make. So double bed sheets make queen size covers and queen sheets make king size covers.
It was a little hard to find two queen sized vintage sheets (most are doubles), so I used a vintage sheet for the top, and a plain (newer) queen sized sheet, from my linen press, for the bottom.
You will need:
- 2 flat sheets
- 3 buttons
- sewing machine and general sewing supplies
- fringe (optional)
How to make a Duvet Cover:
Before you cut anything, measure your duvet to check the size matches with the standard measurements. Then measure again. (I actually miscalculated by 10cm and then had to re sew a panel to an edge Doh!)
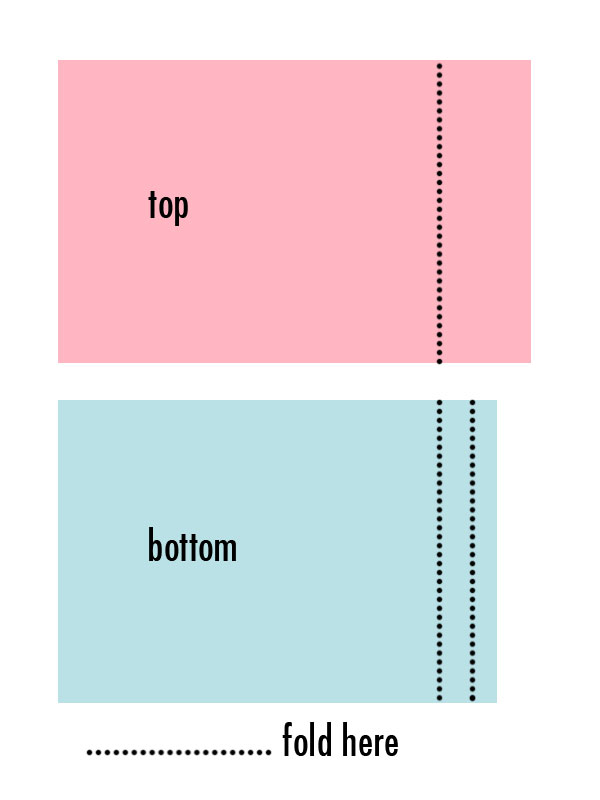
Measure and cut:
Top = desired measurement + 1cm (1/2″) seam allowance on each side + 17cm (7″) for fold over.
Bottom = desired measurement + 1cm (1/2″) seam allowance on each side + 10cm (4″) for bottom hem
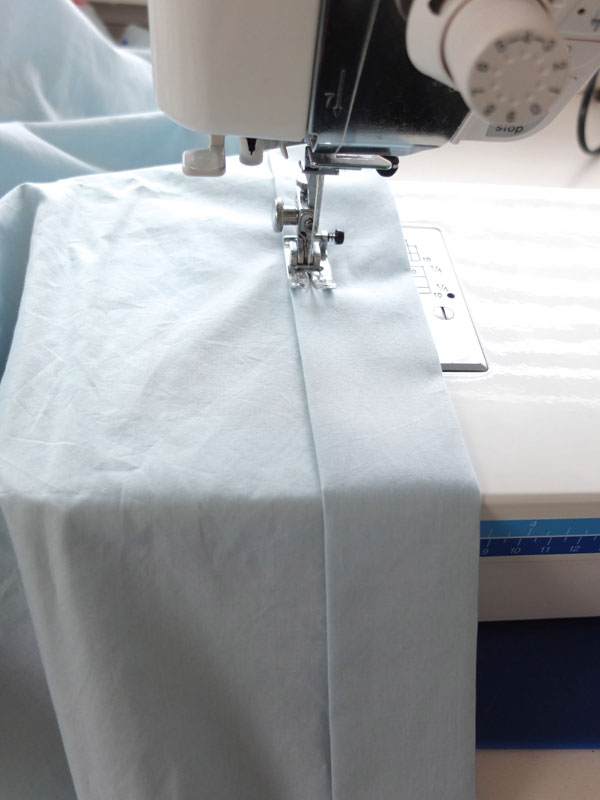
1. Bottom panel, fold bottom over twice where indicated on dotted line in diagram them hem.
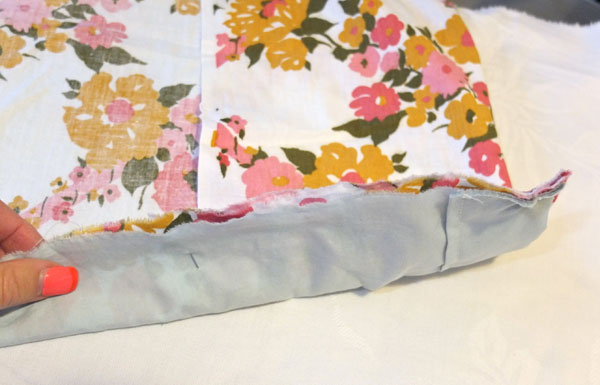
2. Pin around edges with right sides facing each other, then stitch as per diagram.
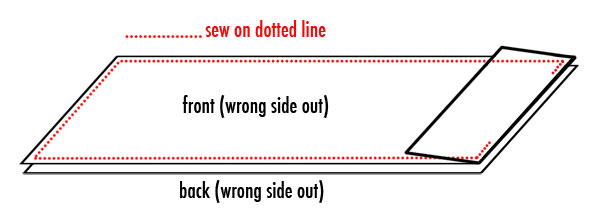
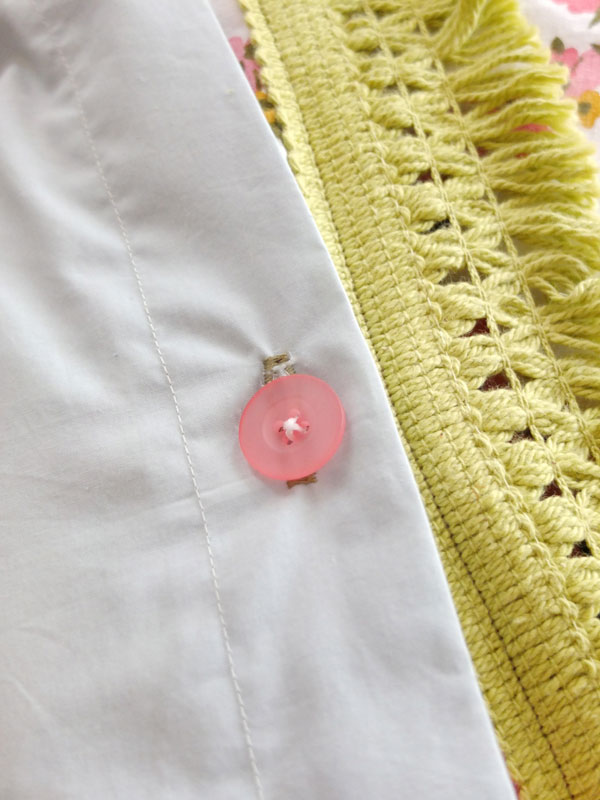
3. Turn inside out, and mark place for 3 evenly spaced buttons/button holes at opening.
Create button holes on back side (bottom) of cover and sew buttons on front (top) of cover.
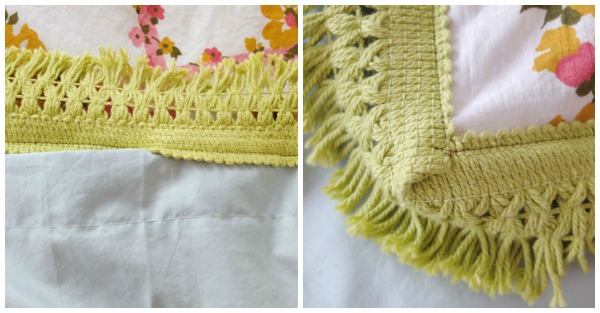
4. Adding fringe is optional. I was lucky enough to find several meters of this double sided vintage trim which I sewed around the the sides and bottom edge of the duvet cover. Don’t add fringe to the part where your head goes.
I’ve purposely not included any measurements so you can adapt this project to any size quilt cover.
I made Emma’s toddler size duvet cover last year using exactly the same method.
You will just need to do a few easy calculations, and I suggest writing them down (my memory was not great on this one).
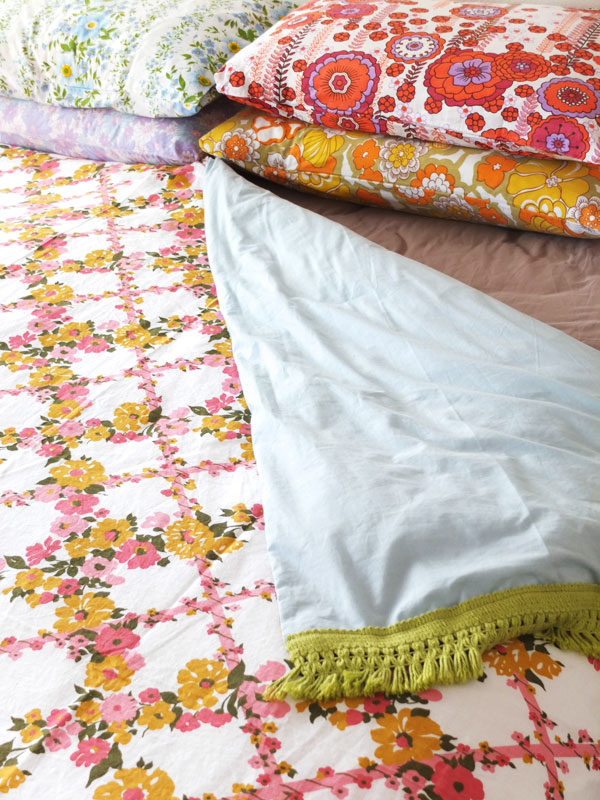
So how much money did I save making my own duvet cover? Lots!
Plus I now have an awesome one-of-a-kind duvet cover that adds just the right vintage style to my bedroom.
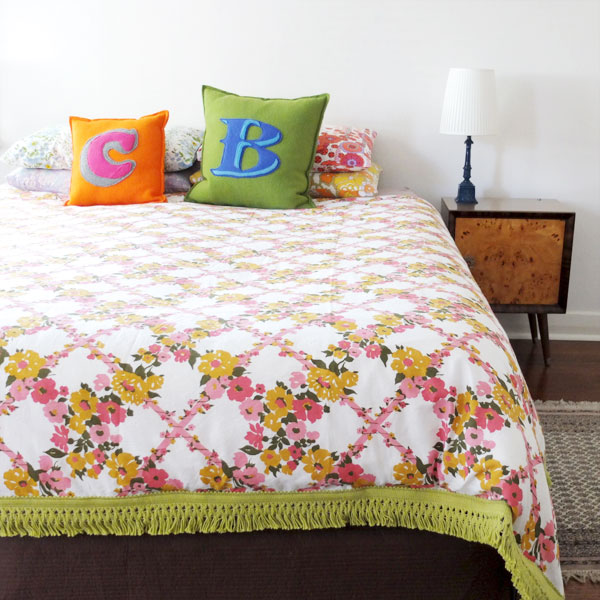
Now that you know how to make a duvet cover, I’d love to see some photos of your finished products. Tag me on Instagram with #MyPoppetMAKES to show off your hard work!
YOU MAY ALSO LIKE:

Que preciosidad! me encanta el colorido y la energia que transmite. Ya tienes una nueva seguidora, un besazo!!
How horrible are some of the current patterns right now?!? EEEK this is a must… Thank you Cintia.
Xo Steph
love the Pineapples! what a great find. Def make a doona out of it!
This is a fabulous idea!
I love the trim. It's so pretty!
Awesome – we have a massive bed because my husband is a giant, and I have found duvet covers I like updwards of $400.. ouch! If only I could find some sweet patterned sheets!
What a fabulous idea…oh the possibilities for fabric! Ooo-la-la!
I was thinking of doing this last month when I kept having loads of pretty flat sheets that came with the fitted sheets. It’s so great not having to spend a bundle on just a quilt cover that may not match the fitted sheet pattern. Thanks so much for doing this. I will definately have to have a go for my kids beds. You can also perhaps add a row of a strip of plastic snaps (from Spotlight or Lincraft) It saves you doing button holes! Bless you.
I’m making one for Emma’s single bed right now. May add snaps to this one if I can find them in my overflowing notions drawer. Good suggestion
So happy to have found this from other links. In the USA there are probably more Kings that Queen beds these days and you can’t imagine how hard it is to find twin size covers that are not juvenile, not immensly pricey and fit into a cottage, or traditional style. You have renewed my determination to get my house together. I live on a mini homestead and really don’t care for the “mod” fashion, since I was born in the midcentury of last century. Looking forward to other ideas and inspiration from you. Blessings.
Thanks for your comment Diane, this tute is perfect for beds of any dimensions. I struggle finding nice sheets that aren’t overpriced too. Would love to hear more about your mini homestead
Warmest, Cintia
Thank you for sharing how to make fitted sheet and all your work
I love this! About to cut my material… When it says “desired measurements plus 1cm seam allowance plus 17cm for folder over”… Does that mean I add 1 cm
extra even on the side that also gets 17cm… Or just the other 3 sides?
Thanks. You only need to add seam allowance to 3 sides – good question.
Such a good idea to use a flat sheet. I have some really nice yellow material I’d like to turn into a duvet cover to brighten up the room. Got a spare flat sheet too, now to learn how to sew it up :)…
How do you prevent the quilt you want covered, not to slip inside the duvet?
My grandmother, used to use safety pins on the top and bottom of the duvet, but it is an eyesore.
I’ve never had a problem with my duvet slipping inside the cover (as long as the cover is the same size as the quilt). I have one IKea cover that is slightly longer and it does slip a little. I just give it a shake when i make the bed to make sure it’s not bunching. You could always add a little ribbon sewn onto the corner of your quilt and inside the corners of your cover, and then tie a bow to secure.