
Vintage steamer trunks evoke a kind of romantic nostalgia, bringing to mind magic shows and travelling circuses of old, glamorous ocean liner cruises and dusty old vintage trunks full of treasures in the attic.
Even though big heavy steamer trunks are no longer the most practical style of luggage, they certainly are attractive. This fun shoe box craft, captures all the charm of a vintage trunk or vintage suitcase, with the added bonus of being made from an upcycled cardboard box.
The perfect size to store little treasures, love notes or random stuff that you want to pack away, this cardboard box vintage trunk looks great on a shelf. You can never really have enough pretty storage boxes in my opinion.
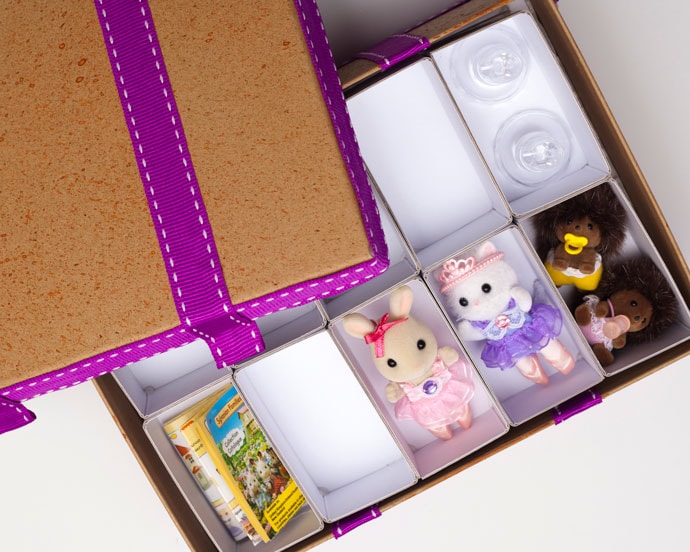
If you need to organise small items add mini storage compartments to your shoe box trunk – Get the instructions here for how to add storage dividers to a shoe box.
This Vintage Trunk Storage Box would also make the ultimate gift box wrapping for a special travel themed gift.
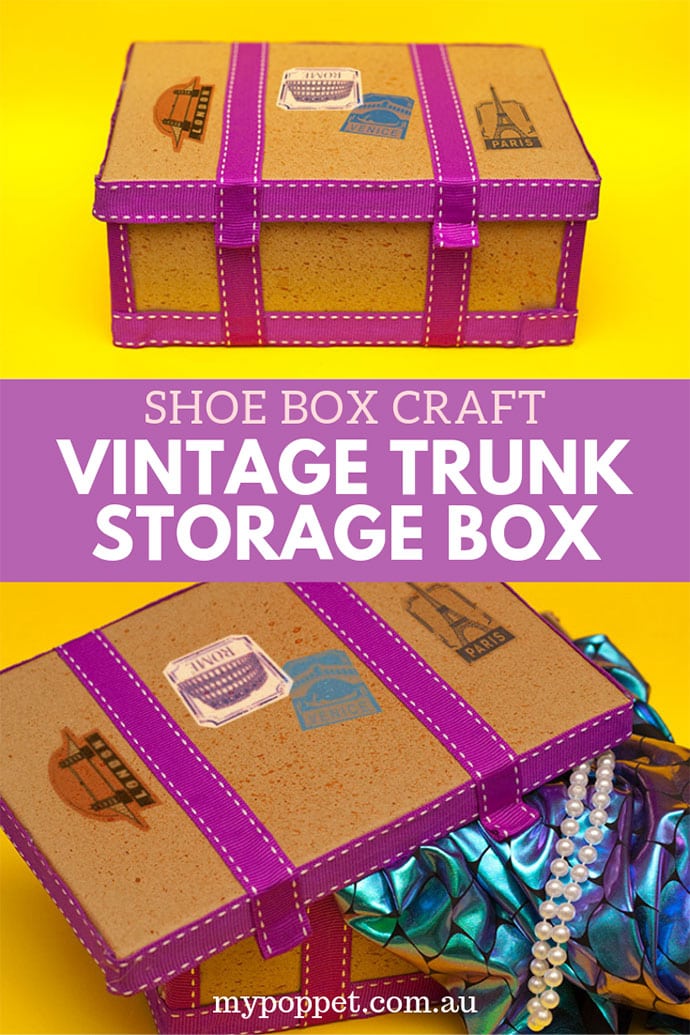
How to make a Vintage Steamer Trunk Storage Box from a Shoe Box
You will need:
- Brown shoe box or gift box
- 22mm x 6m ribbon
- Hot glue gun
- Fabric scissors
- Dark brown acrylic or water colour paint
- Old Toothbrush
- Optional – light brown acrylic paint & paint brush
- Travel themed stickers
Notes:
- If you are using a shoe box with print on it, you can give it one or two coats of light brown paint, before getting started.
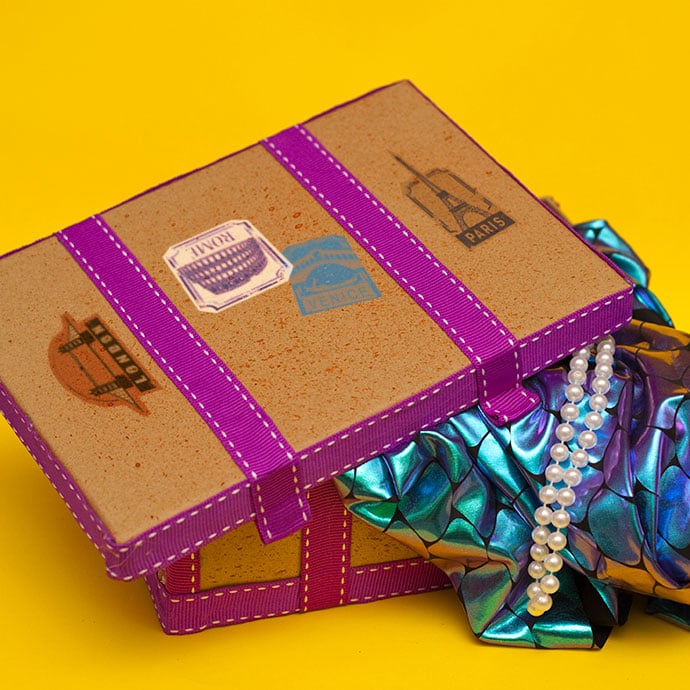
- Once you’ve finished this project you can add travel stickers to the box to make it look like it’s been around the world. I’ve used these designs for my vintage style travel stickers.
How to:
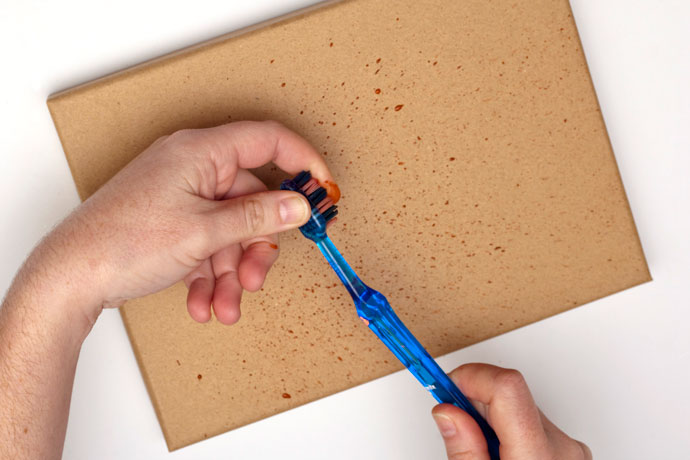
1. Add patina to the plain brown box by adding some paint splatter. Dip your toothbrush in a little dark brown paint. Hold the toothbrush parallel to the box and lid. Gently run a finger across the bristles, splattering the outside surfaces of the box. This effect will make the box appear weathered. Set aside the box and lid, and allow it to dry.
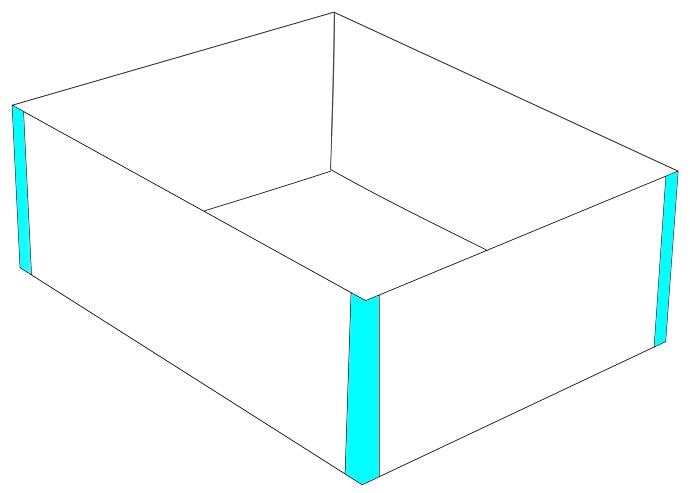
2. Cut out 4 strips of ribbon the height of the box base, and glue around the corners of the box.
Note: To prevent the ribbon ends from fraying, carefully melt the ends (this works on synthetic ribbon).
3. Next glue a length of ribbon around the base of box and around the edge of lid.
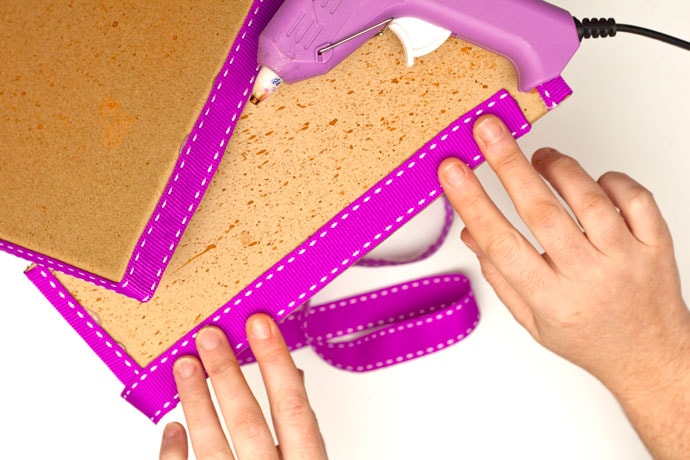

4. Cut and glue strips of ribbon, creating parallel lines across the lid. Do the same for the box, making sure the parallel ribbons line up. Set aside the box and lid, and allow the glue to dry.


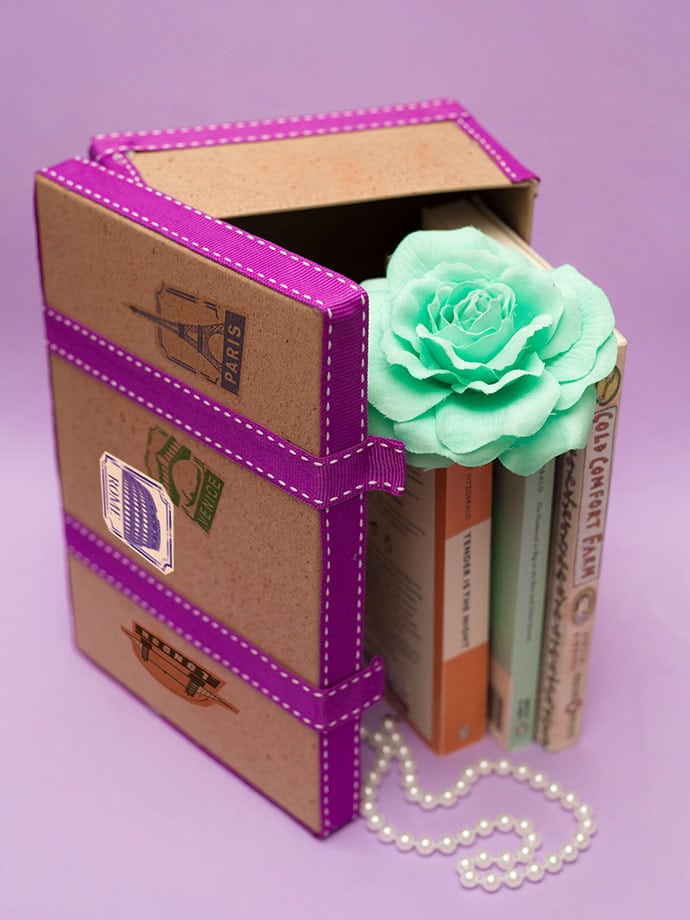
Now your little vintage trunk made from an upcycled shoe box is ready to fill with treasures. It’s an inexpensive and attractive storage solution.

Decorate with travel stickers for an ‘authentic’ vintage steamer trunk look.

You may also enjoy:
LOVE IT? PIN IT!
 Melissa is a hyper creative artist, and content creator.


That’s fabulous! I love using shoe boxes for crafting, and this is also so useful. Pinning! 🙂 Lisa
Thanks Lisa. I never throw out shoe boxes, they are just so practical.